
Introduction
This manual provides instructions for the proper use and maintenance of your AFMAT Electric Automatic Desktop Stapler. Please read thoroughly before operation to ensure safe and efficient use.

Figure 1: AFMAT Electric Automatic Desktop Stapler
Key features of your stapler include:
- High Capacity: Accommodates two full strips of staples (up to 210 staples), reducing the frequency of refills.
- Automatic Operation: Staples automatically upon paper insertion, providing quick and effortless stapling.
- 25-Sheet Capacity: Capable of stapling up to 25 sheets of 80 gsm paper using 26/6 staples, or 20 sheets with 24/6 staples.
- Dual Power Options: Can be powered by an AC adapter or 4 AA batteries for versatile use.
- Adjustable Stapling Depth: Features 10 adjustments for precise staple placement.
- Reload Reminder: A red indicator light signals when staples are low.
Setup
1. Power Supply
Your AFMAT Electric Automatic Desktop Stapler offers two power options: an AC adapter for continuous desktop use or 4 AA batteries for portability.
Using the AC Adapter:
- Locate the DC 7.2V power input port on the stapler.
- Insert the provided AC adapter into the port.
- Plug the AC adapter into a standard wall outlet.

Figure 2: Connecting the AC Adapter
Using AA Batteries:
- Locate the battery compartment on the underside of the stapler.
- Open the battery compartment cover.
- Insert 4 AA 1.5V batteries, ensuring correct polarity (+/-). (Batteries are not included)
- Close the battery compartment cover securely.

Figure 3: Inserting AA Batteries
Important: Do not mix new and used batteries. Do not combine alkaline with standard or rechargeable batteries.
2. Loading Staples
The stapler is designed to hold two full strips of staples (up to 210 staples), minimizing the need for frequent refills. It supports 24/6 or 26/6 staples only.
- Press the release button located on the side of the stapler to eject the staple tray.
- Load one or two full strips of compatible staples into the tray.
- Push the staple tray back into the stapler until it clicks securely into place.
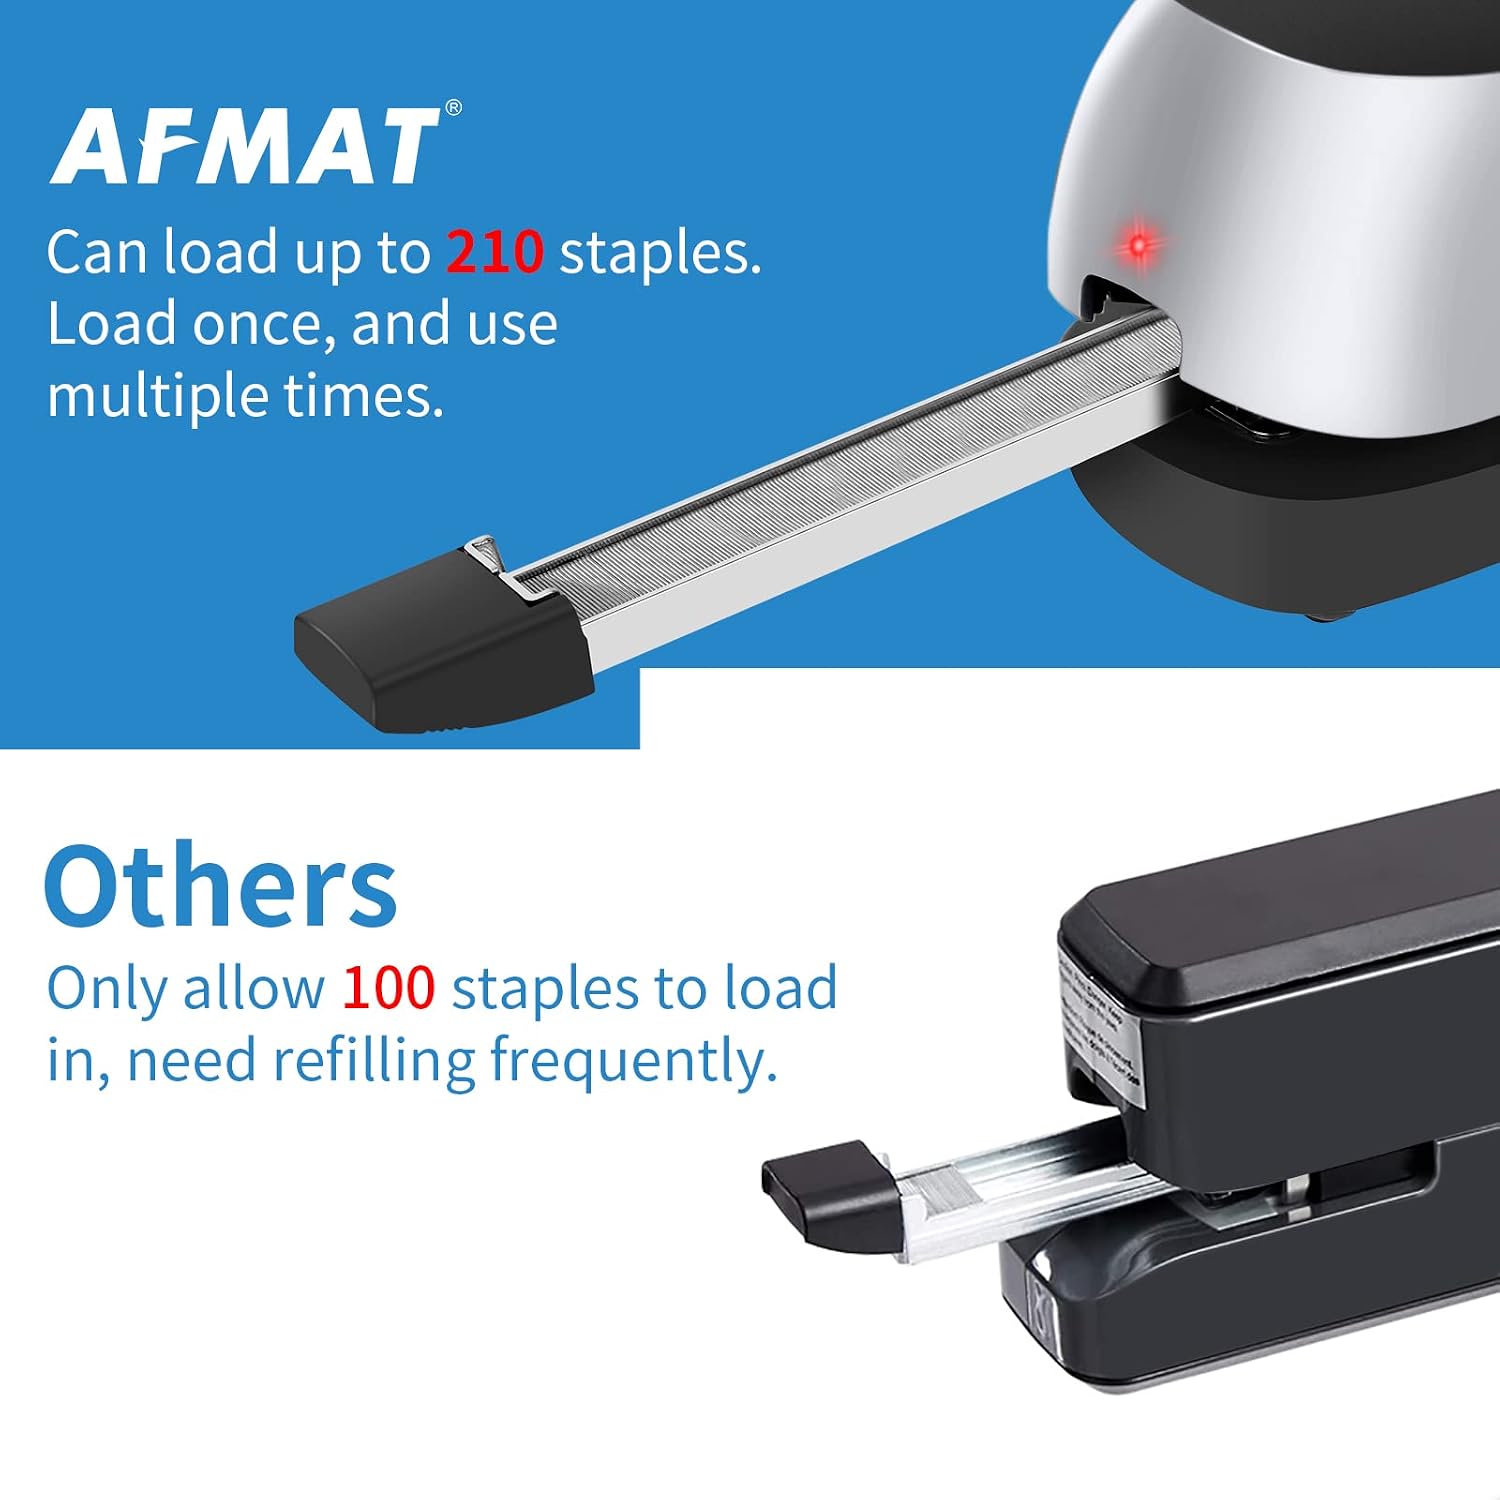
Figure 4: Loading Staples into the Tray
A red indicator light will illuminate when the stapler is low on staples, reminding you to reload.
Operating Instructions
1. Automatic Stapling
The AFMAT Electric Automatic Desktop Stapler operates automatically for quick and efficient stapling.
- Ensure the stapler is powered on (via AC adapter or batteries).
- Insert the papers you wish to staple into the stapling slot.
- Push the papers deeply enough to activate the internal trigger. The stapler will automatically drive a staple through the papers.
- Remove the stapled papers.

Figure 5: Automatic Stapling of 25 Sheets
2. Adjustable Stapling Distance
You can adjust the stapling depth to suit various document sizes and preferences.
- Locate the adjustment button on the side of the stapler.
- Push the button forward or backward to select one of the 10 available stapling depth adjustments.
- Test the stapling depth on a scrap piece of paper to ensure desired placement before stapling important documents.

Figure 6: Adjustable Stapling Distance Feature
Product Demonstration Video
Video 1: Official product demonstration showing staple loading, power options, automatic stapling, and adjustable stapling depth.
Maintenance
Jam Removal
In the event of a staple jam, follow these steps to clear it:
- Push the staple tray slightly forward.
- Press the release button and pull out the staple tray completely.
- Gently catch and remove any jammed staples using a small tool or pliers.
- Remove and discard a few staples near the staple outlet if they appear bent or damaged.
- Push the staple tray back into the stapler until it clicks into place.

Figure 7: Steps for Clearing a Staple Jam
Troubleshooting
If you encounter issues with your stapler, refer to the following common solutions:
| Problem | Possible Cause | Solution |
|---|---|---|
| Stapler not firing | No power or low battery | Ensure AC adapter is securely plugged in or replace AA batteries. |
| Stapler not firing | Staple tray not fully inserted | Push the staple tray firmly until it clicks into place. |
| Stapler not firing | Paper not inserted deeply enough | Insert papers fully into the stapling slot to activate the trigger. |
| Staple jams frequently | Overloading with too many sheets | Do not exceed the maximum capacity of 25 sheets (80 gsm). |
| Staple jams frequently | Incorrect staple size or type | Use only 24/6 or 26/6 staples. |
| Staple jams frequently | Bent or damaged staples in the tray | Remove and replace any damaged staples. Refer to the Jam Removal section. |
| Staples not penetrating paper | Too many sheets or incorrect staples | Reduce sheet count or ensure correct staple size (24/6 or 26/6) is used. |
Specifications
- Item Name: AFMAT Automatic Electric Stapler
- Model: B097PK3RQV
- Brand: AFMAT
- Color: Silver
- Material: Plastic
- Operation Mode: Automatic
- Power Source: AC Adapter (Input: AC 100-240V 50/60Hz; Output: DC 7.2V) OR 4 x AA Batteries (1.5V each)
- Product Dimensions: 7.36 x 2.36 x 3.15 inches (approx. 8"L x 3.2"W)
- Weight: 1.03 lbs
- Staple Capacity: Two full strips (up to 210 staples)
- Sheet Capacity: 25 sheets (with 26/6 staples, 80 gsm paper); 20 sheets (with 24/6 staples, 80 gsm paper)
- Compatible Staples: 24/6 or 26/6
- Ambient Temperature: -18℃ to 49℃
Warranty and Support
Warranty Information
This AFMAT Electric Automatic Desktop Stapler comes with a 1-year warranty from the date of purchase. This warranty covers manufacturing defects and malfunctions under normal use. Please retain your proof of purchase for warranty claims.
Customer Support
For any questions, technical assistance, or warranty claims, please contact AFMAT customer support through the retailer's platform or the official AFMAT website. Please have your product model number (B097PK3RQV) and purchase date available when contacting support.
