1. Introduction
This user manual provides comprehensive instructions for the installation, operation, and maintenance of the ASUS Prime B560-PLUS motherboard. Designed for Intel 11th/10th Gen processors, this ATX motherboard offers robust performance and connectivity features, including PCIe 4.0, dual M.2 slots, and various USB options.
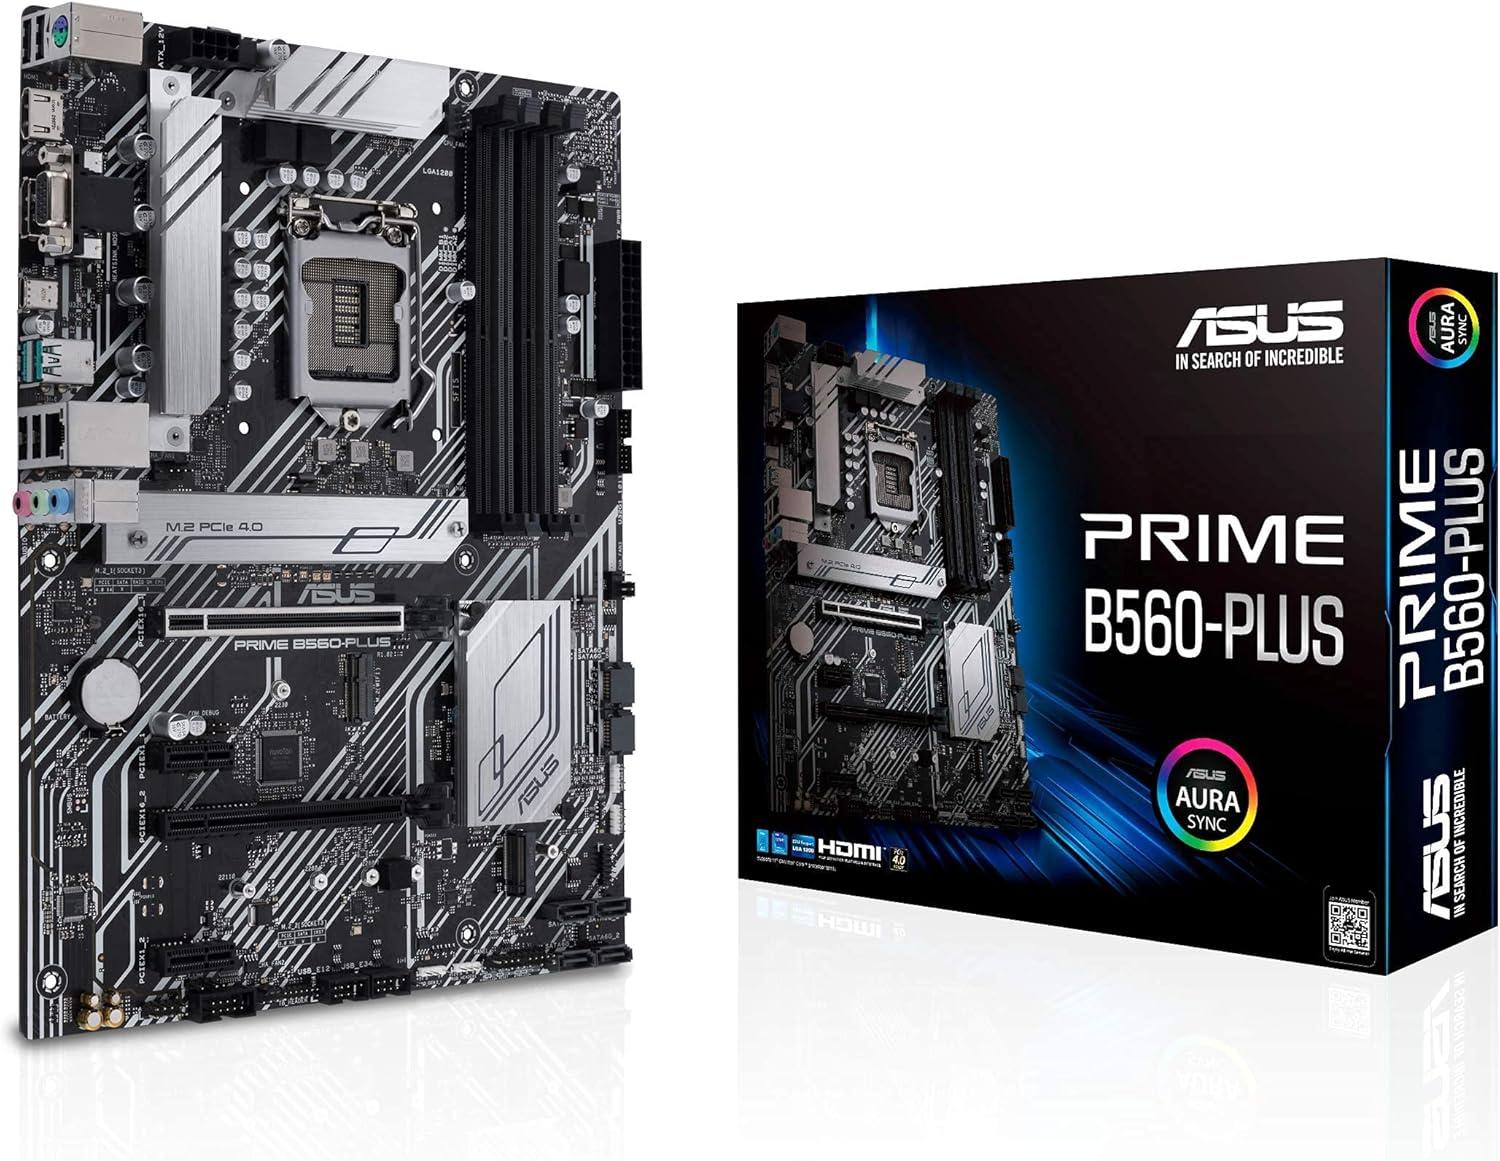
This image displays the ASUS Prime B560-PLUS motherboard alongside its retail packaging, highlighting the product's design and branding.
2. Product Overview
The ASUS Prime B560-PLUS motherboard is built to support the latest Intel processors with its LGA1200 socket. It features advanced power delivery, comprehensive cooling solutions, and a range of connectivity options to optimize system performance.
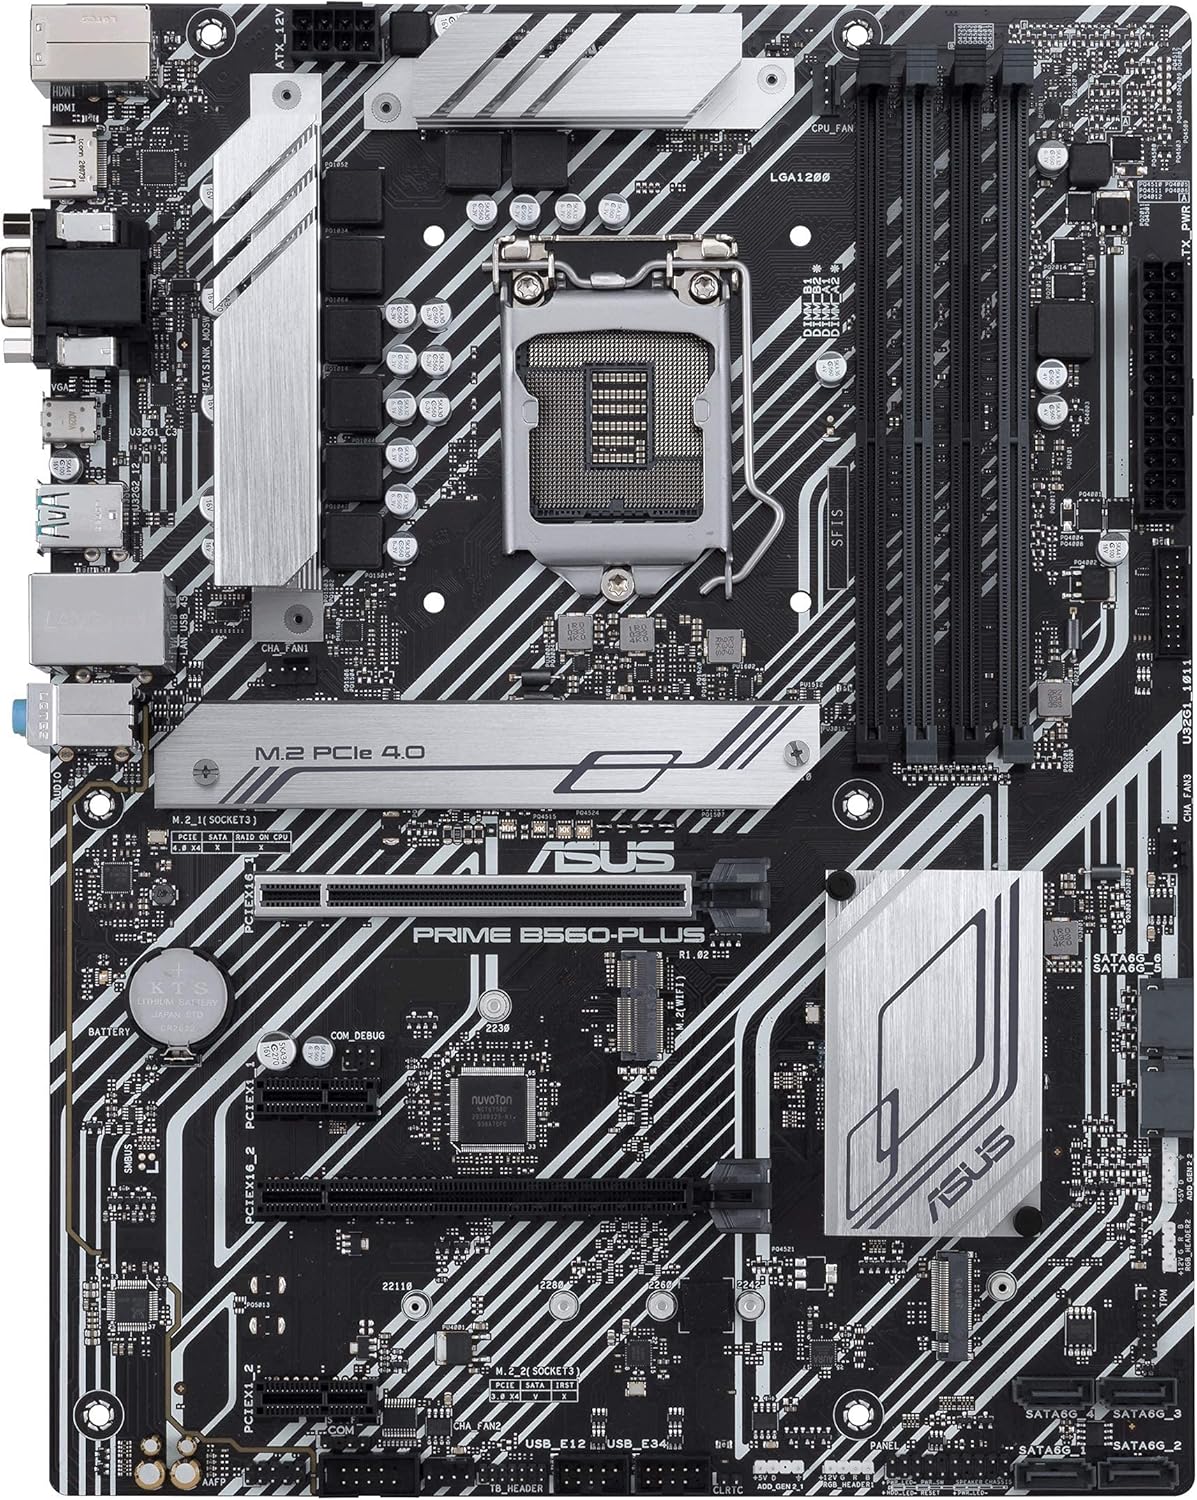
A comprehensive top-down view of the ASUS Prime B560-PLUS motherboard, showcasing the LGA1200 socket, PCIe 4.0 slot, M.2 slots, and various headers.

An angled perspective of the ASUS Prime B560-PLUS motherboard, emphasizing the heatsinks and component layout.

Another angled view of the motherboard, providing a closer look at the VRM area and memory slots.

Close-up of the rear input/output (I/O) panel, showing ports such as USB, HDMI, DisplayPort, LAN, and audio jacks.
3. Setup and Installation
3.1 Before You Begin
- Ensure you have a static-free environment. Use an anti-static wrist strap or frequently touch a grounded metal object.
- Unplug the power cord from your power supply unit before installing or removing any components.
- Refer to your PC case manual for specific installation instructions related to your chassis.
3.2 Component Installation Guide
- CPU Installation: Carefully open the CPU socket lever, align the triangular mark on the CPU with the mark on the socket, gently place the CPU into the socket, and close the lever to secure it.
- DRAM Installation: Open the clips on the DIMM slots. Align the notch on the memory module with the key in the slot. Press down firmly on both ends of the module until the clips snap into place.
- M.2 SSD Installation: Insert the M.2 SSD into the designated slot at a 30-degree angle. Secure it with the provided M.2 screw or Q-Latch mechanism.
- Graphics Card (GPU) Installation: Open the PCIe slot latch. Align the graphics card with the PCIe x16 slot and press down firmly until it clicks into place. Secure the card to your chassis with screws.
- Power Connections: Connect the 24-pin ATX power connector and the 8-pin CPU power connector from your power supply to the motherboard.
- Front Panel Connections: Connect the power button, reset button, USB ports, and audio jacks from your PC case to the corresponding headers on the motherboard. Refer to the motherboard layout diagram for exact locations.

This image illustrates the ASUS Prime B560-PLUS motherboard along with its included accessories, such as SATA cables, M.2 screws, and M.2 rubber pads, and indicates its physical dimensions.
4. Operating Instructions
4.1 First Boot
After assembling your system, connect a monitor, keyboard, and mouse. Power on your system. The system should display the ASUS logo and enter the BIOS/UEFI setup utility or proceed to boot from your installed operating system. To enter BIOS/UEFI, typically press the DEL or F2 key during startup.
4.2 Driver Installation
For optimal performance and stability, it is crucial to install the latest drivers for your motherboard's chipset, LAN, audio, and other integrated components. These drivers can typically be found on the ASUS support website for the B560-PLUS model. An internet connection will be required for driver downloads.
5. Maintenance
- Dust Removal: Regularly clean dust from your PC case and motherboard components using compressed air. Ensure the system is powered off and unplugged before cleaning.
- BIOS/UEFI Updates: Periodically check the ASUS support website for BIOS/UEFI updates. Updates can improve compatibility, stability, and performance. Follow the provided instructions carefully when updating the BIOS.
- Component Checks: Ensure all cables are securely connected and no components are loose. Inspect for any signs of physical damage or overheating.
6. Troubleshooting
- No Power/No POST: Double-check all power connections (24-pin ATX, 8-pin CPU). Ensure the power supply is switched on. Try reseating RAM modules and the graphics card.
- No Display: Verify that the monitor cable is securely connected to the graphics card or motherboard (if using integrated graphics). Test with a different monitor or cable if possible.
- System Instability/Crashes: This can be caused by outdated drivers, overheating, or faulty components. Ensure drivers are up-to-date, check CPU/GPU temperatures, and test RAM modules individually.
- Peripheral Issues: If USB devices or other peripherals are not working, ensure they are properly connected. Check device manager for driver issues.
7. Specifications
| Feature | Specification |
|---|---|
| Product Dimensions | 12.91 x 10.47 x 2.09 inches |
| Manufacturer | Asus |
| ASIN | B097NNT39S |
| Date First Available | June 21, 2021 |
| Brand | ASUS |
| CPU Socket | LGA 1200 |
| Compatible Devices | Personal Computer |
| Compatible Processors | 10th Generation Intel Core |
| Chipset Type | Intel B560 |
| Memory Storage Capacity | 128 GB |
| RAM Memory Maximum Size | 1 GB |
| Graphics Card Interface | PCI Express |
| Memory Slots Available | 4 |
| S/PDIF Connector Type | Optical |
8. Warranty and Support
This ASUS Prime B560-PLUS motherboard is covered by a limited warranty. Please refer to the warranty card included with your product or visit the official ASUS website for detailed warranty terms and conditions.
For technical support, driver downloads, and further assistance, please visit the official ASUS support website: www.asus.com/support/


