
1. Introduction
The VIMGO VENUS X3 Portable Projector delivers a native 1080P Full HD viewing experience, suitable for movies, video games, sports, and presentations. It features 5G WiFi for seamless smartphone screen synchronization and offers a large projection display ranging from 33 to 200 inches. This manual provides essential information for setting up, operating, and maintaining your projector.
2. Safety Information
- Do not look directly into the projector lens when the lamp is on.
- Ensure proper ventilation around the projector to prevent overheating.
- Use only the power adapter provided with the device.
- Keep the projector away from water or other liquids.
- Avoid placing the projector on unstable surfaces.
- Do not attempt to disassemble or repair the projector yourself. Contact qualified service personnel.
3. Package Contents
Verify that all items are present in the package:
- VIMGO VENUS X3 Portable Projector
- Remote Control
- Power Adapter
- HDMI Cable
- AV Cable
- User Manual
4. Product Overview
Familiarize yourself with the projector's components and features.

Figure 4.1: Front view of the VIMGO VENUS X3 Projector, showing the lens and ventilation.

Figure 4.2: Side view of the projector, highlighting various input/output ports.
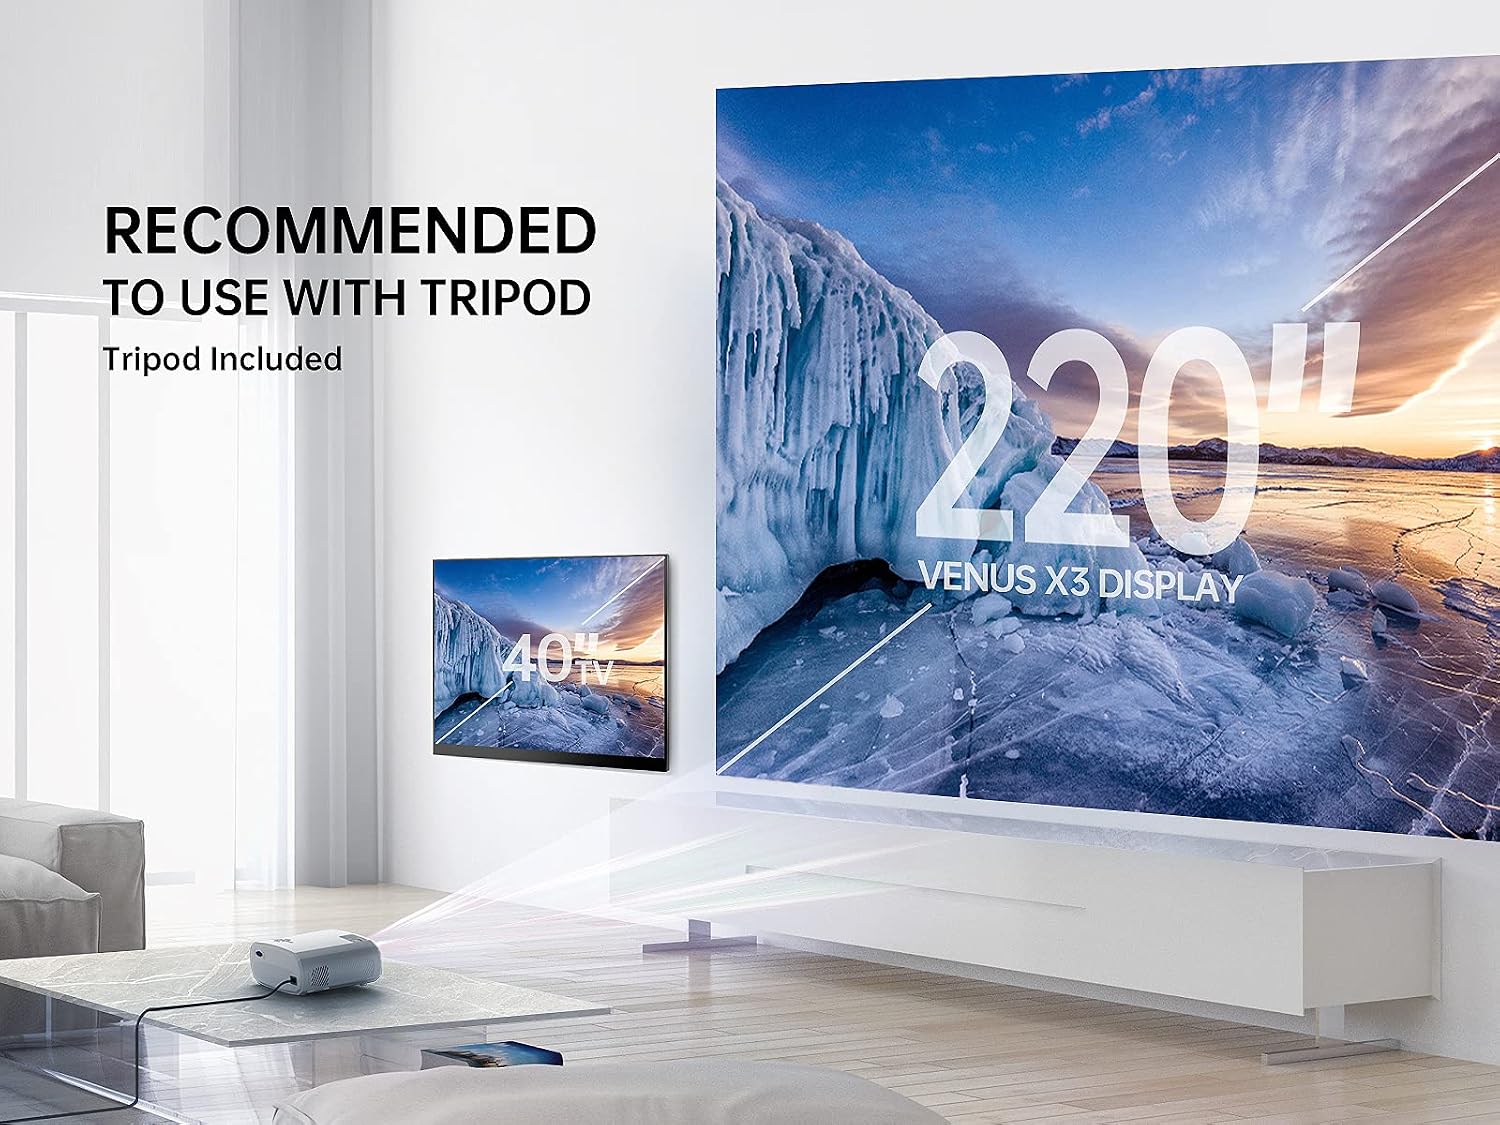
Figure 4.3: Top view of the projector, displaying the control panel and focus/keystone adjustment.
5. Setup
5.1 Initial Placement
Place the projector on a stable, flat surface. For optimal viewing, position it directly in front of the projection screen or wall. The recommended projection distance ranges from 3.67ft to 19.68ft for a screen size of 33 to 200 inches.
5.2 Power Connection
- Connect the power adapter to the projector's power input port.
- Plug the power adapter into a wall outlet.
- Press the power button on the projector or remote control to turn it on.
Video 5.1: A short preview demonstrating the projector powering on and displaying the VIMGO logo. This video shows the initial startup sequence and the bright display.
5.3 Focus and Keystone Adjustment
Adjust the focus ring on top of the projector until the image is clear. Use the keystone correction feature to adjust the image shape if it appears trapezoidal.
6. Operating Instructions
6.1 Input Source Selection
Press the 'Source' button on the remote control or the projector's control panel to select your desired input source (HDMI, USB, AV, Screen Mirroring).
6.2 Screen Mirroring (Wireless Connection)
The VIMGO VENUS X3 supports 2.4G/5G dual-band WiFi for screen synchronization with iOS and Android devices.
For iOS Devices:
- Select 'Screen Mirroring' as the input source on the projector.
- Connect your iOS device to the projector's WiFi network (e.g., VIMGO-X3-XXXXXX, password: 12345678).
- Open Control Center on your iOS device and tap 'Screen Mirroring'.
- Select 'VIMGO-X3-XXXXXX' from the searching list.

Figure 6.1: Step-by-step guide for connecting an iOS device via screen mirroring.
For Android Devices:
- Select 'Screen Mirroring' as the input source on the projector.
- Enable the 'Wireless Projection' or 'Multi-screen' feature on your Android device (names may vary by device).
- Select 'VIMGO-X3-XXXXXX' from the available devices.
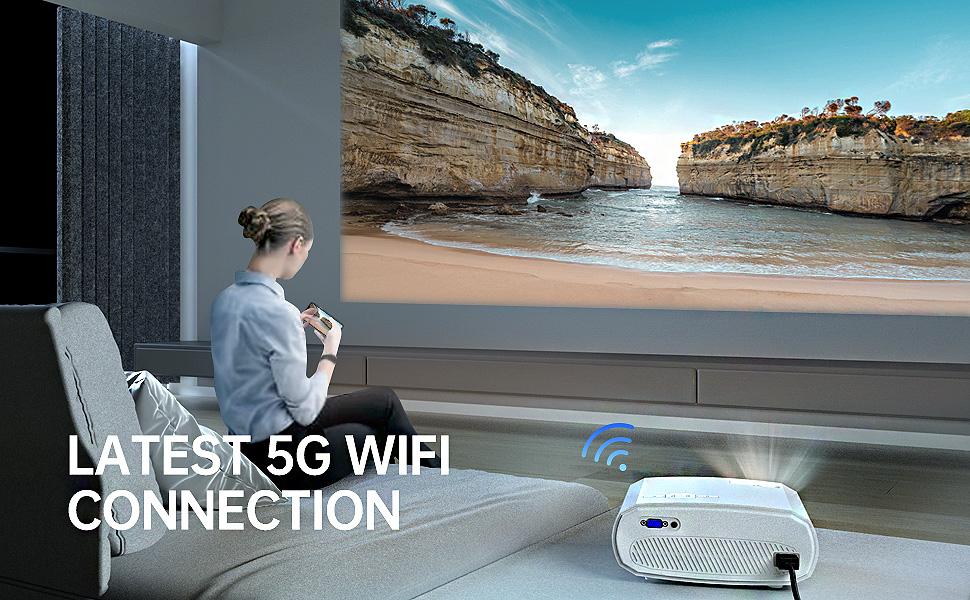
Figure 6.2: Illustration of an Android device wirelessly connected to the projector for screen mirroring.
6.3 Wired Connection
Connect devices like TV sticks, gaming consoles (PS5, Switch), laptops, or USB drives using the appropriate ports.
- HDMI: Connect a TV stick, laptop, or gaming console.
- USB: Insert a USB drive for media playback.
- AV: Use the AV cable for older devices.

Figure 6.3: The projector connected to multiple devices, demonstrating its wide compatibility.
Video 6.1: A short preview demonstrating the projector's display quality with various content. This video highlights the visual performance of the projector.
7. Maintenance
7.1 Cleaning the Lens
Use a soft, lint-free cloth specifically designed for optical lenses to gently clean the projector lens. Avoid abrasive cleaners or excessive force.
7.2 Cleaning the Projector Body
Wipe the projector's exterior with a soft, dry cloth. Do not use liquid or aerosol cleaners.
7.3 Ventilation
Ensure that the projector's ventilation openings are not blocked. Blocked vents can lead to overheating and affect performance.
8. Troubleshooting
| Issue | Possible Cause | Solution |
|---|---|---|
| No image displayed | Incorrect input source selected; loose cable connection; device not powered on. | Select correct input source; check all cable connections; ensure source device is powered on. |
| Image is blurry | Focus not adjusted; projector too far/close to screen. | Adjust the focus ring; reposition the projector. |
| No sound | Volume too low; audio output settings incorrect; external speaker not connected. | Increase volume; check audio settings on projector and source device; connect external speakers if desired. |
| Screen mirroring fails | Incorrect WiFi connection; device compatibility issue; network interference. | Ensure correct WiFi network and password; check device compatibility; try restarting devices. |
9. Specifications
| Feature | Detail |
|---|---|
| Brand | VIMGO |
| Model Name | VENUS X3 |
| Native Resolution | 1920 x 1080 (Full HD) |
| Brightness | 230 lumen (9700LUX) |
| Contrast Ratio | 6000:1 |
| Connectivity Technology | 2.4G+5G WiFi, USB, HDMI, AV |
| Display Type | LCD |
| Projection Screen Size | 33''-200'' |
| Projection Distance | 3.67ft-19.68ft |
| Light Source Operating Life | 50000 Hours |
| Item Dimensions L x W x H | 9.2"L x 7.3"W x 3.8"H |
| Item Weight | 3 Pounds |
| Compatible Devices | TV Stick, iPhone/Android Smartphone, iPad, Laptop, Switch, PS5, USB, etc. |
10. Warranty and Support
The VIMGO VENUS X3 Portable Projector comes with a 3-year warranty. For technical assistance, troubleshooting, or warranty claims, please contact VIMGO customer service. We offer 24/7 technical service to ensure your satisfaction.
For further support, please visit the official VIMGO website or refer to the contact information provided in your product packaging.