Introduction
Thank you for purchasing the Elk Home Module 8-Light Chandelier. This manual provides essential information for the safe installation, operation, and maintenance of your new lighting fixture. Please read these instructions thoroughly before beginning installation and retain them for future reference.
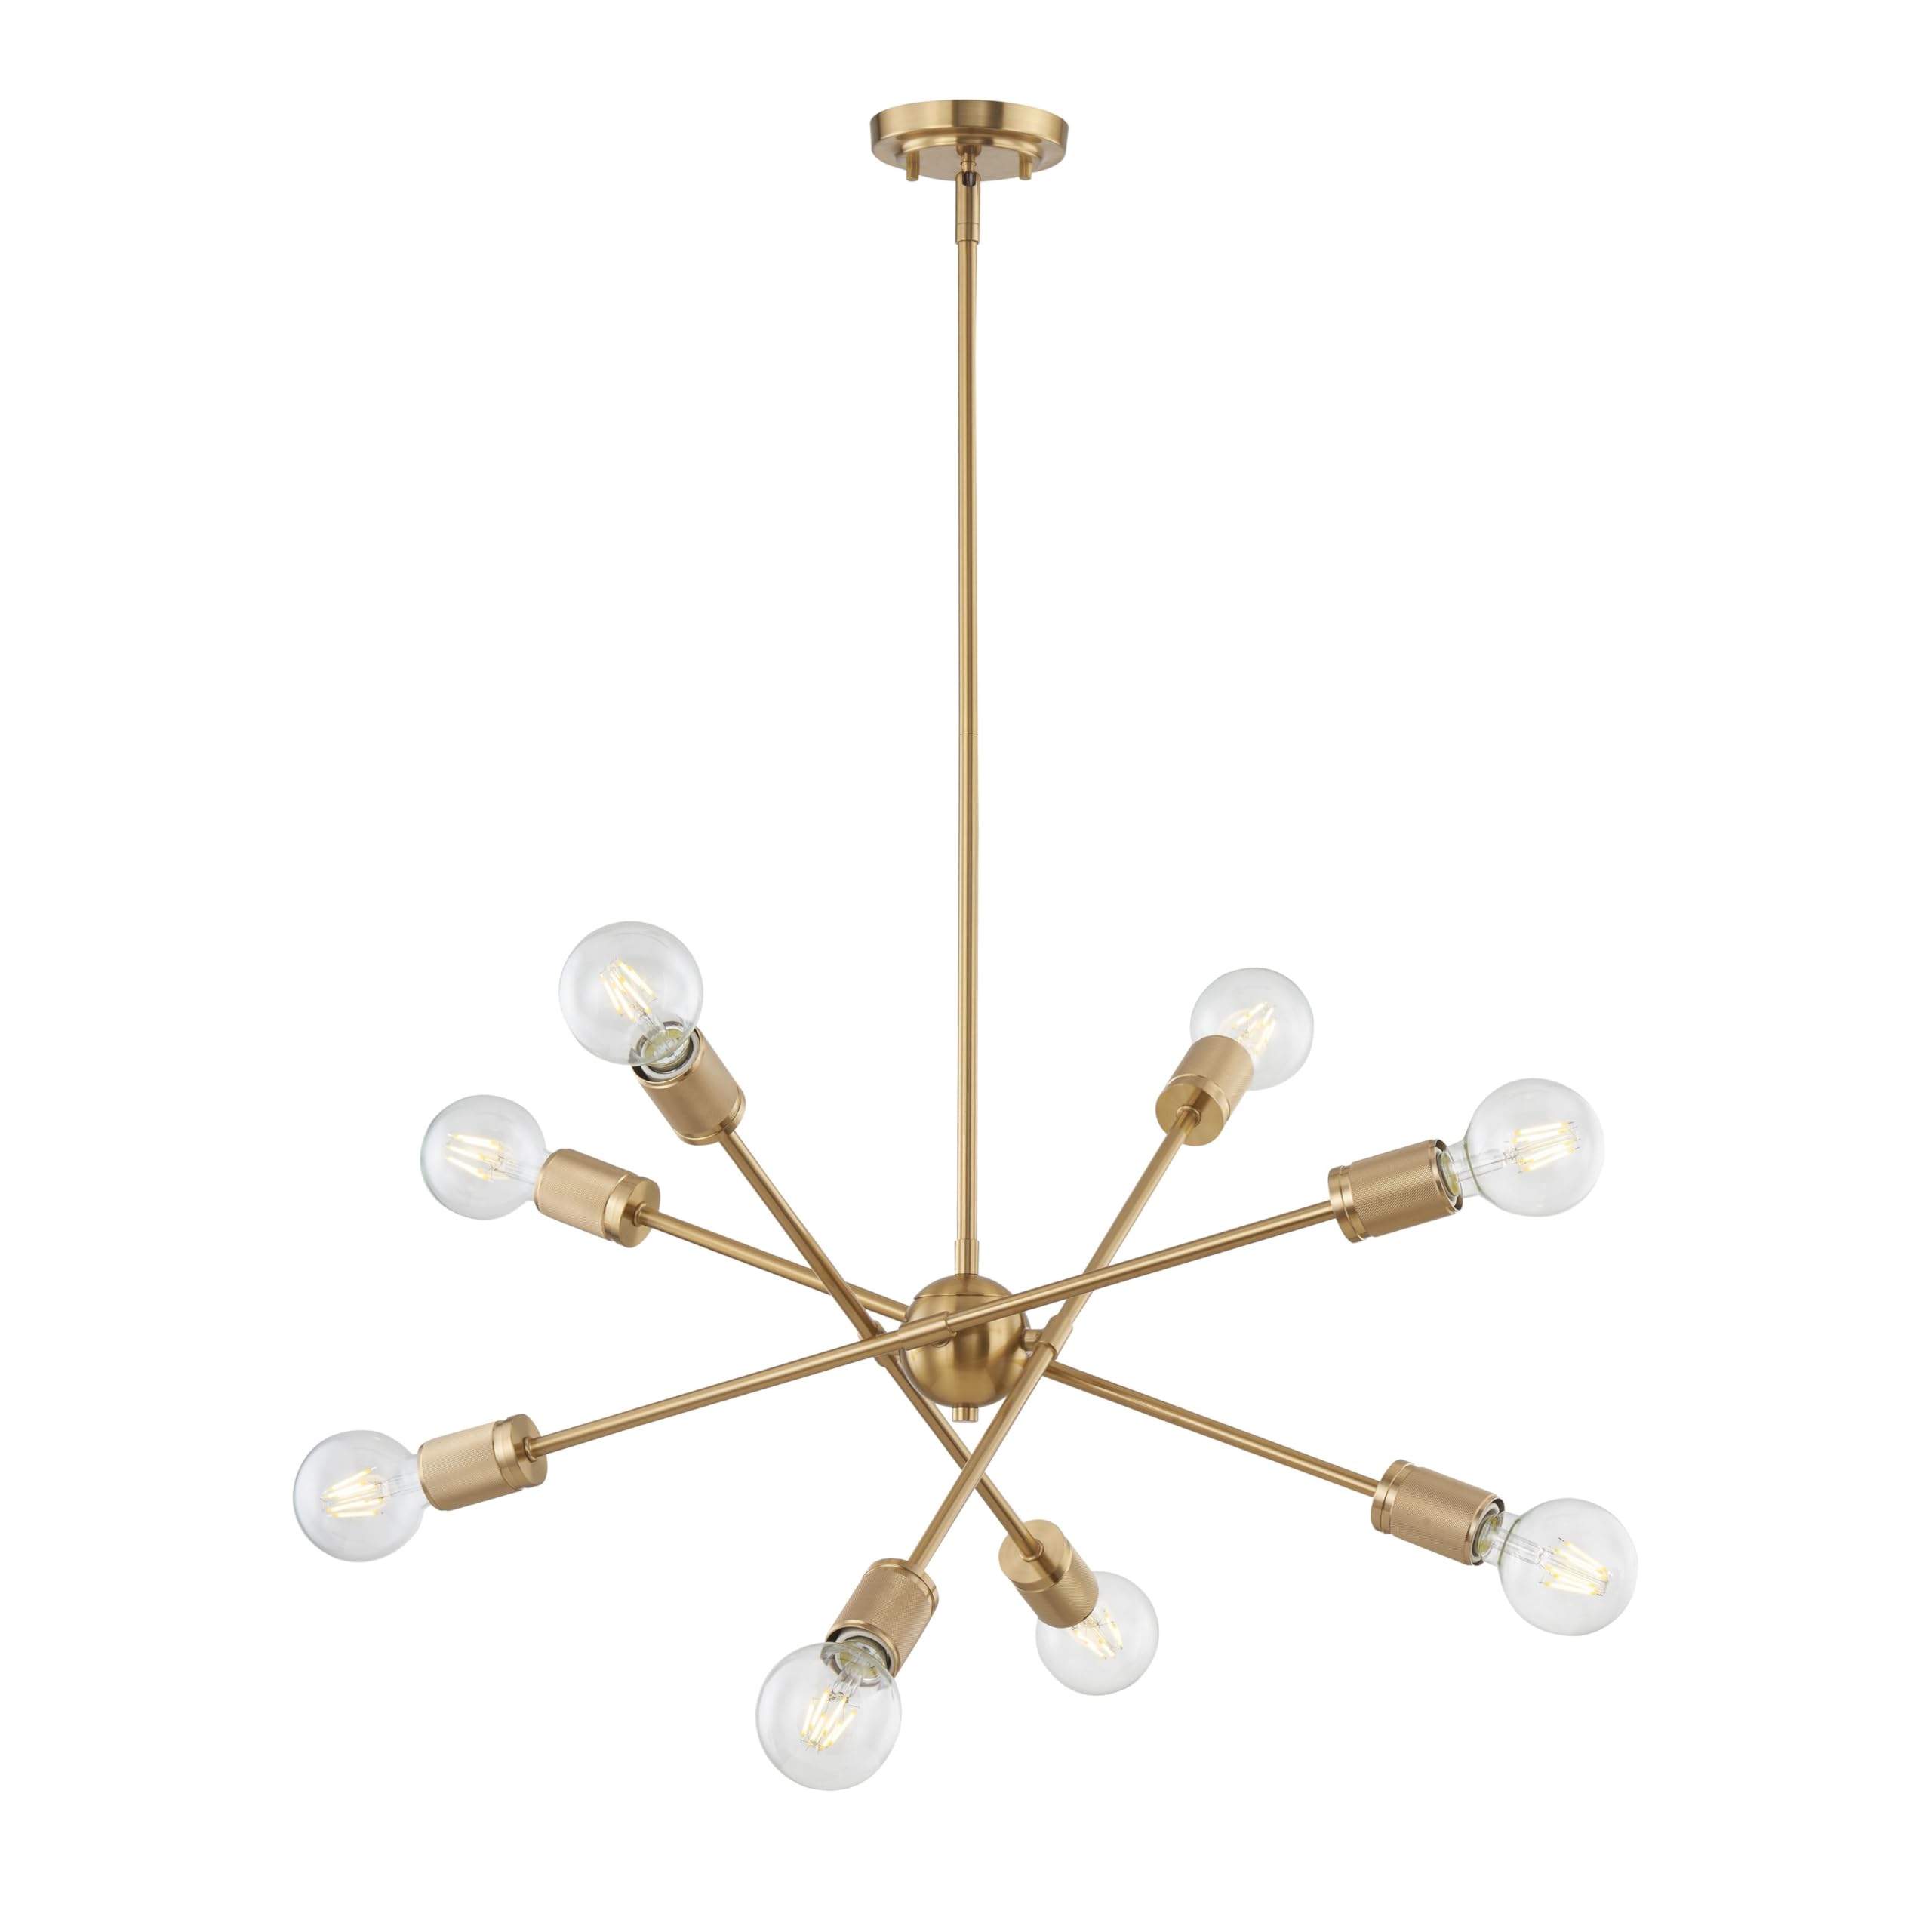
Image: The Elk Home Module 8-Light Chandelier, showcasing its burnished brass finish and eight light sources.
Safety Information
WARNING: Risk of Electric Shock. Disconnect power at the fuse box or circuit breaker before installation or servicing.
- This product must be installed in accordance with the applicable installation code by a person familiar with the construction and operation of the product and the hazards involved.
- Always use wire connectors rated for the correct gauge and number of wires.
- Consult a qualified electrician if you are unsure about the installation process.
- Small parts - choking hazard. Keep all small components and packaging materials away from children.
- Do not exceed the maximum wattage specified for the bulbs.
Package Contents
Carefully unpack your chandelier and inspect for any damage. Ensure all parts are present before discarding packaging materials.
Included Components:
- Chandelier Fixture (Model 47369/8)
- Mounting Hardware (Canopy, mounting plate, screws, wire nuts)
- Adjustable Rods/Stems for height adjustment
Items Required (Not Included):
- Eight (8) A19 Medium Base (E26) Bulbs, 60 Watt Max per bulb
- Basic electrical tools (wire strippers, screwdriver, pliers)
- Ladder (for ceiling installation)
Setup and Installation
This chandelier requires hardwired installation. It is recommended that installation be performed by a qualified electrician.
- Turn Off Power: Before starting, ensure the power supply to the junction box is turned off at the circuit breaker or fuse box.
- Prepare Mounting: Attach the mounting plate to the junction box in the ceiling using the provided screws. Ensure it is securely fastened.
- Assemble Chandelier Arms: The chandelier arms may need to be rotated or secured into their final positions. Refer to the product image for the intended orientation.
- Adjust Height: Determine the desired hanging height. The chandelier features adjustable rods/stems. Connect the appropriate number of rods to the fixture and the canopy.
- Wire Connections: Carefully connect the chandelier's wires to the household electrical wires according to standard electrical codes (typically black to black, white to white, and ground to ground). Use the provided wire nuts and ensure all connections are secure.
- Secure Canopy: Tuck the wires into the junction box and push the canopy up against the ceiling. Secure the canopy to the mounting plate using the provided screws or decorative nuts.
- Install Bulbs: Screw eight (8) A19 Medium Base (E26) bulbs (not included) into the sockets. Do not exceed 60 watts per bulb. LED bulbs are compatible.
- Restore Power: Once installation is complete, restore power at the circuit breaker and test the fixture.
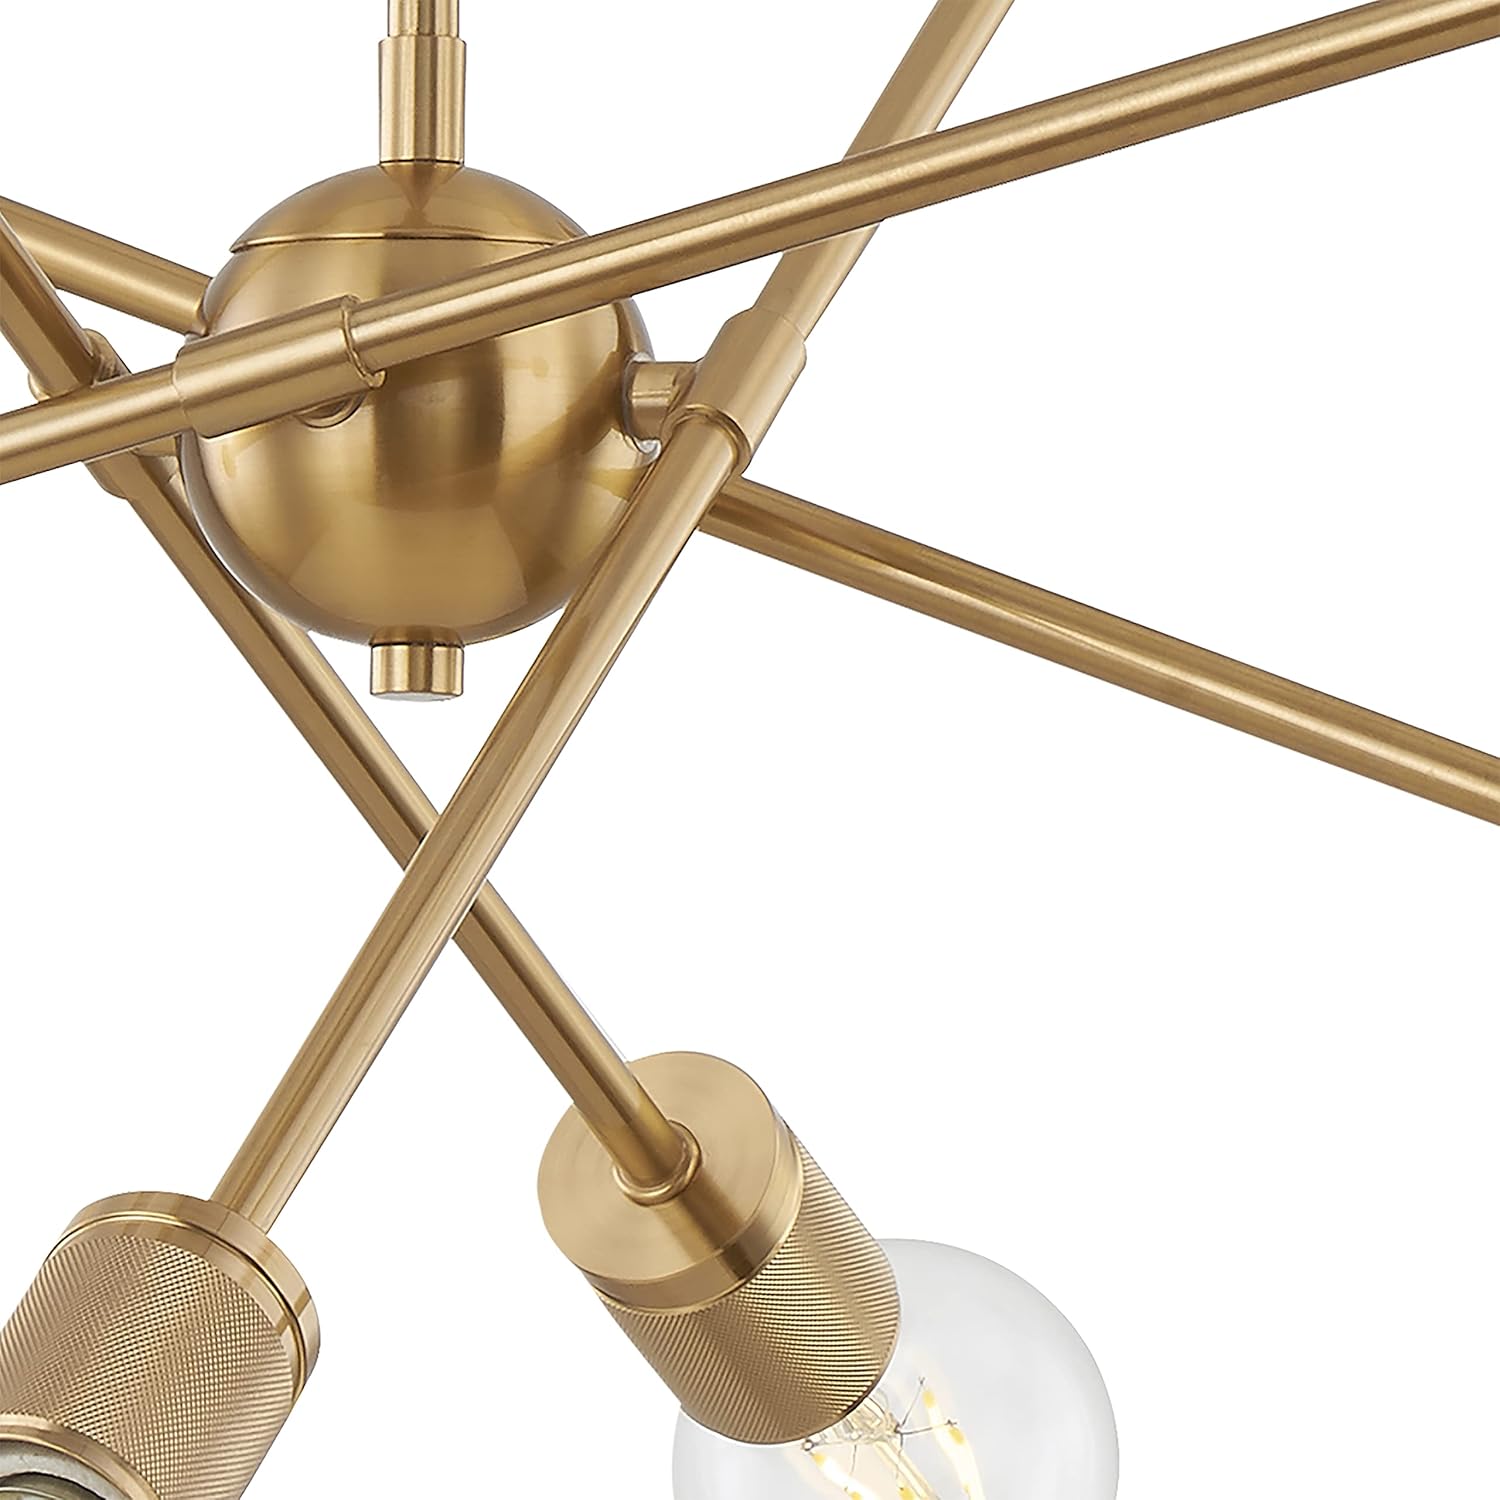
Image: Detail of the chandelier's central hub where arms connect.

Image: Detail of a bulb socket on the chandelier.
Operating Instructions
The Elk Home Module Chandelier is designed for simple operation via a standard wall switch. Ensure compatible bulbs are installed for optimal performance.
- Power On/Off: Use your existing wall switch to turn the chandelier on or off.
- Bulb Requirements: This fixture uses eight (8) A19 Medium Base (E26) bulbs, up to 60 watts each. For energy efficiency and longevity, LED bulbs are recommended.
- Dimming: If connected to a compatible dimmer switch and using dimmable bulbs, the light output can be adjusted. Ensure both the dimmer switch and bulbs are rated for dimming.
Maintenance
Regular maintenance will help preserve the appearance and functionality of your chandelier.
- Cleaning: To clean the fixture, ensure power is off. Wipe with a soft, dry cloth. Do not use abrasive cleaners, solvents, or polishes as they may damage the finish.
- Bulb Replacement: Always turn off power before replacing bulbs. Allow bulbs to cool completely before touching. Replace with the specified bulb type (A19 Medium Base E26, 60W Max).
- Inspection: Periodically check all connections and mounting hardware to ensure they remain secure.
Troubleshooting
| Problem | Possible Cause | Solution |
|---|---|---|
| Fixture does not light up | No power to fixture; Loose wiring; Faulty bulb; Circuit breaker tripped | Check power supply; Verify wire connections; Replace bulb; Reset circuit breaker |
| Inconsistent bulb brightness/color | Incompatible dimmer switch; Faulty bulbs; Wiring issue | Ensure dimmer is compatible with bulbs (especially LED); Try different bulbs; Consult an electrician to check wiring |
| Flickering lights | Loose bulb; Incompatible dimmer; Voltage fluctuations | Tighten bulbs; Ensure dimmer compatibility; Consult an electrician |
Product Specifications
- Model Name: Module Chandelier
- Model Number: 47369/8
- Brand: Elk Home
- Product Dimensions: 22"L x 22"W x 18"H
- Item Weight: 5 Pounds
- Finish: Burnished Brass (Painted)
- Material: Steel, Alloy Steel
- Number of Light Sources: 8
- Bulb Base: E26 Medium
- Max Wattage per Bulb: 60 watts
- Voltage: 120 Volts
- Power Source: Hardwire Electric
- Installation Type: Built-In
- Special Features: Adjustable Height, Corded, LED bulb compatible
- Indoor/Outdoor Usage: Indoor
- Assembly Required: Yes
Warranty and Support
Warranty Information:
This Elk Home Module 8-Light Chandelier comes with a 1-year limited warranty from the date of purchase. This warranty covers defects in materials and workmanship under normal use. It does not cover damage resulting from improper installation, accident, misuse, abuse, or normal wear and tear.
Customer Support:
For technical assistance, replacement parts, or warranty claims, please contact Elk Home customer service. You can find contact information on the official Elk Home website or through your retailer.
Please have your model number (47369/8) and proof of purchase ready when contacting support.


