
Introduction
The Progress EK2783P Electric Egg Cooker is designed to simplify the process of cooking eggs to your preferred consistency, whether soft, medium, or hard-boiled, or poached. This 430W appliance can cook up to 6 eggs at once and includes accessories for versatile egg preparation. Please read this manual thoroughly before first use and retain it for future reference.
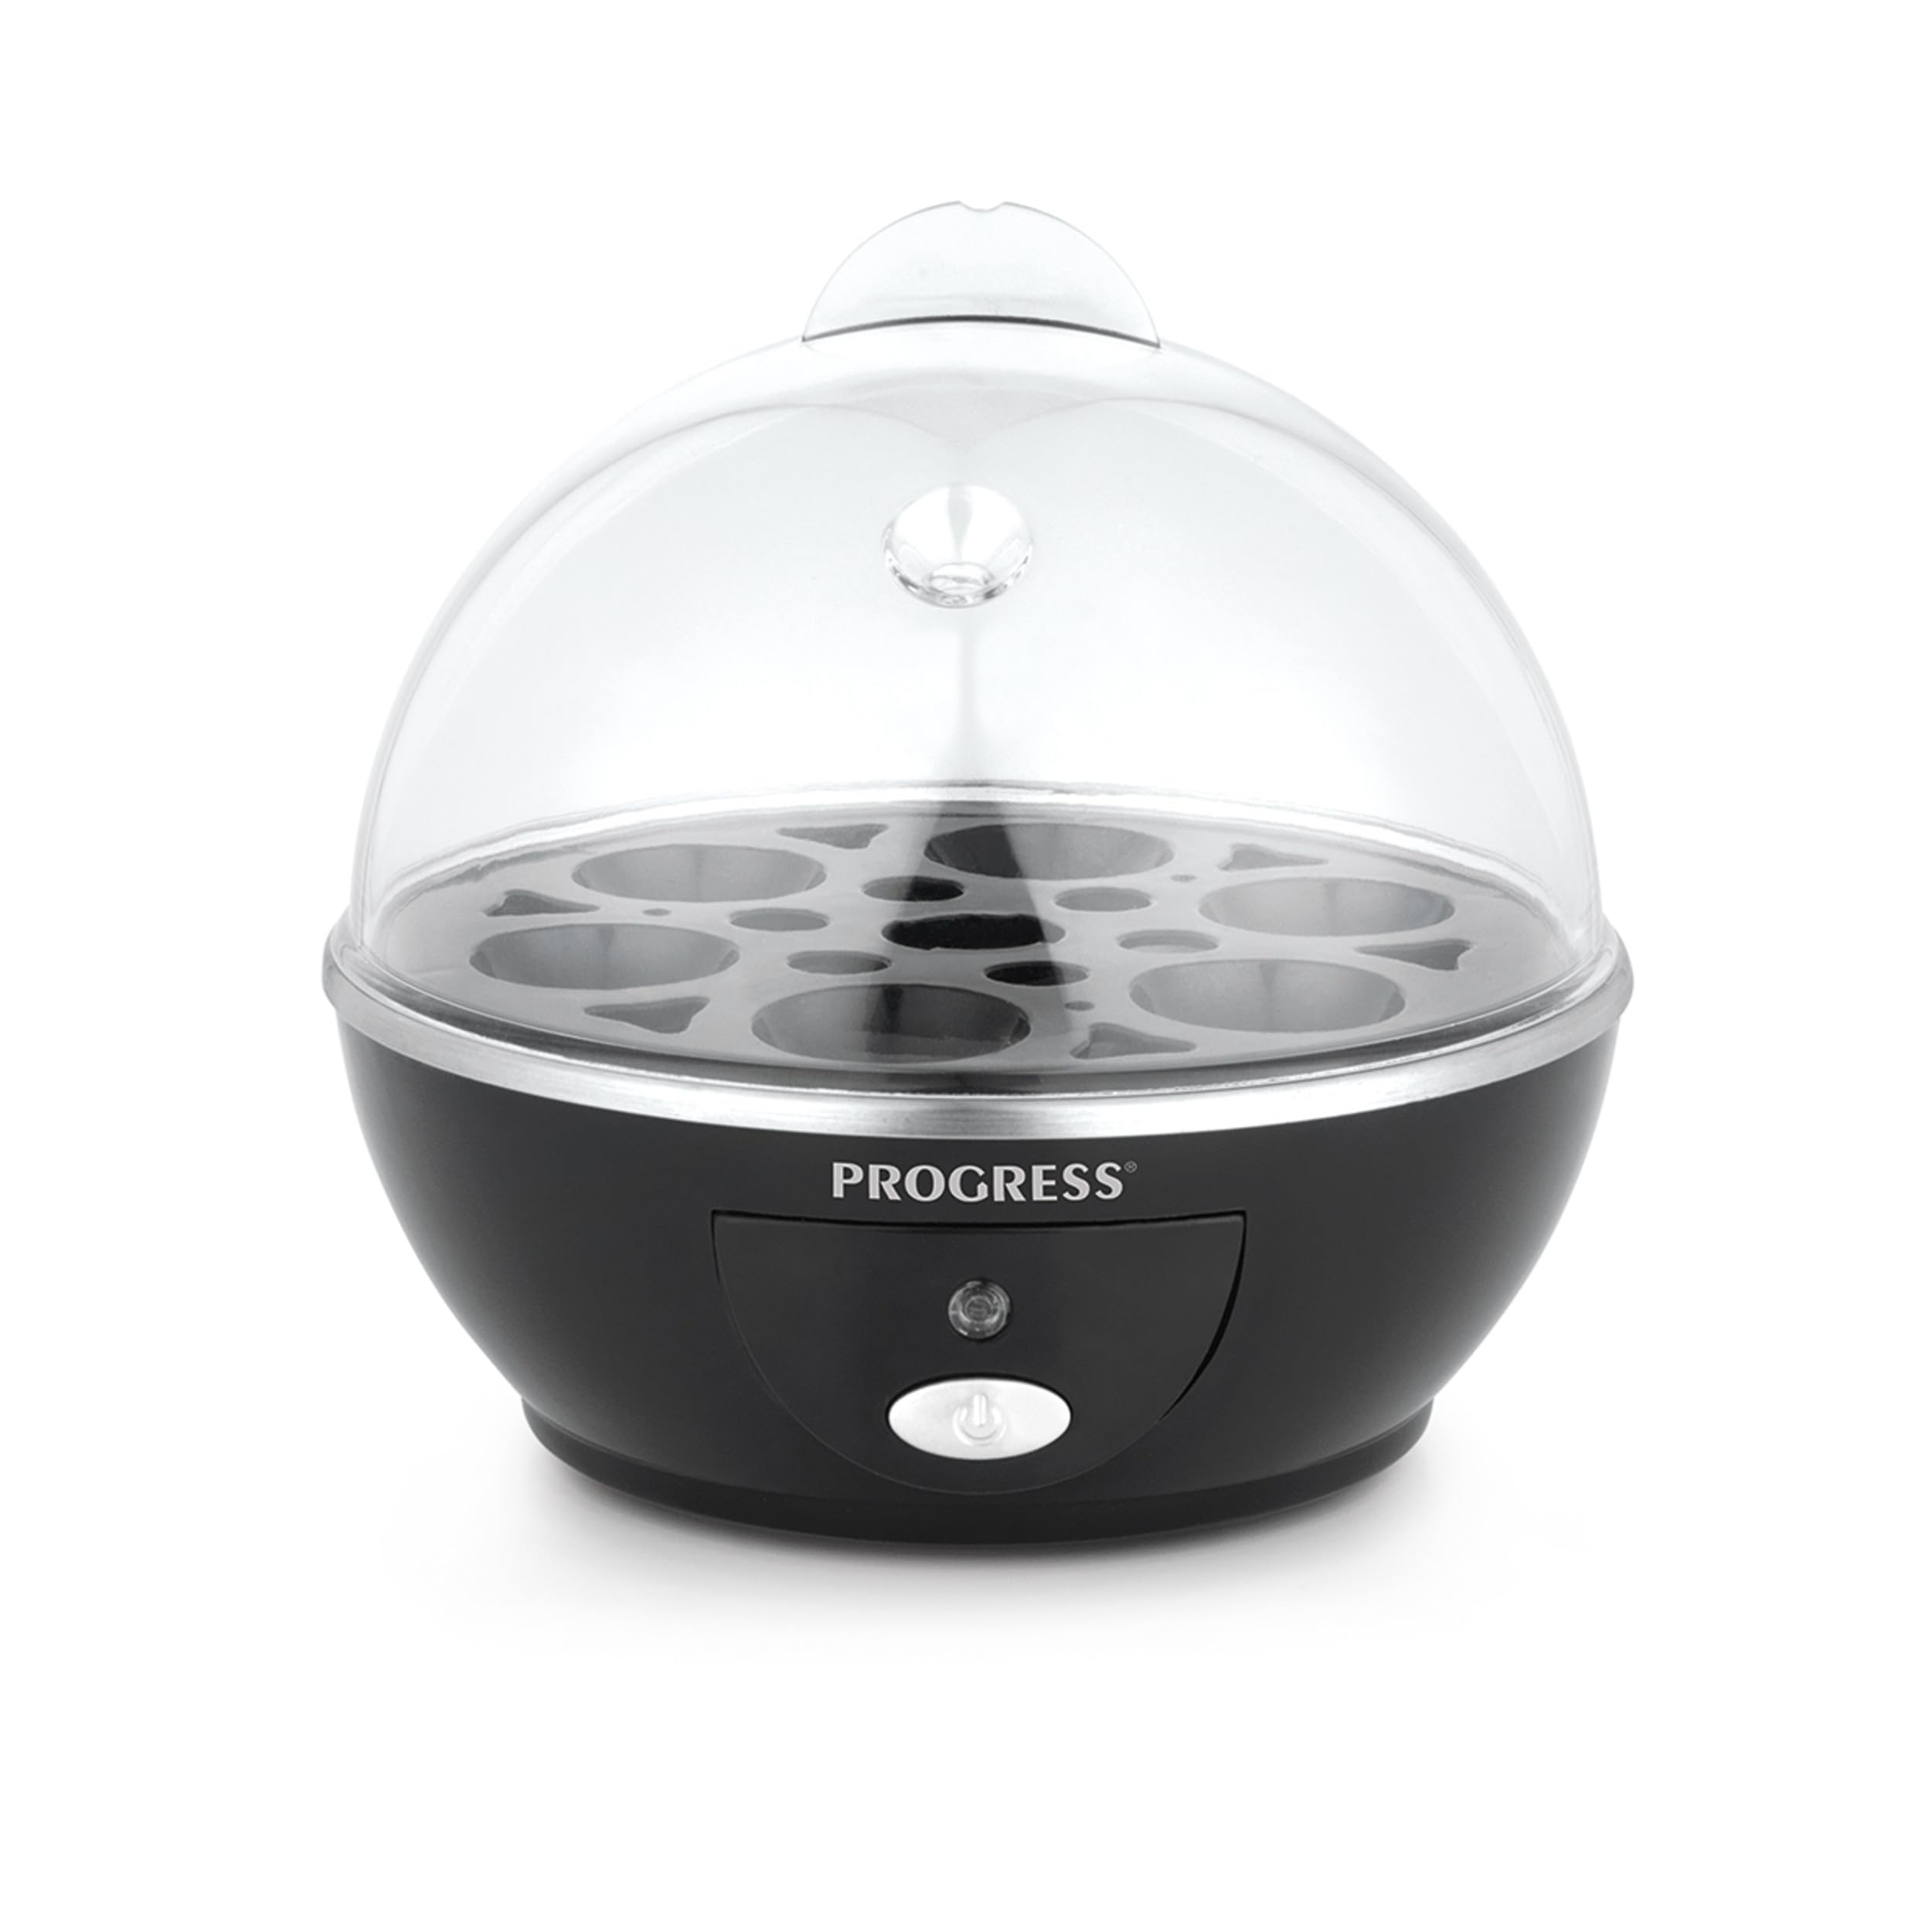
Image: The Progress EK2783P Electric Egg Cooker shown with various cooked eggs and toast, demonstrating its versatility.
Important Safety Instructions
When using electrical appliances, basic safety precautions should always be followed to reduce the risk of fire, electric shock, and injury to persons. These include:
- Read all instructions carefully before operating the appliance.
- Do not immerse the base unit, power cord, or plug in water or any other liquid.
- This appliance is not intended for use by persons (including children) with reduced physical, sensory or mental capabilities, or lack of experience and knowledge, unless they have been given supervision or instruction concerning use of the appliance by a person responsible for their safety.
- Always unplug the appliance from the power outlet when not in use and before cleaning. Allow to cool before putting on or taking off parts, and before cleaning the appliance.
- Do not operate any appliance with a damaged cord or plug, or after the appliance malfunctions or has been damaged in any manner.
- Use the appliance on a stable, heat-resistant surface.
- Exercise extreme caution when moving an appliance containing hot oil or other hot liquids.
- Avoid contact with hot surfaces. Use handles or knobs. Hot steam is released during operation; keep hands and face clear.
- Do not use the appliance for anything other than its intended use.
Product Components
Familiarize yourself with the parts of your Progress EK2783P Electric Egg Cooker:
- Base Unit: Contains the heating plate and power switch.
- Heating Plate: Where water is added for steaming.
- Egg Tray: Holds up to 6 eggs for boiling.
- Poaching Trays (2): For poaching individual eggs.
- Transparent Lid: Covers the cooking area, allowing steam to build.
- Measuring Cup with Egg Piercer: Used to measure water and pierce eggs.

Image: All components of the egg cooker laid out, including the base, lid, egg tray, poaching trays, and measuring cup.
Setup and First Use
- Unpack: Carefully remove all components from the packaging.
- Clean: Before first use, wash the egg tray, poaching trays, transparent lid, and measuring cup in warm, soapy water. Rinse thoroughly and dry. Wipe the heating plate and exterior of the base unit with a damp cloth. Do not immerse the base unit in water.
- Placement: Place the egg cooker on a stable, flat, and heat-resistant surface, away from walls or cabinets to allow for steam ventilation.
Operating Instructions
A. Boiling Eggs (Soft, Medium, Hard)
- Add Water: Use the provided measuring cup to add the desired amount of water to the heating plate. The measuring cup has markings for soft, medium, and hard-boiled eggs, corresponding to the number of eggs (1-7).
- Pierce Eggs: Using the egg piercer located at the bottom of the measuring cup, gently pierce the larger end of each egg. This prevents cracking during cooking.
- Place Eggs: Place the egg tray onto the base unit. Arrange the pierced eggs on the egg tray with the pierced end facing upwards. The cooker can hold up to 6 eggs.
- Cover: Place the transparent lid over the egg tray and base unit.
- Cook: Plug the appliance into a suitable power outlet. Press the power switch to turn on the egg cooker. The indicator light will illuminate.
- Automatic Shut-off: The egg cooker will automatically turn off when all the water has evaporated, and the indicator light will switch off.
- Serve: Carefully remove the lid (beware of hot steam) and the egg tray. Rinse the eggs under cold water to stop the cooking process and make them easier to peel.

Image: Raw eggs positioned in the egg tray of the cooker, ready for boiling.

Image: Close-up of the measuring cup, showing the water level markings for different egg consistencies and the integrated egg piercer.
B. Poaching Eggs
- Add Water: Add approximately 60ml of water to the heating plate using the measuring cup.
- Prepare Poaching Trays: Lightly grease the inside of the two poaching trays with a small amount of butter or cooking oil to prevent sticking.
- Break Eggs: Carefully break one egg into each poaching tray.
- Place Trays: Place the poaching trays onto the egg tray, then place the assembled egg tray onto the base unit.
- Cover: Place the transparent lid over the unit.
- Cook: Plug in the appliance and press the power switch. The indicator light will turn on.
- Automatic Shut-off: The cooker will automatically turn off when the water has evaporated.
- Serve: Carefully remove the lid and then the poaching trays (use oven mitts or a cloth as they will be hot). Gently slide the poached eggs onto your plate.

Image: Freshly poached eggs served on toast, prepared with the egg cooker.

Image: A hand carefully lifting a poaching tray with a perfectly cooked poached egg from the appliance.
Cleaning and Maintenance
Regular cleaning ensures optimal performance and extends the life of your egg cooker.
- Unplug and Cool: Always unplug the appliance from the power outlet and allow it to cool completely before cleaning.
- Wash Removable Parts: The egg tray, poaching trays, transparent lid, and measuring cup can be washed in warm, soapy water. Rinse thoroughly and dry completely. These parts are generally not dishwasher safe unless specified otherwise in product packaging.
- Clean Base Unit: Wipe the heating plate and the exterior of the base unit with a soft, damp cloth. Do not use abrasive cleaners, scouring pads, or harsh chemicals, as these can damage the surfaces.
- Descaling: Over time, mineral deposits may accumulate on the heating plate. To descale, add a mixture of water and white vinegar (1:1 ratio) to the heating plate and let it sit for 15-30 minutes. Gently scrub with a non-abrasive sponge if necessary, then rinse and wipe clean. Do not turn on the appliance with the vinegar solution.
- Storage: Store the clean and dry appliance in a cool, dry place.

Image: A person cleaning the removable egg tray under running water with a sponge.
Troubleshooting
| Problem | Possible Cause | Solution |
|---|---|---|
| Appliance does not turn on. | No power supply. | Check if the appliance is properly plugged into a working power outlet. Ensure the power switch is pressed. |
| Eggs are not cooked to desired consistency (too soft/too hard). | Incorrect water level. | Refer to the measuring cup markings and adjust the water amount for your desired egg consistency. Less water for softer, more water for harder. |
| Eggs crack during cooking. | Eggs not pierced or pierced incorrectly. | Always pierce the larger end of each egg with the provided egg piercer before cooking. |
| White residue on heating plate. | Mineral deposits from water. | Descale the heating plate as described in the Cleaning and Maintenance section. |
Specifications
- Brand: PROGRESS
- Model Number: EK2783P
- Power: 430W
- Dimensions (L x W x H): 15.7 x 15.7 x 15.1 cm
- Weight: 730 g
- Capacity: Up to 6 eggs
- Automatic Shut-off: Yes
Warranty and Support
This product comes with a standard manufacturer's warranty. For specific warranty details, please refer to the warranty card included with your purchase or contact the retailer. If you encounter any issues or require technical support, please contact Progress customer service through their official website or the contact information provided in your product packaging.
