
1. Introduction
Thank you for choosing the SAMCOM FPCN30A 5W Two-Way Radio. This manual provides essential information for the safe and efficient operation of your new device. Please read it thoroughly before use and retain it for future reference.
What's in the Box
- Two Way Radio x 6
- Long Antenna (6.7 inches) x 6
- K-Type Earpiece x 6
- Charging Base x 6
- Charger x 6
- Back Clip x 6
- Working Manual x 6
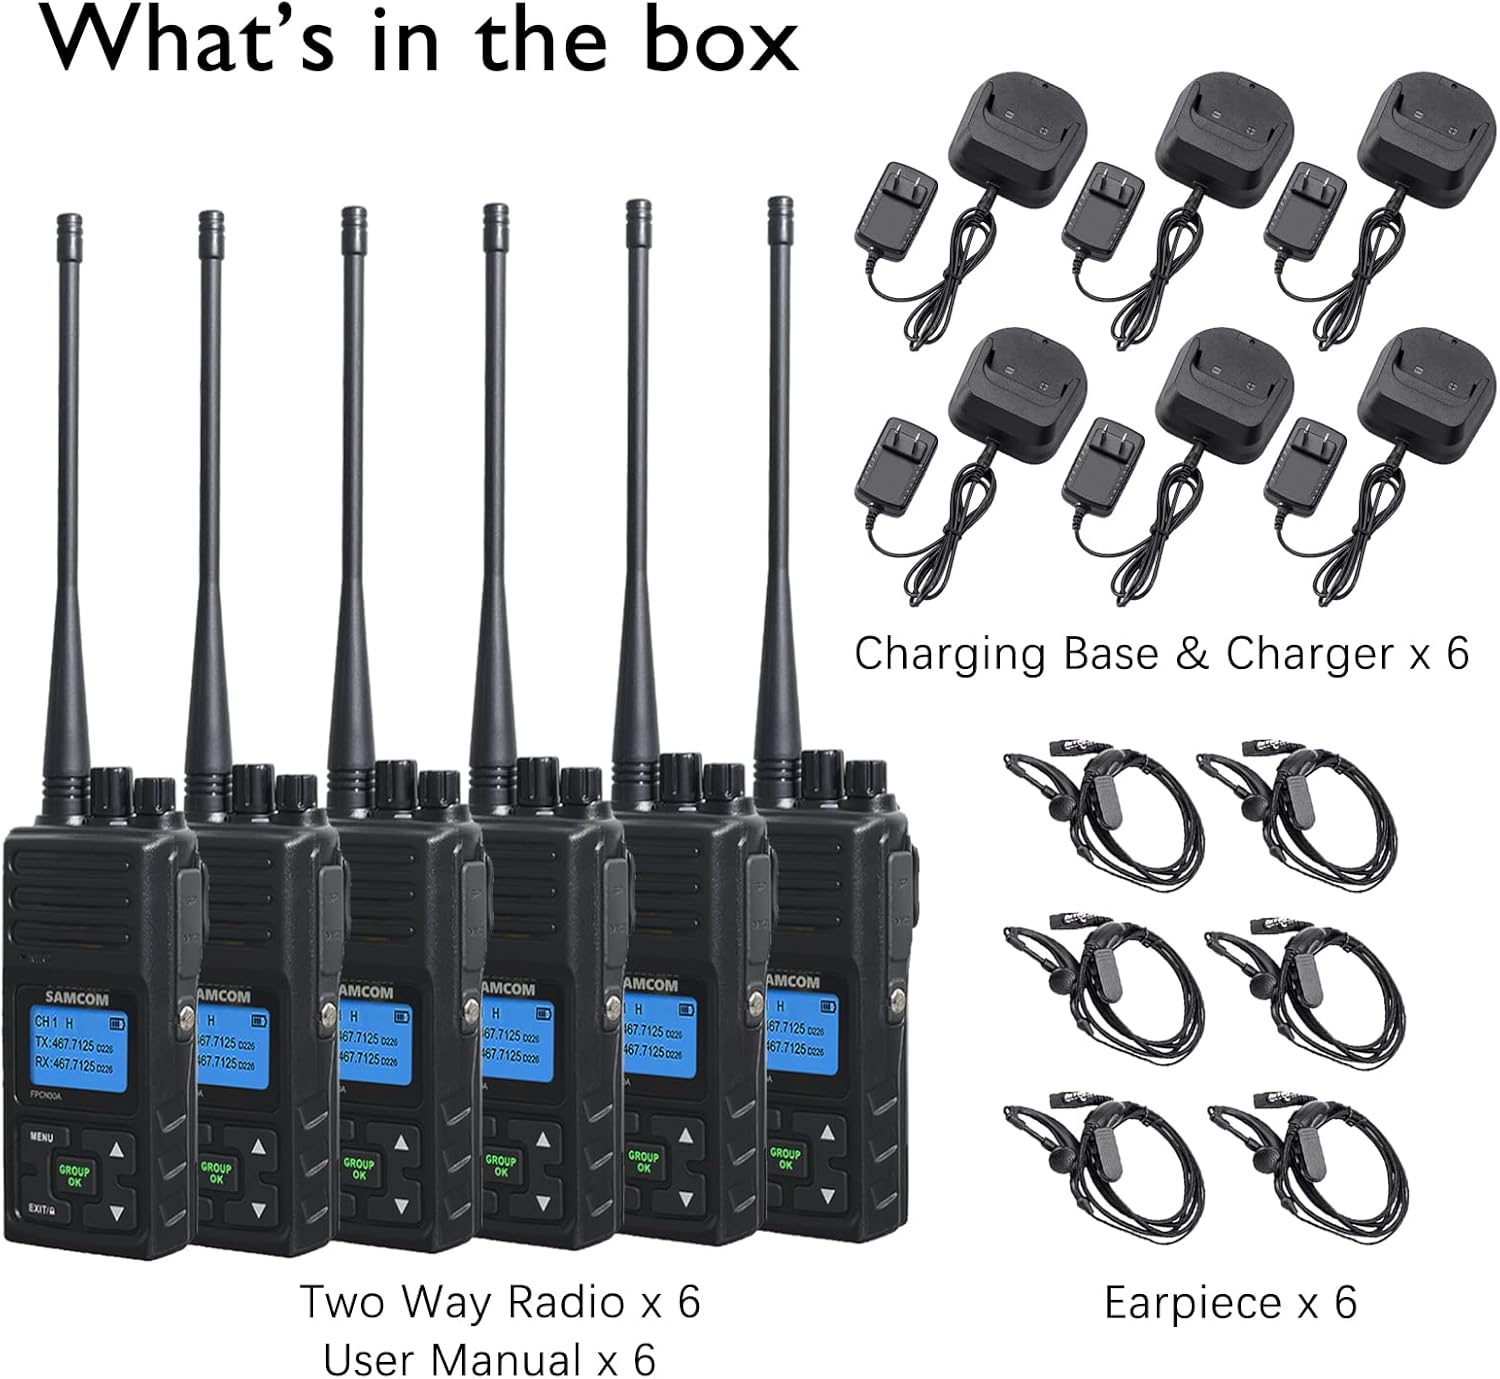
Figure 1: Package Contents of the SAMCOM FPCN30A Two-Way Radio.
2. Product Overview
The SAMCOM FPCN30A is a robust 5W two-way radio designed for reliable long-range communication. It features a durable build, an LCD backlight screen for visibility in any environment, and intuitive controls for ease of use. Key components include the antenna, power/volume switch, channel selection knob, speaker, microphone, PTT button, and various function keys.

Figure 2: Labeled Diagram of the SAMCOM FPCN30A Two-Way Radio.
3. Setup
3.1 Battery Installation and Charging
The radio comes with a 1500mAh rechargeable Lithium Polymer battery. To install or remove the battery, press the two battery release buttons on the sides of the radio and slide the battery pack. Place the radio into the charging base. The indicator light on the charging base will be red when charging and green when fully charged.
3.2 Antenna Attachment
Screw the long antenna clockwise onto the antenna connector at the top of the radio until it is firmly seated. Do not overtighten.
3.3 Accessory Connection (Earpiece/Speaker Mic)
To connect an earpiece or speaker microphone, open the rubber cover on the side of the radio and insert the accessory's dual-pin plug firmly into the ports. Ensure the connection is secure to maintain clear audio.
Video 1: Demonstrating the accessories included with the SAMCOM Two Way Radio and how to connect them.
Video 2: Overview of the SAMCOM Speaker Mic with Reinforced Cable and its connection to the walkie talkie.
4. Operating Instructions
4.1 Power On/Off and Volume Control
Turn the Power/Volume switch (leftmost knob on top) clockwise to power on the radio. Continue turning clockwise to increase the volume. Turn counter-clockwise to decrease volume and power off.
4.2 Channel Selection
Rotate the Channel Selection Knob (middle knob on top) to choose from the available 20 channels. The selected channel will be displayed on the LCD screen.
4.3 Push-to-Talk (PTT) Function
To transmit, press and hold the large PTT button on the side of the radio. Speak clearly into the microphone. Release the PTT button to receive. The status indicator light will turn red during transmission.

Figure 3: Using the PTT button for communication.
4.4 Group Talk Function
The GROUP PTT feature allows for one-key group calling across different channels, ideal for announcements or emergency contact. Press the 'GROUP OK' button to activate this function and communicate with all radios in your pre-set group, regardless of their current channel.

Figure 4: The 'GROUP OK' button for initiating group communication.
4.5 Scan Function
Press the 'SCAN' button (bottom button on the side) to activate channel scanning. The radio will cycle through channels and stop on any active transmission. Press again to stop scanning.
4.6 Monitor Function
Press and hold the 'MONITOR' button (middle button on the side) to temporarily disable squelch and listen for weak signals or activity on the current channel.
4.7 VOX (Voice Operated Exchange)
VOX allows hands-free transmission by detecting your voice. To enable/disable or adjust VOX sensitivity, navigate through the menu using the 'MENU' button and arrow keys. Higher sensitivity levels allow for quieter voice activation.
4.8 Squelch Level Adjustment
Squelch filters out weak signals and background noise. Adjust the squelch level via the menu. A lower squelch level allows reception of weaker signals but may increase background noise.
4.9 Scrambler Function
The scrambler function encrypts your voice transmission, preventing unauthorized listeners from understanding your conversation. Activate or deactivate this feature through the radio's menu.
4.10 High/Low Power Selection
The radio offers both high and low power modes. High power provides stronger penetration and longer range, while low power conserves battery life. Select the desired power mode through the menu or by holding the appropriate arrow key.
Video 3: A detailed introduction to the various functions and features of the SAMCOM Two-Way Radio.
5. Range and Performance
The SAMCOM FPCN30A offers strong 5W penetration, providing communication ranges of 1-2 miles in obstructed areas, 3-5 miles in partially obstructed areas, and 5-15 miles in open, unobstructed environments. The long antenna significantly contributes to its effective range.

Figure 5: Effective communication range in various environments.
The dual power modes allow you to optimize performance based on your needs. Use high power for maximum penetration in challenging terrains or urban settings, and switch to low power to extend battery life when shorter ranges are sufficient.
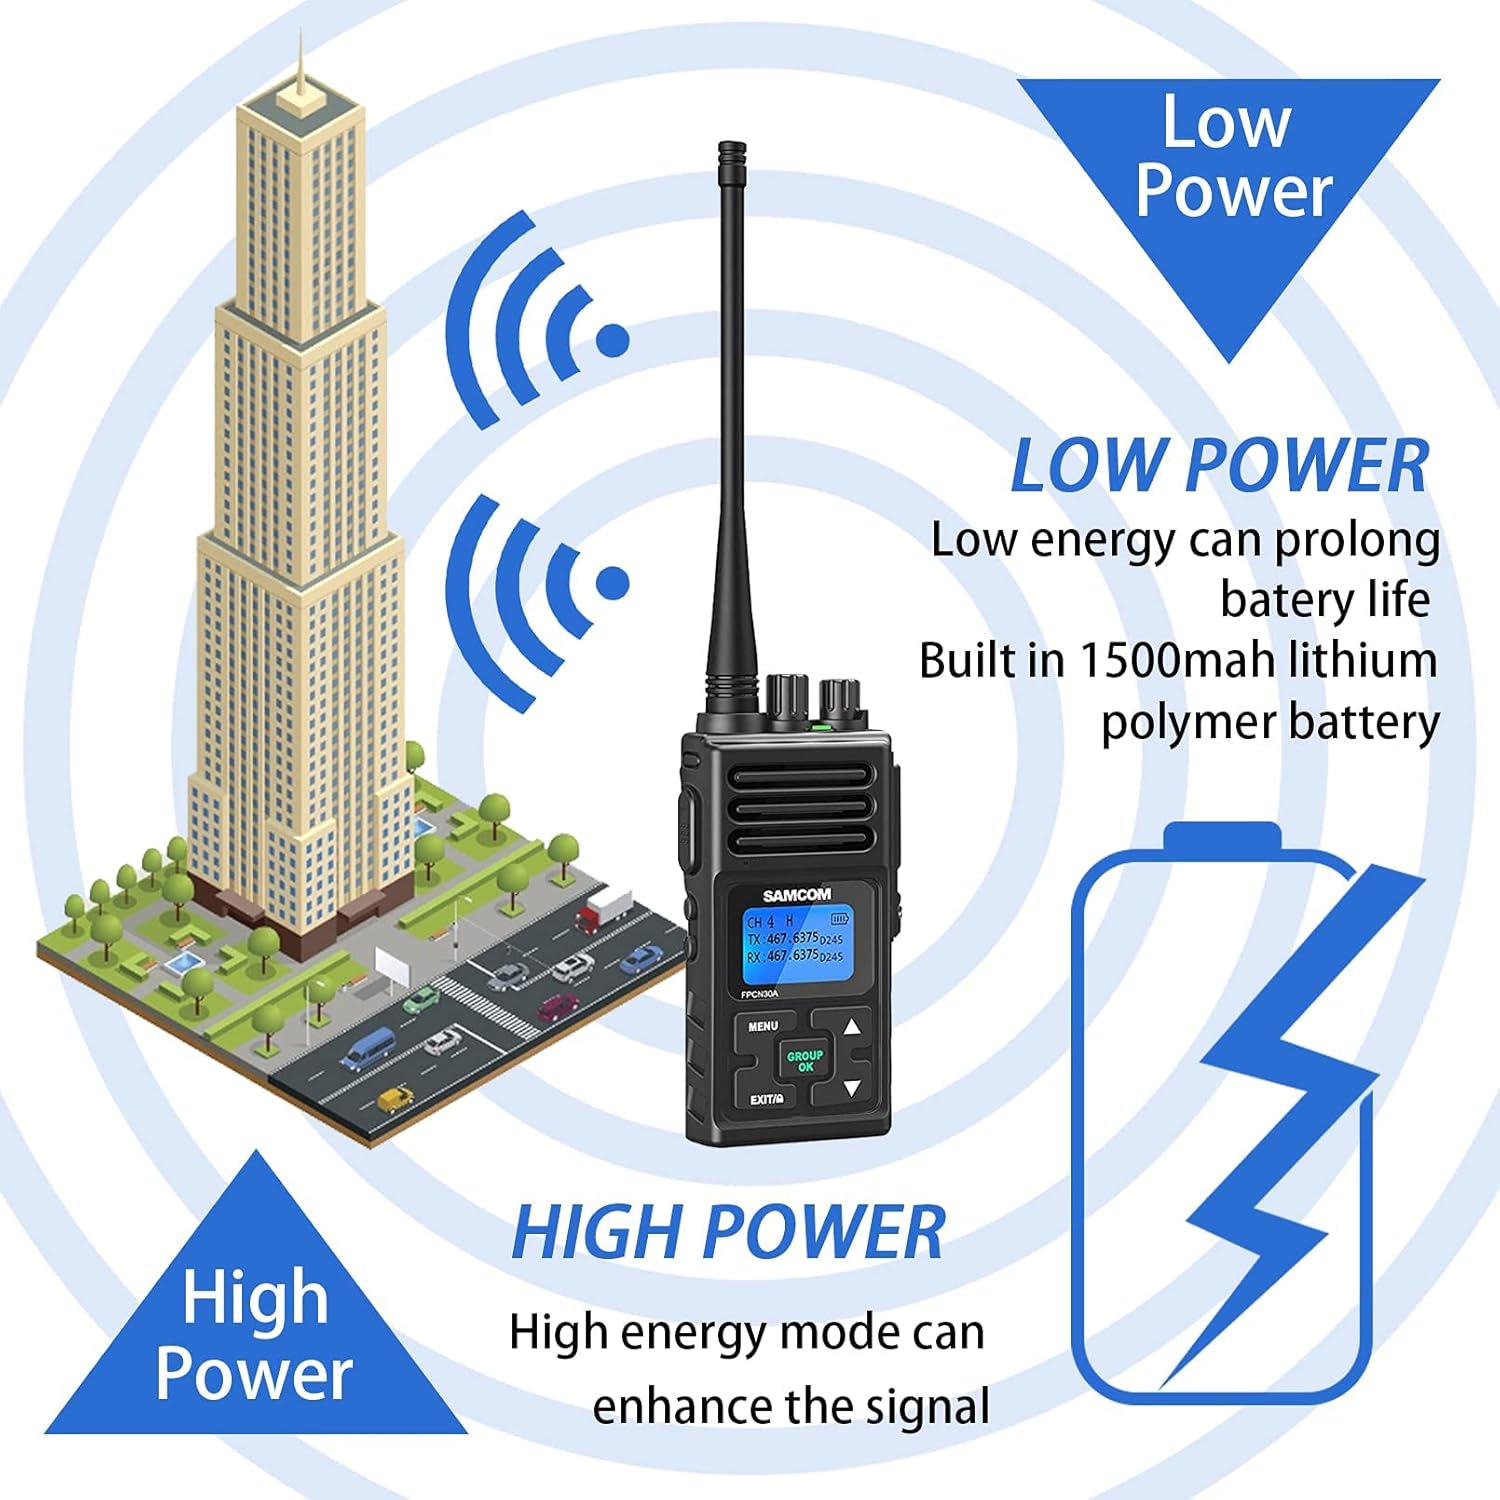
Figure 6: High and Low Power Modes for optimized performance.
6. Specifications
| Feature | Value |
|---|---|
| Item Weight | 6.47 pounds |
| Product Dimensions | 2 x 2 x 11 inches |
| Item Model Number | FPCN30AA |
| Batteries | 6 Lithium Polymer batteries required (included) |
| Display Type | LCD |
| Number of Channels | 20 |
| Special Feature | Rechargeable, Group PTT, High Power, VOX, Dual PTT |
| Frequency Range | UHF 406.1-470MHz |
| Talking Range Maximum | 5 Miles |
| Voltage | 7 Volts |
| Water Resistance Level | Not Water Resistant |
7. Troubleshooting
If you encounter issues with your SAMCOM FPCN30A radio, please refer to the following common problems and solutions:
- No Power: Ensure the battery is fully charged and correctly installed. Check the power/volume knob is turned on.
- Cannot Transmit or Receive: Verify that all radios are on the same channel and privacy codes (CDCSS) are correctly set. Check antenna connection. Ensure the PTT button is fully pressed when transmitting.
- Poor Audio Quality: Adjust the volume and squelch levels. Ensure the microphone is not obstructed. Check for interference from other electronic devices.
- Limited Range: Switch to high power mode. Ensure there are no major obstructions (buildings, dense foliage) between radios. Optimal range is achieved in open areas.
- Interference: Change to a different channel or adjust privacy codes.
8. Maintenance
Proper maintenance ensures the longevity and optimal performance of your two-way radio:
- Cleaning: Use a soft, damp cloth to clean the radio's exterior. Do not use harsh chemicals or abrasive cleaners.
- Battery Care: Fully charge batteries before first use. Avoid overcharging or completely draining the battery frequently. Store batteries in a cool, dry place when not in use.
- Storage: Store the radio in a dry, dust-free environment away from extreme temperatures. Remove batteries if storing for extended periods.
- Antenna: Handle the antenna with care to prevent damage. Do not bend or twist it excessively.
9. Warranty and Support
SAMCOM offers a lifetime warranty service for this product. For any repair or replacement needs, please contact customer support via email. This device is FCC Part 90 certified (FCC ID: 2AIOQ-FPCN30AA) for professional use in the 406.1-470 MHz band. Operation requires an appropriate license.
For additional support or to explore other SAMCOM products, please visit the SAMCOM Store.


