1. Introduction
This manual provides detailed instructions for the proper installation, operation, and maintenance of your Xprinter XP-N160II thermal receipt printer. Please read this manual thoroughly before using the printer to ensure optimal performance and to prevent damage.
2. Product Overview
2.1 Key Features
- Brand: Xprinter
- Color: Black
- Printer Type: Receipt Thermal Printer
- Model Number: N160
- Connectivity Technology: USB
- Printer Output: Monochrome
- Print Media: Labels
- Maximum Black and White Print Resolution: 203 dpi
2.2 Printer Components
Familiarize yourself with the various parts of your Xprinter XP-N160II printer:
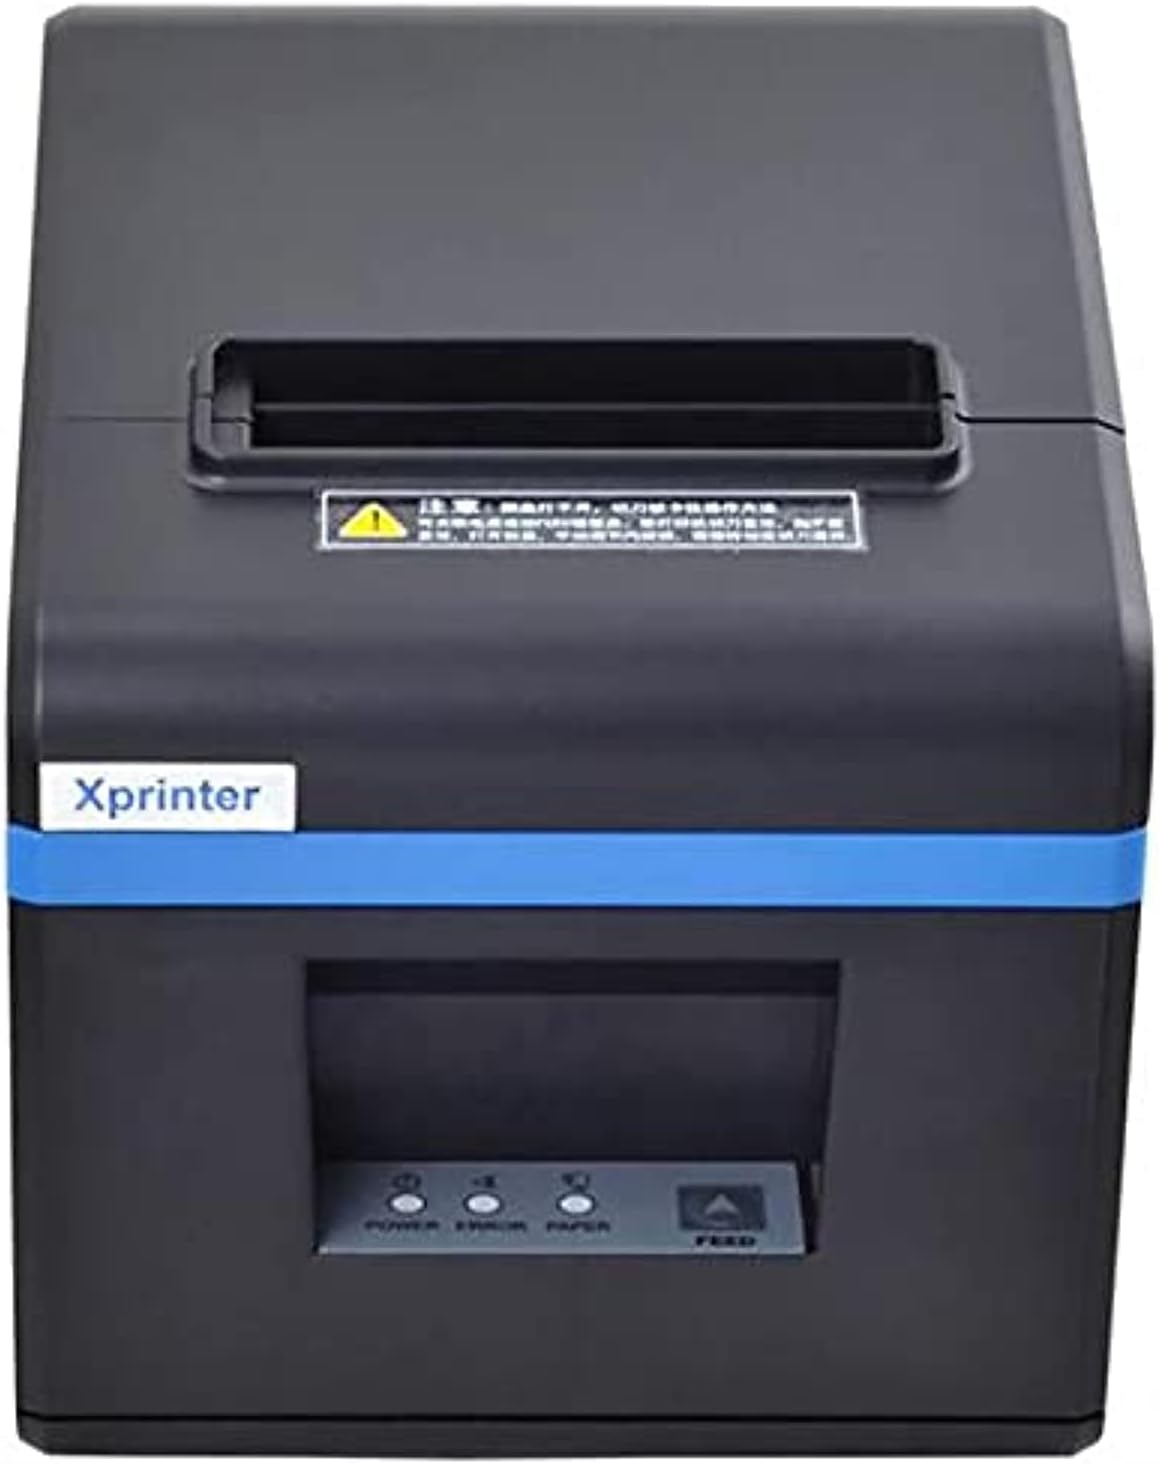
Figure 1: Front view of the Xprinter XP-N160II thermal receipt printer, showing the paper output slot, control panel with indicator lights (POWER, ERROR, PAPER), and FEED button.
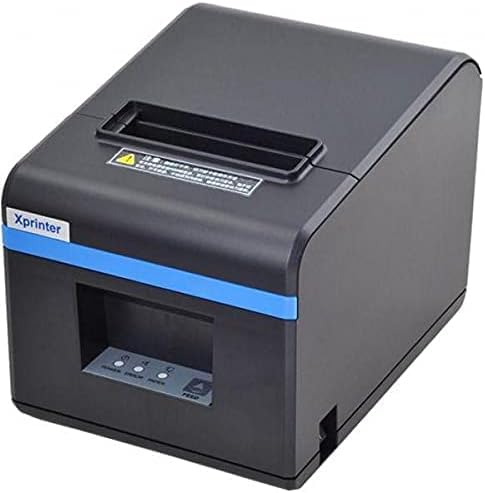
Figure 2: Angled front view of the Xprinter XP-N160II, highlighting its compact design and the Xprinter branding on the front.
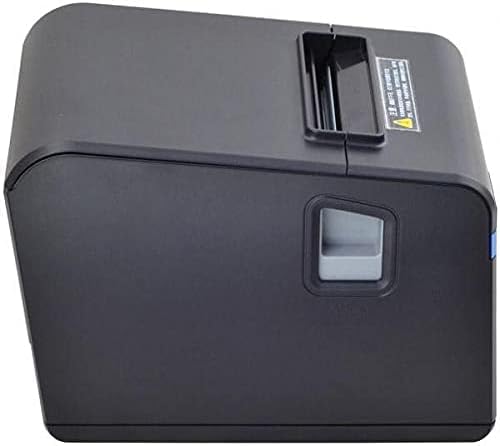
Figure 3: Side view of the Xprinter XP-N160II, illustrating the paper cover release lever for easy paper roll replacement.

Figure 4: Rear view of the Xprinter XP-N160II, displaying the power input port, USB port, and an additional port (likely for cash drawer connection).
3. Setup Instructions
- Unpacking: Carefully remove the printer from its packaging. Retain all packaging materials for future transport or storage.
- Connect Power: Connect the power adapter to the printer's power input port (refer to Figure 4) and then plug the power cord into a suitable electrical outlet.
- Connect Data Cable: Connect the USB cable from the printer's USB port (refer to Figure 4) to your computer or point-of-sale system.
- Load Paper Roll:
- Press the paper cover release lever (refer to Figure 3) to open the printer cover.
- Insert a new thermal paper roll into the compartment, ensuring the paper feeds from the bottom and the leading edge extends slightly out of the printer.
- Close the printer cover firmly until it clicks into place.
- Install Drivers: Insert the driver CD (if included) into your computer or download the latest drivers from the official Xprinter website. Follow the on-screen instructions to complete the driver installation.
- Power On: Press the power button on the printer. The POWER indicator light should illuminate.
4. Operating Instructions
- Self-Test Print: To perform a self-test, turn off the printer. While holding down the FEED button, turn the printer back on. Release the FEED button once the printer starts printing. This will print a configuration page, confirming basic functionality.
- Printing from Application: Ensure the printer is connected and drivers are installed. In your application (e.g., POS software, word processor), select the Xprinter XP-N160II as your default printer and initiate the print command.
- Feeding Paper Manually: Press the FEED button on the front panel to advance the paper by a small amount. Hold the FEED button down to continuously feed paper.
5. Maintenance
- Cleaning the Print Head: Regularly clean the thermal print head with an alcohol swab or a specialized print head cleaning pen. Ensure the printer is turned off and cooled down before cleaning.
- Cleaning the Platen Roller: Use a soft, damp cloth to wipe the platen roller (the rubber roller that feeds the paper) to remove any paper dust or debris.
- Paper Roll Replacement: Replace the paper roll when the PAPER indicator light illuminates or when the red line appears on the paper, indicating the end of the roll is near. Follow the steps outlined in Section 3.4.
- General Cleaning: Keep the printer exterior clean by wiping it with a soft, dry cloth. Avoid using harsh chemicals or abrasive cleaners.
6. Troubleshooting
| Problem | Possible Cause | Solution |
|---|---|---|
| Printer does not power on | No power supply; faulty power adapter | Check power cable connection; ensure outlet is functional; try a different power adapter if available. |
| No paper feeding / PAPER light on | Paper roll empty or incorrectly loaded | Replace paper roll or re-load correctly (refer to Section 3.4). |
| Print output is blank or faded | Paper loaded incorrectly (upside down); print head dirty or damaged | Ensure thermal paper is loaded with the thermal side facing the print head; clean the print head (refer to Section 5). |
| Printer not recognized by computer | USB cable disconnected; drivers not installed or corrupted | Check USB cable connection; re-install printer drivers (refer to Section 3.5). |
| ERROR light is on | Paper jam; print head overheating; cover open | Clear any paper jams; allow printer to cool down; ensure printer cover is closed properly. |
7. Specifications
| Feature | Detail |
|---|---|
| Brand Name | Xprinter |
| Model Name | N160 |
| Color | Black |
| Printer Technology | Thermal |
| Connectivity Technology | USB |
| Printer Output | Monochrome |
| Print Media | Labels |
| Maximum Black and White Print Resolution | 203 dpi |
| Maximum Sheet Capacity | 50 (referring to individual labels or a roll capacity equivalent) |
| Package Dimensions | 33 x 21.4 x 18.3 cm |
| Item Weight | 1.62 kg |
| Manufacturer | Xprinter |
| Date First Available | 1 June 2021 |
8. Safety Information
- Do not expose the printer to water or high humidity.
- Avoid placing the printer in direct sunlight or near heat sources.
- Use only the power adapter supplied with the printer.
- Do not attempt to disassemble or repair the printer yourself. Refer to qualified service personnel.
- Keep out of reach of children.
- Ensure proper ventilation around the printer during operation.
9. Warranty and Support
The Xprinter XP-N160II thermal receipt printer comes with a standard manufacturer's warranty. For specific warranty terms and conditions, please refer to the documentation included with your purchase or contact Xprinter customer support directly. For technical assistance or service inquiries, please visit the official Xprinter website or contact their authorized service centers.


