Introduction
This manual provides essential information for the safe and effective operation, maintenance, and troubleshooting of your Crown CT18024 BMC Rotary Demolition Hammer. Please read this manual thoroughly before using the tool to ensure proper handling and to prevent injury or damage.
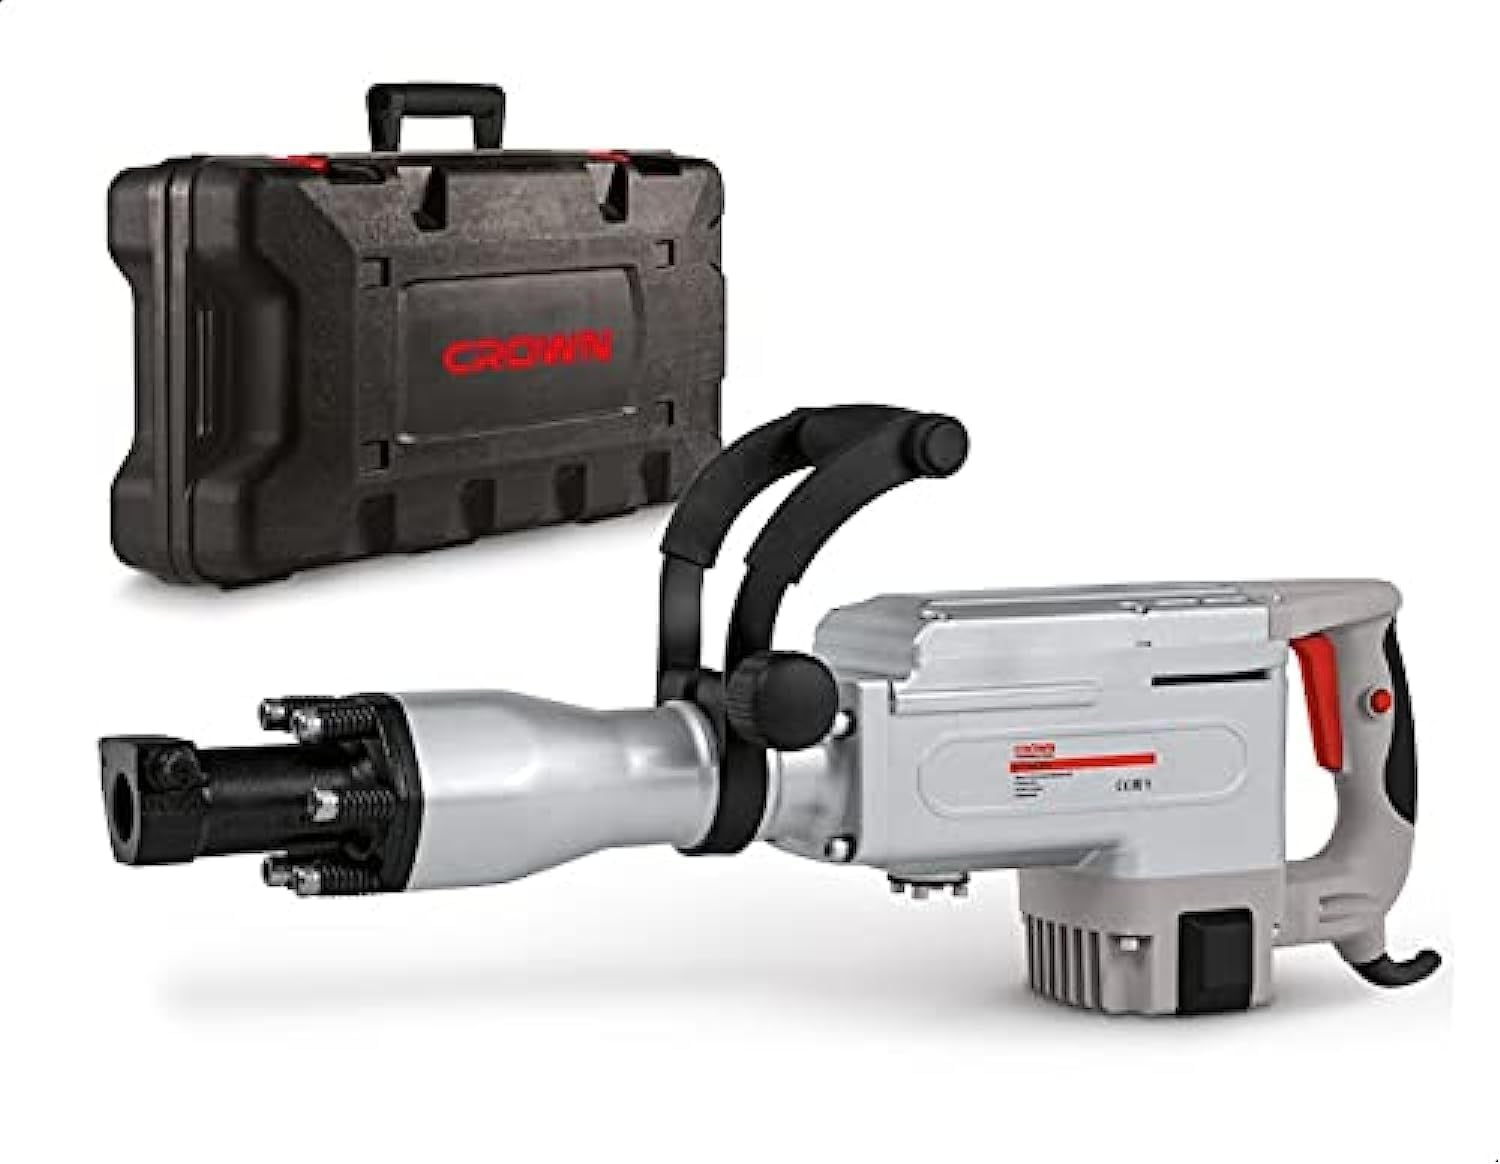
Image: The Crown CT18024 BMC Rotary Demolition Hammer, a powerful grey and red tool, is shown alongside its black, durable carrying case. The hammer features a robust body, a front chuck for bits, and an auxiliary handle for improved control.
General Safety Instructions
Always observe basic safety precautions to reduce the risk of fire, electric shock, and personal injury.
- Work Area Safety: Keep the work area clean and well-lit. Cluttered or dark areas invite accidents. Do not operate power tools in explosive atmospheres, such as in the presence of flammable liquids, gases, or dust.
- Electrical Safety: Power tool plugs must match the outlet. Never modify the plug in any way. Do not abuse the cord. Keep cord away from heat, oil, sharp edges, or moving parts.
- Personal Safety: Always wear eye protection. Use hearing protection when operating the tool. Dress properly; do not wear loose clothing or jewelry.
- Tool Use and Care: Do not force the power tool. Use the correct power tool for your application. Disconnect the plug from the power source before making any adjustments, changing accessories, or storing power tools.
Setup
Unpacking
Carefully remove the demolition hammer and all accessories from the packaging. Inspect the tool for any signs of damage that may have occurred during transit. Retain packaging for future storage or transport.
Attaching the Auxiliary Handle
- Loosen the clamping mechanism on the auxiliary handle.
- Slide the auxiliary handle onto the front barrel of the demolition hammer.
- Adjust the handle to a comfortable and secure position for your grip.
- Tighten the clamping mechanism firmly to secure the handle.
Installing the HEX-30 Bit
- Ensure the tool is unplugged from the power source.
- Clean the shank of the HEX-30 bit.
- Insert the bit into the chuck opening. Push and rotate the bit until it clicks into place.
- Pull on the bit to ensure it is securely locked. It should not come out easily.
Operating Instructions
Power Connection
Connect the power cord to a suitable 220-230V AC power outlet. Ensure the outlet is properly grounded and capable of supplying the required amperage (7.7 A) for the 1700 W motor.
Starting and Stopping
- To Start: Press the ON/OFF switch.
- To Stop: Release the ON/OFF switch. For continuous operation, some models may have a lock-on button. If present, press the lock-on button after pressing the ON/OFF switch, then release the ON/OFF switch. To stop, press the ON/OFF switch again to release the lock.
Demolition Operation
- Hold the demolition hammer firmly with both hands, using the main handle and the auxiliary handle.
- Position the chisel or point of the bit against the material to be demolished.
- Start the tool and apply steady, firm pressure. Allow the tool to do the work; excessive force is not necessary and can lead to fatigue or damage.
- Maintain a stable stance and be aware of falling debris.
Note: This tool is designed for heavy-duty demolition tasks. Always wear appropriate personal protective equipment (PPE) including safety glasses, hearing protection, gloves, and a dust mask.
Maintenance
Regular maintenance ensures optimal performance and extends the lifespan of your tool. Always disconnect the tool from the power supply before performing any maintenance.
Cleaning
- After each use, clean the tool housing with a soft, damp cloth. Do not use harsh chemicals or abrasive cleaners.
- Remove any dust or debris from the ventilation openings to prevent overheating.
- Clean the chuck regularly to ensure smooth bit insertion and removal.
Lubrication
The internal mechanisms of the demolition hammer require periodic lubrication. Refer to the service diagram (if provided with the physical manual) for specific lubrication points and recommended lubricants. Typically, the chuck mechanism benefits from light grease application.
Carbon Brush Replacement
Carbon brushes are wear items and will need replacement over time. When the motor performance decreases significantly or sparks become excessive, the carbon brushes may need to be checked and replaced. This procedure should ideally be performed by a qualified service technician.
Storage
Store the demolition hammer in its original carrying case in a dry, secure location, out of reach of children. Ensure the tool is clean and free of debris before storage.
Troubleshooting
| Problem | Possible Cause | Solution |
|---|---|---|
| Tool does not start | No power supply; Faulty switch; Worn carbon brushes. | Check power connection and outlet; Have switch inspected by technician; Replace carbon brushes. |
| Reduced impact force | Worn bit; Insufficient lubrication; Internal mechanism issue. | Replace bit; Apply appropriate lubricant to chuck; Consult service center. |
| Excessive sparking from motor | Worn carbon brushes; Dirty commutator. | Replace carbon brushes; Have commutator cleaned by technician. |
| Tool overheats | Blocked ventilation slots; Overloading the tool. | Clean ventilation slots; Reduce load and allow tool to cool. |
For issues not listed or if solutions do not resolve the problem, contact an authorized service center.
Technical Specifications
| Feature | Detail |
|---|---|
| Model Number | CT18024 / 1130263 |
| Brand | Crown |
| Rated Power | 1700 Watts |
| Voltage | 220-230 Volts AC |
| Amperage | 7.7 Amps |
| Chuck Type | HEX-30 |
| Item Weight | 23 Kilograms |
| Product Dimensions (L x W x H) | 78.2 x 36.3 x 16.3 cm (approx.) |
| Power Source | Corded Electric |
| Color | Grey/ Red |
Warranty and Support
Specific warranty terms and conditions for Crown products may vary by region and retailer. Please refer to the warranty card included with your purchase or visit the official Crown website for detailed information regarding warranty coverage and service procedures.
For technical support, spare parts, or service inquiries, please contact your authorized Crown dealer or service center. Keep your purchase receipt and model number handy when contacting support.


