
1. Introduction
This manual provides essential instructions for the safe and effective use, setup, operation, and maintenance of your INGCO Auto Darkening Welding Helmet AHM009. Please read this manual thoroughly before using the helmet to ensure proper function and personal safety. Retain this manual for future reference.
Safety Warnings
- Always wear appropriate personal protective equipment (PPE) in addition to this welding helmet, including safety glasses, protective clothing, and gloves.
- Do not use this helmet for laser welding or overhead welding applications.
- Inspect the helmet and lens before each use for any damage. Replace damaged parts immediately.
- Ensure the auto-darkening filter (ADF) is functioning correctly before starting any welding operation.
- Exposure to welding arc rays can cause eye and skin damage. Never weld without proper eye and face protection.
2. Product Features
The INGCO Auto Darkening Welding Helmet AHM009 is designed to provide reliable eye and face protection during welding operations. Key features include:
- Auto Darkening Filter (ADF): Automatically switches from a light state to a dark state upon arc ignition.
- Wide Viewing Area: 90mm x 35mm for enhanced visibility.
- Dual Arc Sensors: Two independent sensors ensure reliable arc detection.
- Fixed Dark Shade: DIN 11 for consistent protection during welding.
- Light State: DIN 4 for clear visibility when not welding.
- Solar Powered with Battery Assist: Extends battery life and ensures readiness.
- Adjustable Headgear: Provides a comfortable and secure fit.
- Durable Construction: Made from high-quality, scratch-resistant materials.
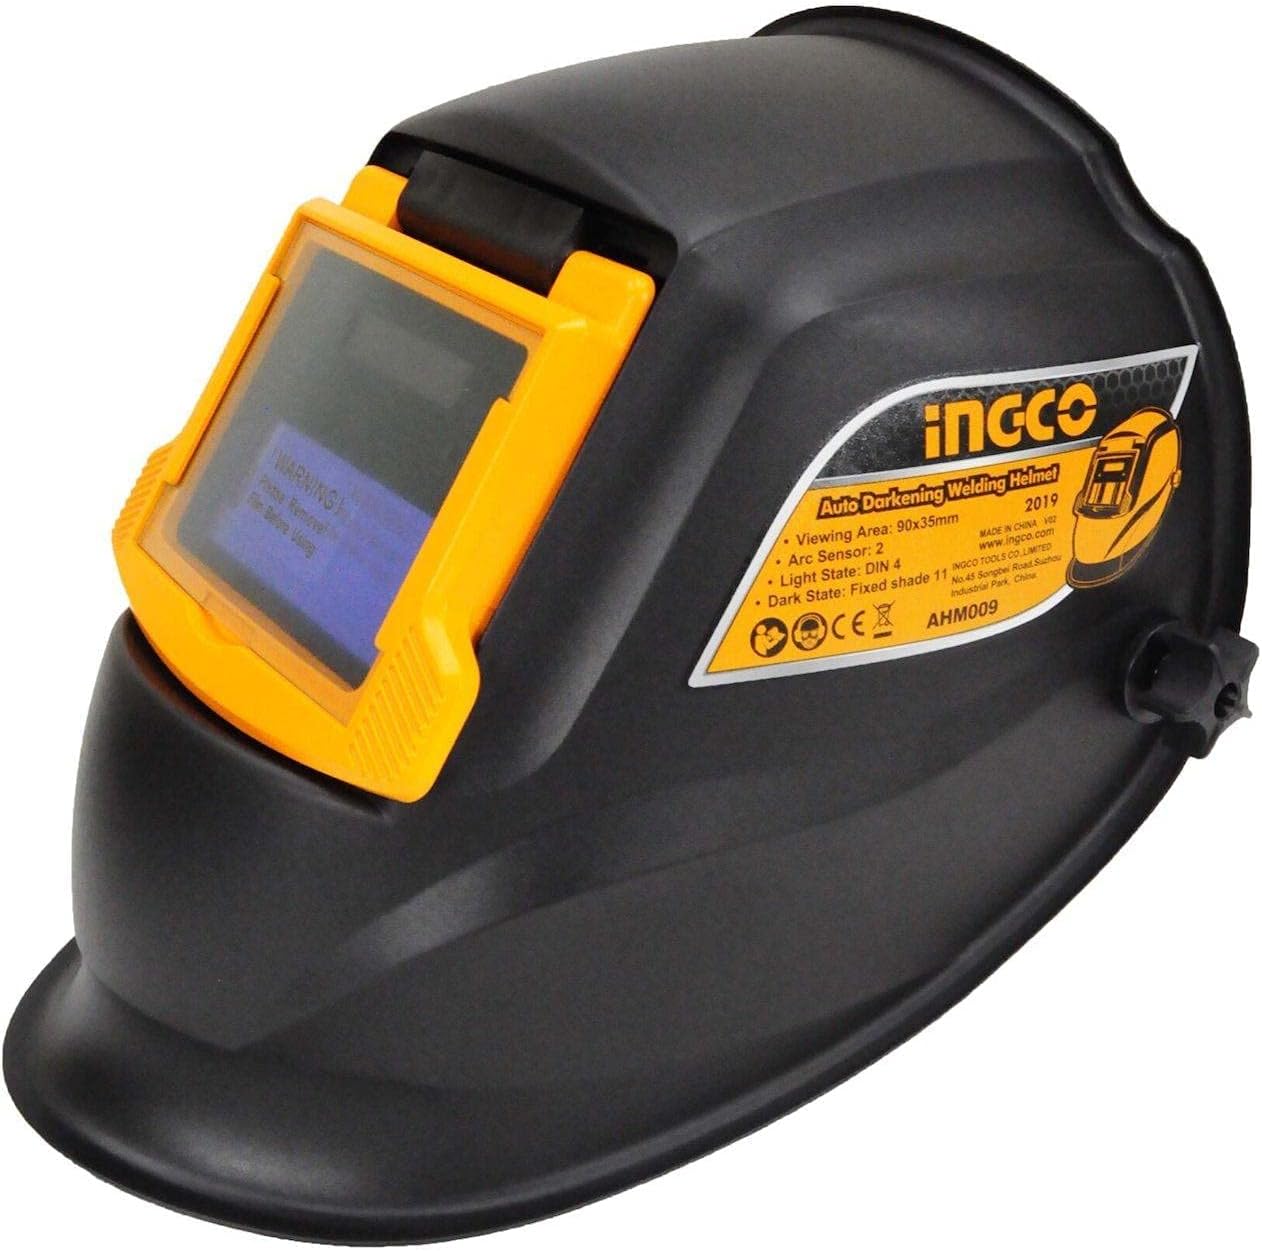
Image: Front view of the INGCO Auto Darkening Welding Helmet AHM009, showcasing its design and auto-darkening filter.
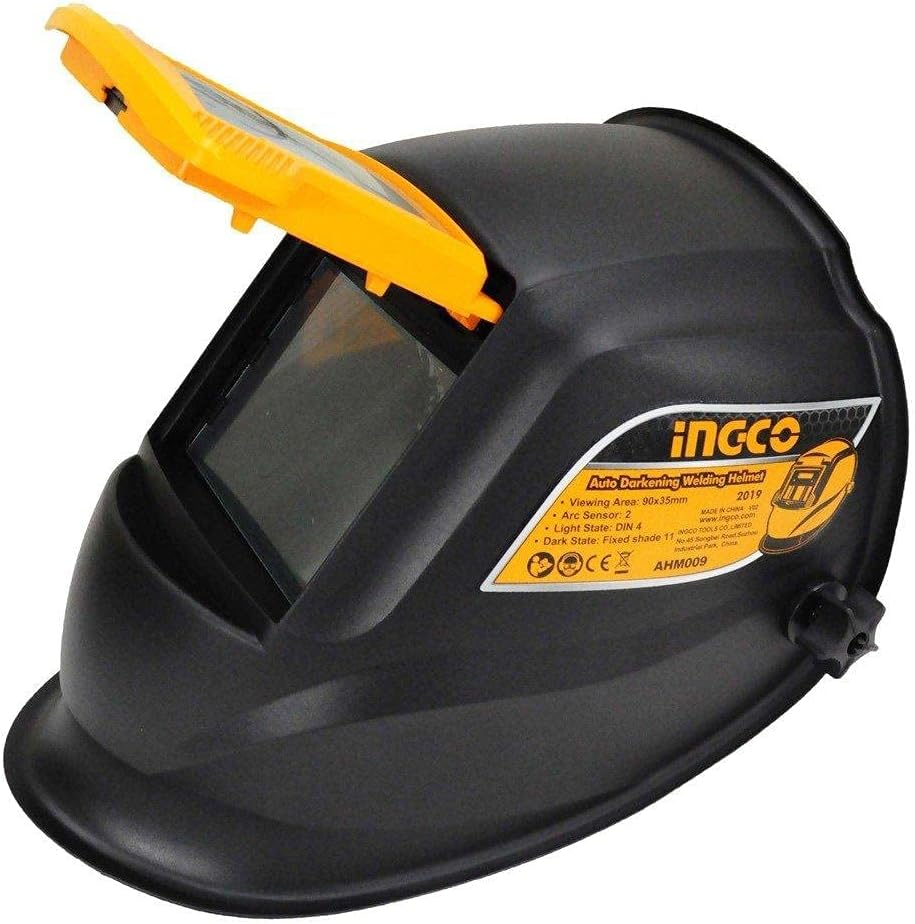
Image: Side view of the INGCO Auto Darkening Welding Helmet AHM009, illustrating the flip-up lens mechanism.
3. Setup
Before using your welding helmet, perform the following setup steps:
- Unpacking: Carefully remove the helmet from its packaging. Inspect for any shipping damage.
- Headgear Adjustment:
- Adjust the top strap to position the helmet correctly on your head.
- Rotate the knob at the back of the headgear to tighten or loosen the fit around your head until it is snug but comfortable.
- Adjust the distance between the helmet and your face using the side knobs to ensure the viewing area is centered and clear.
- Battery Check: The helmet includes batteries. Before first use, ensure the batteries are properly seated and functional. The helmet is solar-powered with battery assist, so direct sunlight or bright light can help charge the solar cells.
- Function Test: Before welding, perform a function test. Point the helmet towards a bright light source (not the sun or a welding arc) and observe if the lens darkens momentarily. This confirms the auto-darkening function is active.
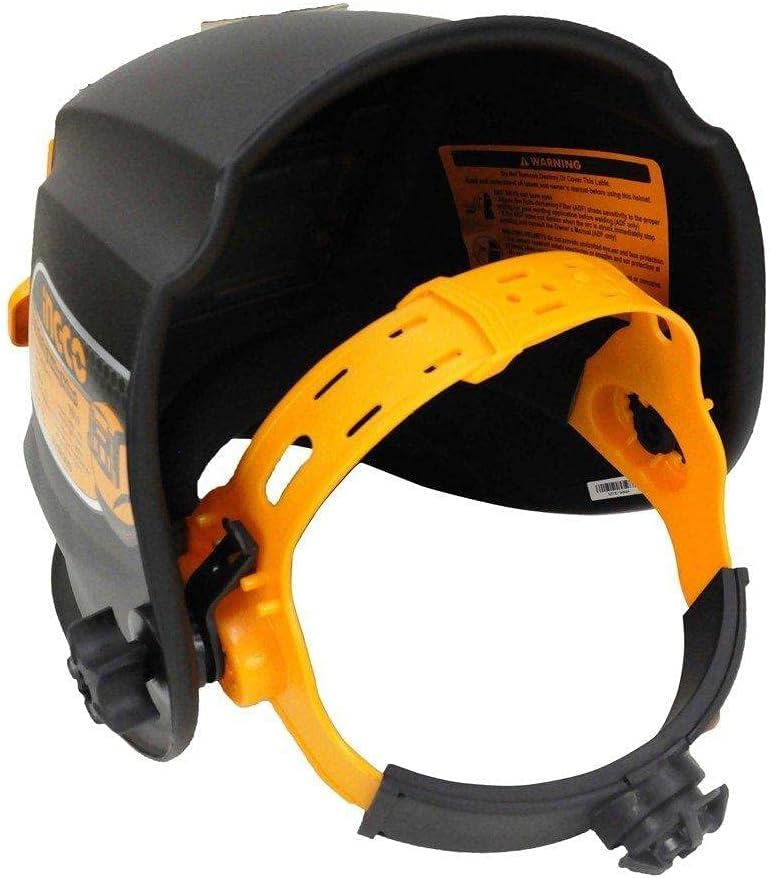
Image: Interior view of the INGCO Auto Darkening Welding Helmet AHM009, highlighting the adjustable headgear for a customized fit.
4. Operating Instructions
Follow these steps for safe and effective operation of your auto-darkening welding helmet:
- Pre-Weld Check: Ensure the helmet is properly fitted and the auto-darkening function has been tested. Verify the lens is clean and free from scratches.
- Positioning: Place the helmet on your head, ensuring the viewing area is aligned with your eyes. In its light state (DIN 4), you should have clear visibility of your workpiece.
- Initiating the Arc: Begin your welding operation. As soon as the welding arc is struck, the auto-darkening filter will instantly switch to its dark state (DIN 11), protecting your eyes from intense light.
- Post-Weld: Once the arc is extinguished, the filter will automatically return to its light state after a short delay, allowing you to inspect your weld without removing the helmet.
- Grinding Mode (if applicable): This specific model has a fixed shade 11. If grinding is required, use separate appropriate eye and face protection.
5. Maintenance
Regular maintenance ensures the longevity and proper function of your welding helmet.
- Cleaning the Lens: Clean the outer and inner protective lenses regularly with a soft, clean cloth. Do not use abrasive cleaners or solvents.
- Cleaning the Helmet Shell: Wipe the helmet shell with a damp cloth. Avoid harsh chemicals.
- Battery Replacement: While the helmet is primarily solar-powered, it uses internal batteries for assist. If the auto-darkening function becomes inconsistent or fails, replace the internal batteries according to the instructions provided on the battery compartment (typically located within the ADF cartridge). Use only the specified battery type.
- Storage: Store the helmet in a dry, clean environment, away from direct sunlight and extreme temperatures.
- Inspection: Periodically inspect all parts for wear and tear, including the headgear, protective lenses, and the auto-darkening filter. Replace any damaged components immediately.
6. Troubleshooting
If you encounter issues with your welding helmet, refer to the following common problems and solutions:
| Problem | Possible Cause | Solution |
|---|---|---|
| Lens does not darken when arc is struck. |
|
|
| Lens remains dark after arc extinguishes. |
|
|
| Poor visibility through the lens. |
|
|
7. Specifications
Detailed technical specifications for the INGCO Auto Darkening Welding Helmet AHM009:
| Feature | Specification |
|---|---|
| Model Number | AHM009 |
| Brand | Ingco |
| Viewing Area | 90mm x 35mm |
| Arc Sensors | 2 |
| Light State | DIN 4 |
| Dark State | Fixed Shade DIN 11 |
| Power Supply | Solar Cell with Replaceable Battery Assist |
| Item Weight | 350 g |
| Product Dimensions | 28 x 15 x 35 cm |
| Style | Full Face |
| Color | Multi |
| UPC | 781930584999 |
8. Warranty and Support
For warranty information or technical support regarding your INGCO Auto Darkening Welding Helmet AHM009, please refer to the warranty card included with your purchase or contact INGCO customer service directly. Keep your purchase receipt as proof of purchase.
For further assistance, visit the official INGCO website or contact your local distributor.


