
1. Introduction
This manual provides detailed instructions for the installation, operation, and maintenance of your Logmey 25x22 Drop-In Laundry Sink. This sink is constructed from heavy-duty 16 gauge SUS304 stainless steel, designed for durability and ease of use in laundry room or utility applications. Please read these instructions thoroughly before beginning installation or use to ensure proper function and longevity of your product.
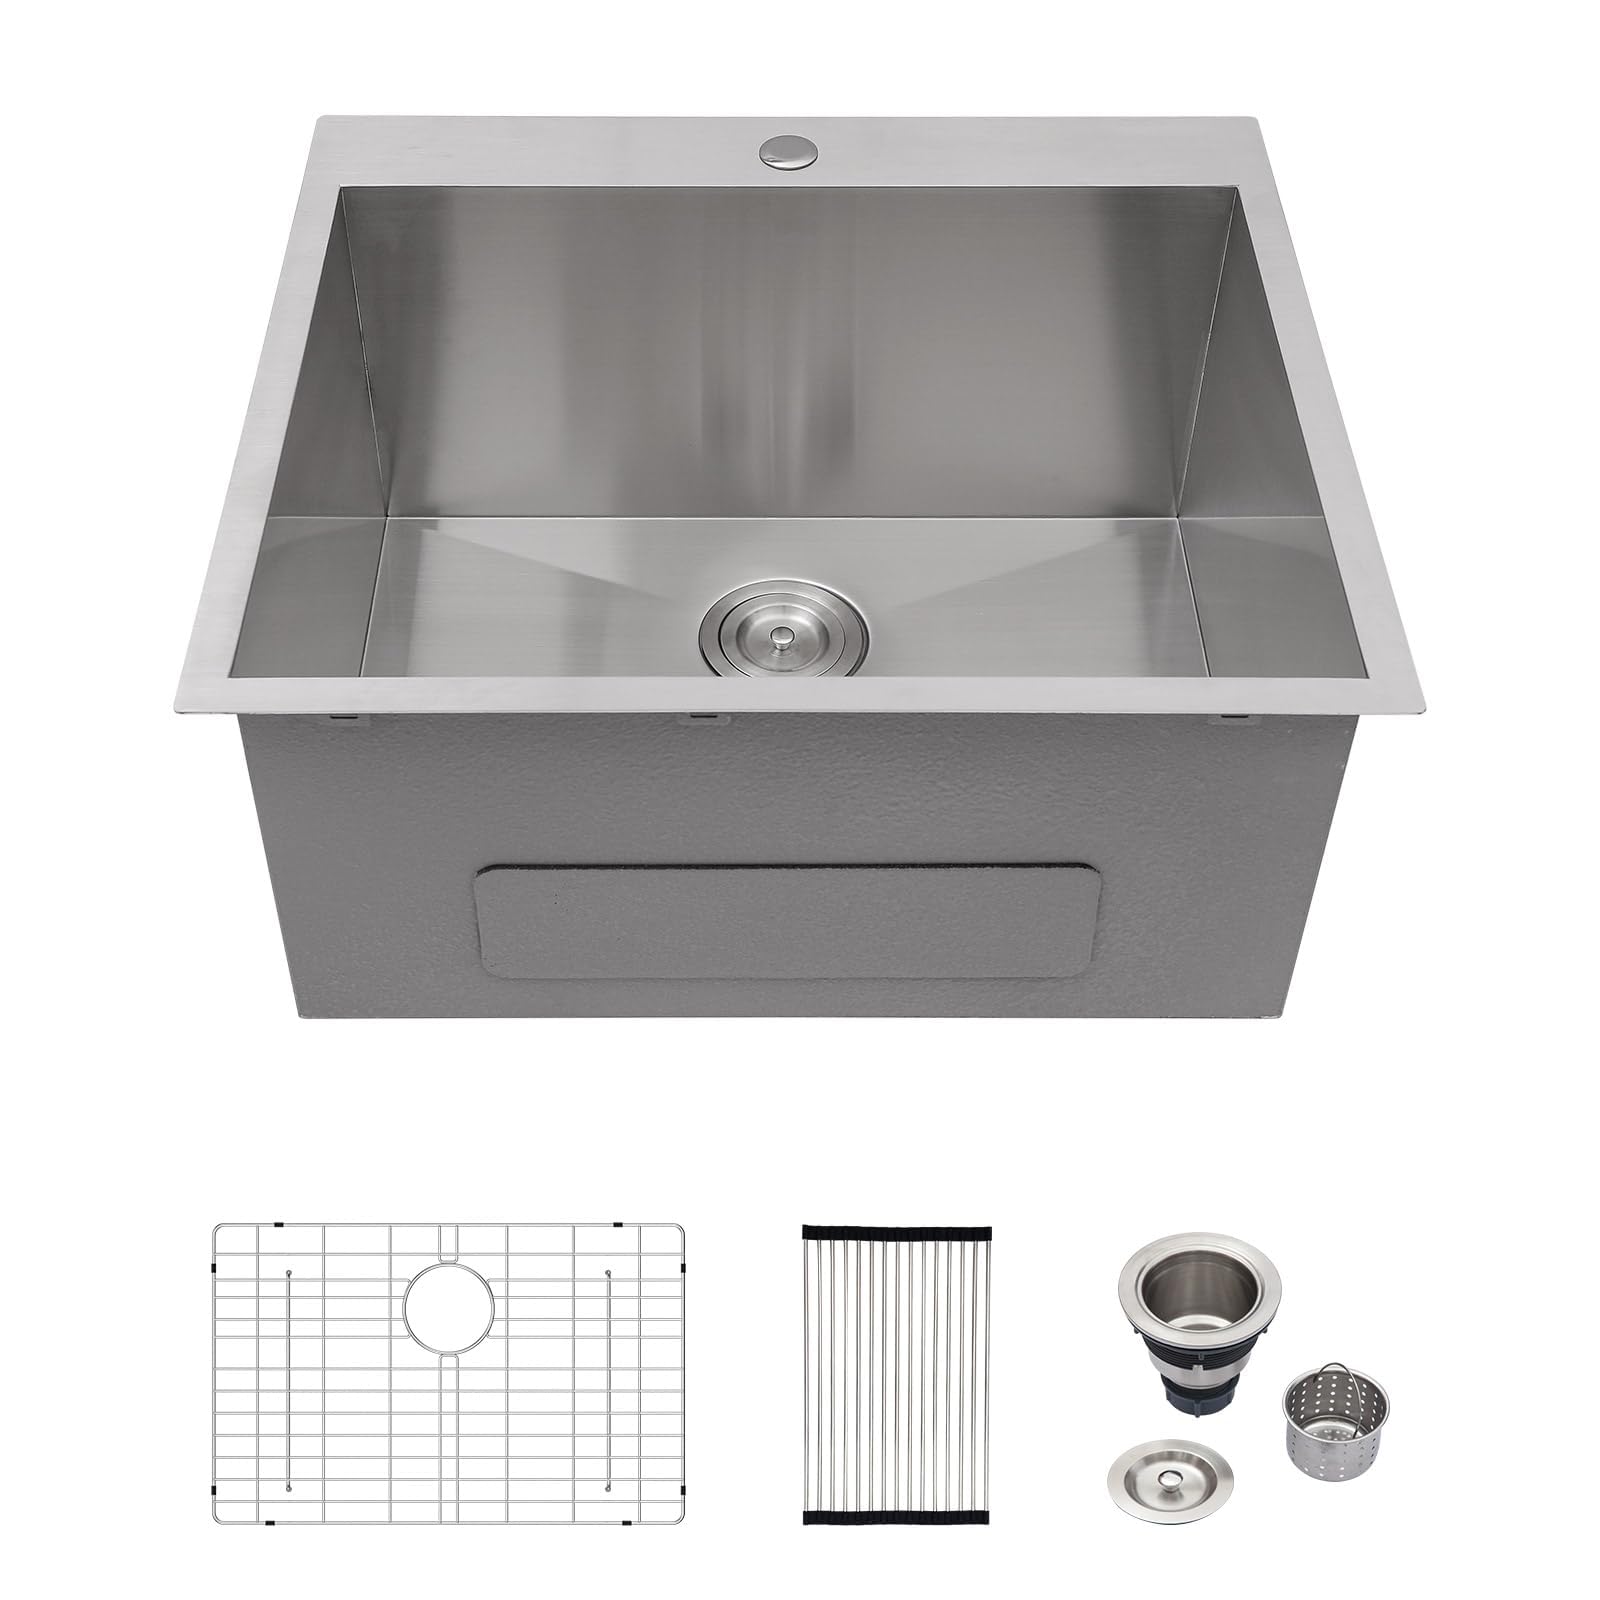
Image 1.1: The Logmey 25x22 Drop-In Laundry Sink in a typical laundry room setting.
2. Safety Information
Always follow basic safety precautions to reduce the risk of injury or property damage. Professional installation is recommended for plumbing and countertop modifications.
- Wear appropriate personal protective equipment, including safety glasses and gloves, during installation.
- Ensure all water supply lines are shut off before beginning any plumbing work.
- Verify that the countertop material can support the weight of the sink and its contents.
- Handle the sink with care to avoid scratches or damage during unpacking and positioning.
- Do not use harsh chemicals or abrasive cleaners on the sink surface, as this may damage the finish.
3. Package Contents
Verify that all components are present before beginning installation. If any parts are missing or damaged, please contact Logmey customer support.
- 25 Inch Laundry Room Sink (1 unit)
- Bottom Grid (1 unit)
- Drainer (1 unit)
- Drying Rack (Roll-up) (1 unit)
- Mounting Hardware (clips and screws)
- Cut Out Template (1 unit)
- Installation Introduction (this manual)

Image 3.1: All included accessories for the Logmey 25x22 Drop-In Laundry Sink.

Image 3.2: Roll-up drying rack.

Image 3.3: Drainer and basket strainer.
4. Specifications
Key dimensions and material specifications for the Logmey 25x22 Drop-In Laundry Sink.
| Feature | Specification |
|---|---|
| Brand | Logmey |
| Model Number | LMT252212A1 |
| Material | SUS304 Stainless Steel |
| Gauge | 16 Gauge (1.5mm) |
| Installation Type | Drop-In (Topmount) |
| Exterior Dimensions (WxDxH) | 25" x 22" x 12" |
| Interior Bowl Dimensions (WxDxH) | 23" x 17.75" x 11.75" |
| Recommended Opening Size (WxD) | 24.2" x 21.2" |
| Minimum Cabinet Size | 28" |
| Drain Hole Size | 3.5" (rear-set) |
| Finish Type | Brushed |
| Item Weight | 32.9 lbs (14.97 kg) |

Image 4.1: Detailed dimensions of the Logmey 25x22 Drop-In Laundry Sink.
5. Setup (Installation)
Follow these steps for proper installation of your drop-in laundry sink. It is recommended to have a second person assist during certain stages of installation.
5.1 Pre-Installation
- Inspect the Sink: Carefully unbox and inspect the sink for any damage. Report any issues to Logmey customer support before proceeding.
- Gather Tools: Ensure you have all necessary tools, including a jigsaw, drill, sealant (silicone caulk), measuring tape, pencil, and a wrench.
- Prepare Cabinet: Ensure your base cabinet is at least 28 inches wide to accommodate the sink.
5.2 Countertop Cutout
- Position Template: Place the provided cutout template on your countertop in the desired location. Ensure it is centered and aligned correctly.
- Trace Cutout: Trace the outline of the template onto the countertop with a pencil.
- Cut Opening: Using a jigsaw, carefully cut along the traced line. Ensure the cut is clean and smooth.
5.3 Installing Mounting Clips
The mounting clips secure the sink to the countertop. Install these before placing the sink into the cutout.
- Attach Clips: Secure the mounting clips to the hangers located on the underside of the sink rim. Ensure they are oriented correctly to engage the underside of the countertop.
- Adjust Clips: You may need to squeeze the clips slightly to ensure the teeth fit between the sink and the countertop during placement. Use pliers (e.g., Channel-Locks) to pull the teeth down into position if they flip up during installation.
5.4 Sealing and Placement
- Apply Sealant: Apply a continuous bead of silicone sealant around the perimeter of the countertop cutout.
- Lower Sink: Carefully lower the sink into the cutout, ensuring the mounting clips align with the underside of the countertop. Have an assistant guide the clips into place.
- Secure Sink: From underneath the countertop, tighten the mounting clips evenly until the sink is firmly secured. Wipe away any excess sealant immediately.
5.5 Plumbing Connections
- Install Drainer: Install the provided drainer assembly into the sink's drain hole according to its specific instructions. Ensure a watertight seal.
- Connect P-Trap: Connect the P-trap and waste pipe to the drainer.
- Install Faucet: If applicable, install your faucet into the pre-drilled hole on the sink deck and connect water supply lines.
- Test for Leaks: Turn on the water supply and check all connections for leaks.

Image 5.1: Illustration of the sink's 16-gauge construction, sound dampening, and anti-condensation features.
6. Operating Instructions
Your Logmey laundry sink is designed for efficient and convenient use. Its deep basin and specialized drainage features enhance functionality.
6.1 General Use
- The 12-inch deep bowl provides ample space for soaking, washing, and various utility tasks.
- The included bottom grid protects the sink surface from scratches and allows water to drain freely beneath items placed in the sink.
- The roll-up drying rack can be placed over the sink to air-dry items or provide additional workspace.

Image 6.1: The deep basin accommodates large items like buckets.
6.2 Efficient Drainage
The sink features an X-shaped water guide line and a rear-set 3.5-inch drain hole to ensure quick and complete water drainage, preventing water pooling.
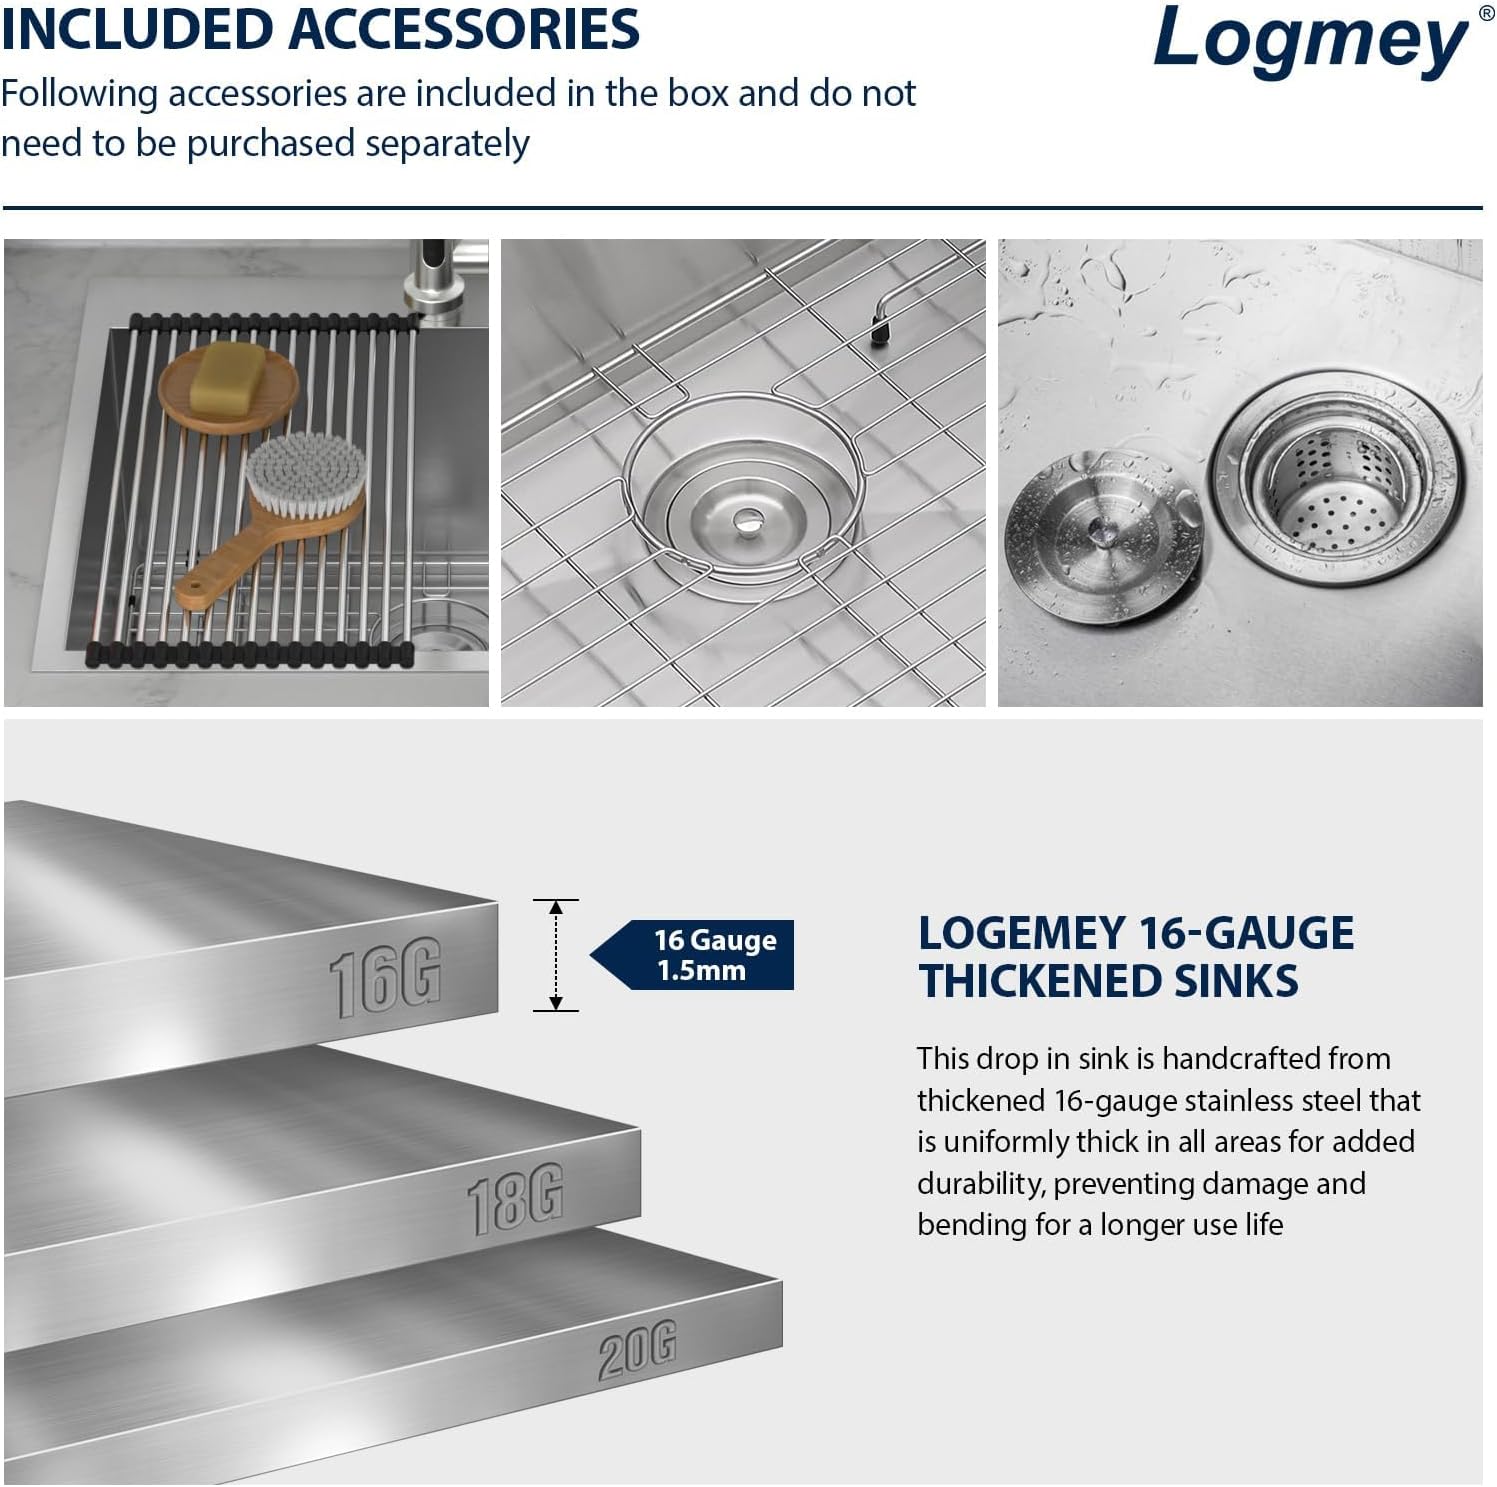
Image 6.2: X-shaped water guide lines for optimal drainage.
7. Maintenance
Proper care and maintenance will help preserve the appearance and functionality of your stainless steel sink.
7.1 Daily Cleaning
- After each use, rinse the sink thoroughly with water to remove any food particles or debris.
- Wipe the sink surface with a soft cloth and mild soap or a non-abrasive cleaner.
- For best results and to prevent water spots, wipe the sink dry with a clean, dry cloth after each use.
7.2 Avoiding Damage
- Do not use steel wool, abrasive pads, or harsh chemical cleaners (e.g., bleach, ammonia-based products) as these can scratch or corrode the stainless steel.
- Avoid leaving acidic foods (e.g., citrus, tomatoes) or corrosive substances in the sink for extended periods.
- Use the bottom grid to protect the sink from heavy pots or sharp objects.
8. Troubleshooting
This section addresses common issues you might encounter with your sink.
8.1 Slow Drainage
- Check Drainer: Ensure the basket strainer is clear of debris.
- Inspect P-Trap: A clogged P-trap can restrict water flow. Clear any blockages.
- Ventilation: Ensure your plumbing system has proper ventilation.
8.2 Leaks Around Drain or Faucet
- Tighten Connections: Check and tighten all plumbing connections, including the drainer nut and faucet supply lines. Do not overtighten.
- Sealant Integrity: Inspect the sealant around the drainer and faucet base. Reapply if necessary.
8.3 Scratches on Sink Surface
- Stainless steel can scratch with heavy use. Minor scratches are normal over time.
- Use a stainless steel scratch repair kit for deeper scratches, following the product instructions carefully.
- Always use the bottom grid to minimize direct contact with the sink surface.
For issues not resolved by these steps, contact a qualified plumber or Logmey customer support.
9. Warranty Information
Logmey products are manufactured to high-quality standards and are backed by a manufacturer's warranty. Please refer to the warranty documentation included with your purchase for specific terms, conditions, and duration. Keep your proof of purchase for warranty claims.
10. Customer Support
If you have any questions regarding your Logmey 25x22 Drop-In Laundry Sink, require assistance with installation, or need to report a defect, please contact Logmey customer support. You can typically find contact information on the Logmey website or through your retailer.
We are committed to providing excellent service and support for our products.


