
1. Introduction
Thank you for purchasing the Remington F6 Aqua Wet & Dry Electric Foil Shaver F6000. This manual provides essential information for the safe and effective use, maintenance, and care of your new shaver. Please read these instructions carefully before use and keep them for future reference.
2. Important Safety Instructions
- This appliance can be used by children aged from 8 years and above and persons with reduced physical, sensory or mental capabilities or lack of experience and knowledge if they have been given supervision or instruction concerning use of the appliance in a safe way and understand the hazards involved. Children shall not play with the appliance. Cleaning and user maintenance shall not be made by children without supervision.
- WARNING: Keep the appliance dry.
- Do not use this appliance near bathtubs, showers, basins or other vessels containing water.
- Do not immerse the appliance in water.
- Always ensure the charging port is dry before connecting the USB cable.
- Do not use the shaver if it is damaged or malfunctioning.
- For charging, only use the USB cable provided with the appliance.
- Ensure the power adapter (not supplied) is rated for the correct voltage.
3. What's in the Box
Your Remington F6 Aqua Wet & Dry Electric Foil Shaver F6000 package includes the following items:
- 1 x F6 Shaver
- 1 x Stubble Head Guard
- 1 x USB Charging Cable
- 1 x Travel Pouch

Image: The Remington F6 Aqua Wet & Dry Electric Foil Shaver shown with its included stubble head guard, USB charging cable, and travel pouch.
4. Features
- 100% Waterproof: Designed for both wet and dry shaving, allowing use with foams or gels, and easy cleaning under running water.
- Independent Dual Flexing Foils: Adapts to facial contours for a close and comfortable shave.
- Pivoting Head with Lock: Provides flexibility to follow face curves and can be locked for precision.
- Stubble Styler Head Guard: An accessory for achieving a 3-day stubble look.
- Pop Up Comfort Trim Detailer: Integrated trimmer for sideburns and detailing.
- Cordless Usage: Up to 60 minutes of cordless operation on a full charge.
- 5-Minute Quick Charge: Provides enough power for a single shave when time is short.
- 2-Stage LED Indicator: Displays battery status.
5. Charging Your Shaver
Before first use, charge your shaver for 90 minutes. Subsequent charges will also take approximately 90 minutes for a full charge.
- Ensure the shaver is switched off.
- Locate the charging port on the bottom of the shaver. Ensure it is dry.
- Insert the small end of the USB charging cable into the shaver's charging port.
- Connect the larger end of the USB cable to a standard USB power adapter (not supplied) or a powered USB port.
- The LED indicator lights will illuminate to show charging status. When fully charged, the lights will indicate a full battery.
- A 5-minute quick charge provides enough power for one shave.

Image: A close-up view of hands connecting the USB charging cable to the charging port of the Remington F6 shaver.
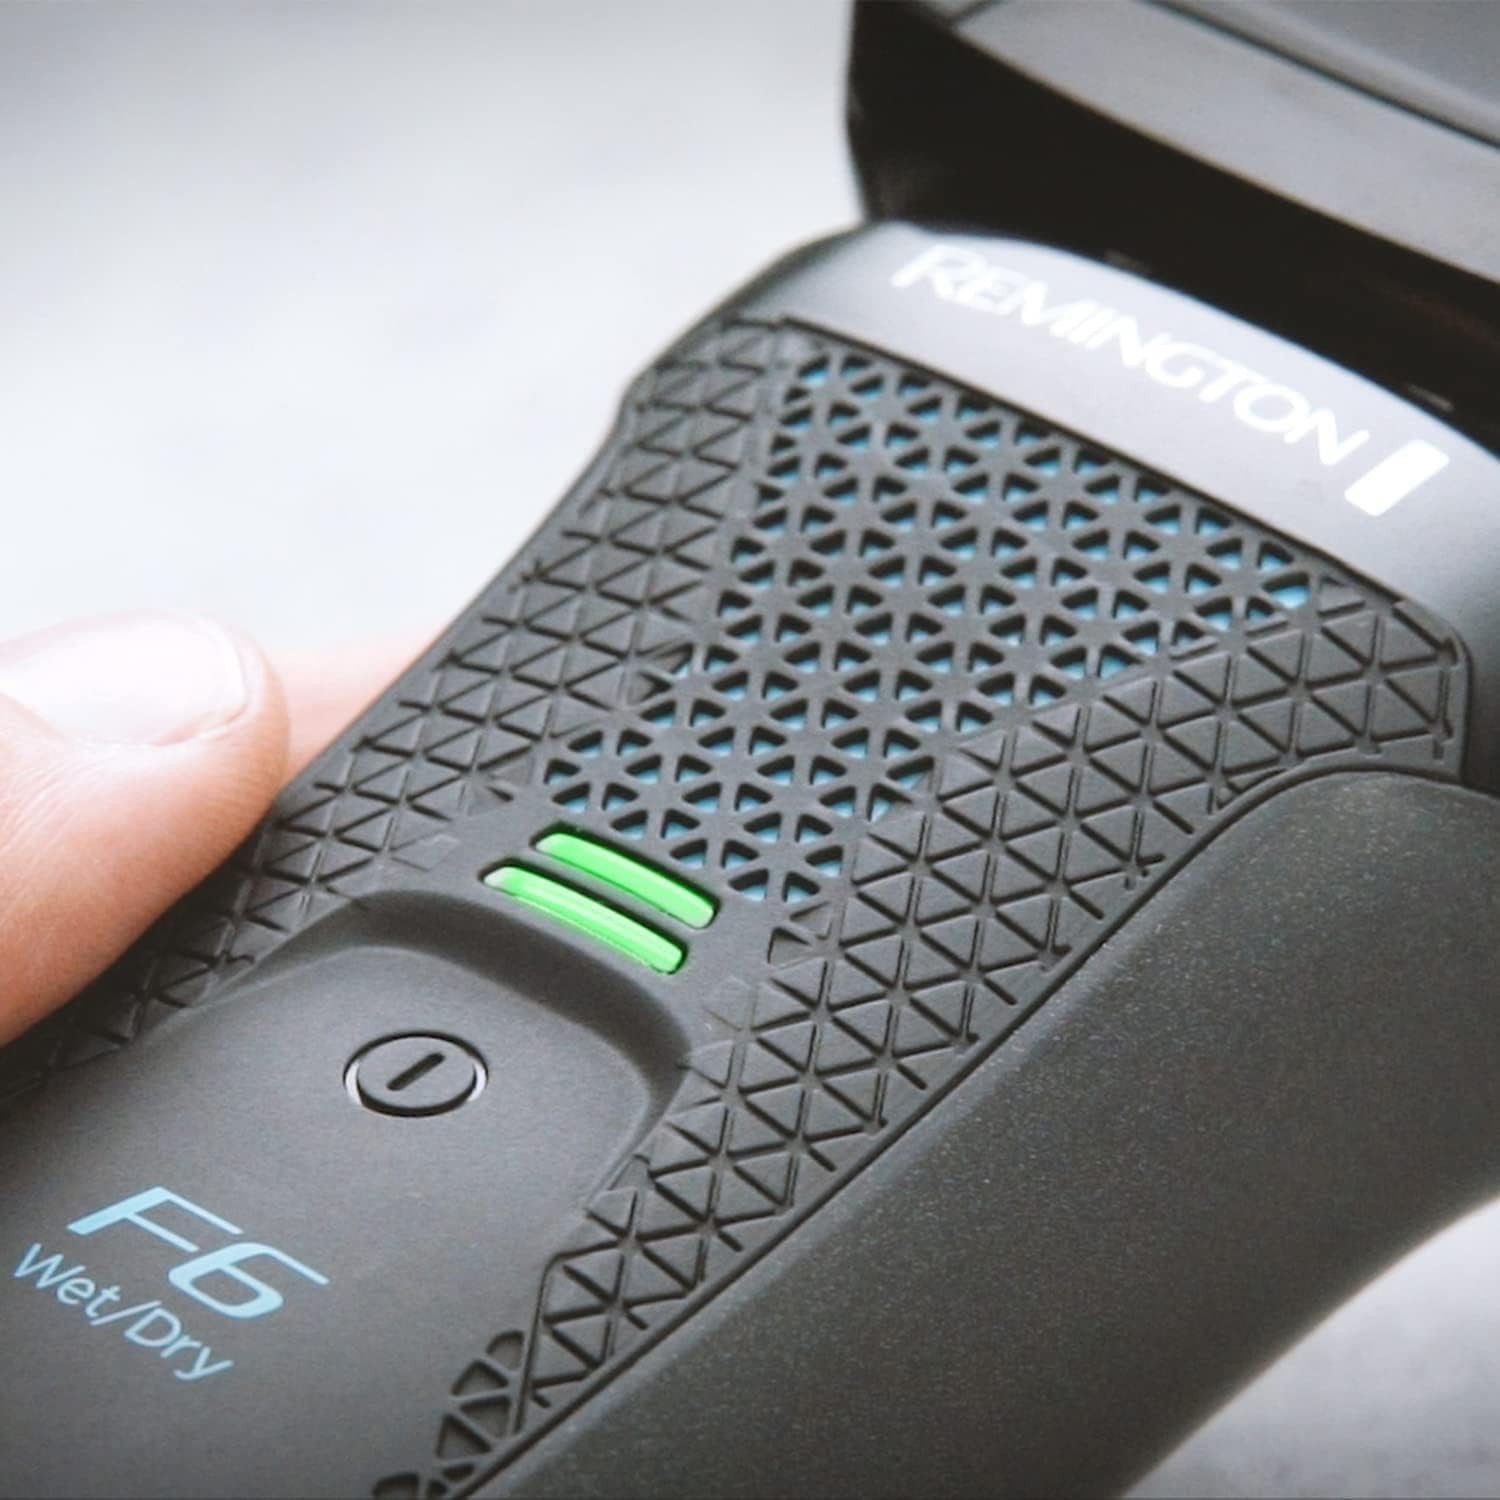
Image: A close-up of the Remington F6 shaver's handle, showing the power button and the green LED battery indicator lights.
6. Operating Instructions
6.1. General Shaving (Wet or Dry)
The F6 Aqua Shaver can be used for both dry shaving and wet shaving with foam or gel.
- Ensure your shaver is charged.
- Press the power button to turn on the shaver.
- For dry shaving, hold the shaver at a right angle to your skin and shave against the direction of hair growth.
- For wet shaving, apply your preferred shaving foam or gel to your face before shaving.
- Stretch the skin with your free hand to make the hairs stand upright.
- Move the shaver in short, circular motions or straight strokes.
- After shaving, rinse your face and the shaver head thoroughly.

Image: A hand holding the Remington F6 shaver, demonstrating its ergonomic design during use.
6.2. Using the Stubble Styler Accessory
To achieve a 3-day stubble look, attach the stubble head guard:
- Ensure the shaver is switched off.
- Carefully remove the standard foil head.
- Attach the stubble head guard firmly onto the shaver body until it clicks into place.
- Turn on the shaver and use it to trim your beard to the desired stubble length.
- After use, switch off the shaver and remove the stubble head guard for cleaning.

Image: The Remington F6 Aqua Wet & Dry Electric Foil Shaver displayed next to its stubble styler accessory and a blue towel.
6.3. Using the Pop Up Comfort Trim Detailer
The pop-up trimmer is ideal for detailing sideburns, necklines, and any stray hairs.
- Turn on the shaver.
- Slide the pop-up trimmer release button (usually located on the back or side of the shaver) upwards to engage the trimmer.
- Use the trimmer to shape and define edges.
- When finished, push the trimmer back down until it locks into place.
7. Cleaning and Maintenance
Regular cleaning ensures optimal performance and extends the life of your shaver.
- After each use: Turn off the shaver.
- Press the release buttons on the side of the shaver head to open the foil assembly.
- Tap out any excess hair shavings.
- Rinse the shaver head and the internal cutting blades under warm running water. The shaver is 100% waterproof.
- Allow the shaver head to air dry completely before closing or storing.
- Monthly: For a more thorough cleaning, you may use a small brush (not supplied) to gently remove stubborn hair particles from the foils and cutters.
- Lubrication: Periodically apply a drop of light machine oil (not supplied) to the foils and cutters to maintain performance.

Image: A close-up of the Remington F6 shaver head being rinsed under a stream of water, highlighting its waterproof design.

Image: A detailed view of the Remington F6 shaver's foil system and internal cutters.
8. Troubleshooting
| Problem | Possible Cause | Solution |
|---|---|---|
| Shaver does not turn on. | Battery is depleted. | Charge the shaver for 90 minutes. |
| Shaver pulls hair or shaves poorly. | Foil head or cutters are dirty or worn. | Clean the shaver head thoroughly. Replace foils and cutters if they are visibly worn or damaged. |
| Shaver does not charge. | USB cable or power source issue. | Ensure the USB cable is properly connected. Try a different USB power adapter or port. |
| LED indicator not working. | Shaver is not connected to power or battery is fully charged/depleted. | Connect to power. Observe if lights appear. If not, contact customer support. |
9. Specifications
- Model: F6000
- Power Source: Corded Electric (via USB) / Cordless (Rechargeable Battery)
- Battery Type: Lithium-ion (estimated)
- Battery Life: Up to 60 minutes cordless usage
- Charge Time: 90 minutes (full charge), 5 minutes (quick charge)
- Waterproof: 100% Waterproof
- Blade Material: Stainless Steel
- Item Weight: 203 Grams
- Color: Black
10. Warranty and Support
This product comes with a 3-year manufacturer's guarantee. You may be eligible for an additional 1-year warranty extension by registering your product online on the official Remington website. Please retain your proof of purchase for warranty claims.
For further assistance, troubleshooting, or to inquire about replacement parts, please visit the official Remington website or contact their customer support.


