
1. Important Safety Information
Please read and follow all instructions carefully before installation and use. Keep this instruction manual for future reference.
- WARNING: Improper installation can be dangerous.
- This safety barrier is suitable for use with children from 6 to 24 months of age.
- This safety barrier is for domestic use only.
- Always ensure the safety barrier is correctly closed and secured.
- Never leave the child unattended.
- The safety barrier must not be fitted across windows.
- If the safety barrier is used at the top of stairs, it should not be positioned below the top level.
- If the safety barrier is used at the bottom of stairs, it should be positioned at the front of the lowest tread.
- Regularly check that the safety barrier is securely mounted and functioning correctly.
- Do not use the safety barrier if any components are damaged or missing.
- This safety barrier features a pressure-mounted design. Ensure the mounting surface is strong and stable.
2. Package Contents
Verify that all components are present before beginning installation.
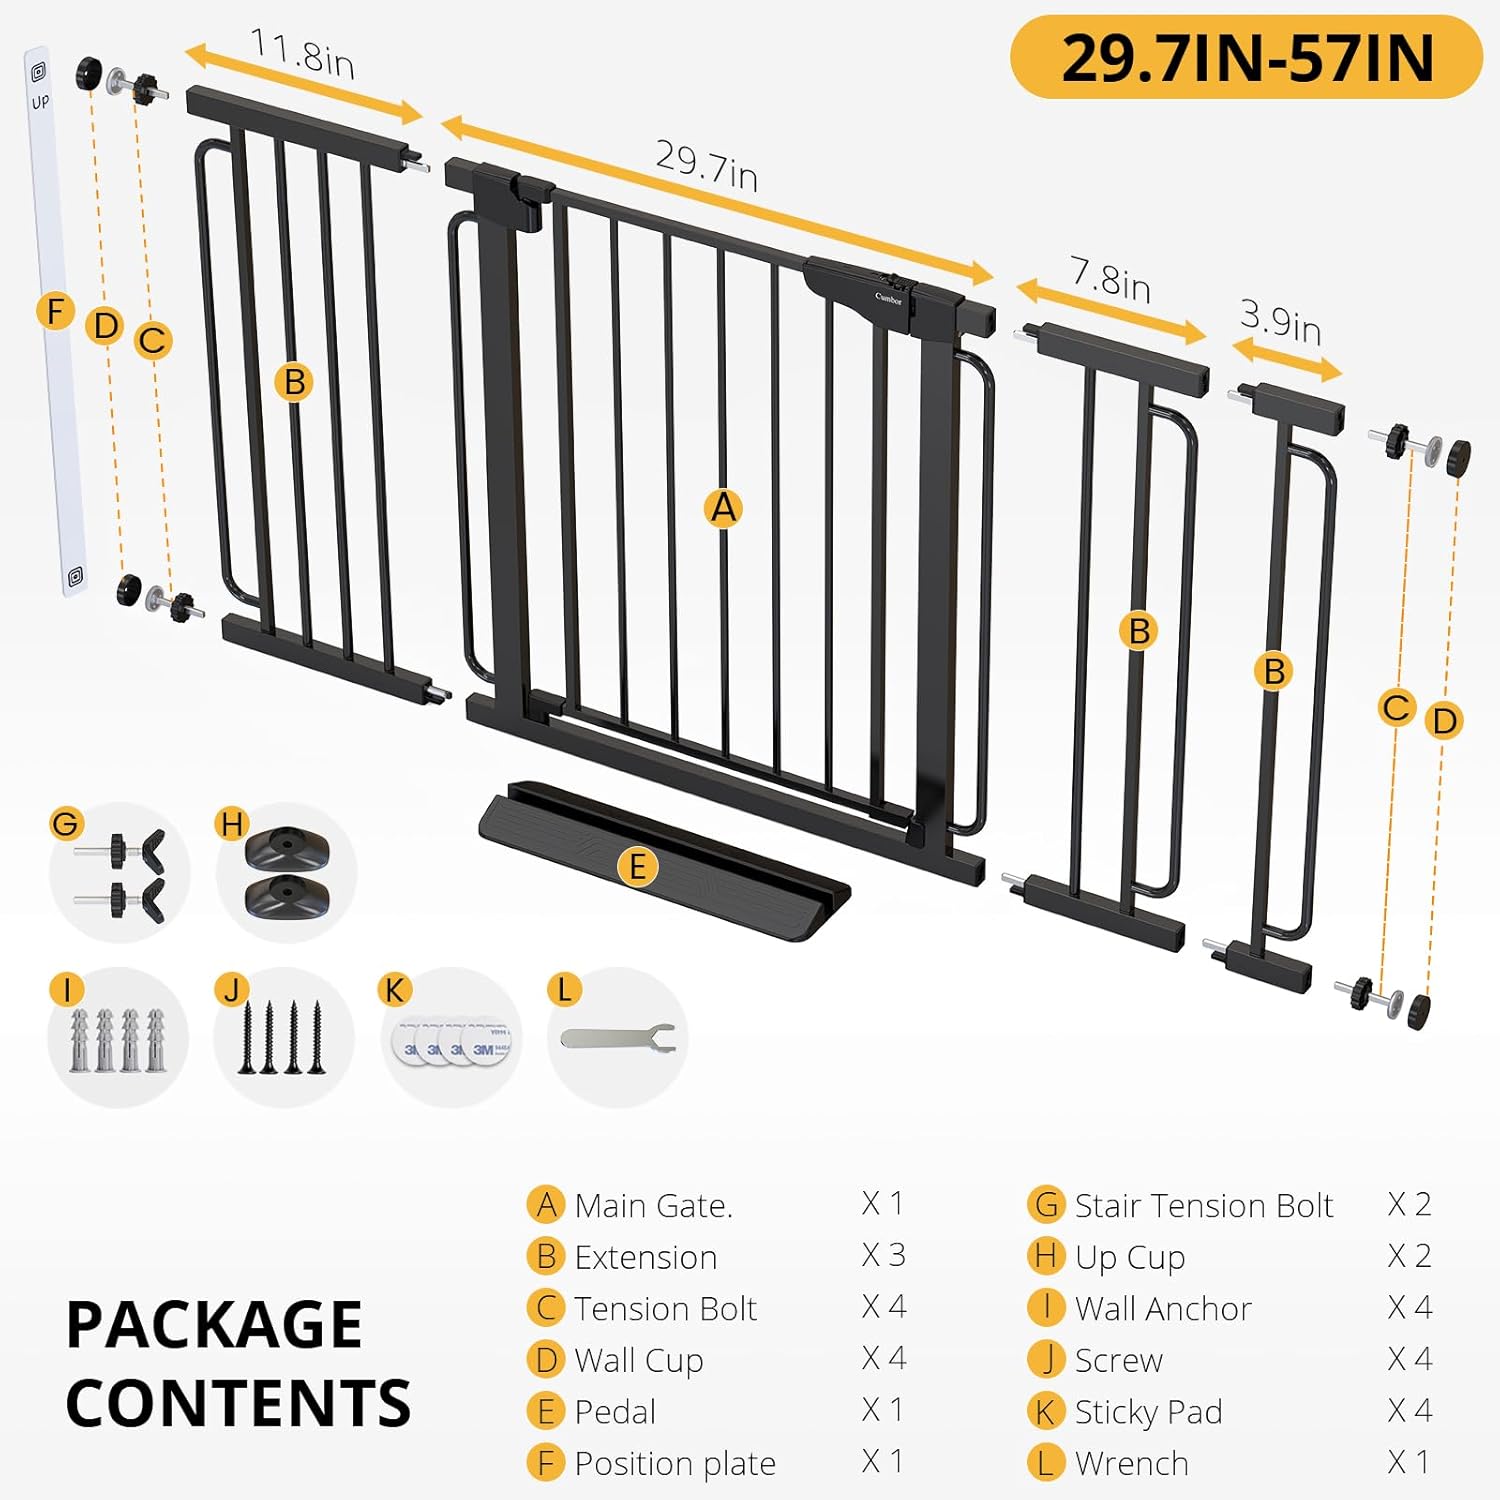
Figure 1: Package Contents - A visual guide to all components, including the main gate, extensions, tension bolts, wall cups, pedal, position plate, stair tension bolts, up cups, wall anchors, screws, sticky pads, and wrench.
| Item | Description | Quantity |
|---|---|---|
| A | Main Gate | 1 |
| B | Extension | 3 |
| C | Tension Bolt | 4 |
| D | Wall Cup | 4 |
| E | Pedal | 1 |
| F | Position Plate | 1 |
| G | Stair Tension Bolt | 2 |
| H | Up Cup | 2 |
| I | Wall Anchor | 4 |
| J | Screw | 4 |
| K | Sticky Pad | 4 |
| L | Wrench | 1 |
3. Setup and Installation
The Cumbor baby gate can be installed using a pressure-mount method (no drilling) or with optional hardware for added security. The gate is designed to fit openings from 29.7 to 57 inches wide.
Pre-Installation Note:
Upon unpacking, you may notice a gap between the gate frame and the door latch. This is normal for pressure-mounted gates and will close as the tension bolts are tightened during installation.

Figure 2: Initial Gap - The gate will have a gap before tension is applied.
3.1 Pressure-Mount Installation (No Hardware Required)
- Assemble Extensions: Attach the appropriate extensions (B) to the main gate (A) to match your opening width.
- Insert Tension Bolts: Insert the four tension bolts (C) into the holes at each corner of the gate frame.
- Position Gate: Place the assembled gate in the desired opening (doorway, hallway, or bottom of stairs).
- Tighten Tension Bolts: Rotate the tension bolts clockwise until the gate is securely held in place. Gradually tighten each bolt, alternating between sides, until the gap between the gate frame and the door latch is closed and the gate feels stable.
- Remove Zip Tie: Once the gate is securely installed and the gap is closed, carefully cut and remove the zip tie that holds the gate door in place during shipping.

Figure 3: Tightening Tension Bolt - Rotate the bolt to apply pressure and secure the gate.

Figure 4: Gap Closure - The gap disappears as the gate is properly tightened.
3.2 Optional Hardware Installation (for added security)
For permanent installation or use at the top of stairs, hardware mounting is recommended. This method uses wall cups (D) and screws (J) to provide a more secure attachment.
- Mark Positions: Place the gate in the desired location. Use a pencil to mark the positions for the wall cups (D) where the tension bolts will rest.
- Install Wall Anchors (if needed): For drywall, drill pilot holes and insert wall anchors (I). Tap them gently with a hammer until flush with the wall.
- Attach Wall Cups: Secure the wall cups (D) to the wall using screws (J). For smooth surfaces, sticky pads (K) can be used in conjunction with screws for extra grip.
- Position Gate and Tighten: Place the gate with tension bolts into the installed wall cups. Tighten the tension bolts (C) as described in the pressure-mount installation until the gate is secure and the gap is closed.

Figure 5: Drilling for Wall Anchors - Prepare the wall for hardware mounting.

Figure 6: Inserting Wall Anchor - Secure the anchor into the wall.

Figure 7: Attaching Wall Cup - Screw the wall cup into place.
3.3 Installation on Rounded Banisters
For rounded banisters, use the Y-pressure mount components (G, H) instead of standard tension bolts and wall cups. These are designed to securely grip curved surfaces.
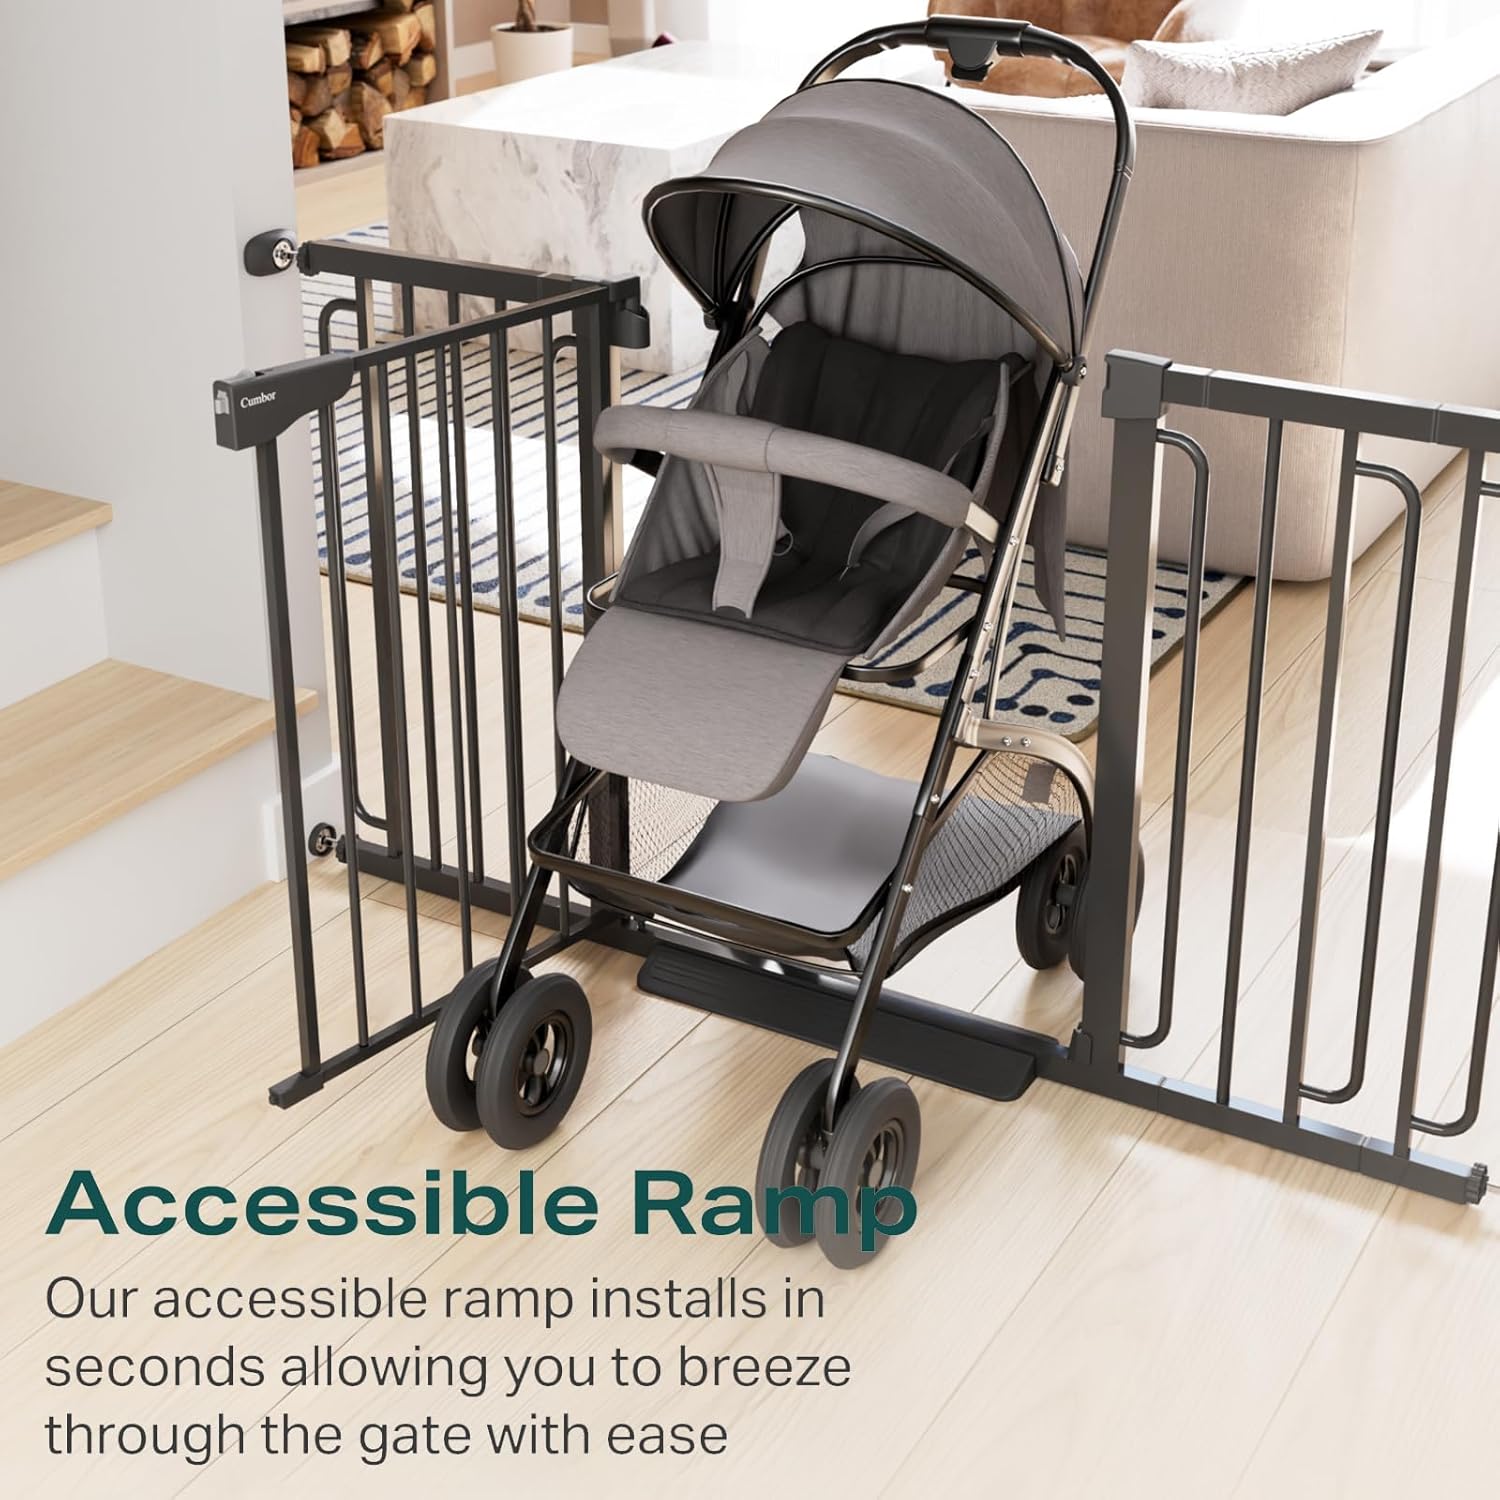
Figure 8: Y-Pressure Mount - Specialized mount for rounded banisters.
4. Operating Instructions
The Cumbor baby gate is designed for convenient single-hand operation while maintaining high safety standards.
4.1 Opening the Gate
- Locate Safety Release: The gate features a double-lock safety release mechanism on the top of the handle.
- Press and Lift: Simultaneously press the button on the top of the handle and lift the gate door to disengage the lock.
- Swing Open: Swing the gate door open in either direction.
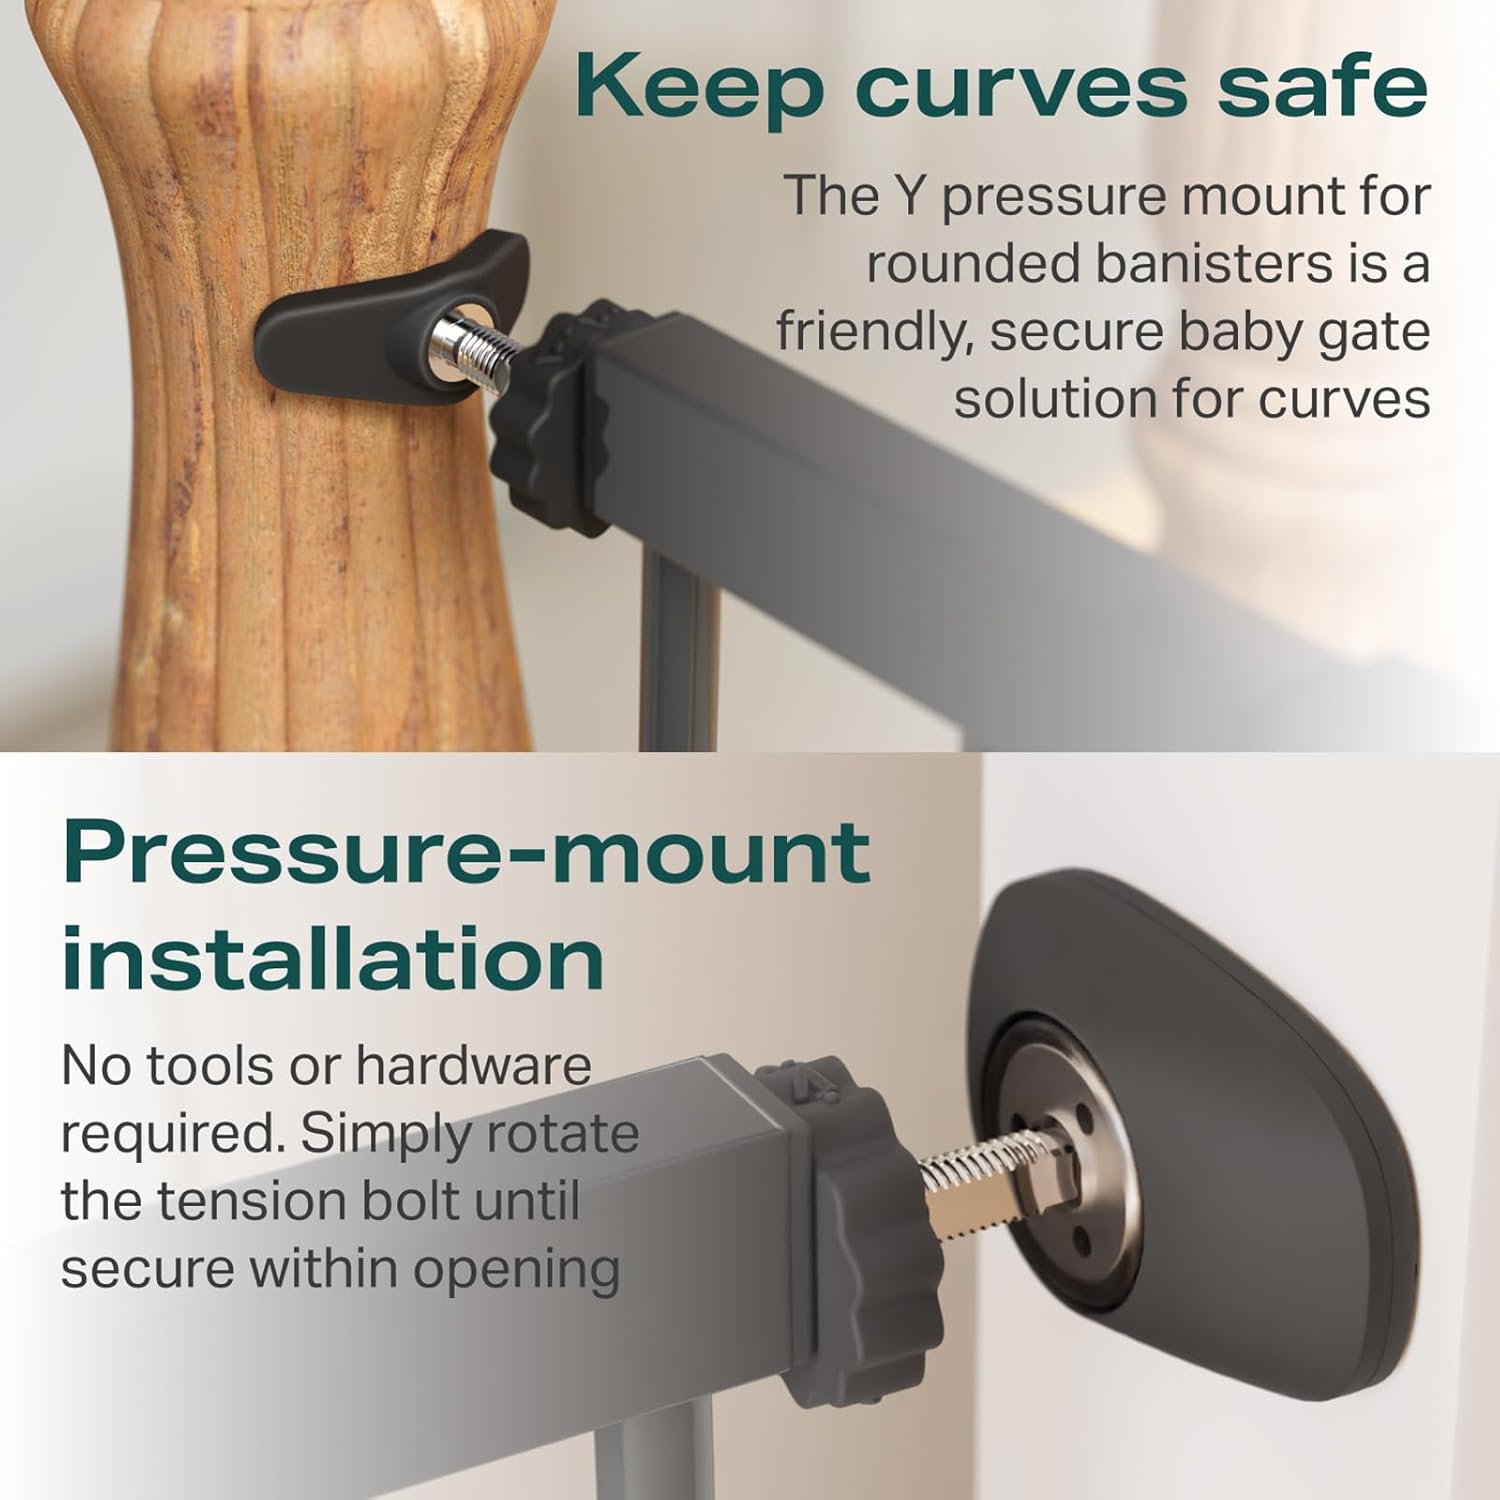
Figure 9: Double-Lock Safety Release - Press and lift to open.
4.2 Closing and Locking the Gate
- Auto-Close Feature: The gate door will automatically swing shut and lock when opened less than 90 degrees.
- Manual Close: If the gate is opened to 90 degrees or more, it will stay open. To close, gently push the gate door until it swings back and locks automatically.
- Verify Lock: Always ensure the gate door is securely latched by gently pulling on it.

Figure 10: Auto-Close and Auto-Lock Hinge - Ensures the gate closes securely.
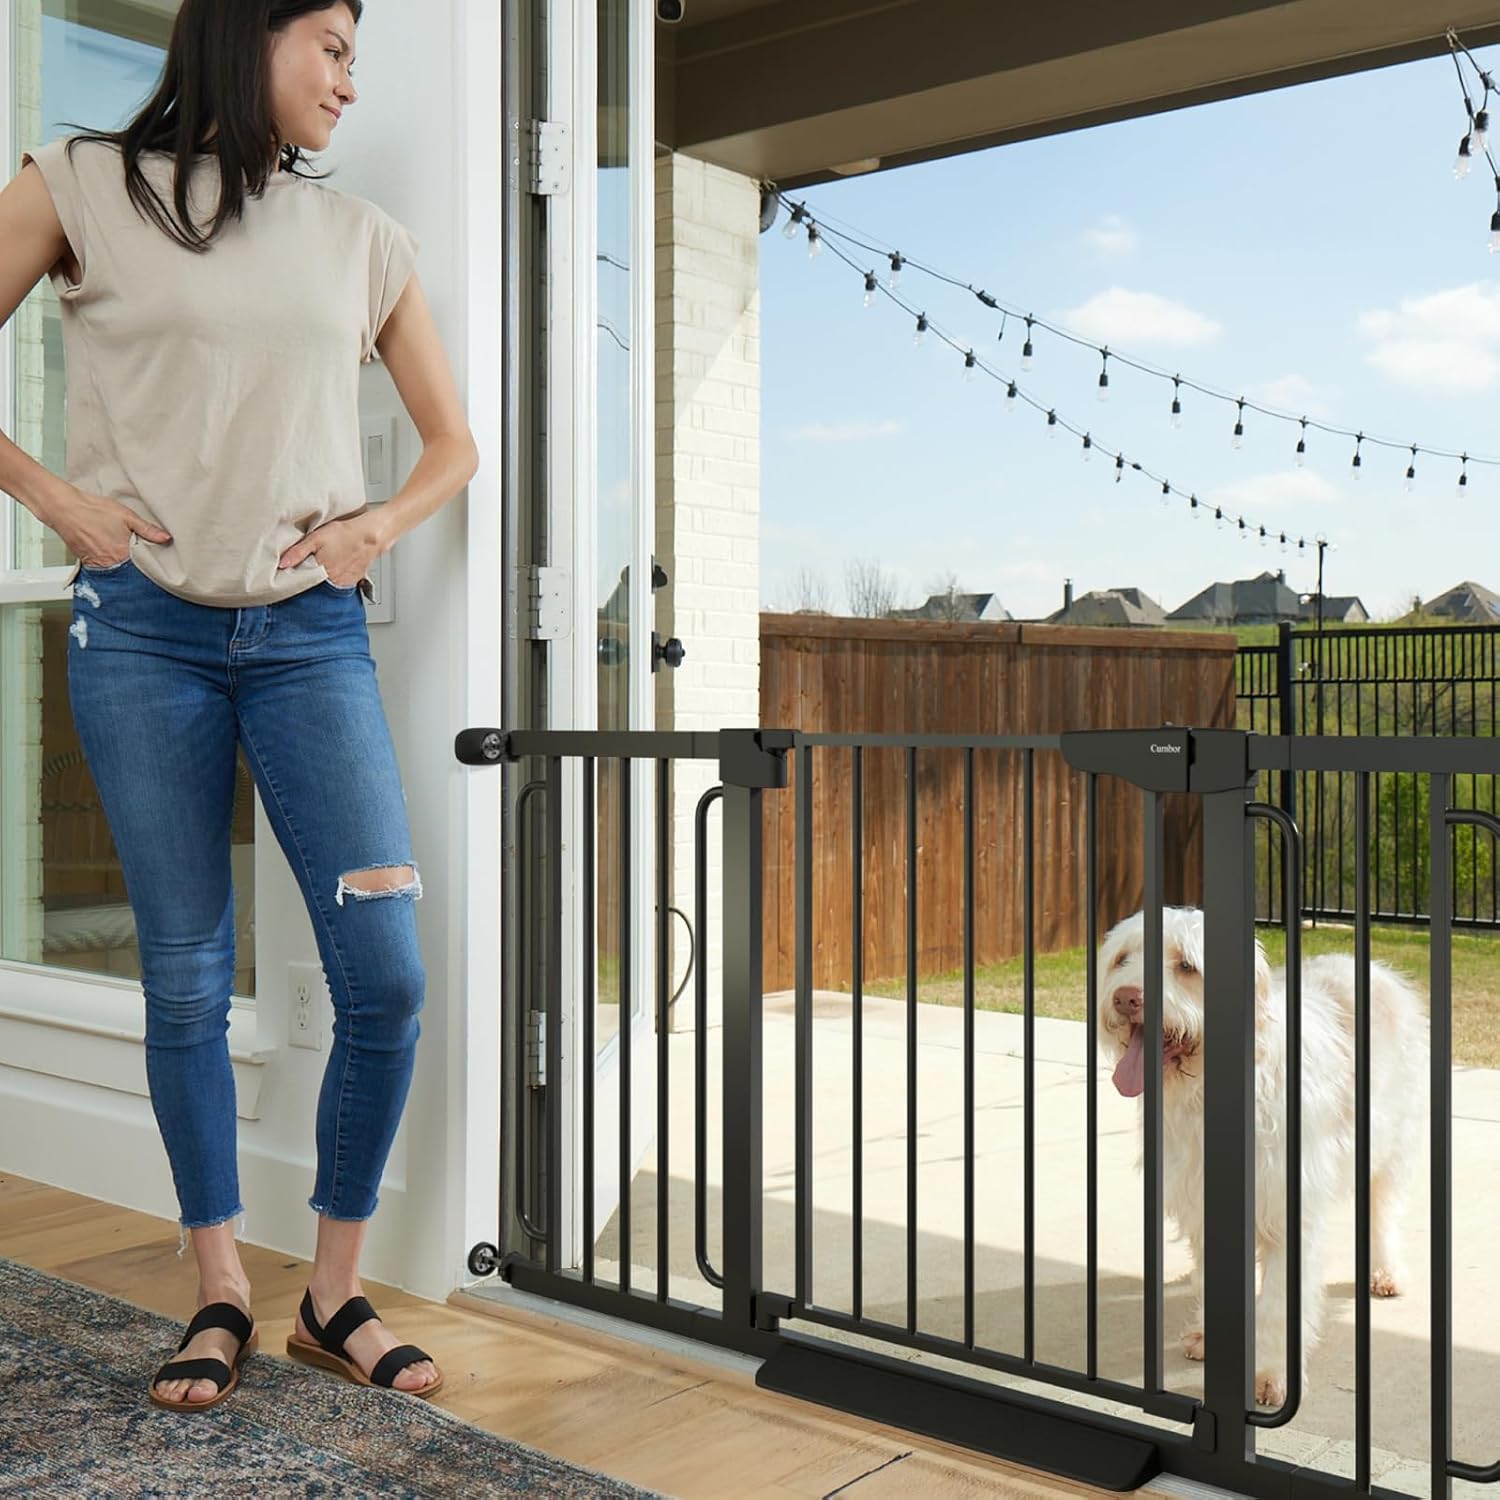
Figure 11: Gate Swing Mechanism - Demonstrates auto-close and stay-open features.
4.3 Accessible Ramp
The included accessible ramp (E) can be installed at the bottom of the gate to provide a smooth transition, reducing the risk of tripping, especially when pushing a stroller.
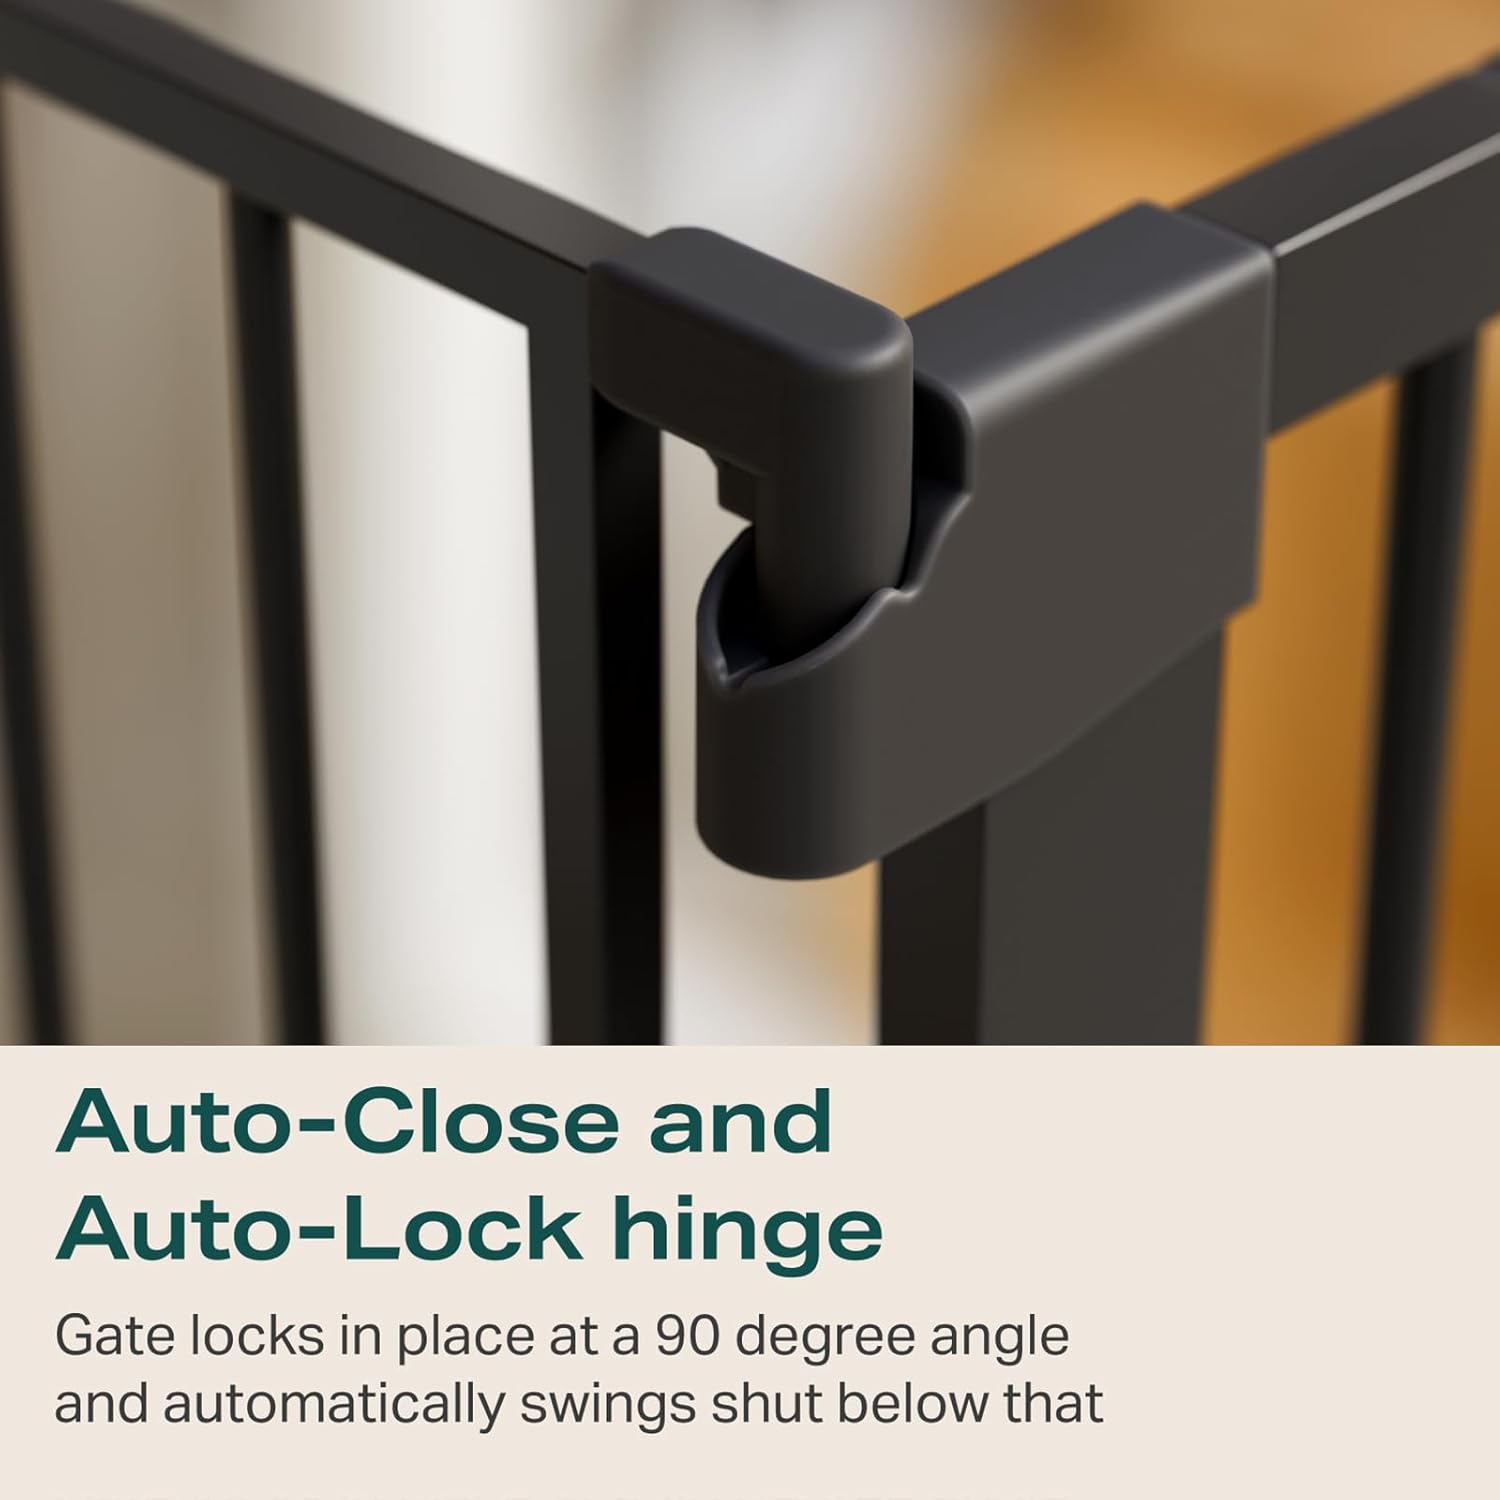
Figure 12: Accessible Ramp - Facilitates smooth passage through the gate.
5. Maintenance
Regular maintenance ensures the longevity and safe operation of your Cumbor baby gate.
- Cleaning: Wipe the gate with a soft, damp cloth and mild soap. Do not use abrasive cleaners or harsh chemicals, as these can damage the finish.
- Inspection: Periodically check all parts for wear, damage, or loose connections. Ensure all tension bolts are tight and the gate mechanism operates smoothly.
- Lubrication: If the hinge mechanism becomes stiff, apply a small amount of silicone-based lubricant (avoid oil-based lubricants) to the moving parts.
6. Troubleshooting
If you encounter issues with your Cumbor baby gate, refer to the following common solutions:
- Gate not closing properly: Ensure the gate is installed squarely within the opening. Re-tighten the tension bolts evenly on all four corners until the gap is closed and the latch aligns correctly.
- Gate feels unstable: Re-tighten all tension bolts. If using pressure-mount only, consider using the optional hardware installation for increased stability, especially in high-traffic areas or at the top of stairs.
- Difficulty opening/closing latch: Check for any obstructions around the latch mechanism. Ensure the gate is not overtightened, which can cause the latch to bind. If the latch is stiff, a small amount of silicone lubricant may help.
- Gate not fitting opening: Ensure you have used the correct combination of extensions for your opening width (29.7-57 inches).
7. Specifications
| Feature | Detail |
|---|---|
| Model Number | S7V2 |
| Mounting Type | Pressure Mounted |
| Material | Carbon Steel |
| Color | Black |
| Product Dimensions | 57"W x 30.5"H (fully extended) |
| Adjustable Width | 29.7 - 57 inches |
| Item Weight | 18.06 pounds (8.21 Kilograms) |
| Age Range | 6-24 Months |
| UPC | 860005877461 |
8. Warranty and Support
For warranty information, product support, or to purchase replacement parts, please contact Cumbor customer service. Refer to the product packaging or the official Cumbor website for contact details.
Additional protection plans may be available for purchase separately.


