
Introduction
The AMIR Digital Alarm Clock features a large LED display and multiple functions designed for convenience and readability. This manual provides detailed instructions for setting up and operating your new alarm clock, ensuring you can utilize all its features effectively.

This image shows the sleek, full black design of the AMIR Digital Alarm Clock with its prominent white LED display.
Product Overview & Dimensions
The clock features a large LED display for clear visibility. It supports 12/24H format, DST mode, night mode, and alarm functions. The compact design makes it suitable for various settings.

This image illustrates the clock's dimensions (6.3" x 2.36") and highlights features like 12/24H format, DST, Night mode, Touch Snooze, Date, and Type-C Port.
Setup
Power Supply
The AMIR Digital Alarm Clock offers two power supply options: Type-C USB cable and 3 AAA batteries (not included). For continuous display and time memory function, it is recommended to use both the Type-C cable for power and AAA batteries for backup.
- USB Power: When powered by the Type-C cable alone, the screen will always be on.
- Battery Power: When using only battery power, the screen will turn off after 10 seconds to enter power-saving mode. Press any button to light it up. Battery power also provides a memory function, retaining previous time settings after a power outage.

This image illustrates how to insert 3 AAA batteries and connect the USB Type-C cable for power. Note that the screen will auto-off after 10 seconds on battery power, but stays on with USB power.
Battery Installation
To install batteries, open the battery compartment on the back of the clock and insert 3 AAA batteries, ensuring correct polarity (+/-). This provides backup power and memory function.
This video demonstrates the initial setup, including battery installation and basic time setting procedures.
Operating Instructions
Setting Time and Date
The clock supports both 12-hour and 24-hour display formats. You can easily switch between them and set the current time and date.
- Press and hold the "MODE" button until the 12/24 hour display flashes. Use "UP" or "DOWN" to select your preferred format.
- Press "MODE" once more; the hour will flash. Use "UP" or "DOWN" to adjust the hour.
- Press "MODE" again; the minutes will flash. Use "UP" or "DOWN" to adjust the minutes.
- To set the date, press "MODE" until the year flashes. Use "UP" or "DOWN" to set the year.
- Press "MODE" again; the month will flash. Use "UP" or "DOWN" to set the month.
- Press "MODE" again; the day will flash. Use "UP" or "DOWN" to set the day.
- Press "MODE" one last time to exit setting mode.

This image highlights the location of the control buttons used for setting time, date, and other functions.
This video demonstrates how to set the time and date on your alarm clock.
Adjusting Brightness
The clock offers 3 levels of brightness (Bright/Medium/Low/Ultra Low/Off) and an automatic dimming feature for night mode.
- Press "UP" or "DOWN" to cycle through the brightness levels.
- The digital alarm clock will automatically dim during 19:00-7:00 under night mode (fixed and non-adjustable).
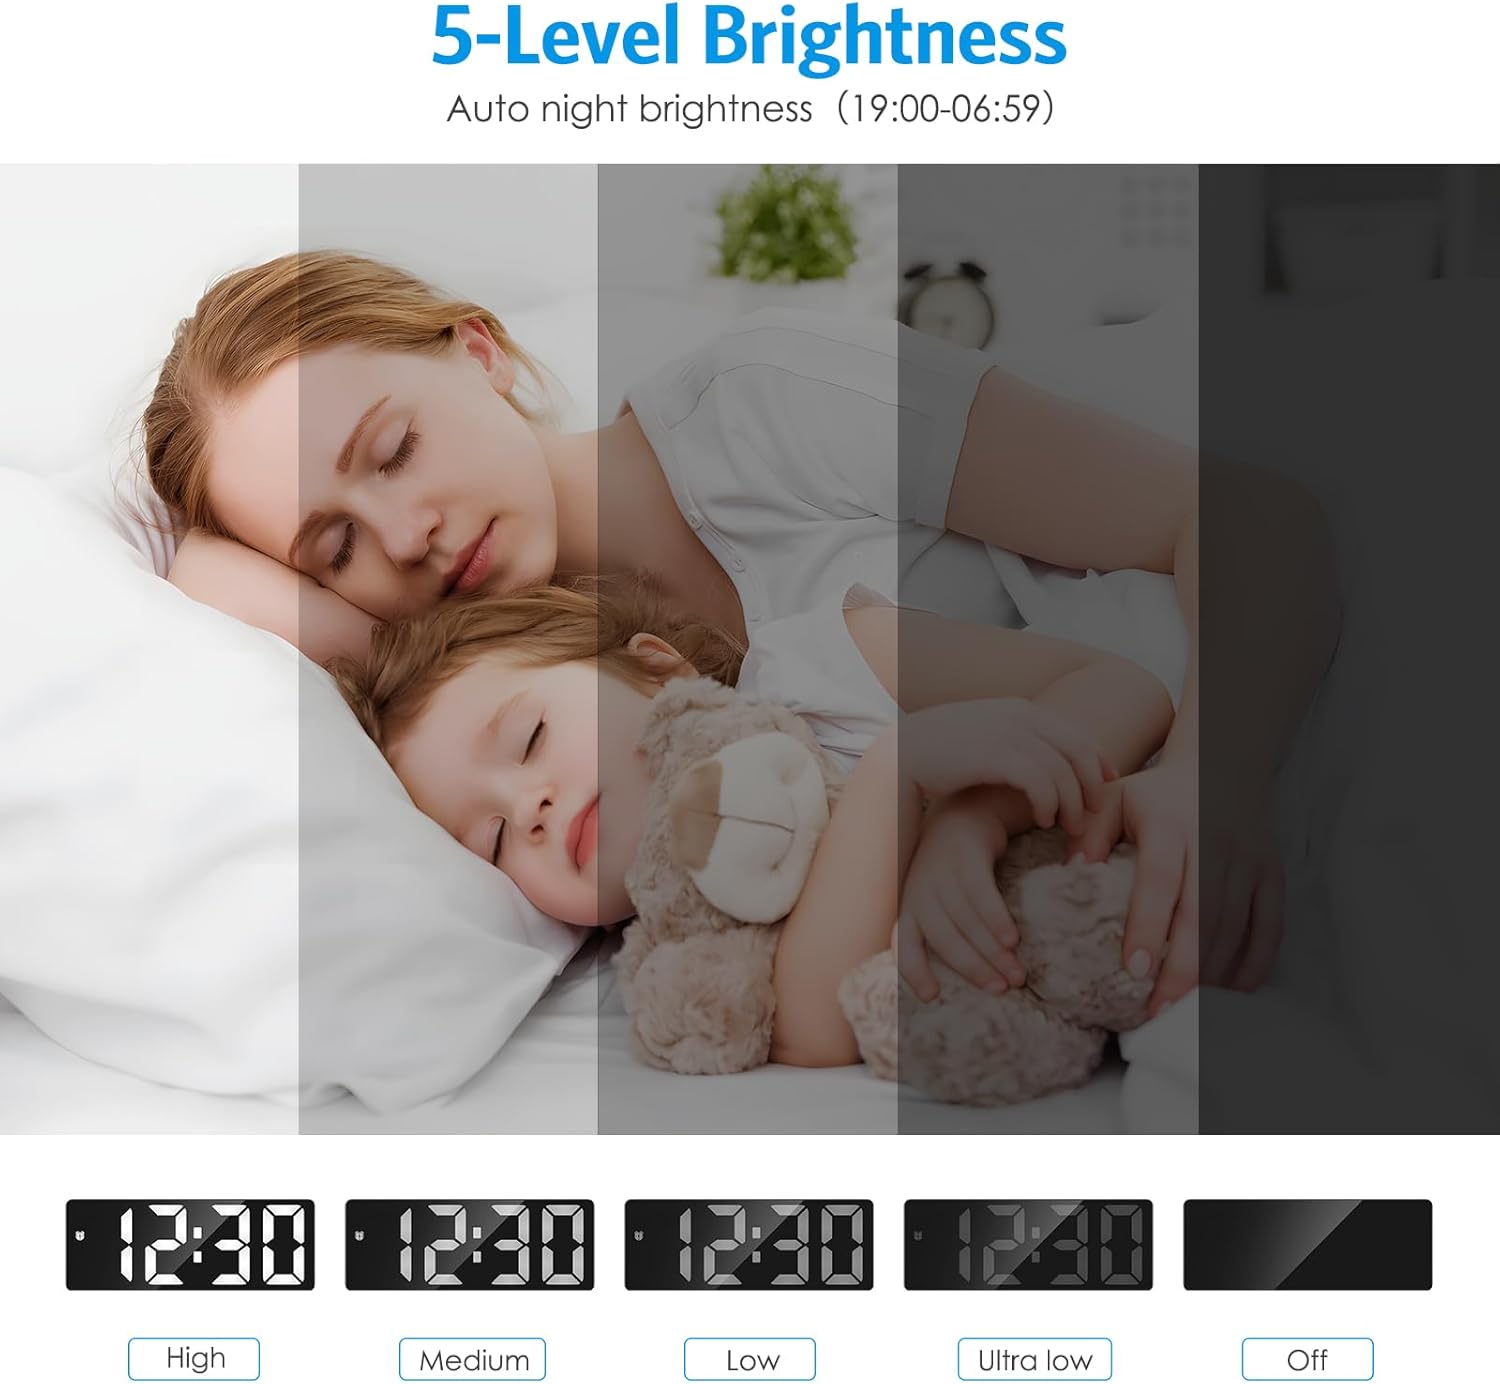
This image visually represents the different brightness settings available for the clock display.
This video demonstrates how to adjust the display brightness.
Setting Alarm & Snooze
The clock offers 4 alarm modes and a convenient snooze function.
- Long press "ALARM" to enter alarm setting mode. The hour will flash. Use "UP" or "DOWN" to set the desired alarm hour.
- Press "ALARM" again; the minutes will flash. Use "UP" or "DOWN" to set the desired alarm minutes.
- Press "ALARM" again; the snooze time (default 9 minutes) will flash. Use "UP" or "DOWN" to adjust snooze duration (5-60 minutes).
- Press "ALARM" again; the working day mode will flash. Use "UP" or "DOWN" to select from: Monday-Friday, Monday-Saturday, Monday-Sunday, or Saturday-Sunday.
- Press "ALARM" one last time to exit alarm setting mode.
- To activate/deactivate the alarm, press "ALARM" twice. The alarm symbol will appear/disappear.
- When the alarm sounds, press the "SNOOZE" button for 9 minutes of extra sleep. Press any other button to cancel the alarm.

This image demonstrates the snooze function and the four available alarm modes for different days of the week.
This video provides a step-by-step guide on setting and managing the alarm and snooze functions.
A quick demonstration on how to set the alarm on the AMIR LED Alarm Clock.
Daylight Saving Time (DST) Function
The built-in DST function automatically adjusts the time without manual intervention when activated.
- Press the "DOWN/DST" button to turn DST on or off.

This image shows the button for activating or deactivating the Daylight Saving Time feature.
Temperature Display
The clock can display the indoor temperature in Celsius or Fahrenheit.
- Press "MODE" twice, then use "DOWN" to switch between °C and °F.
This video segment demonstrates how to switch between Celsius and Fahrenheit temperature displays.
Activating Display (Battery Mode)
When powered by batteries, the LED screen automatically turns off after 10 seconds to conserve power. You can activate the display by pressing any button or by making a loud noise.
- Press any button on the clock.
- Make a loud noise, such as clapping your hands, to activate the display.
Maintenance
To ensure the longevity and optimal performance of your AMIR Digital Alarm Clock, follow these simple maintenance guidelines:
- Clean the clock regularly with a soft, dry cloth. Avoid using abrasive cleaners or solvents.
- Keep the clock away from direct sunlight, extreme temperatures, and high humidity.
- Ensure proper ventilation around the clock to prevent overheating.
- If using batteries, replace them annually or when the display starts to dim significantly.
Troubleshooting
If you encounter any issues with your AMIR Digital Alarm Clock, please refer to the following common problems and solutions:
| Problem | Possible Cause | Solution |
|---|---|---|
| Clock does not light up/display. |
|
|
| Time/settings are lost after power off. |
|
|
| Display is too bright/dim. | Incorrect brightness setting or night mode active. | Press "UP" or "DOWN" to adjust brightness. Note that night mode automatically dims the display from 19:00-7:00. |
Specifications
| Feature | Detail |
|---|---|
| Brand | AMIR |
| Model Number | WA33-AU |
| Color | Full Black |
| Display Type | Digital |
| Product Dimensions | 1"W x 2.36"H |
| Power Source | Type-C + Battery Power (3 AAA batteries) |
| Special Features | Adjustable Brightness, Snooze, Alarm, Power Saving Mode, Temperature Display, Large Display, Auto Dimmable, Date Display, Working Day Mode, Night Mode, Illuminated |
| Material | Plastic |
| Item Weight | 5.3 ounces |
Warranty & Support
This product comes with a one-year warranty. For any return or exchange inquiries, please contact our after-sales service team directly.
For further assistance or technical support, please refer to the contact information provided with your product packaging or visit the official AMIR website.

