
Adviace 2-Burner
Adviace Grill Replacement Parts User Manual
Model: 2-Burner Kit
Product Overview
This manual provides detailed instructions for the installation, operation, and maintenance of your Adviace 2-Burner Grill Replacement Parts. This kit is designed to renew the performance and extend the lifespan of your compatible gas grill.
The replacement kit includes:
- 2 x Stainless Steel Burners
- 2 x Porcelain-Coated Steel Heat Tents
- 2 x Ignitors
- 1 x Adjustable Carryover Tube

Image: Complete Adviace 2-Burner Grill Replacement Parts Kit, showing burners, heat tents, ignitors, and carryover tube.
Compatibility
This Adviace 2-Burner Grill Replacement Parts kit is compatible with a wide range of Charbroil and Kenmore gas grill models. Please verify your grill's model number against the list below to ensure proper fit.
Compatible Charbroil Models:
463243911, 463243812, 463246910, 463270614, 463270613, 463270612, 463270611, 463246909, 463270610, 463247412, 463257110, 463247109, 463270912, 463270913, 463261709, 463244011, 463257010, 463247009, 463251512, 463215513, 463247512, 463247310, 463215512, 463212511, 463247209, 463267113, 463224611, 463225315, 463271314, 463271315, 463271913, 463225312, 463224912, 463231711, C-46G5CB, 463215713, 463271313, 463215714, 463271312, 463215712, 463270512, 463271309, 463262812, 463270909, 463271912, 466231711, 463262210, 463262211, 463263110, 463273614, 466224611, 466244011, 466244012, 466246910, 466247110, 466247310, 466247512, 466270610, 466270611
Compatible Kenmore Models:
415.16657900, 16657, 415.16167210, 415.16657900G, 415.90114110

Image: Visual guide showing various compatible Charbroil grill models.
Specifications
The Adviace 2-Burner Grill Replacement Parts are manufactured with durable materials to ensure longevity and optimal performance.
| Component | Dimensions | Material |
|---|---|---|
| Burners | 15 15/16" L x 1" Dia. | Durable Stainless Steel |
| Heat Tents | 16" L x 3 13/16" W | Porcelain-Coated Steel |
| Carryover Tube | Adjustable from 5" - 9" L | Durable Stainless Steel |
| Ignitor Wires | 35.5" L | Braided Cable |

Image: Diagram illustrating the precise dimensions of the burner, heat tent, and carryover tube.

Image: Close-up view of the burners highlighting high hardness stainless steel, strong rust-resistance, corrosion-resistance, and sturdy, durable construction.

Image: Close-up view of the heat tent emphasizing premium quality porcelain steel, strong corrosion resistance, strong heat resistance, and non-toxic properties.
Installation Guide
Replacing your grill parts is a straightforward process that can significantly improve your grill's performance. Always ensure your grill is cool and disconnected from its gas supply before beginning any installation.
Step 1: Preparation
- Ensure the grill is completely cool.
- Turn off the gas supply at the tank and disconnect the gas line from the grill.
- Open the grill lid and remove cooking grates and heat diffusers/flame tamers.
Step 2: Removing Old Parts
- Carefully remove the old burners. They may be held in place by screws or pins.
- Disconnect any old ignitor wires from the ignitor box.
- Remove the old heat tents.
- Remove the old carryover tube.
Step 3: Installing New Burners and Ignitors
- Insert the new stainless steel burners into their designated positions. Ensure they are properly seated over the gas orifices.
- Attach the new ignitors to the burners. The ignitor wires are 35.5 inches long for ample reach.
- Connect the ignitor wires to the ignitor module.
- Install the adjustable carryover tube, extending it to bridge the burners as needed (5" to 9" length).

Image: Close-up showing the ignitor attachment to the burner, highlighting easy installation without screws and the 35.5-inch wire length.
Step 4: Installing New Heat Tents
- Place the new porcelain-coated steel heat tents over the burners. Ensure they are correctly positioned to cover the burners and distribute heat.
Step 5: Final Checks
- Replace the cooking grates.
- Reconnect the gas line and slowly turn on the gas supply.
- Perform a leak test on all gas connections using a soapy water solution. Bubbles indicate a leak.
- Light the grill to ensure all burners ignite properly and produce an even flame.
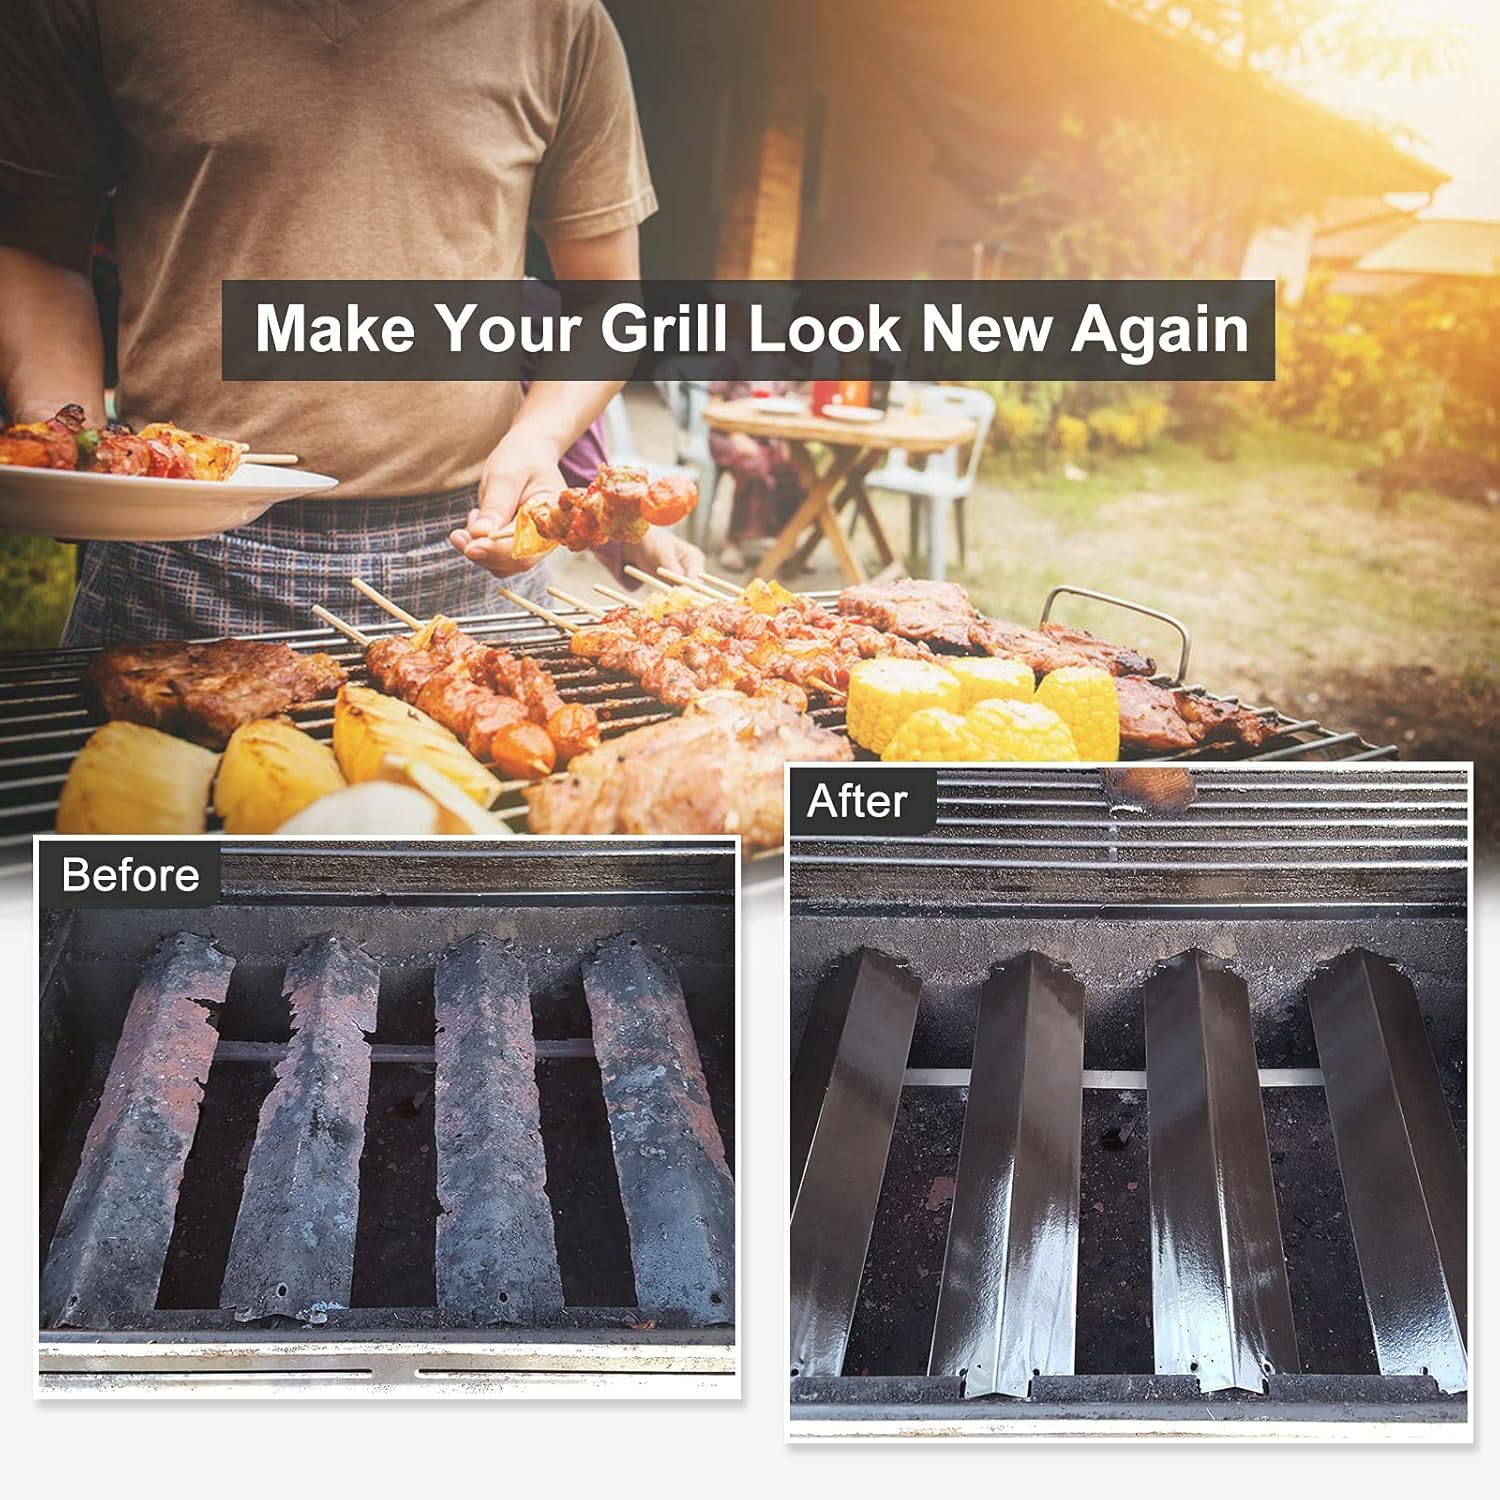
Image: Side-by-side comparison showing a grill with old, worn-out heat tents (Before) and the same grill with new, shiny replacement heat tents installed (After).
Operation and Performance
With your new Adviace replacement parts, your grill will experience enhanced performance and efficiency.
Even-Heat System
The angled flame tamers (heat tents) are designed to distribute heat evenly across the cooking surface. This system also helps to prevent flare-ups by vaporizing food drippings, infusing smoky flavors into your food rather than causing excessive flames.
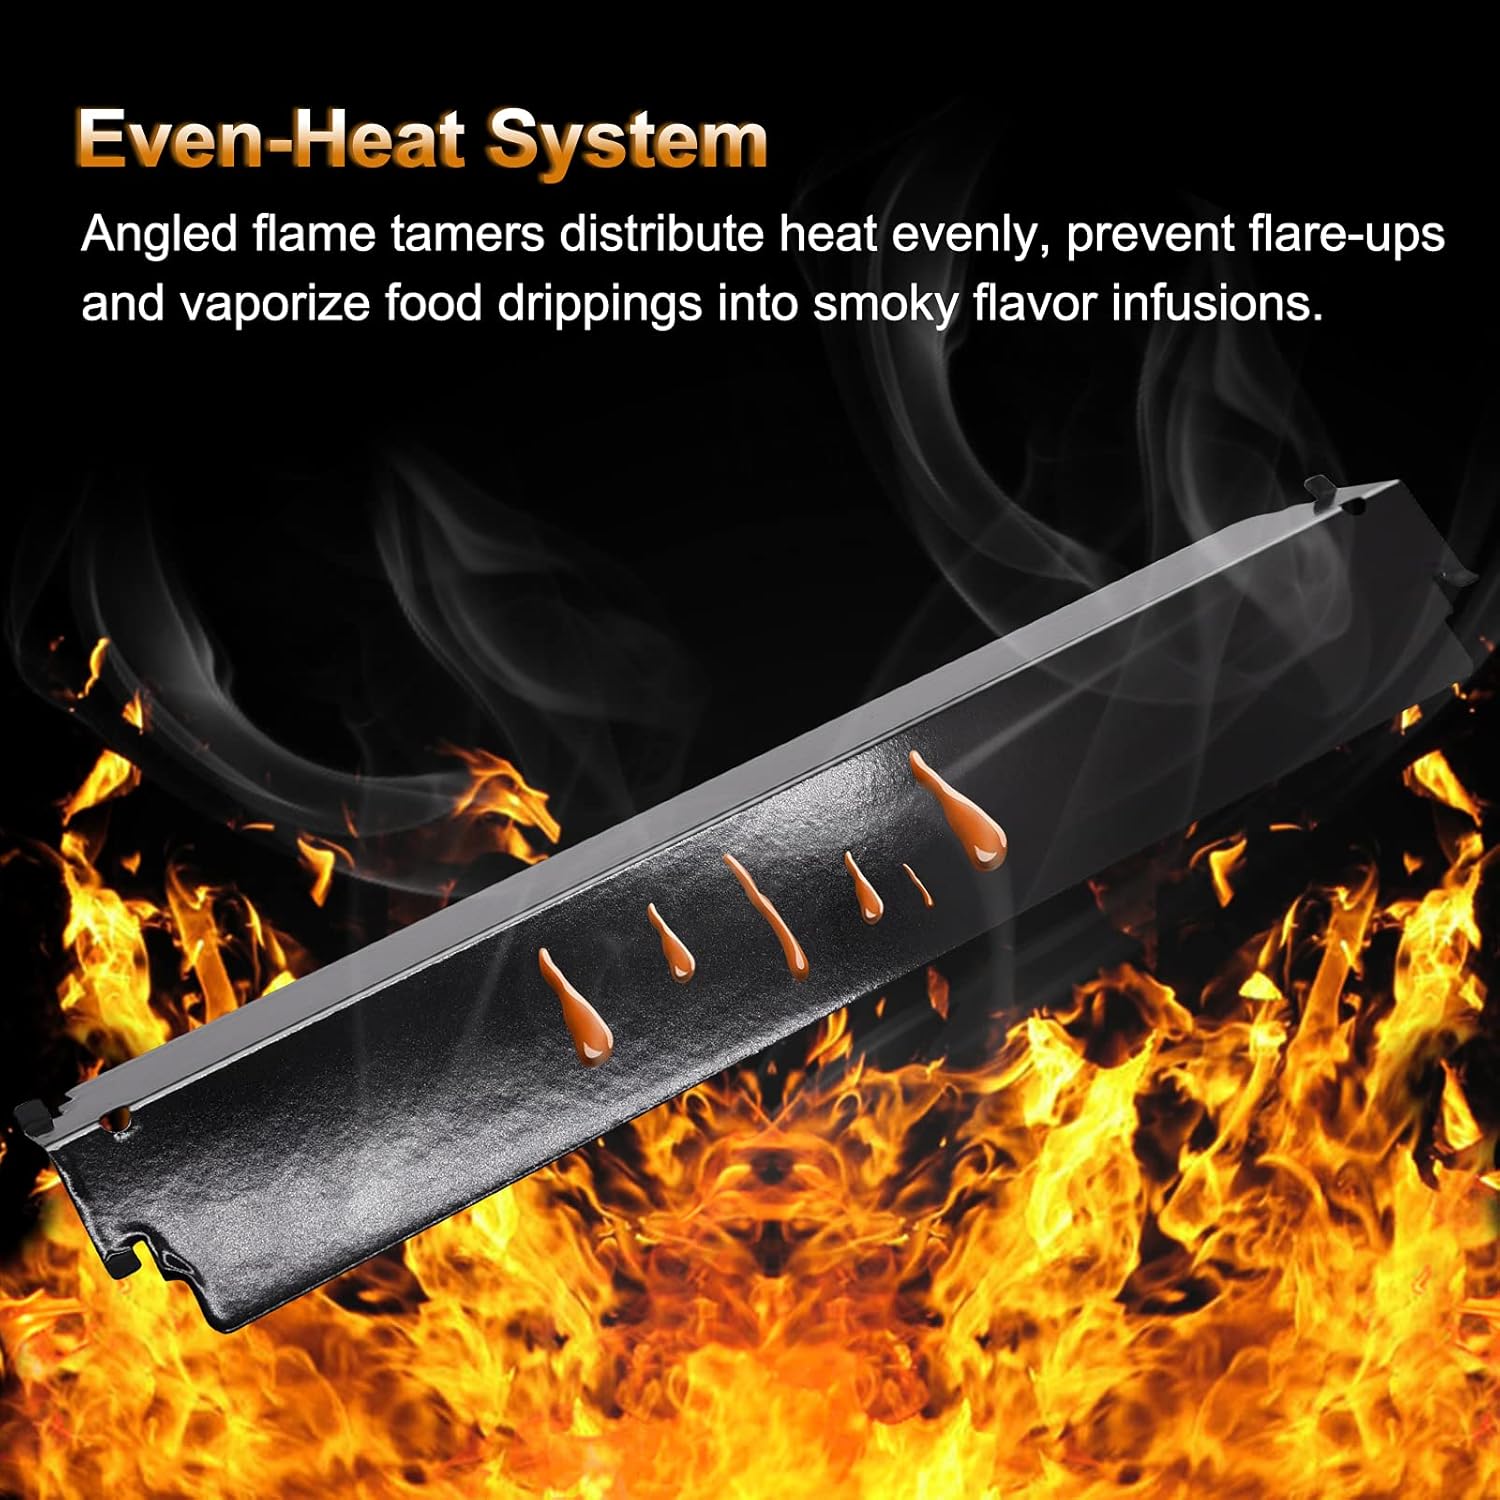
Image: Diagram illustrating how angled flame tamers distribute heat evenly and vaporize food drippings to prevent flare-ups.
Care and Maintenance
Proper care and maintenance will ensure the longevity of your Adviace grill replacement parts.
Cleaning Instructions
The porcelain-coated steel heat tents utilize an enamel production process, making them non-stick and easy to clean. Regularly clean the heat tents and burners to prevent grease buildup and maintain optimal performance.
- Allow parts to cool completely before cleaning.
- Use a soft cloth or sponge with mild soap and water to wipe down the heat tents and burners.
- Avoid abrasive cleaners or scouring pads that could damage the porcelain coating or stainless steel finish.
- Ensure all parts are dry before reassembling or using the grill.

Image: Visual representation of the easy-to-clean surface of the heat tents, showing a cloth wiping away residue.
Tips for Extending Lifespan
- Regularly inspect burners for blockages and clean as needed.
- Keep the grill covered when not in use to protect against elements.
- Address any issues promptly to prevent further damage to components.
Troubleshooting
If you encounter issues with your grill after installing the replacement parts, refer to the common problems and solutions below.
Uneven Heat Distribution
- Cause: Blocked burner ports or improperly seated heat tents.
- Solution: Ensure burner ports are clear of debris. Verify that heat tents are correctly positioned over the burners and are not warped.
Burner Not Igniting
- Cause: Loose ignitor wire, faulty ignitor, or gas flow issue.
- Solution: Check that ignitor wires are securely connected to both the ignitor and the module. Ensure gas is flowing to the burner. If the ignitor is sparking but the burner isn't lighting, check for gas blockages in the burner tube.
Whistling Sound from Burner
- Cause: Minor manufacturing variation in burner holes or gas flow dynamics.
- Solution: This is typically not a functional issue. If it persists and is bothersome, ensure the burner is correctly seated and gas pressure is normal.
Parts Not Fitting Properly
- Cause: Incorrect model compatibility or slight variations in grill manufacturing.
- Solution: Double-check your grill's model number against the compatibility list. For minor fit issues, ensure all old components are fully removed and new parts are aligned correctly. Some older grills may require minor adjustments due to wear.
Warranty and Support
Adviace is committed to providing high-quality grill replacement parts. While specific warranty details are not provided in this manual, we stand by the quality of our products.
For any questions, concerns, or support needs regarding your Adviace grill replacement parts, please visit the official Adviace Store on Amazon or contact customer service through the platform where you purchased the product.
Ask a question about this manual
Ask about setup, troubleshooting, compatibility, parts, safety, or missing instructions. Manuals+ will review the question and use this page’s manual context to help answer it.