1. Introduction
This manual provides essential information for the safe and efficient operation of your Candy Smart Pro CSOE H8A2DE-S heat pump tumble dryer. Please read these instructions carefully before using the appliance and keep them for future reference. This appliance is designed for domestic use only.
The Candy Smart Pro CSOE H8A2DE-S is an 8 kg capacity heat pump tumble dryer featuring advanced connectivity, a variety of drying programs, and energy-efficient operation.

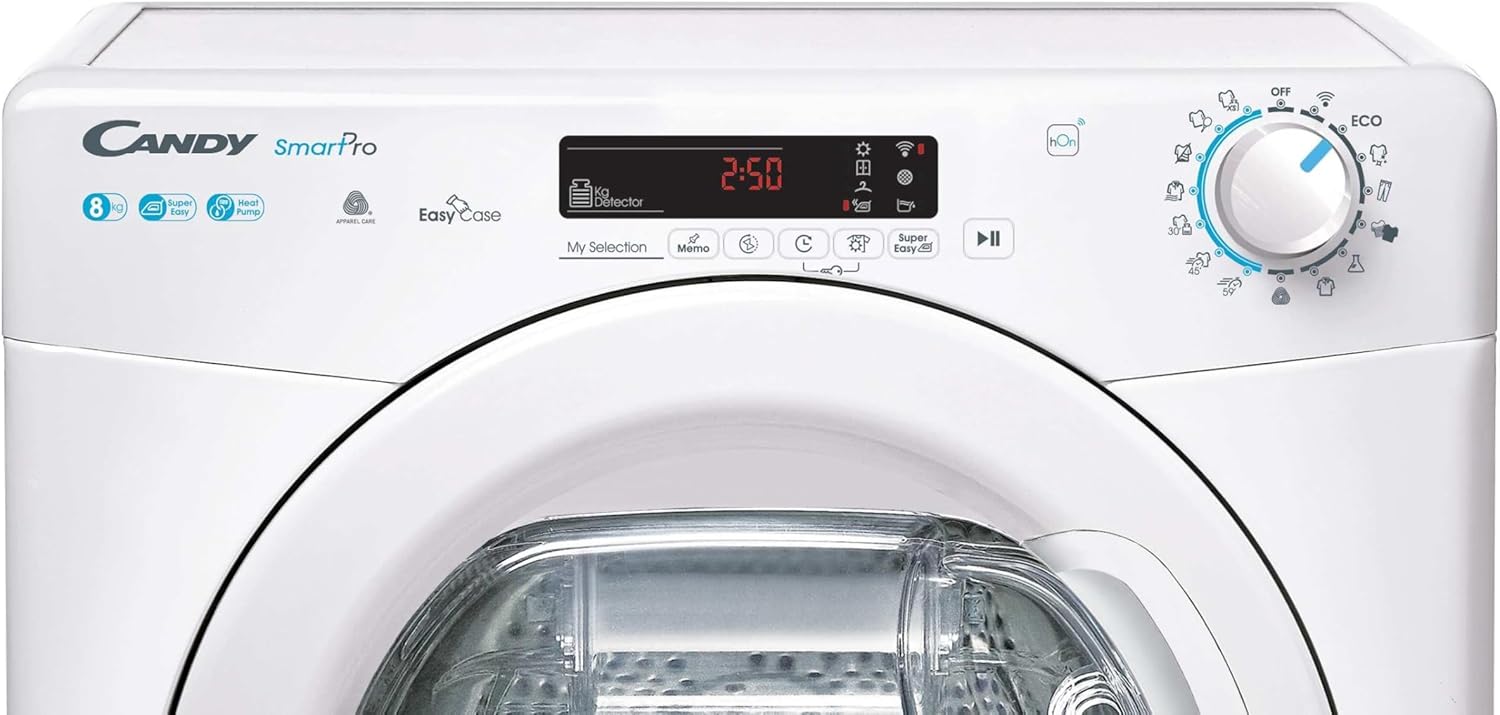
Front view of the Candy Smart Pro CSOE H8A2DE-S tumble dryer, showcasing its design and control panel.
2. Safety Information
Always follow basic safety precautions when using electrical appliances to reduce the risk of fire, electric shock, and injury to persons.
- Read all instructions before using the appliance.
- Do not allow children to play on or in the appliance. Close supervision of children is necessary when the appliance is used near children.
- Do not reach into the appliance if the drum is moving.
- Do not install or store this appliance where it will be exposed to the weather.
- Do not tamper with controls.
- Do not repair or replace any part of the appliance or attempt any servicing unless specifically recommended in the user-maintenance instructions or in published user-repair instructions that you understand and have the skills to carry out.
- After transport, it is essential to wait at least 4 hours before connecting the appliance to the mains supply. This allows the oil in the compressor to settle.
3. Installation and Setup
3.1 Unpacking
Carefully remove all packaging materials from the dryer. Ensure no parts are missing or damaged. Keep packaging materials out of reach of children.
3.2 Placement
Place the dryer on a firm, level floor. Ensure there is adequate ventilation around the appliance. Do not block the air intake or exhaust openings.
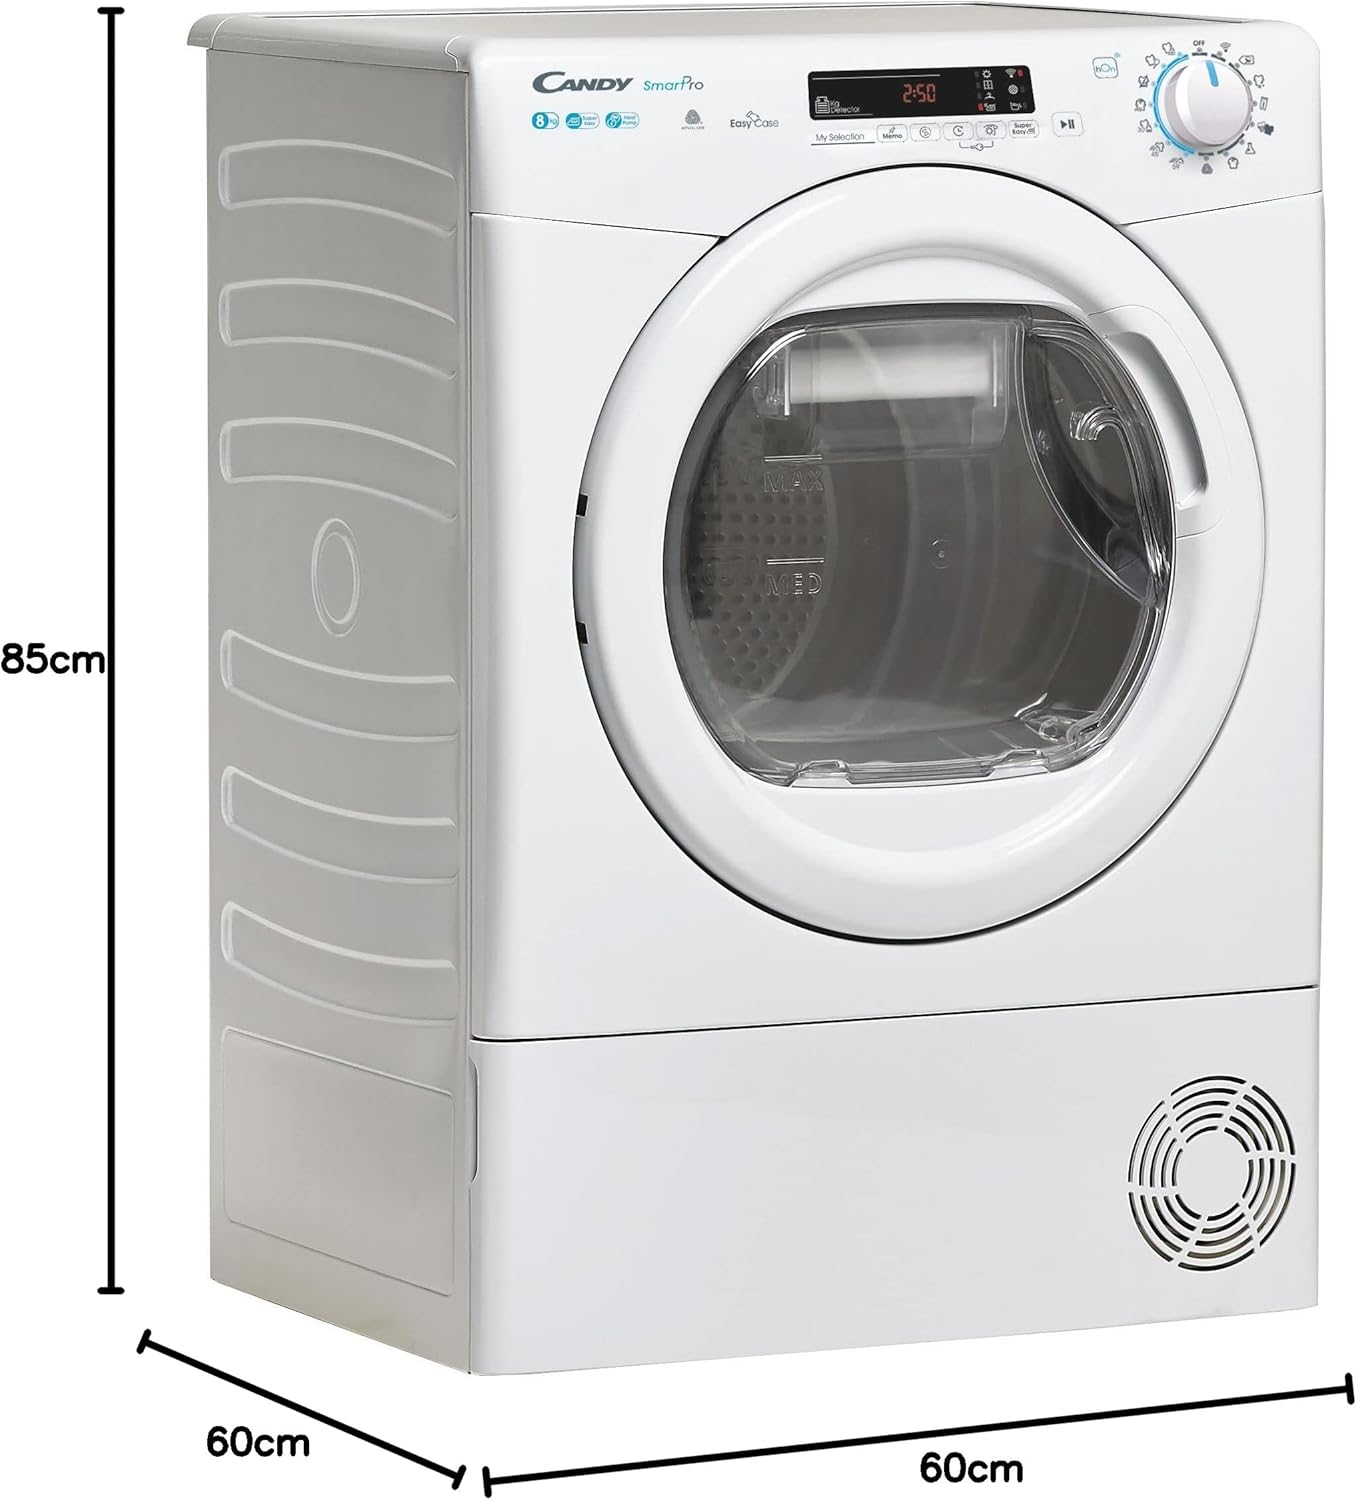
- Dimensions (H x W x D): 85 cm x 59.6 cm x 58.5 cm
- Weight: 41.5 kg

Diagram illustrating the height, width, and depth of the tumble dryer for proper placement.
3.3 Electrical Connection
Connect the dryer to a properly grounded electrical outlet. Ensure the voltage and frequency match the specifications on the rating plate of the appliance. Do not use extension cords or multiple socket adapters.
3.4 Water Drainage (EasyCase)
The dryer collects condensed water in the EasyCase container located in the door. This container must be emptied after each drying cycle. Alternatively, the dryer can be connected to a permanent drain using the provided hose, if applicable.
4. Operating Instructions
4.1 Control Panel Overview
The control panel features a program selector knob, a digital display, and various function buttons for customizing your drying cycle.

Detailed view of the control panel, showing the program selector, display, and function buttons.
4.2 Loading Laundry
Open the dryer door and load laundry into the drum. Do not overload the dryer; the maximum capacity is 8 kg. Ensure items are untangled before loading to promote even drying.

A person loading clothes into the tumble dryer, demonstrating typical usage.
4.3 Program Selection
Turn the program selector knob to choose the desired drying program. The dryer offers 16 programs tailored for different fabric types and drying needs.
- Easy Iron Program: This function detects the correct humidity level and reduces creases and tangles, making ironing easier.
- Wool Program: A delicate program approved by Woolmark, designed to safely dry wool garments labeled as machine washable.
- Refresh 20 min Program: Helps reduce creases and remove odors, facilitating ironing.
- Quick Programs: Includes rapid cycles, such as 30 minutes for up to 4 shirts, for efficient drying of smaller loads.

Image highlighting the quick drying programs, showing shirts dried in 30 minutes.

Image showing stacked wool garments and the Woolmark logo, indicating the specialized wool drying program.

Image depicting steam on a shirt, illustrating the Refresh program's ability to reduce creases and remove odors.
4.4 Smart Connectivity (NFC/hOn App)
The dryer features NFC connectivity, allowing you to connect it to your smartphone via the hOn app. This provides access to additional cycles, smart check-ups, and useful tips for optimizing usage and energy consumption.
A user interacting with the hOn app on a smartphone, demonstrating the smart connectivity feature.
4.5 Starting a Cycle
After selecting the program and any desired options, press the Start/Pause button to begin the drying cycle.
4.6 End of Cycle
The dryer will signal the end of the cycle. Remove the laundry promptly to minimize creasing. Remember to empty the water container and clean the lint filter after each use.
5. Maintenance
Regular maintenance ensures optimal performance and extends the lifespan of your dryer.
5.1 Cleaning the Lint Filter
The lint filter, located inside the door opening, must be cleaned after every drying cycle. Remove the filter, open it, and remove any accumulated lint. Rinse under running water if necessary and ensure it is completely dry before reinserting.
5.2 Emptying the Water Container (EasyCase)
The EasyCase water container, integrated into the door, collects condensed water. Empty it after each cycle by pulling it out, pouring out the water, and then reinserting it securely.
5.3 Cleaning the Condenser
The condenser should be cleaned periodically (e.g., every few months) to maintain drying efficiency. Refer to the full instruction manual for detailed steps on how to access and clean the condenser unit. The heat pump system is designed for energy efficiency.
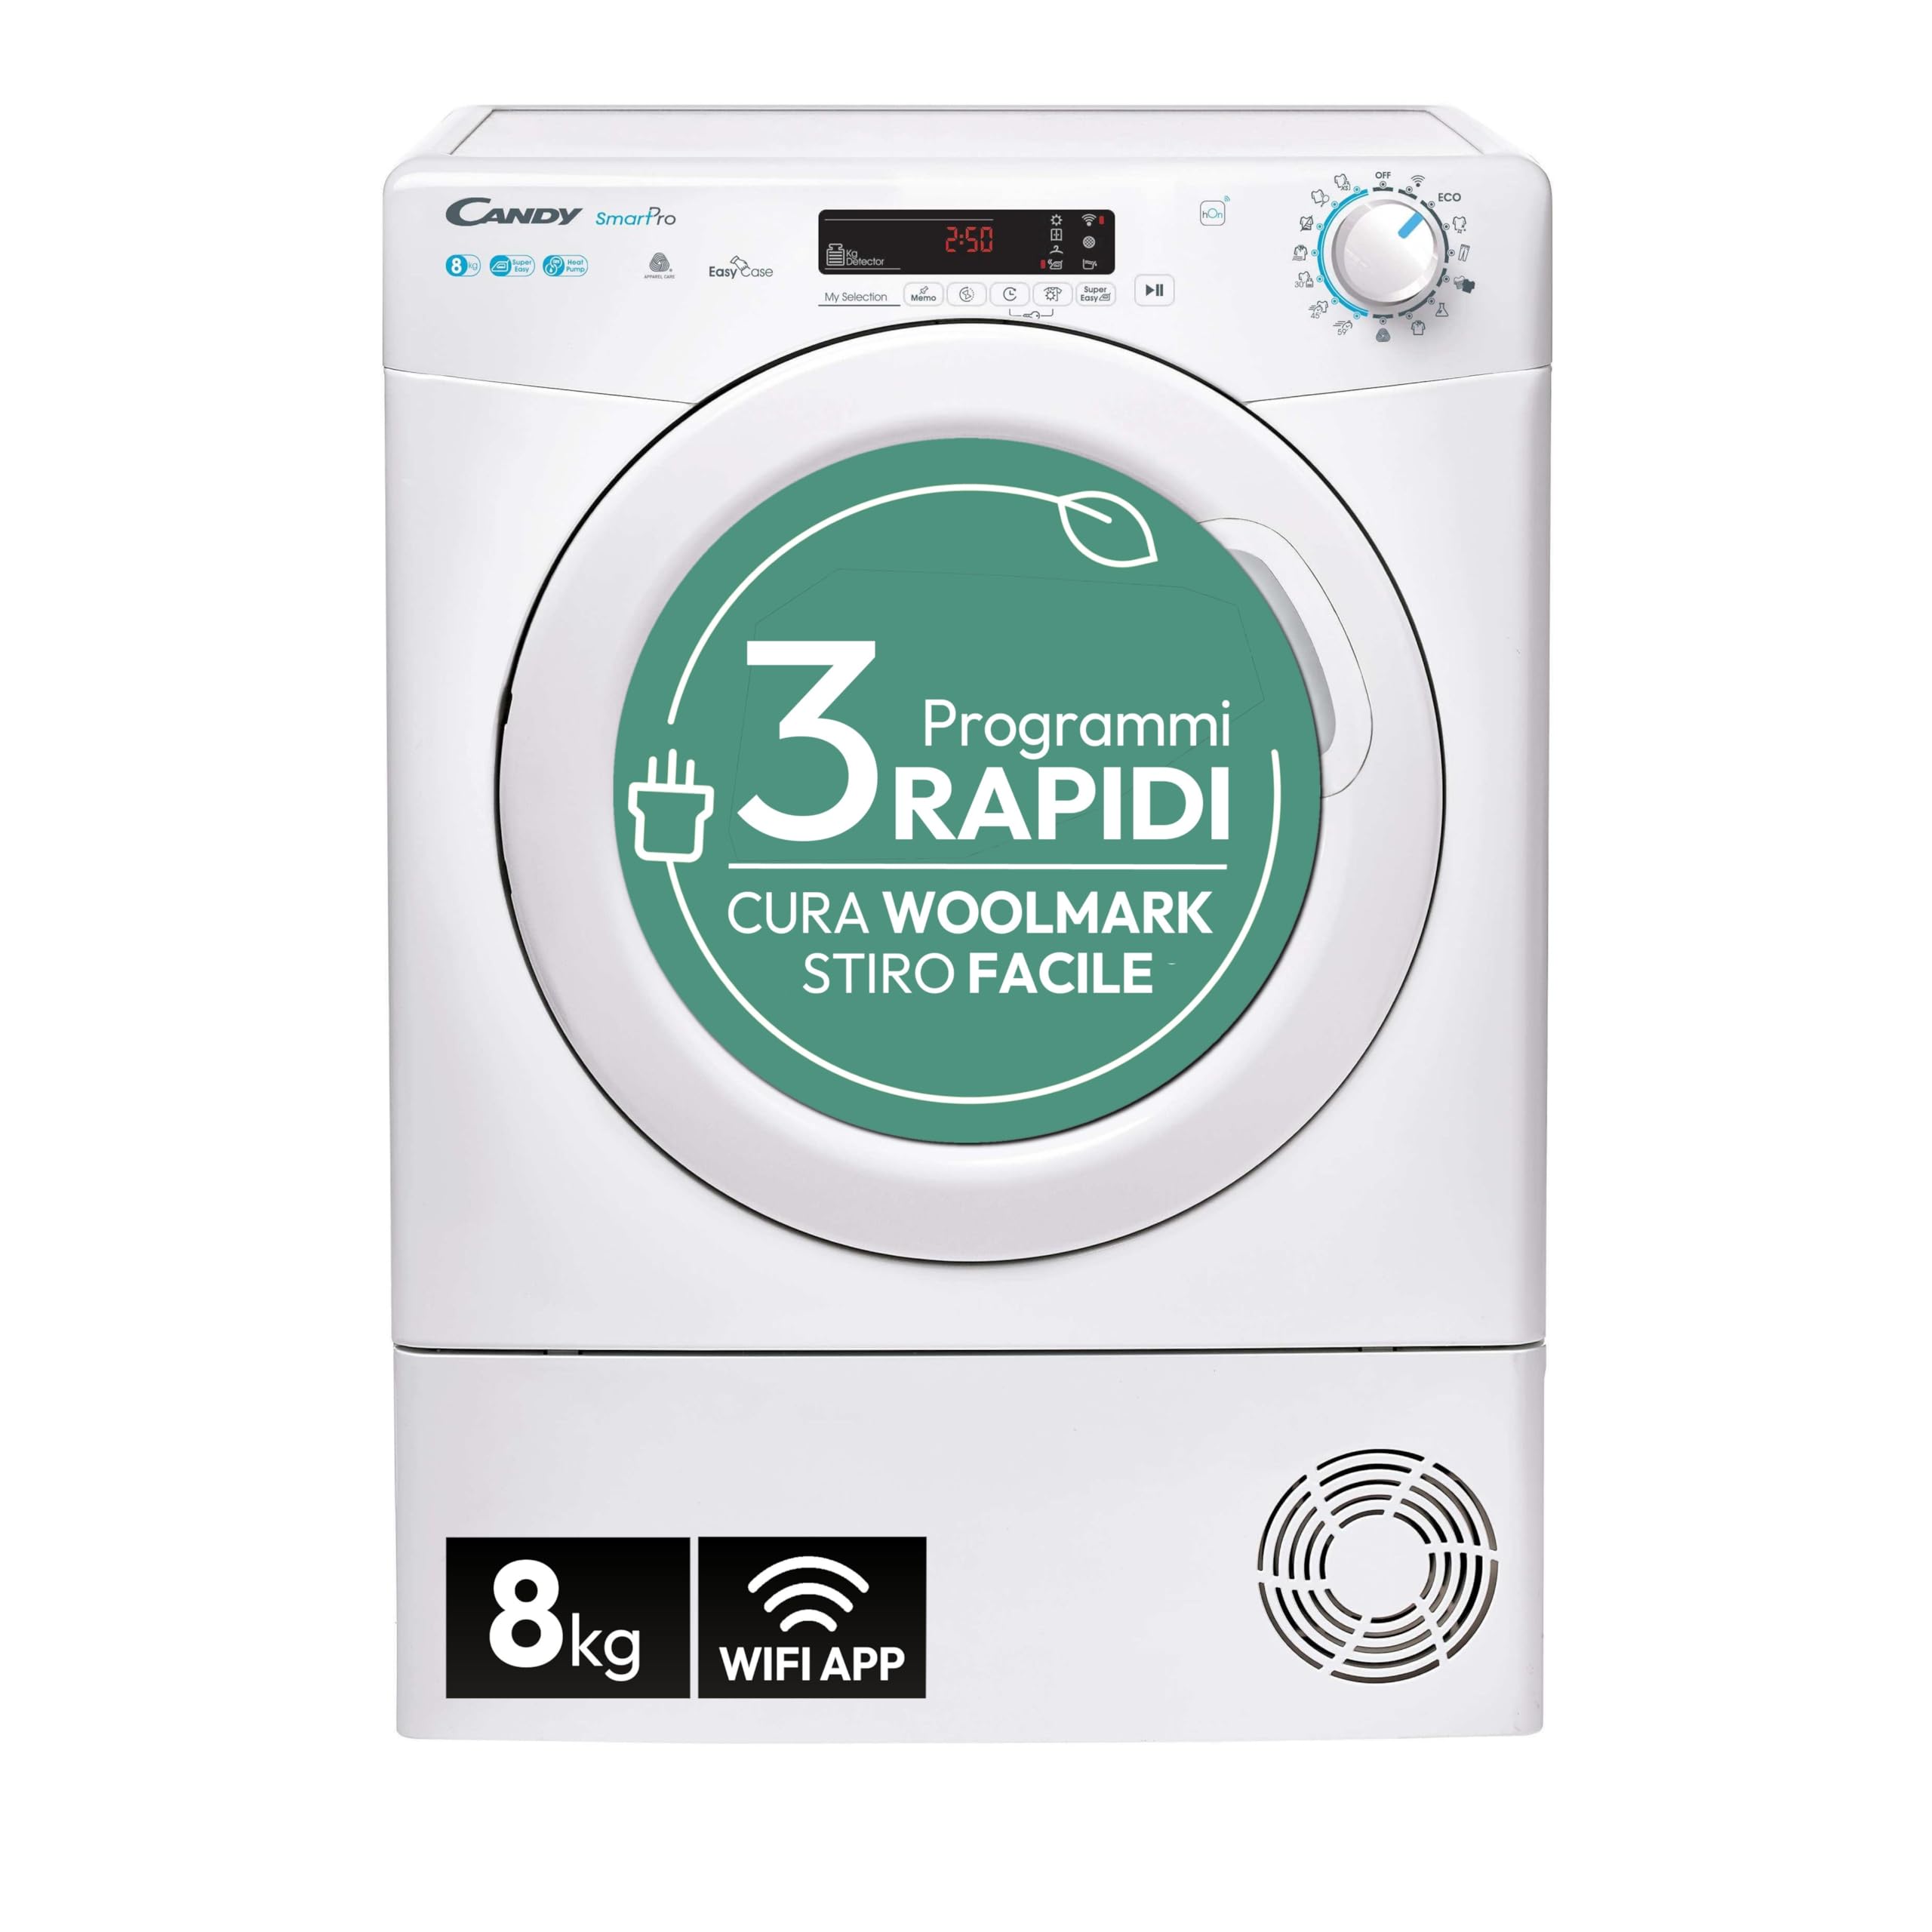
Diagram illustrating the heat pump technology, showing air intake, heat exchanger, and air outlet, which contributes to 70% more efficiency compared to condensation dryers.
6. Troubleshooting
If you encounter issues with your dryer, consult the following common problems and solutions before contacting customer service.
- Dryer does not start: Check if the power cord is plugged in, the door is fully closed, and the Start/Pause button has been pressed.
- Laundry is not drying properly: Ensure the lint filter is clean, the water container is empty, and the selected program is appropriate for the load. Do not overload the dryer.
- Error codes on display: Refer to the hOn app's smart check-up feature or the full instruction manual for specific error code meanings and solutions.
- Unusual noise: Check for foreign objects in the drum or filter area. Ensure the dryer is level.
For more detailed troubleshooting or smart diagnostics, use the hOn app on your smartphone.
7. Technical Specifications
| Specification | Value |
|---|---|
| Manufacturer | CANDY |
| Item Model Number | CSOE H8A2DE-S |
| Product Dimensions (W x D x H) | 59.6 x 58.5 x 85 cm |
| Weight | 41.5 kg |
| Brand | Candy |
| Form Factor | Freestanding |
| Loading Position | Front Load |
| Capacity | 8 Kilograms |
| Color | White |
| Energy Efficiency Class | E |
| Condensation Efficiency Class | C |
| Weighted Energy Consumption (kWh/cycle) | 1.29 |
| Program Duration (hours:minutes) | 3:45 (full load), 2:15 (half load) |
| Airborne Acoustical Noise Emissions (dB(A) re 1 pW) | 67 |
For detailed product information and energy label, please refer to the EPREL database: https://eprel.ec.europa.eu/qr/2154598
Official product data sheet providing detailed technical specifications and energy information.
8. Warranty and Support
8.1 Warranty Information
This Candy Smart Pro CSOE H8A2DE-S tumble dryer comes with a minimum warranty period of 24 months provided by the manufacturer. Please retain your proof of purchase for warranty claims.
8.2 Customer Support
For technical assistance, spare parts, or further information, please contact Candy customer service. You can find contact details and additional support resources on the official Candy website or through the hOn app.
Online support and manuals may be available at: https://www.candy-group.com/


