
Introduction
The Newentor Q7-DE Wireless Weather Station provides accurate indoor and outdoor temperature and humidity readings, along with a reliable weather forecast. It features a clear color display, a DCF radio-controlled clock, and supports up to three outdoor sensors for comprehensive environmental monitoring. This manual will guide you through the setup, operation, and maintenance of your weather station.

Image: The Newentor Q7-DE Wireless Weather Station main display unit and its accompanying outdoor sensor.

Image: A detailed diagram showing the layered construction of the display, including LED backlight, polarizer, TFT array, liquid crystal, color filter, and cover window, ensuring consistent clarity from various viewing angles.

Image: A close-up view of the independent sensing probe, designed to react instantly to ambient conditions without being influenced by the display's internal heat, ensuring high-precision measurements.

Image: A visual representation of the Swiss high-precision sensor chip (SHTC3), indicating advanced technology for accurate environmental data collection.
Package Contents
Please check the package contents upon unboxing:
- 1 x Newentor Q7-DE Main Display Unit
- 1 x Wireless Outdoor Sensor
- 1 x Power Adapter
- 1 x User Manual (this document)
Setup
1. Powering the Main Unit
The main display unit can be powered by the included power adapter or by batteries (not included).
- Using Power Adapter: Connect the power adapter to the DC port on the back of the main unit and plug it into a wall outlet. The backlight will remain continuously on.
- Using Batteries: Insert 3 x AAA batteries (not included) into the battery compartment on the back of the main unit. The backlight will illuminate for 10 seconds when a button is pressed.

Image: Illustration of the two power modes for the main unit: continuous backlight when plugged in, and 10-second backlight when running on batteries.
2. Installing Batteries in the Outdoor Sensor
Open the battery compartment of the outdoor sensor and insert 2 x AA batteries (not included), observing the correct polarity. Close the compartment securely.
3. Pairing the Outdoor Sensor
Once both units are powered, the main unit will automatically attempt to connect with the outdoor sensor. The outdoor temperature and humidity should appear on the display within a few minutes. If connection fails, press the "CHANNEL" button on the main unit to initiate a manual search, or reset both units.

Image: The weather station main unit indoors and the outdoor sensor mounted outside, illustrating the wireless transmission range of up to 100 meters (350 feet).
4. DCF Radio Clock Synchronization
The weather station will automatically attempt to synchronize its time with the DCF radio signal. This process may take several minutes or hours depending on your location and signal strength. Ensure the main unit is placed away from electronic interference.
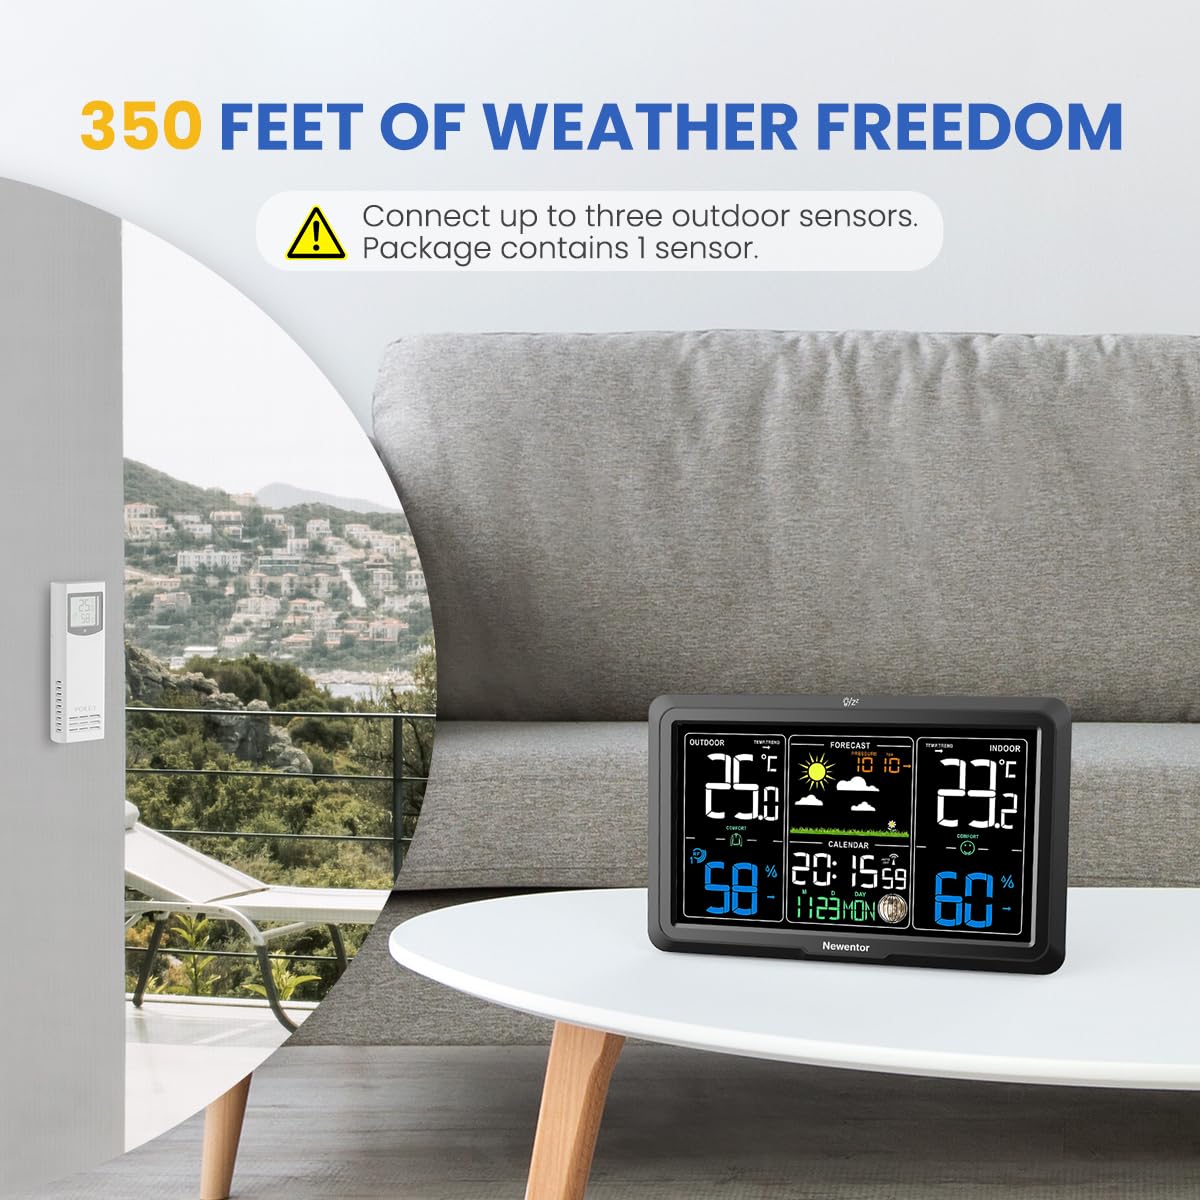
Image: The weather station display highlighting the DCF signal icon, indicating automatic time and date synchronization.
5. Placement Recommendations
- Main Unit: Place the main unit indoors on a flat surface or mount it on a wall, away from direct sunlight, heat sources, and drafts.
- Outdoor Sensor: Mount the outdoor sensor in a shaded, dry location, protected from direct rain and sunlight, to ensure accurate readings. Avoid placing it near metal structures or large electrical appliances that could interfere with the wireless signal.
Operating Instructions
1. Display Overview
The color display shows the following information:
- Indoor Temperature and Humidity
- Outdoor Temperature and Humidity
- Weather Forecast Icons (Sunny, Partly Cloudy, Cloudy, Rainy, Heavy Rain, Snowy)
- Time and Date
- Comfort Level Indicator
- Min/Max Temperature and Humidity Records

Image: A visual representation of the weather forecast icons displayed on the screen, including sunny, partly cloudy, cloudy, rainy, heavy rain, and snowy conditions.
2. Adjusting Settings
Use the buttons on the back or side of the main unit to adjust time, date, alarm, and temperature units (°C/°F). Refer to the specific button labels (e.g., "MODE", "SET", "UP", "DOWN") for detailed adjustments.
3. Backlight Brightness
The display features adjustable backlight brightness. Press the dedicated backlight button (often labeled "LIGHT" or similar) to cycle through different brightness levels (e.g., high, medium, low, off) when powered by the adapter.
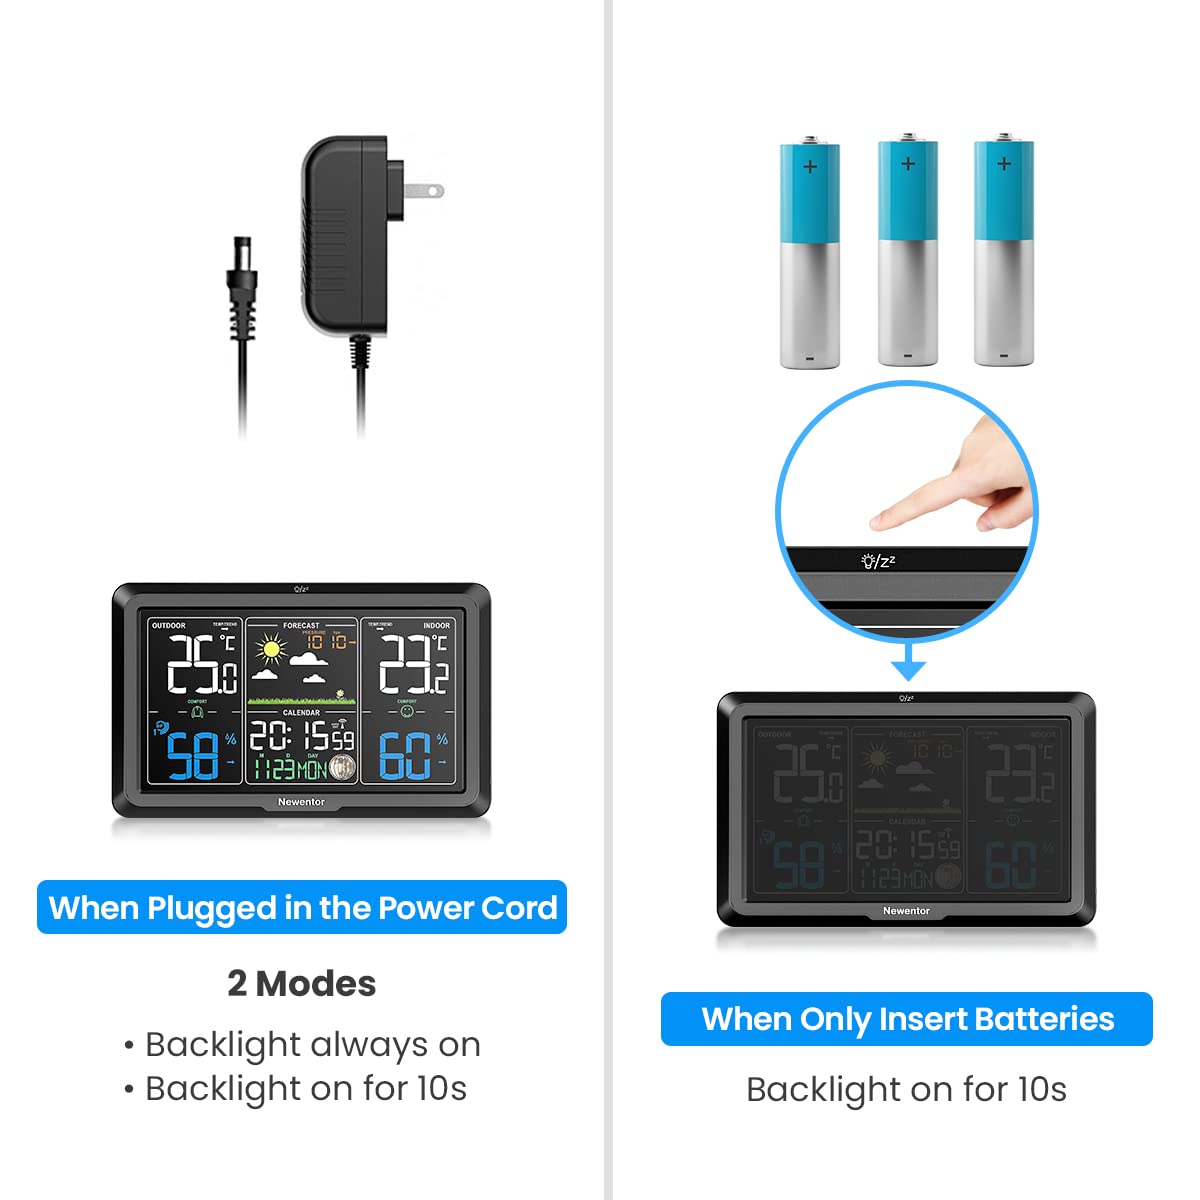
Image: The weather station display demonstrating three distinct adjustable backlight brightness levels for optimal viewing in various lighting conditions.
4. Comfort Level Indicator
The display includes a comfort level indicator based on indoor temperature and humidity, typically showing "DRY", "COMFORT", or "WET". This helps you maintain a healthy indoor environment.
5. Multiple Outdoor Sensors (Optional)
The main unit can support up to three outdoor sensors (additional sensors sold separately). To switch between sensor channels, press the "CHANNEL" button on the main unit. The display will cycle through the connected sensors or show all in rotation.
Maintenance
- Cleaning: Wipe the display and unit surfaces with a soft, damp cloth. Do not use abrasive cleaners or solvents.
- Battery Replacement: Replace batteries in both the main unit and outdoor sensor when the low battery indicator appears on the display.
- Sensor Protection: Ensure the outdoor sensor remains protected from extreme weather conditions to prolong its lifespan and accuracy.
Troubleshooting
| Problem | Possible Cause | Solution |
|---|---|---|
| No outdoor temperature/humidity reading. | Sensor not paired, out of range, or low battery. | Ensure sensor batteries are fresh. Press "CHANNEL" button on main unit to re-scan. Move sensor closer to main unit. Reset both units. |
| Incorrect temperature/humidity readings. | Sensor exposed to direct sunlight/rain, or near heat/cold sources. | Relocate the outdoor sensor to a shaded, protected area. Ensure main unit is not near drafts or heat sources. |
| DCF time synchronization fails. | Weak signal, interference, or incorrect time zone setting. | Move the main unit to a window or an area with better signal reception. Avoid placing near electronic devices. Manually set time if necessary. |
| Display is dim or blank. | Low batteries or power adapter disconnected. | Replace batteries or ensure power adapter is securely connected. Adjust backlight brightness. |
Specifications
- Model: Q7-DE
- Brand: Newentor
- Power Source (Main Unit): Power Adapter (included) or 3 x AAA Batteries (not included)
- Power Source (Outdoor Sensor): 2 x AA Batteries (not included)
- Display Type: LCD Color Display
- Special Features: Alarm, Clock, Weather Forecast, Indoor/Outdoor Temperature & Humidity, DCF Radio Clock
- Wireless Range: Up to 100 meters (328 feet) in open area
- Dimensions (Package): 21.1 x 18.2 x 5.1 cm
- Weight (Package): 530 g
- UPC: 889086019720
Warranty and Support
Newentor products are designed for reliability and performance. For warranty information or technical support, please refer to the contact details provided with your purchase documentation or visit the official Newentor website. Please retain your proof of purchase for warranty claims.


