1. Introduction
This manual provides essential instructions for the installation, operation, and maintenance of your Lorex Fusion 4K Metal Bullet Camera (Model E841CA-E). This Power over Ethernet (PoE) wired camera is designed for both indoor and outdoor surveillance, offering 4K Ultra HD resolution, color night vision, and robust weatherproof construction. Please read this manual thoroughly before using the product to ensure proper setup and functionality.
2. Safety Information
- Power Source: Use only the specified power adapter or PoE connection compatible with your Lorex NVR system. Incorrect power sources can damage the camera and void the warranty.
- Installation: Ensure the camera is securely mounted to prevent falls. For outdoor installations, use appropriate mounting hardware and ensure all connections are waterproofed.
- Operating Temperature: Operate the camera within the specified temperature range to ensure optimal performance and longevity.
- Cleaning: Disconnect power before cleaning. Use a soft, dry cloth. Avoid harsh chemicals or abrasive cleaners.
- Disassembly: Do not attempt to disassemble or modify the camera. This will void the warranty and may cause damage or injury.
3. Package Contents
Please refer to the product packaging for a complete list of included items. Typically, the package contains:
- Lorex Fusion 4K Metal Bullet Camera (Model E841CA-E)
- Mounting Kit (screws, wall plugs)
- Ethernet Cable (for PoE connection)
- Quick Start Guide
4. Setup
4.1 Mounting the Camera
The camera can be mounted on a wall or ceiling. Choose a location that provides the desired field of view and is within reach of your Ethernet cable run.

Image: Side view of the Lorex Fusion 4K Metal Bullet Camera, illustrating its mounting bracket for wall or ceiling installation.
- Prepare the Surface: Mark the screw holes using the mounting template (if provided) or the camera base.
- Drill Holes: Drill pilot holes for the mounting screws. Insert wall plugs if mounting into drywall or masonry.
- Secure the Camera: Attach the camera base to the mounting surface using the provided screws. Adjust the camera angle as needed.
4.2 Connecting the Camera (PoE)
This camera utilizes Power over Ethernet (PoE) for both power and video transmission, simplifying installation.
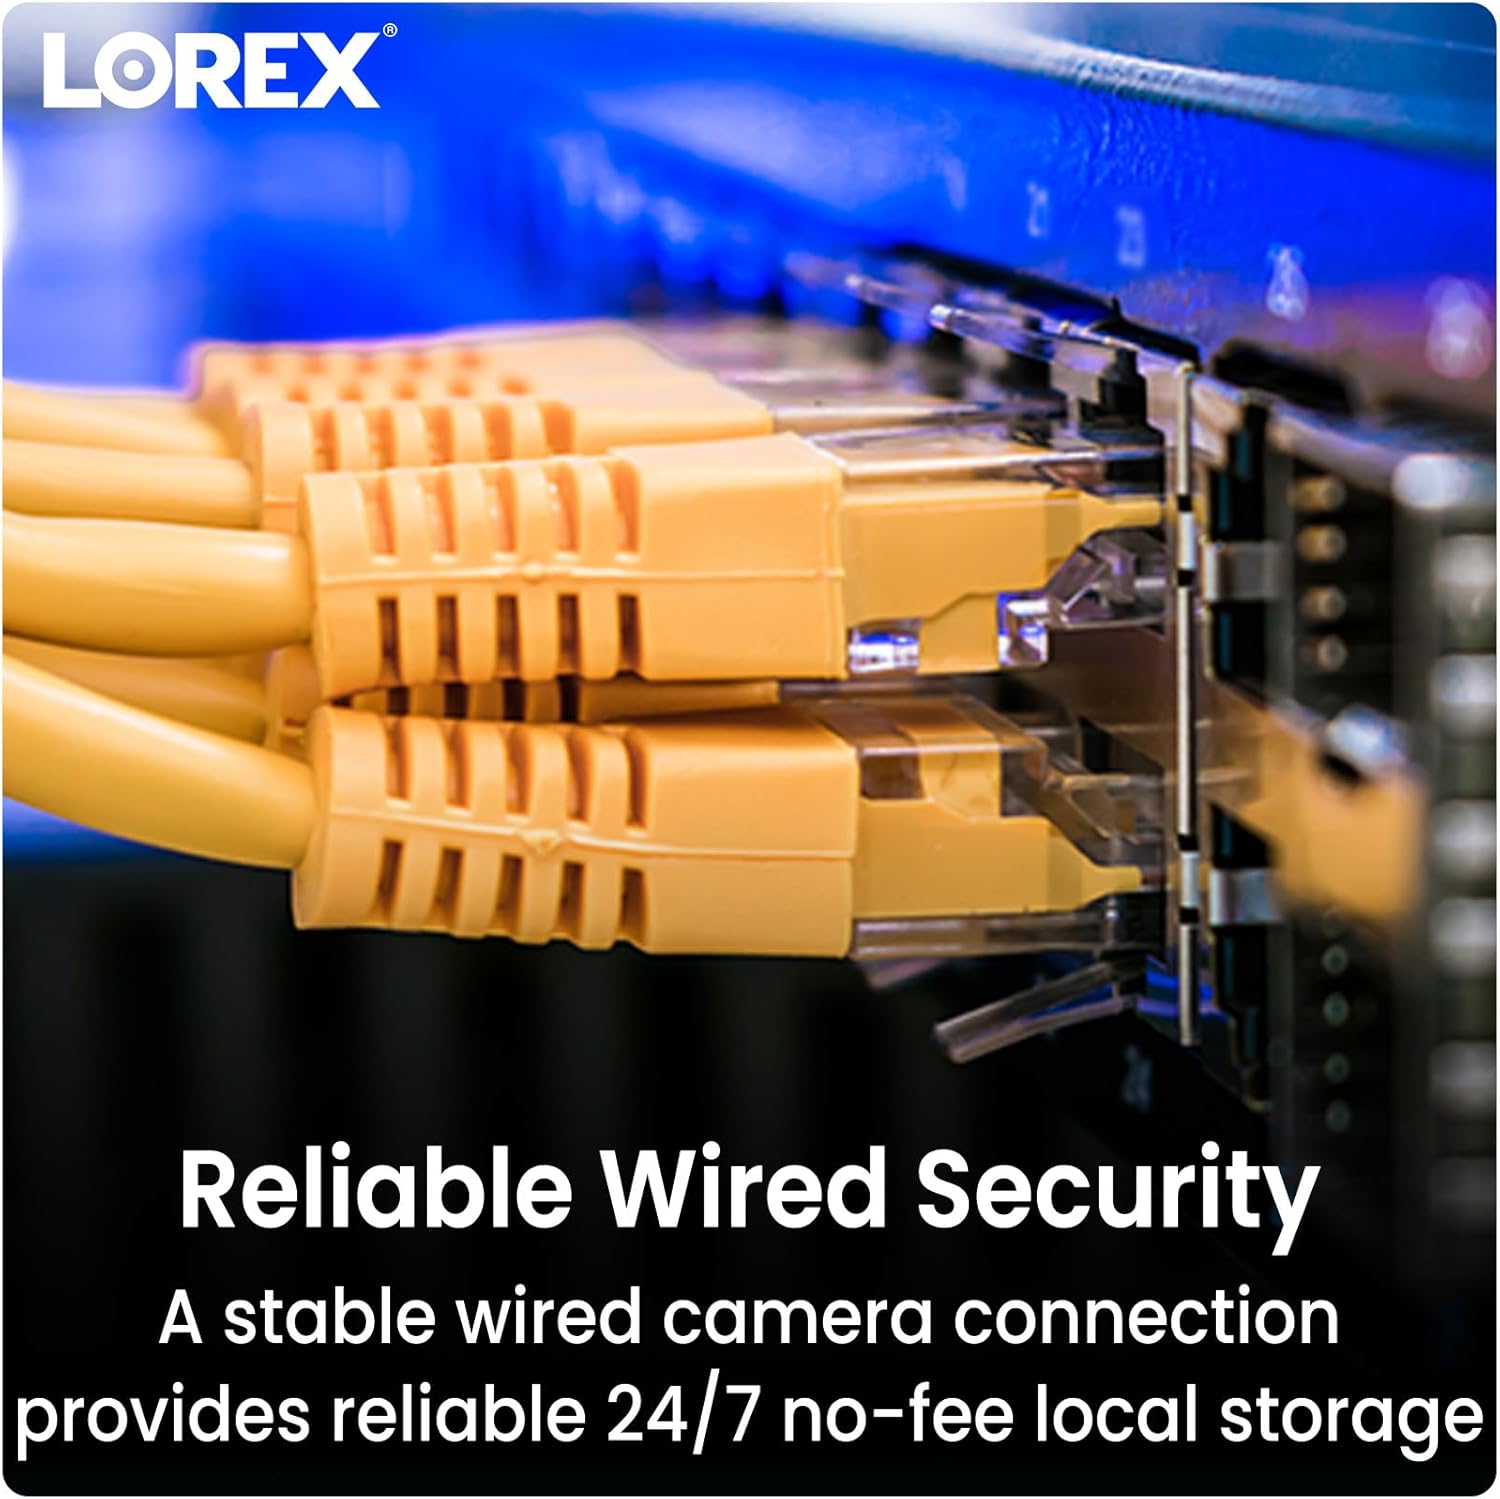
Image: Close-up of multiple yellow Ethernet cables connected to a network switch, representing a wired security setup.
- Connect Ethernet Cable: Plug one end of an Ethernet cable into the camera's Ethernet port.
- Connect to NVR/PoE Switch: Plug the other end of the Ethernet cable into an available PoE port on your Lorex Network Video Recorder (NVR) or a separate PoE switch.
- Power On: Ensure your NVR or PoE switch is powered on. The camera will automatically power up and connect to the system.
4.3 System Integration
The Lorex Fusion system allows integration of wired and Wi-Fi cameras. Your 4K Metal Bullet Camera will connect to your Lorex NVR.

Image: A diagram illustrating the Lorex Fusion NVR as a central hub, connecting to both wired bullet cameras and various Wi-Fi cameras, demonstrating system integration.
Once connected, access your NVR's interface or the Lorex Connect mobile application to view live feeds, configure settings, and manage recordings.
5. Operating Instructions
5.1 4K Ultra HD Video
The camera captures video at 4K (8MP) resolution, providing detailed and clear images. This high resolution is beneficial for digital zooming into recorded footage without significant loss of detail.

Image: A side-by-side comparison showing the difference in clarity between 1080p HD and 4K Ultra HD video, highlighting the enhanced detail of 4K.
5.2 Night Vision
The camera features both Color Night Vision and Long Range Infrared (IR) night vision for clear surveillance in low-light conditions.

Image: A split image demonstrating the difference between traditional Infrared Night Vision (monochrome) and Color Night Vision, showing a backyard scene with more detail and color in the latter.
- Color Night Vision: In environments with ambient light (e.g., streetlights), the camera can maintain color images at night.
- Infrared (IR) Night Vision: In complete darkness, the camera automatically switches to IR mode, providing clear black and white video.
5.3 Motion Detection
Configure motion detection settings via your NVR or the Lorex Connect app. You can define detection zones, sensitivity levels, and set up alerts for motion events.
5.4 Weather Resistance
The camera features a robust metal housing with an IP65 international protection rating, making it suitable for outdoor use in various weather conditions.
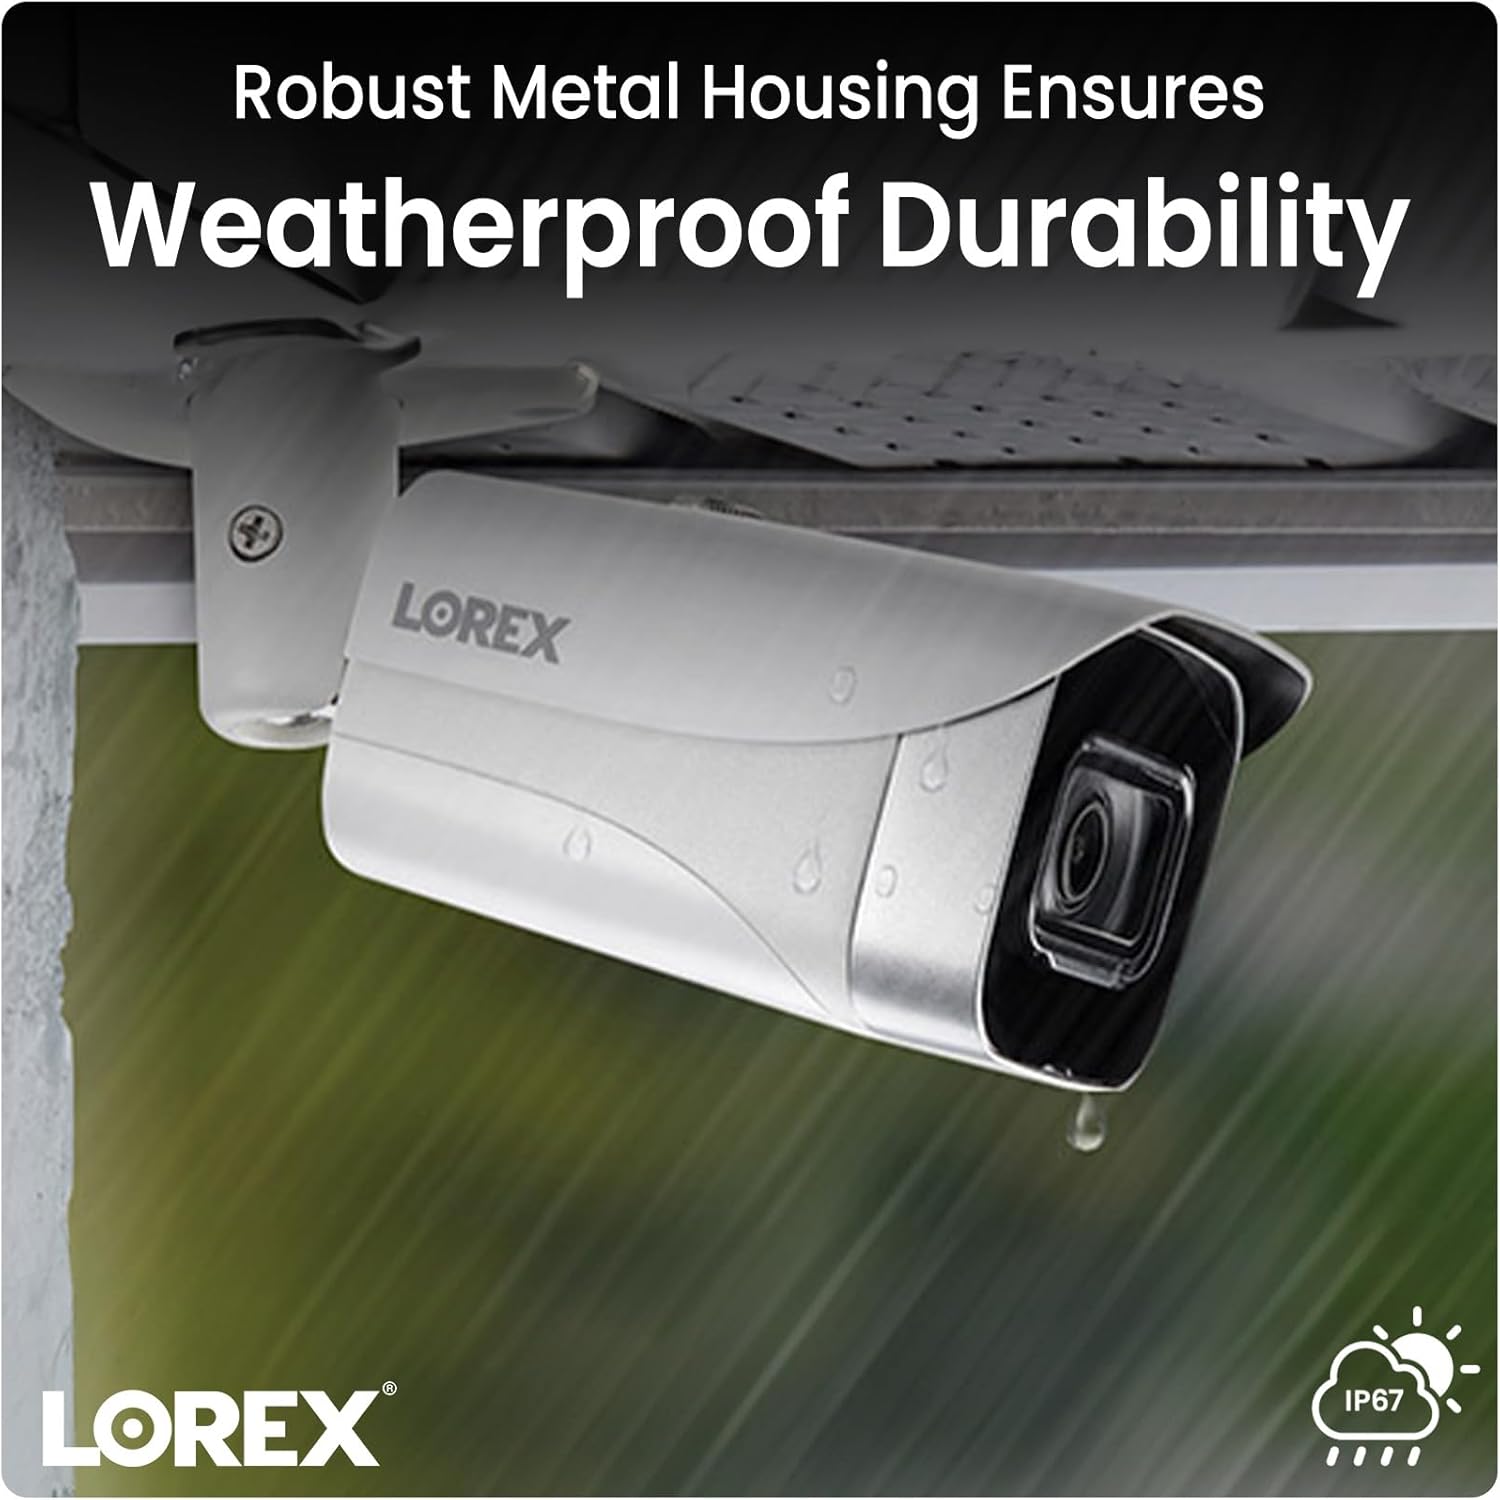
Image: A Lorex camera mounted under an eave outdoors, with raindrops visible on its surface, illustrating its weatherproof durability.
6. Maintenance
- Lens Cleaning: Periodically clean the camera lens with a soft, lint-free cloth to ensure clear image quality. Avoid touching the lens directly with fingers.
- Housing Cleaning: Wipe the camera housing with a damp cloth to remove dirt and debris. Do not use harsh chemicals.
- Cable Inspection: Regularly check all cable connections for signs of wear, damage, or corrosion, especially for outdoor installations.
- Firmware Updates: Check the Lorex website or your NVR system for available firmware updates to ensure optimal performance and access to new features.
7. Troubleshooting
7.1 No Video/Offline Camera
- Check Power: Ensure the Ethernet cable is securely connected to both the camera and a powered PoE port on your NVR or PoE switch.
- Cable Integrity: Inspect the Ethernet cable for any damage. Try a different cable if available.
- NVR Port: Verify that the NVR port is functioning correctly. Try connecting the camera to a different PoE port on the NVR.
- Reboot System: Power cycle your NVR and the camera (if possible) to refresh the connection.
7.2 Poor Image Quality
- Clean Lens: Ensure the camera lens is clean and free from dirt, dust, or smudges.
- Lighting: Verify that there is adequate lighting in the area, especially for color night vision. Adjust camera position if glare or reflections are an issue.
- Resolution Settings: Check the camera's resolution settings on your NVR to ensure it is set to 4K (8MP).
7.3 Motion Detection Not Working
- Enable Motion Detection: Confirm that motion detection is enabled in your NVR or app settings for the specific camera.
- Detection Zones: Ensure that the detection zones are correctly configured and cover the desired areas.
- Sensitivity: Adjust the motion detection sensitivity. Too low may miss events, too high may trigger false alarms.
8. Specifications
| Feature | Specification |
|---|---|
| Model Number | E841CA-E |
| Video Capture Resolution | 4K (8MP) |
| Connectivity Technology | Ethernet (PoE) |
| Indoor/Outdoor Usage | Indoor, Outdoor |
| International Protection Rating | IP65 |
| Low Light Technology | Night Color |
| Light Source Type | Infrared |
| Material | Metal |
| Mounting Type | Ceiling Mount |
| Product Dimensions | 16.6 x 8.2 x 6.7 inches |
| Item Weight | 2.97 pounds |
| UPC | 695529028491 |
9. Warranty and Support
For warranty information and technical support, please refer to the official Lorex website or contact Lorex customer service directly. Keep your purchase receipt as proof of purchase for warranty claims.
Lorex Website: www.lorex.com


