Introduction
This manual provides detailed instructions for the installation and operation of your Start-X Remote Starter Kit. This kit is designed to add remote start functionality to compatible Nissan NV series vehicles, allowing for convenient pre-heating or pre-cooling of your vehicle using your existing factory remote.
Please read all instructions carefully before beginning installation to ensure proper function and safety.
Vehicle Compatibility and Requirements
- Compatible Vehicles: Nissan NV1500, NV2500, and NV3500 models manufactured between 2012 and 2021.
- Ignition Type: Designed for key blade ignition vehicles only. Not compatible with push-to-start vehicles.
- Transmission: Automatic transmission only.
- Fuel Type: Gas-powered vehicles only.
- Factory Remote: A functional factory remote (key fob) is required for operation. This kit does not include a remote.
- Immobilizer Requirement: This kit is only compatible with vehicles that have an immobilizer. To verify, check if your vehicle's dashboard displays a symbol of a car with a key flashing when the engine is off. If this symbol is not present, the kit will not function.

Image: Visual representation of vehicle requirements, showing icons for automatic transmission, key ignition, and gas fuel type.
Video: Instructions on how to determine if your vehicle has an immobilizer by checking the dashboard indicator light.
Package Contents
Your Start-X Remote Starter Kit includes the following components:
- Remote Start Module (pre-flashed for your vehicle's firmware)
- Vehicle-specific T-Harness
- Pry Tool
- Zip Ties
- Installation Guide (this document)
- Welcome Card
- Warning Sticker

Image: Contents of the Start-X Remote Starter Kit, showing the remote start module, vehicle connection harness, pry tool, and zip ties.
Setup and Installation
The Start-X Remote Starter Kit features a plug-n-play design, minimizing the need for wire cutting or splicing. Some vehicle disassembly is required to access the necessary connection points.
Required Tools:
- Included Pry Tool
- Phillips Head Screwdriver
Installation Steps:
- Prepare the Vehicle: Ensure the vehicle is turned off and the parking brake is engaged.
- Access the Dashboard:
- Carefully unclip the top half of the lower dash panel using the provided pry tool.
- Remove the plastic trim around the instrument panel. This may involve gently prying around the edges and removing any visible screws.
- Remove the left vent by prying it out.
- To fully remove the instrument panel plastic, pull the gear shifter slightly towards you to create clearance.
- Unscrew the four screws securing the instrument panel (two on top, two on bottom).
- To remove the instrument panel, turn the car on, shift into neutral, and then carefully pull the panel out. Unplug the two connectors from the back of the instrument panel.
- Locate and Connect to the BCM (Body Control Module):
- The BCM is located directly in front of you, behind the instrument panel. It is secured by two screws (one on the left, one on the right).
- Unscrew these two screws and gently pull the BCM towards you to access the connectors.
- Locate the specific clip on the BCM that needs to be unplugged. Unplug it.
- Plug the BCM T-harness inline with the unplugged connector.
- Connect the ground wire from the remote start module to one of the BCM screws and re-secure the BCM.
- Locate and Connect to the Ignition Port:
- Head under the dashboard, on the right side of the under-dash area, right behind the keyhole.
- Locate the ignition port connector.
- Unplug this connector and plug the ignition T-harness inline.
- Module Placement and Securing:
- Carefully route all wires and T-harnesses to ensure they do not interfere with moving parts or get pinched.
- Use the provided zip ties to secure the remote start module and excess wiring in a safe location, away from pedals and steering components.
- Reassemble Dashboard: Reinstall all removed dashboard panels and screws in reverse order of disassembly.
Video: Step-by-step installation guide for the Start-X Remote Starter Kit in a Nissan NV vehicle.
Operating Instructions
Once installed, your Start-X Remote Starter Kit integrates seamlessly with your vehicle's factory remote.
- To Remote Start: Press the "Lock" button on your factory remote three (3) times consecutively. The vehicle will start and run for a preset duration (typically 15 minutes).
- To Turn Off Remote Start: Press the "Lock" button on your factory remote three (3) times consecutively again while the vehicle is running via remote start.
- Driving After Remote Start: Before driving, unlock the vehicle, insert your key into the ignition, turn it to the "ON" position, and then shift into gear. The vehicle will shut down if a door is opened before the key is turned to the "ON" position; the vehicle must then be restarted manually.
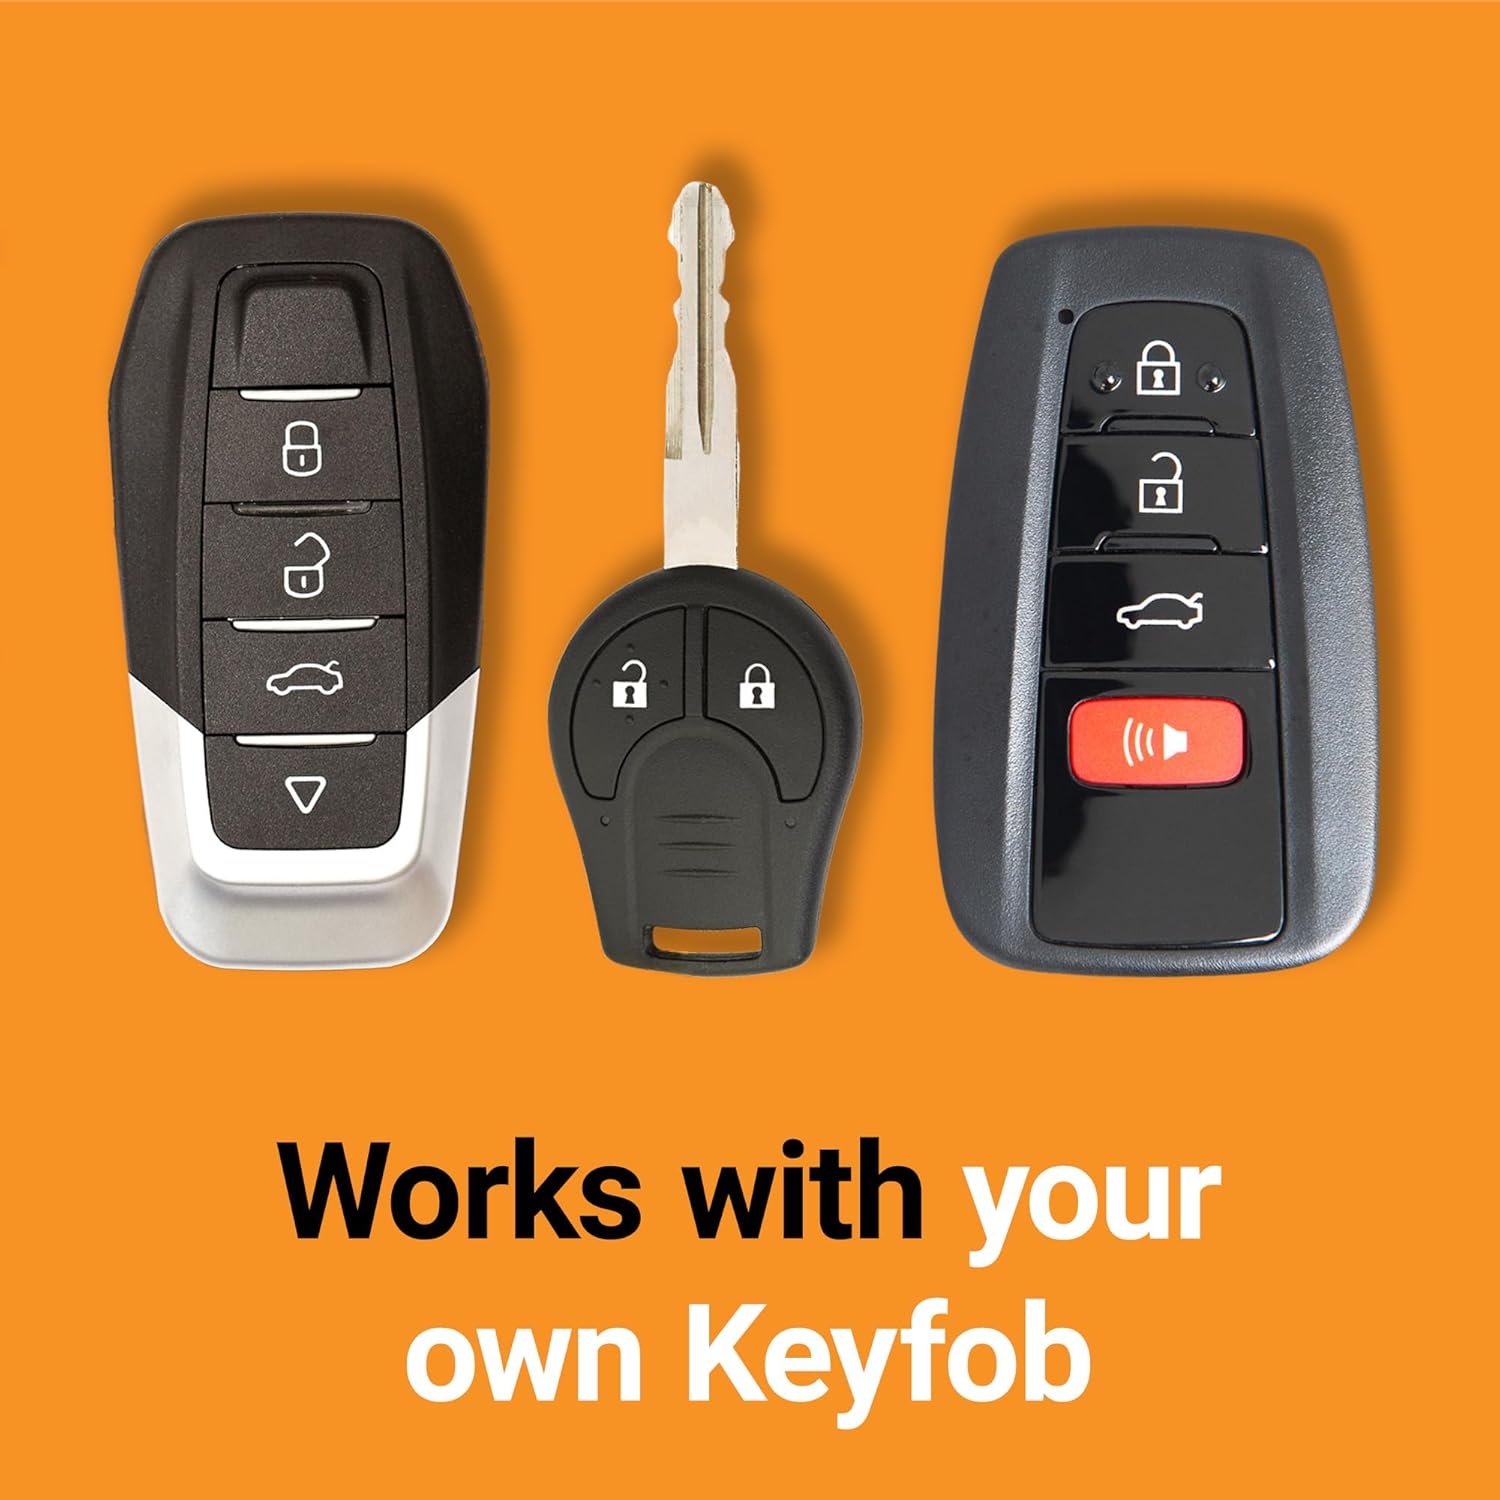
Image: Example of factory key fobs, illustrating that the system works with your existing remote.
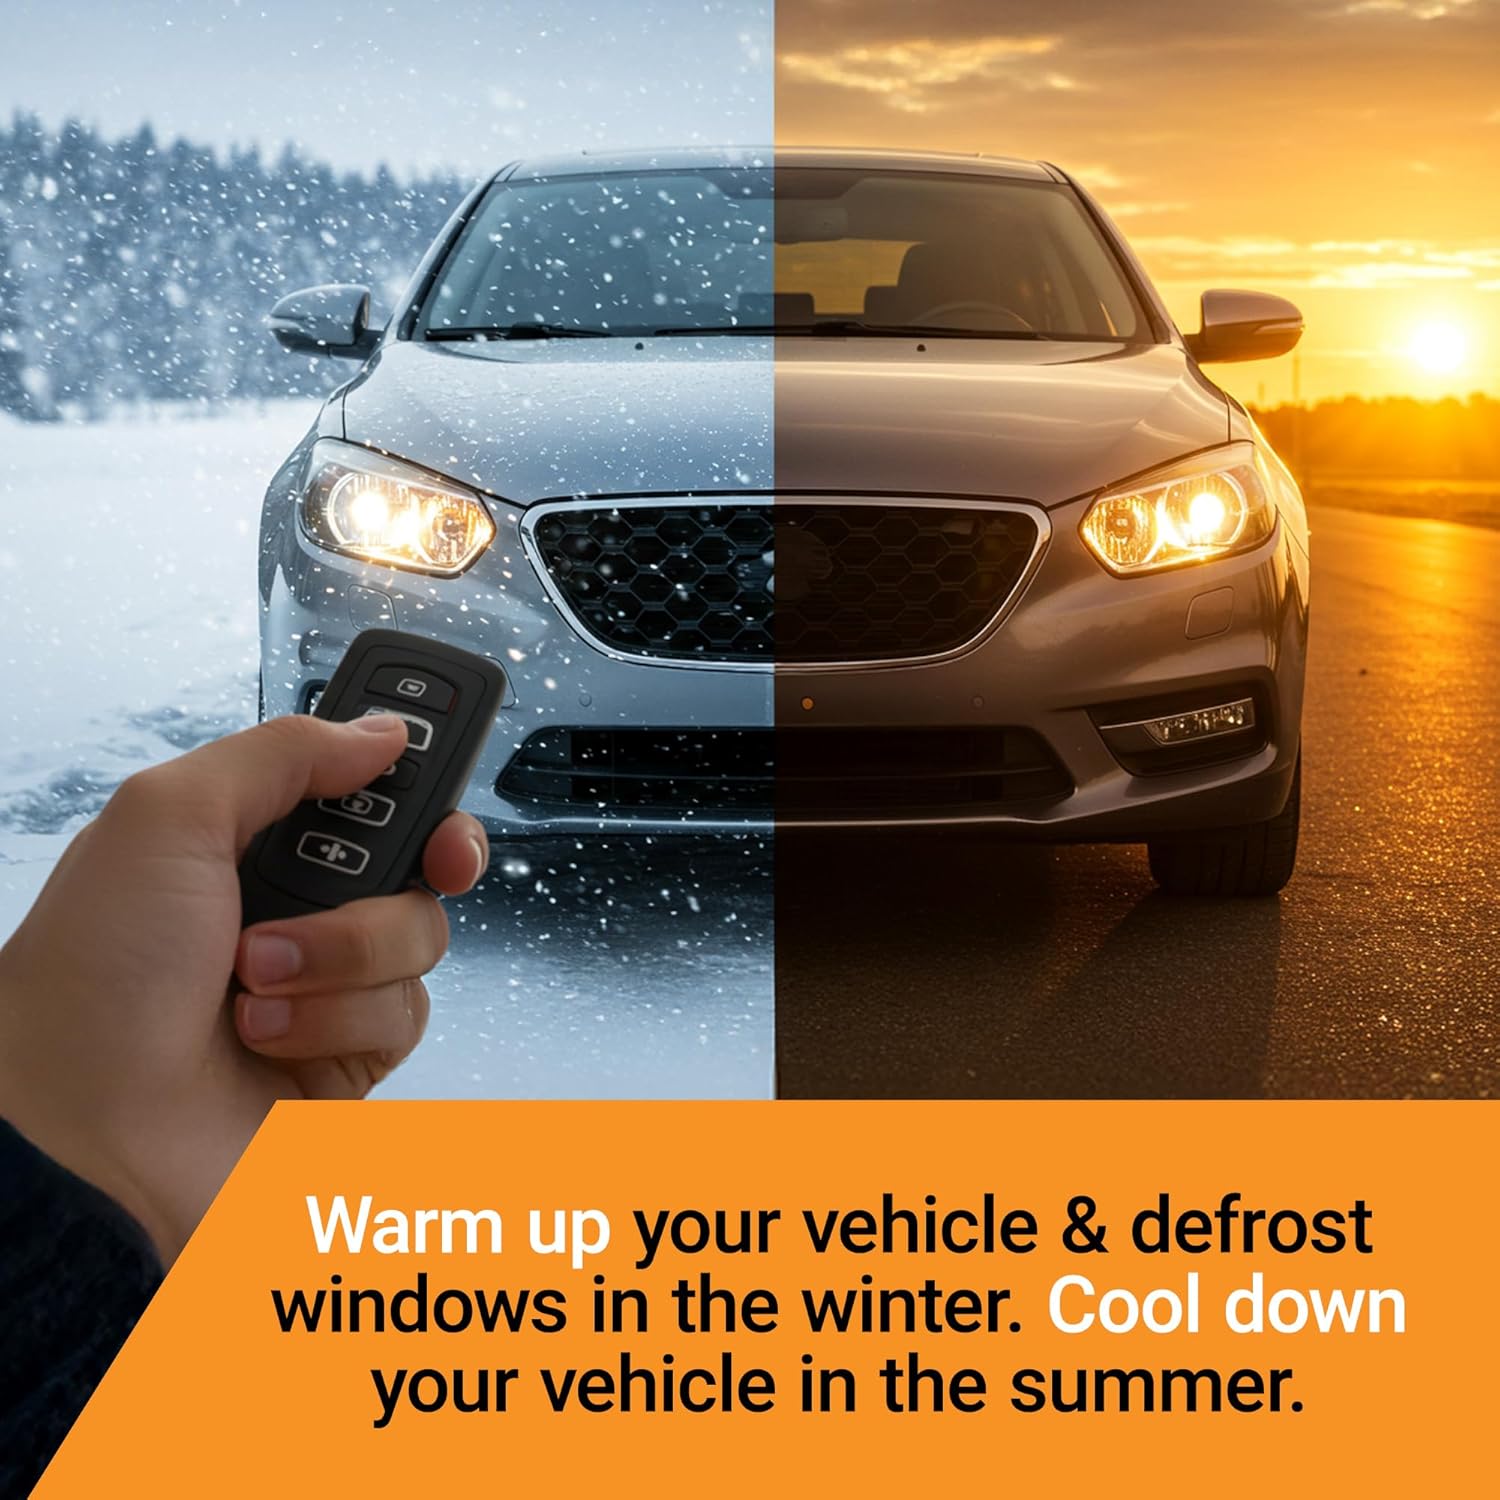
Image: A vehicle shown in both winter and summer conditions, highlighting the comfort benefits of remote starting to warm up or cool down the interior.
Maintenance
The Start-X Remote Starter Kit is designed for maintenance-free operation. Ensure all connections remain secure and free from moisture or damage. Periodically check wiring for any signs of wear or loose connections.
Troubleshooting
- Remote Start Not Activating:
- Ensure your vehicle meets all compatibility requirements (immobilizer, key ignition, gas, automatic transmission).
- Verify that the factory remote is functioning correctly (e.g., can lock/unlock doors).
- Check all T-harness connections to ensure they are fully seated.
- Confirm the module was programmed correctly during installation (refer to the installation video or guide for programming steps).
- Vehicle Shuts Down When Door Opens: This is a safety feature. The vehicle must be restarted manually after opening a door if the key is not in the "ON" position.
- Reduced Remote Range: The remote start range is typically the same as your factory remote's lock/unlock range. For extended range, consider a Start-X RF kit (sold separately).
Specifications
| Brand | Start-X |
| Model Number | NV-NO-IMMO |
| Item Weight | 1.38 pounds |
| Package Dimensions | 7.99 x 4.53 x 2.2 inches |
Warranty and Support
For technical assistance or customer support, please contact the Start-X support team. Refer to the contact information provided on your Welcome Card or the official Start-X website for details.


