
1. Introduction
Thank you for choosing the CHOVERY CL-1 Robotic Window Cleaner. This device is designed to simplify window cleaning with its intelligent navigation and powerful suction. Please read this manual carefully before use to ensure proper operation and maintenance.
2. Safety Information
- Power Connection: The robot must always be connected to a power source during operation. The built-in battery serves as a backup power supply for approximately 30 minutes in case of power interruption.
- Safety Rope: Always attach the high-strength 4-meter safety rope to a secure anchor point before operating the robot, especially when cleaning exterior windows or at height. Failure to do so may result in damage or injury.
- Surface Condition: Ensure the cleaning surface is free from large debris or particles that could scratch the glass or impede the robot's movement.
- Moisture Control: Do not over-wet the microfiber pads. Excessive moisture can reduce suction power and cause the robot to slip. Use 1-3 sprays of cleaning solution.
- Operating Environment: Use the robot in appropriate weather conditions. Avoid use during strong winds or heavy rain.
- Supervision: While the robot operates autonomously, occasional supervision is recommended to ensure optimal performance and safety.
3. Package Contents
Verify that all items are present in the package:
- Main device (CHOVERY CL-1 Robotic Window Cleaner) x1
- Remote control x1
- Power adapter (100-240V, 50-60Hz) x1
- Power cable x1
- DC extension cable (4M, integrated) x1
- Clean microfiber cloths x10
- Clean rings x4
- Safety rope (4M) x1
- User manual x1
- Water spray bottle x1

4. Product Overview
The CHOVERY CL-1 features a patented dual-helix cleaning head design, 5600Pa super suction, and AI Technology V2.0 for efficient and safe window cleaning. It is suitable for glass surfaces with a minimum size of 45cm x 45cm and a thickness greater than 3mm.


5. Setup
- Attach Cleaning Pads: Securely attach the clean microfiber pads to the robot's cleaning discs. Ensure they are properly aligned and fastened.
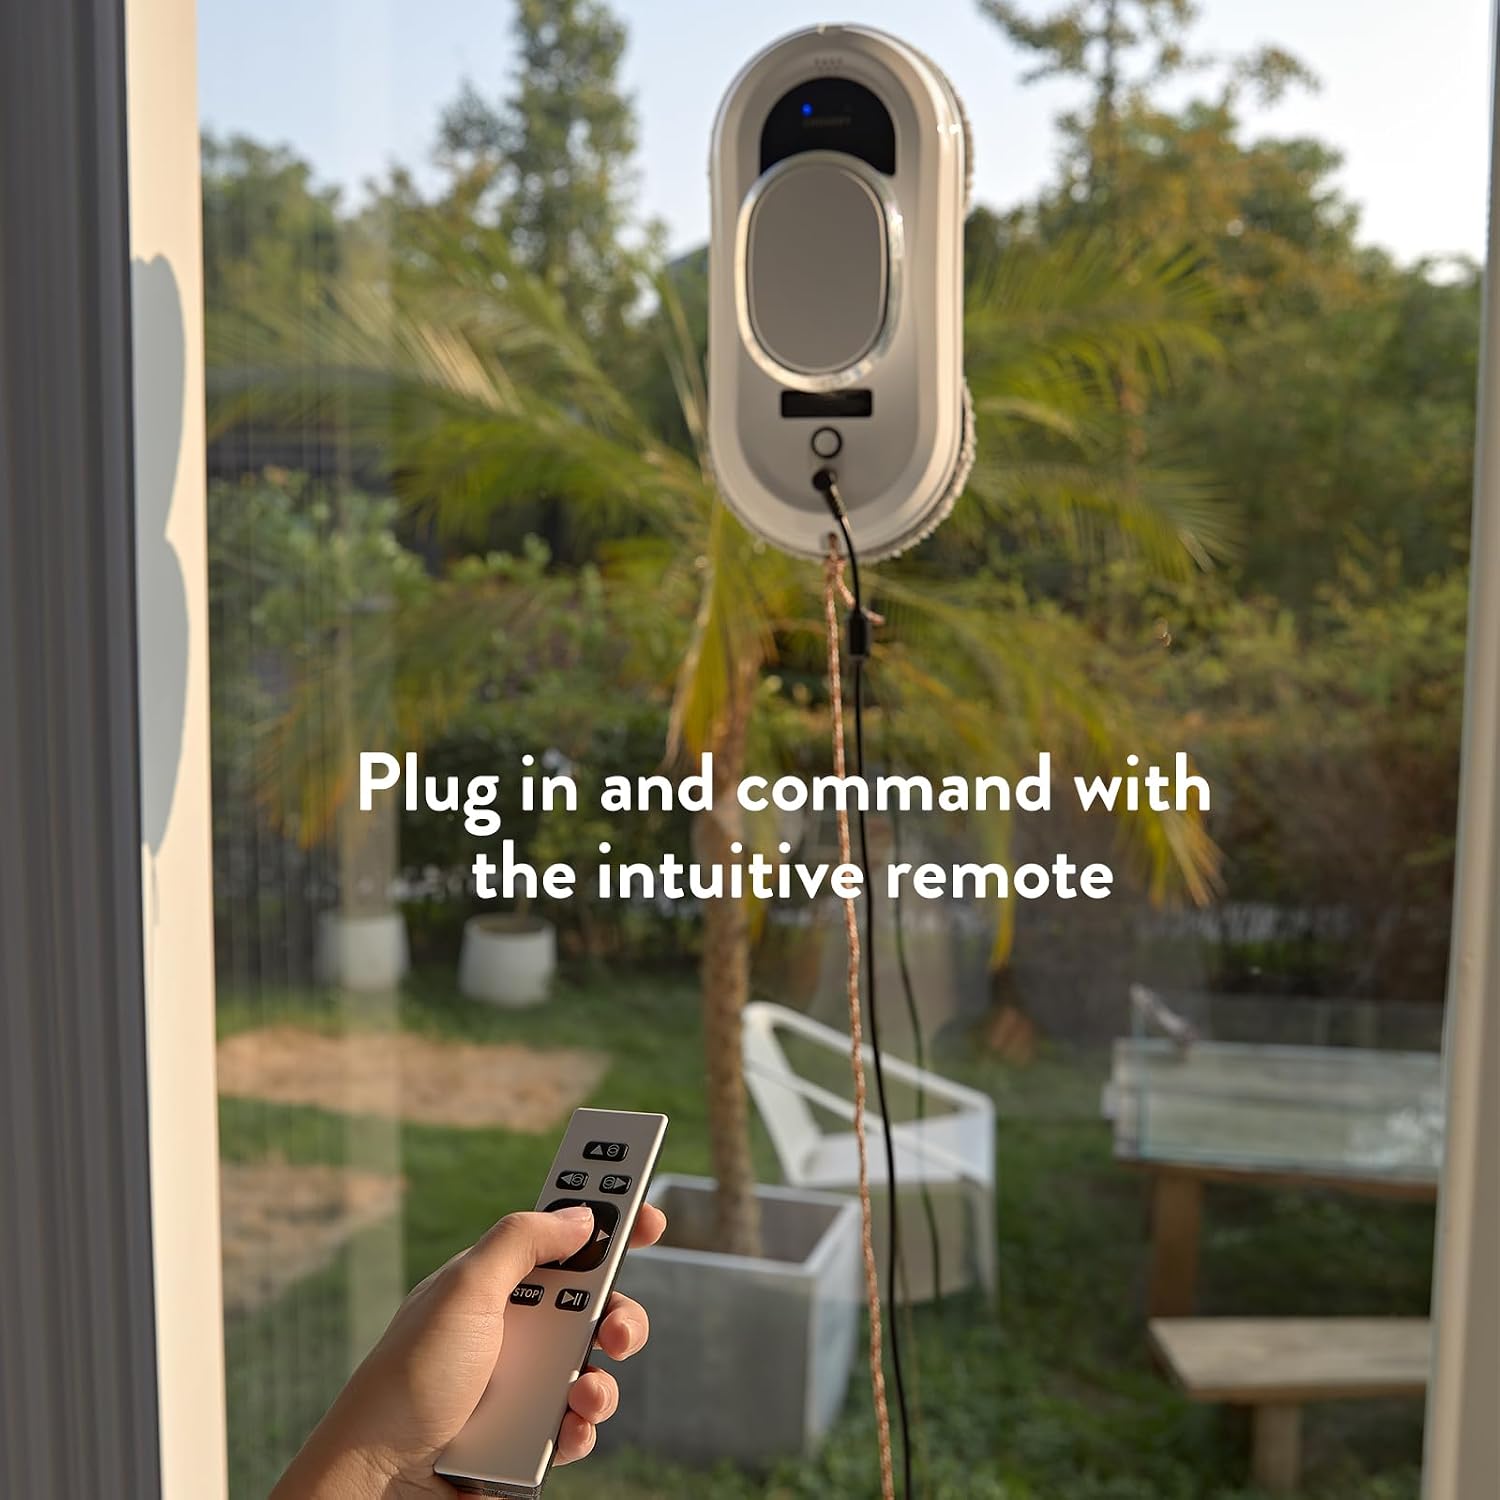
- Connect Power: Plug the power adapter into an electrical outlet and connect the power cable to the robot. The robot requires continuous power during operation.
- Attach Safety Rope: Connect the safety rope to the designated attachment point on the robot and secure the other end to a sturdy fixture indoors. This is a critical safety measure.
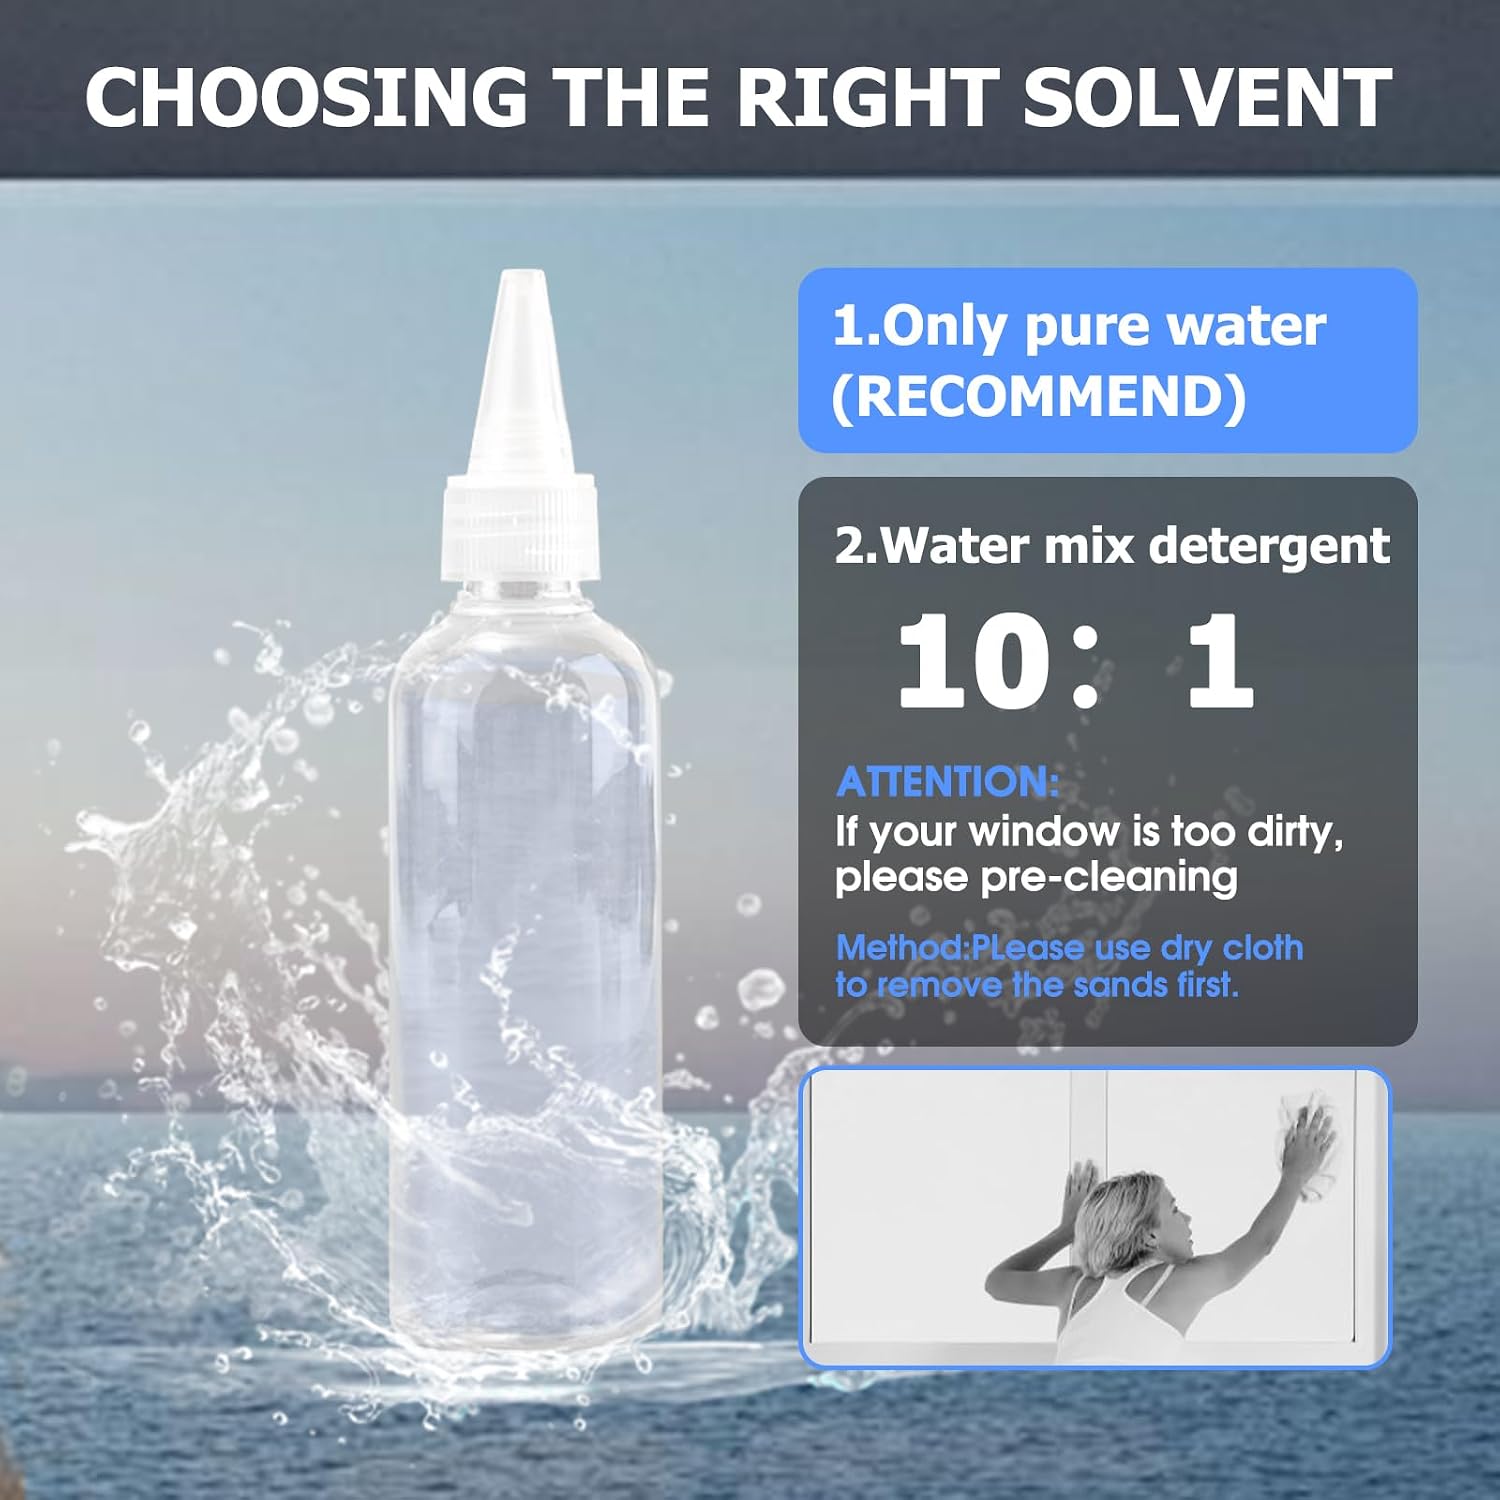
- Prepare Surface: For very dirty windows, perform an initial dry wipe with a clean microfiber pad to remove loose dust and debris. This prevents scratching and improves cleaning efficiency.
6. Operating Instructions
Follow these steps for effective window cleaning:
- Initial Dry Clean (Optional but Recommended): If the window is very dirty, attach dry microfiber pads and run the robot for a preliminary dry cleaning cycle to remove dust and large particles.
- Prepare for Wet Clean: Replace the dry pads with clean, fresh microfiber pads. Lightly spray 1-3 times with water or a suitable window cleaning solution onto the pads. Do not saturate the pads, as this can cause the robot to lose suction and slip.
- Place Robot: Place the robot on the window surface. Ensure it adheres firmly before releasing it.
- Start Cleaning: Use the remote control to select a cleaning mode (e.g., Up to Down, Left to Down, Right to Down) or initiate an automatic cleaning cycle. The robot will calculate its path and detect window edges automatically.
- Monitor Progress: The robot will clean the entire surface and stop automatically once finished.
- Final Dry Wipe (Optional): For a streak-free finish, you may perform a final dry wipe with new, clean, dry microfiber pads after the wet cleaning cycle.


7. Maintenance
- Cleaning Pads: After each use, remove the microfiber pads. They can be washed and reused. Ensure they are completely dry before reattaching.
- Robot Body: Wipe the robot's exterior with a soft, dry cloth to remove any dust or residue. Do not use abrasive cleaners or immerse the device in water.
- Choosing Cleaning Solution: For best results, use pure water. If using a detergent, a 10:1 water-to-detergent ratio is recommended. Avoid harsh chemicals that could damage the robot or leave streaks.
8. Troubleshooting
- Robot Slips or Loses Suction:
- Ensure microfiber pads are not too wet. Lightly spray 1-3 times.
- Check if the power cable is securely connected and the robot is receiving continuous power.
- The surface might be too dirty. Perform a dry pre-clean to remove heavy dust or grime.
- Robot Does Not Move or Stops Unexpectedly:
- Verify the power connection. The robot requires constant power to operate.
- Check for obstructions on the window surface.
- Ensure the window meets the minimum size requirements (45cm x 45cm).
- Leaves Streaks:
- Pads might be dirty. Replace with clean pads.
- Pads might be too wet or too dry. Adjust moisture level.
- Consider a final dry wipe with fresh, dry pads.
- The cleaning solution might be unsuitable. Try pure water or a different window cleaner.
- Remote Control Not Responding:
- Check the batteries in the remote control and replace if necessary.
- Ensure there are no obstructions between the remote and the robot.
9. Specifications
| Brand | CHOVERY |
| Model Name | CL-1 |
| Surface Recommendation | Glass |
| Special Feature | Corner cleaning, Automatic edge detection |
| Color | White |
| Product Dimensions (L x W x H) | 29 x 14 x 8.5 cm |
| Controller Type | Remote Control |
| Components Included | Battery, Remote control |
| Filter Type | Cloth (Microfiber pads) |
| Battery Life (Backup) | 30 Minutes |
| Battery Composition | Lithium Ion |
| Power Source | AC Power (for operation), Battery (for backup) |
| Batteries Included | Yes |
| Lithium Battery Voltage | 3.7 Volts (DC) |
| Recommended Use | Window cleaning |
10. Warranty and Support
CHOVERY offers a three-year warranty service for the CL-1 Robotic Window Cleaner. If you encounter any issues or have questions regarding the product during its use, please contact our customer support team. Our dedicated support staff will assist you with troubleshooting and warranty claims.
For further assistance, please refer to the contact information provided with your purchase or visit the official CHOVERY website.

