
Monster MLB7-1056- RGB
Instruction Manual
Monster Smart Illuminessence Multi-Color LED Touch Light
Model: MLB7-1056- RGB | Brand: Monster
Introduction
The Monster Smart Illuminessence Multi-Color LED Touch Light system provides versatile lighting solutions for enhancing any space. This product features multiple color-changing modes and a wide spectrum of colors, allowing users to customize their environment. The lights can be controlled via touch or an included remote control, offering flexibility in operation. Designed for easy installation, these lights utilize a magnetic wall mount system.
Important Safety Information
- Read all instructions before use and retain for future reference.
- Do not expose the lights to water or excessive moisture. This product is not waterproof.
- Use only AAA batteries as specified. Ensure correct polarity when inserting batteries.
- Do not mix old and new batteries, or different types of batteries.
- Remove batteries if the product is not used for an extended period.
- Keep batteries out of reach of children.
- Avoid direct eye exposure to the LED light.
- Do not attempt to disassemble or modify the product.
What's in the Box
- 3 x Monster Smart Illuminessence Multi-Color LED Touch Lights
- 1 x Remote Control
- Mounting Plates (pre-attached to lights)
Note: 3 AAA batteries per light (total 9 AAA batteries for a 3-pack) are required and not included.
Setup and Installation
- Insert Batteries: Each LED touch light requires 3 AAA batteries. Locate the battery compartment on the back of each light. Open the compartment, insert the batteries, ensuring correct polarity (+/-), and close the cover securely.
- Prepare Mounting Surface: Choose a clean, dry, and smooth surface for installation. Ensure the surface is free from dust, dirt, and grease for optimal adhesive performance.
- Attach Lights: The lights come with pre-attached magnetic mounting plates. Peel off the protective backing from the adhesive on the mounting plate. Firmly press the light (with the plate) onto the desired surface for at least 30 seconds. The light can then be removed from the magnetic plate if needed, leaving the plate on the surface.
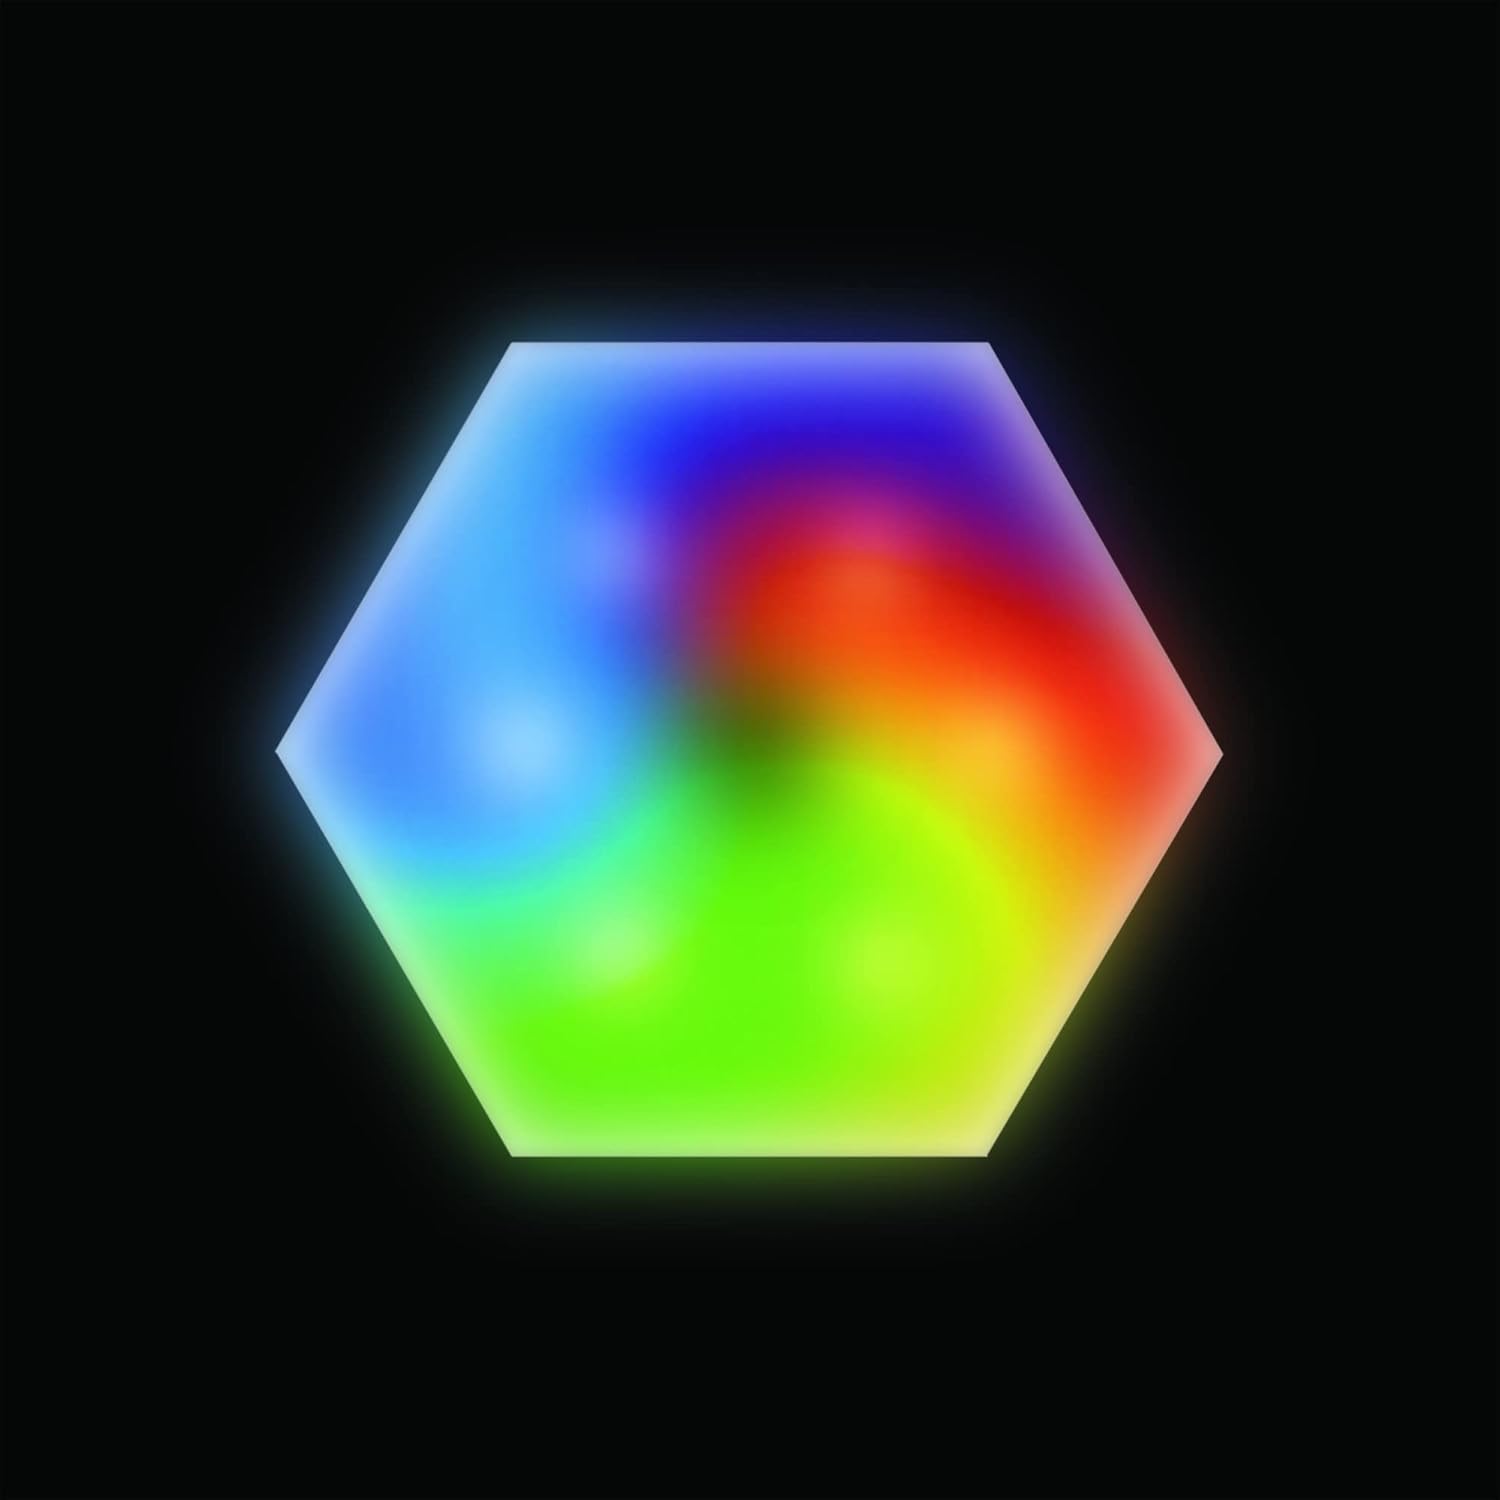
Figure 1: Rear view of the LED touch light, illustrating the battery compartment and magnetic attachment points.

Figure 2: A hand interacting with an installed LED touch light, showing the touch control functionality.
You can arrange multiple lights to create unique patterns and designs on your wall or other surfaces. The magnetic attachment allows for easy repositioning or removal of the lights from their mounting plates.
Operating Instructions
Touch Control
Gently tap the surface of the LED touch light to cycle through various colors and color-changing modes. Each tap will change the light's state.
Remote Control
The included remote control allows for comprehensive management of your lights from up to 26 feet away. Point the remote directly at the lights for optimal response.

Figure 3: The remote control, detailing buttons for brightness/speed adjustment, color selection, and various color-changing modes.
- ON/OFF: Press the ON button to turn the lights on, and OFF to turn them off.
- Brightness/Speed Adjust: Use the sun icon buttons to adjust brightness in static color mode or speed in color-changing modes.
- Color Selectors: Choose from a variety of static colors using the colored buttons (R, G, B, W, and other color swatches).
- Color-Changing Modes: Select from four distinct modes:
- FLASH: Rapidly cycles through colors.
- STROBE: Flashes a single color on and off.
- FADE: Smoothly transitions between colors.
- SMOOTH: Gradually changes colors with a softer transition.
Product Features Overview
Video 1: An overview of Monster Smart Lighting products, demonstrating various lighting effects and smart home integration. This video showcases the versatility and dynamic capabilities of Monster's lighting solutions, including color changes and mood settings.
Maintenance
- Battery Replacement: When lights dim or stop responding, replace all 3 AAA batteries in the affected unit. Always use fresh, new batteries for best performance.
- Cleaning: Wipe the surface of the lights with a soft, dry cloth. Do not use abrasive cleaners or immerse the lights in water.
- Storage: If storing the lights for an extended period, remove the batteries to prevent leakage and damage.
Troubleshooting
| Problem | Possible Cause | Solution |
|---|---|---|
| Lights do not turn on. | Dead or incorrectly inserted batteries. | Replace batteries with new AAA batteries, ensuring correct polarity. |
| Remote control not working. | Remote battery is dead; remote is too far or not pointed correctly. | Replace remote battery. Ensure remote is within 26 feet and pointed at the lights. |
| Lights fall off the wall. | Adhesive not strong enough; surface not clean or smooth. | Ensure surface is clean and dry before applying. Use stronger adhesive if necessary. |
| Lights are dim or inconsistent. | Low battery power. | Replace batteries in the affected light(s). |
Specifications
| Feature | Detail |
|---|---|
| Brand | Monster |
| Model Number | MLB7-1056- RGB |
| Product Dimensions | 1.9"D x 6.3"W x 6.42"H |
| Item Weight | 0.26 Kilograms (9.2 ounces) |
| Lamp Type | LED |
| Light Source Type | LED |
| Number of Light Sources | 3 (per pack) |
| Color | Multicolor |
| Special Feature | Color Changing |
| Power Source | Battery Powered (3 AAA batteries per light, not included) |
| Controller Type | Remote Control |
| Control Method | Remote, Touch |
| Connectivity Technology | IR (Infrared) |
| Mounting Type | Wall Mount (Magnetic) |
| Material | Magnet (for mounting) |
| Indoor/Outdoor Usage | Indoor |
| Water Resistance Level | Not Water Resistant |
| UPC | 805106226961 |
| Manufacturer | Jem Accessories |
Warranty and Support
For warranty information or technical support, please refer to the official Monster product website or contact their customer service department. Keep your purchase receipt as proof of purchase for any warranty claims.
You can visit the Monster Store on Amazon for more information and product updates.
Related documentsMLB7-1056- RGB


Ask a question about this manual
Ask about setup, troubleshooting, compatibility, parts, safety, or missing instructions. Manuals+ will review the question and use this page’s manual context to help answer it.