
1. Introduction
This manual provides detailed instructions for the safe and effective operation, maintenance, and troubleshooting of your JJRC KAQI-YOYO 2.4G Smart Remote Control Robot. Please read this manual thoroughly before using the product and retain it for future reference.
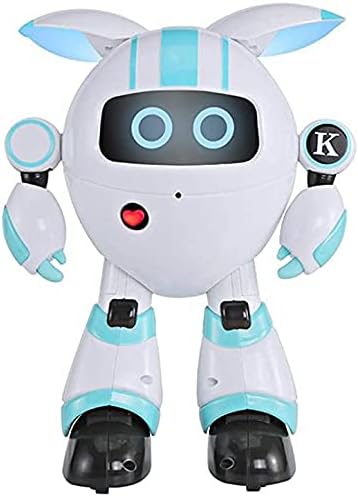
Image 1: Front view of the JJRC KAQI-YOYO Smart Robot. The robot is white with light blue accents, featuring a round head with two glowing blue eyes and a red heart-shaped button on its chest.
2. Safety Information
To ensure safe operation, please observe the following precautions:
- Keep the robot away from water and moisture.
- Do not operate the robot near heat sources or open flames.
- Adult supervision is recommended for young users.
- Do not attempt to disassemble or modify the robot, as this may cause damage or injury.
- Ensure batteries are inserted correctly with the proper polarity.
- Remove batteries if the robot will not be used for an extended period.
3. Package Contents
Please check the package contents upon unboxing:
- JJRC KAQI-YOYO Smart Robot
- 2.4G Remote Control
- USB Charging Cable
- User Manual (this document)
4. Setup
4.1. Battery Installation
The robot and remote control require batteries for operation. Specific battery types are not provided in the product description, but typically these devices use AA or AAA batteries for the remote and a rechargeable battery for the robot.
- Robot Battery: Locate the battery compartment on the robot (usually on the back or bottom). Open the cover, insert the rechargeable battery (if applicable), and close the cover securely. If the robot uses disposable batteries, insert them according to the polarity markings.
- Remote Control Battery: Locate the battery compartment on the back of the remote control. Open the cover, insert the required batteries (e.g., 2x AAA) according to the polarity markings (+ and -), and close the cover securely.
4.2. Charging the Robot
If your robot uses a rechargeable battery, follow these steps:
- Connect the small end of the USB charging cable to the charging port on the robot.
- Connect the large end of the USB charging cable to a USB power adapter (not included) or a computer's USB port.
- The robot's indicator light will typically illuminate during charging and turn off or change color when fully charged. Refer to the robot's specific indicator behavior for details.
- Charging time may vary. Disconnect the cable once charging is complete.
5. Operating Instructions
5.1. Power On/Off
- Robot: Locate the power switch on the robot (usually on the back or bottom). Slide it to the "ON" position to power on. Slide to "OFF" to power off.
- Remote Control: Locate the power switch on the remote control. Slide it to the "ON" position.
5.2. Pairing the Robot and Remote Control
The robot and remote control should automatically pair when both are powered on. If pairing does not occur, follow these steps:
- Ensure both the robot and remote control are powered off.
- Power on the robot. Its indicator light may flash, indicating it's searching for a signal.
- Within a few seconds, power on the remote control.
- The indicator lights on both devices should become solid, indicating successful pairing.
5.3. Basic Controls
The 2.4G remote control allows for various movements and functions. Refer to the remote control diagram (if available) for specific button layouts.
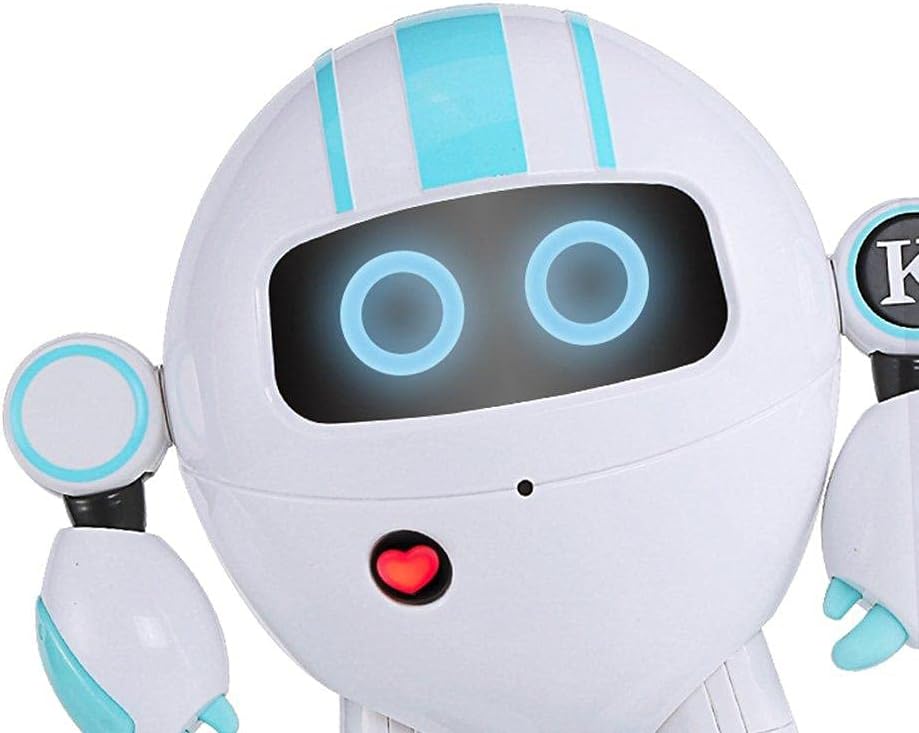
Image 2: Close-up view of the robot's face, showing its glowing blue eyes and the red heart-shaped button on its chest, which may serve as an interaction point or indicator.
- Movement: Use the joystick or directional buttons to move the robot forward, backward, left, and right.
- Head/Arm Movement: Dedicated buttons may control the robot's head or arm movements.
- Sound/Light Effects: Buttons may activate various sound effects, music, or change the robot's eye/body lights.
- Programming/Demo: Some robots feature a demo mode or simple programming functions. Consult the remote control for these specific buttons.
6. Maintenance
- Cleaning: Wipe the robot with a soft, dry cloth. Do not use harsh chemicals or abrasive cleaners.
- Storage: Store the robot and remote control in a cool, dry place away from direct sunlight when not in use.
- Battery Care: Remove batteries from both the robot and remote control if storing for extended periods to prevent leakage.
7. Troubleshooting
| Problem | Possible Cause | Solution |
|---|---|---|
| Robot does not power on. | Low or dead batteries; Power switch is off. | Charge the robot's battery or replace disposable batteries. Ensure the power switch is in the "ON" position. |
| Remote control does not respond. | Low or dead batteries; Not paired with robot. | Replace remote control batteries. Re-pair the remote control with the robot (refer to Section 5.2). |
| Robot moves erratically or not at all. | Interference; Low battery; Obstruction. | Move to an area with less interference. Charge robot battery. Check for obstructions in wheels or joints. |
| Short operating time. | Battery not fully charged; Old battery. | Ensure the robot's battery is fully charged. Consider replacing old rechargeable batteries if performance degrades significantly. |
8. Specifications
- Brand: JJRC
- Model: KAQI-YOYO
- Control Frequency: 2.4G
- Item Weight: 11 g (Note: This weight is provided in product specifications and may refer to packaging or a component, not the full robot.)
- Educational Objective: Social Skill
- Assembly Required: No
- ASIN: B0922QY914
9. Warranty and Support
For warranty information or technical support, please refer to the contact details provided on the product packaging or the official JJRC website. Keep your purchase receipt as proof of purchase for warranty claims.
Official JJRC Website: www.jjrc.com (Note: This is a placeholder URL; please refer to actual product documentation for correct support links.)