
1. Introduction
This manual provides essential information for setting up, operating, maintaining, and troubleshooting your HP EliteBook 850 G8 laptop. Please read this guide thoroughly to ensure proper use and to maximize the performance and longevity of your device.
2. What's in the Box
Upon unpacking your HP EliteBook 850 G8, ensure all components are present:
- HP EliteBook 850 G8 Notebook
- AC Power Adapter and Power Cord
- Documentation (Quick Start Guide, Safety Information)
3. Product Overview
Familiarize yourself with the key features and components of your HP EliteBook 850 G8 laptop.

Figure 3.1: HP EliteBook 850 G8 Laptop, open view with display and keyboard.
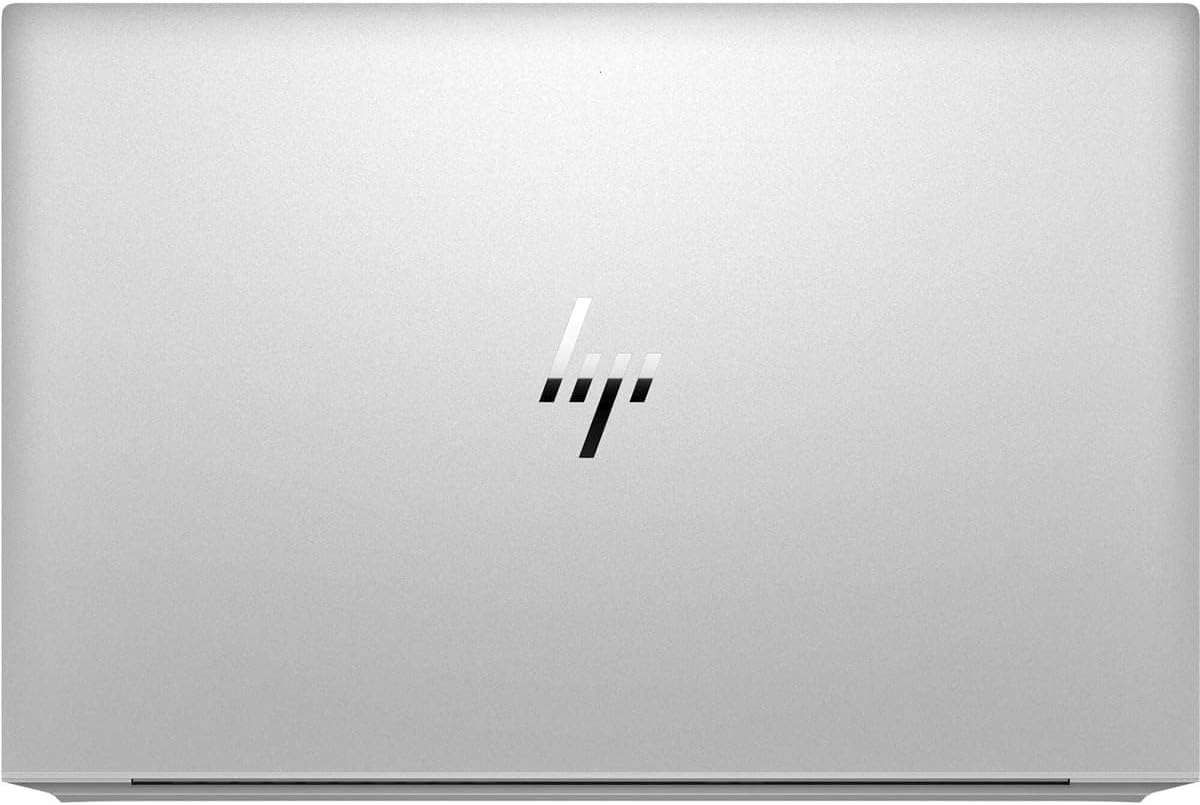
Figure 3.2: Top view of the closed HP EliteBook 850 G8 Laptop, featuring the HP logo.
3.1 Left Side Components

Figure 3.3: Left side view of the HP EliteBook 850 G8 Laptop.
- USB-A Port: For connecting USB devices.
- Audio Jack: For connecting headphones or a headset.
- Smart Card Reader: For reading smart cards (if equipped).
3.2 Right Side Components

Figure 3.4: Right side view of the HP EliteBook 850 G8 Laptop.
- Power Input: Connect the AC adapter here.
- Thunderbolt / USB-C Ports: For high-speed data transfer, display output, and charging compatible devices.
- HDMI Port: For connecting to external displays or projectors.
- USB-A Port: For connecting USB devices.
4. Setup
4.1 Initial Power-Up
- Connect the AC power adapter to the laptop's power input port and then to a power outlet.
- Open the laptop lid.
- Press the power button, typically located above the keyboard or on the side.
- Follow the on-screen instructions to complete the Windows 10 Pro setup, including language, region, network connection, and user account creation.
4.2 Charging the Battery
For optimal battery life, fully charge the laptop before its first use. The battery indicator light will show charging status. It is recommended to keep the laptop plugged in during initial setup and large software installations.
5. Operating Your Laptop
5.1 Power On/Off and Sleep
- Power On: Press the power button.
- Shut Down: Click the Start button, then Power > Shut down.
- Sleep: Close the lid or click the Start button, then Power > Sleep.
5.2 Using the Keyboard and Touchpad
- The keyboard features a standard QWERTY layout.
- The touchpad supports multi-touch gestures for navigation, scrolling, and zooming. Refer to Windows settings for customization.
5.3 Connecting to Networks
- Wi-Fi: Click the network icon in the taskbar, select your desired Wi-Fi network, and enter the password if prompted.
- Bluetooth: Enable Bluetooth in Windows settings to pair with compatible devices like mice, keyboards, or headphones.
5.4 External Displays
Connect an external monitor or projector using the HDMI port or a Thunderbolt/USB-C port with an appropriate adapter. Press Windows key + P to cycle through display modes.
6. Maintenance
6.1 Cleaning
- Screen: Use a soft, lint-free cloth lightly dampened with water or a screen cleaner. Do not spray liquid directly onto the screen.
- Chassis: Wipe with a soft, dry cloth. Avoid harsh chemicals.
- Keyboard: Use compressed air to remove dust and debris from between keys.
6.2 Battery Care
- Avoid extreme temperatures.
- Do not fully discharge the battery frequently.
- If storing the laptop for an extended period, ensure the battery is charged to approximately 50%.
6.3 Software Updates
Regularly check for and install Windows updates and HP driver updates to ensure optimal performance and security.
7. Troubleshooting
7.1 No Power / Laptop Not Turning On
- Ensure the AC adapter is securely connected to both the laptop and a working power outlet.
- Check if the power outlet is functional by plugging in another device.
- Try holding the power button for 15-20 seconds to perform a hard reset.
7.2 Display Issues
- If the screen is blank, ensure the laptop is powered on.
- If using an external monitor, ensure the cable is connected properly and try pressing Windows key + P to switch display modes.
7.3 Wi-Fi Connectivity Problems
- Verify that Wi-Fi is enabled in Windows settings.
- Restart your router and modem.
- Ensure you are within range of the Wi-Fi network.
7.4 Slow Performance
- Close unnecessary applications running in the background.
- Check for and install any pending Windows updates.
- Run a disk cleanup and defragmentation (for HDD, not necessary for SSD).
8. Specifications
| Feature | Specification |
|---|---|
| Model Name | HP EliteBook 850 G8 |
| Processor | Intel Core i5 1145G7 (2.6 GHz, 6 Cores) |
| Display | 15.6-inch FHD (1920x1080) LED |
| RAM Memory | 16GB DDR4 |
| Storage | 256GB SSD |
| Graphics | Intel Iris Xe Graphics (Integrated) |
| Operating System | Windows 10 Pro |
| Connectivity | Wi-Fi 6, Bluetooth 5, USB, HDMI |
| Ports | USB-A (x2), Thunderbolt/USB-C (x2), HDMI, Audio Jack |
| Battery | 3-cell Lithium Ion, 56 Wh |
| Special Features | Webcam, Touchpad, Chiclet Keyboard |
9. Warranty Information
Your HP EliteBook 850 G8 laptop comes with a 3-year manufacturer warranty. This warranty covers defects in materials and workmanship under normal use. For specific terms and conditions, please refer to the warranty documentation included with your product or visit the official HP support website.
10. Support
For further assistance, technical support, or to download the latest drivers and software, please visit the official HP support website:
You may also find helpful resources and community forums on the HP website.


