
AGM AGM-Sliver
AGM Mini Exercise Bike User Manual
Model: AGM-Sliver
Introduction
This manual provides essential instructions for the safe and effective use of your AGM Mini Exercise Bike. This compact pedal exerciser is designed for both arm and leg workouts, featuring an LCD screen to track your progress. Please read this manual thoroughly before assembly and operation.
Safety Information
- Consult a physician before starting any new exercise program, especially if you have pre-existing health conditions.
- Ensure the exerciser is placed on a stable, flat surface during use. Use the included non-slip mat to prevent movement.
- Keep children and pets away from the exerciser during operation.
- Do not stand on the exerciser. It is designed for seated use only.
- Check all components for wear or damage before each use. Do not use if any parts are loose or damaged.
- Adjust resistance gradually to avoid strain.
- Stop exercising immediately if you feel pain, dizziness, or discomfort.
Package Contents
Verify that all components are present before assembly:
- Main Exerciser Unit
- Front Stabilizer Bar
- Rear Stabilizer Bar
- Pedals (Left and Right)
- Non-slip Mat
- Assembly Tools (Wrench, Screws, Washers)
- User Manual

Image: All components of the AGM Mini Exercise Bike, including the main unit, stabilizer bars, pedals, non-slip mat, and assembly tools.
Setup and Assembly
Follow these steps to assemble your AGM Mini Exercise Bike:
- Attach Stabilizer Bars: Secure the front and rear stabilizer bars to the main unit using the provided screws and washers. Ensure they are tightened firmly for stability.
- Attach Pedals: Identify the left (L) and right (R) pedals. The left pedal screws counter-clockwise, and the right pedal screws clockwise. Thread each pedal into its corresponding crank arm until secure. Do not overtighten.
- Place Non-slip Mat: Position the non-slip mat on the floor where you intend to use the exerciser. Place the assembled Mini Exercise Bike on top of the mat.
Video: A detailed assembly guide for the AGM Mini Exercise Bike, demonstrating how to attach the stabilizer bars and pedals.
Operating Instructions
Leg Exercise
For leg workouts, place the exerciser on the floor in front of your chair. Sit comfortably with your feet securely placed in the pedal straps. Begin pedaling in a smooth, controlled motion. The compact design allows it to fit under most desks, enabling exercise while working.

Image: A person seated at a desk, using the AGM Mini Exercise Bike for leg exercise, demonstrating its compact size.
Arm Exercise
To use as an arm exerciser, place the unit on a sturdy table. Sit in front of it and grasp the pedals with your hands. Secure your hands with the straps if desired. Rotate the pedals using your arms. This can help improve arm strength and flexibility.
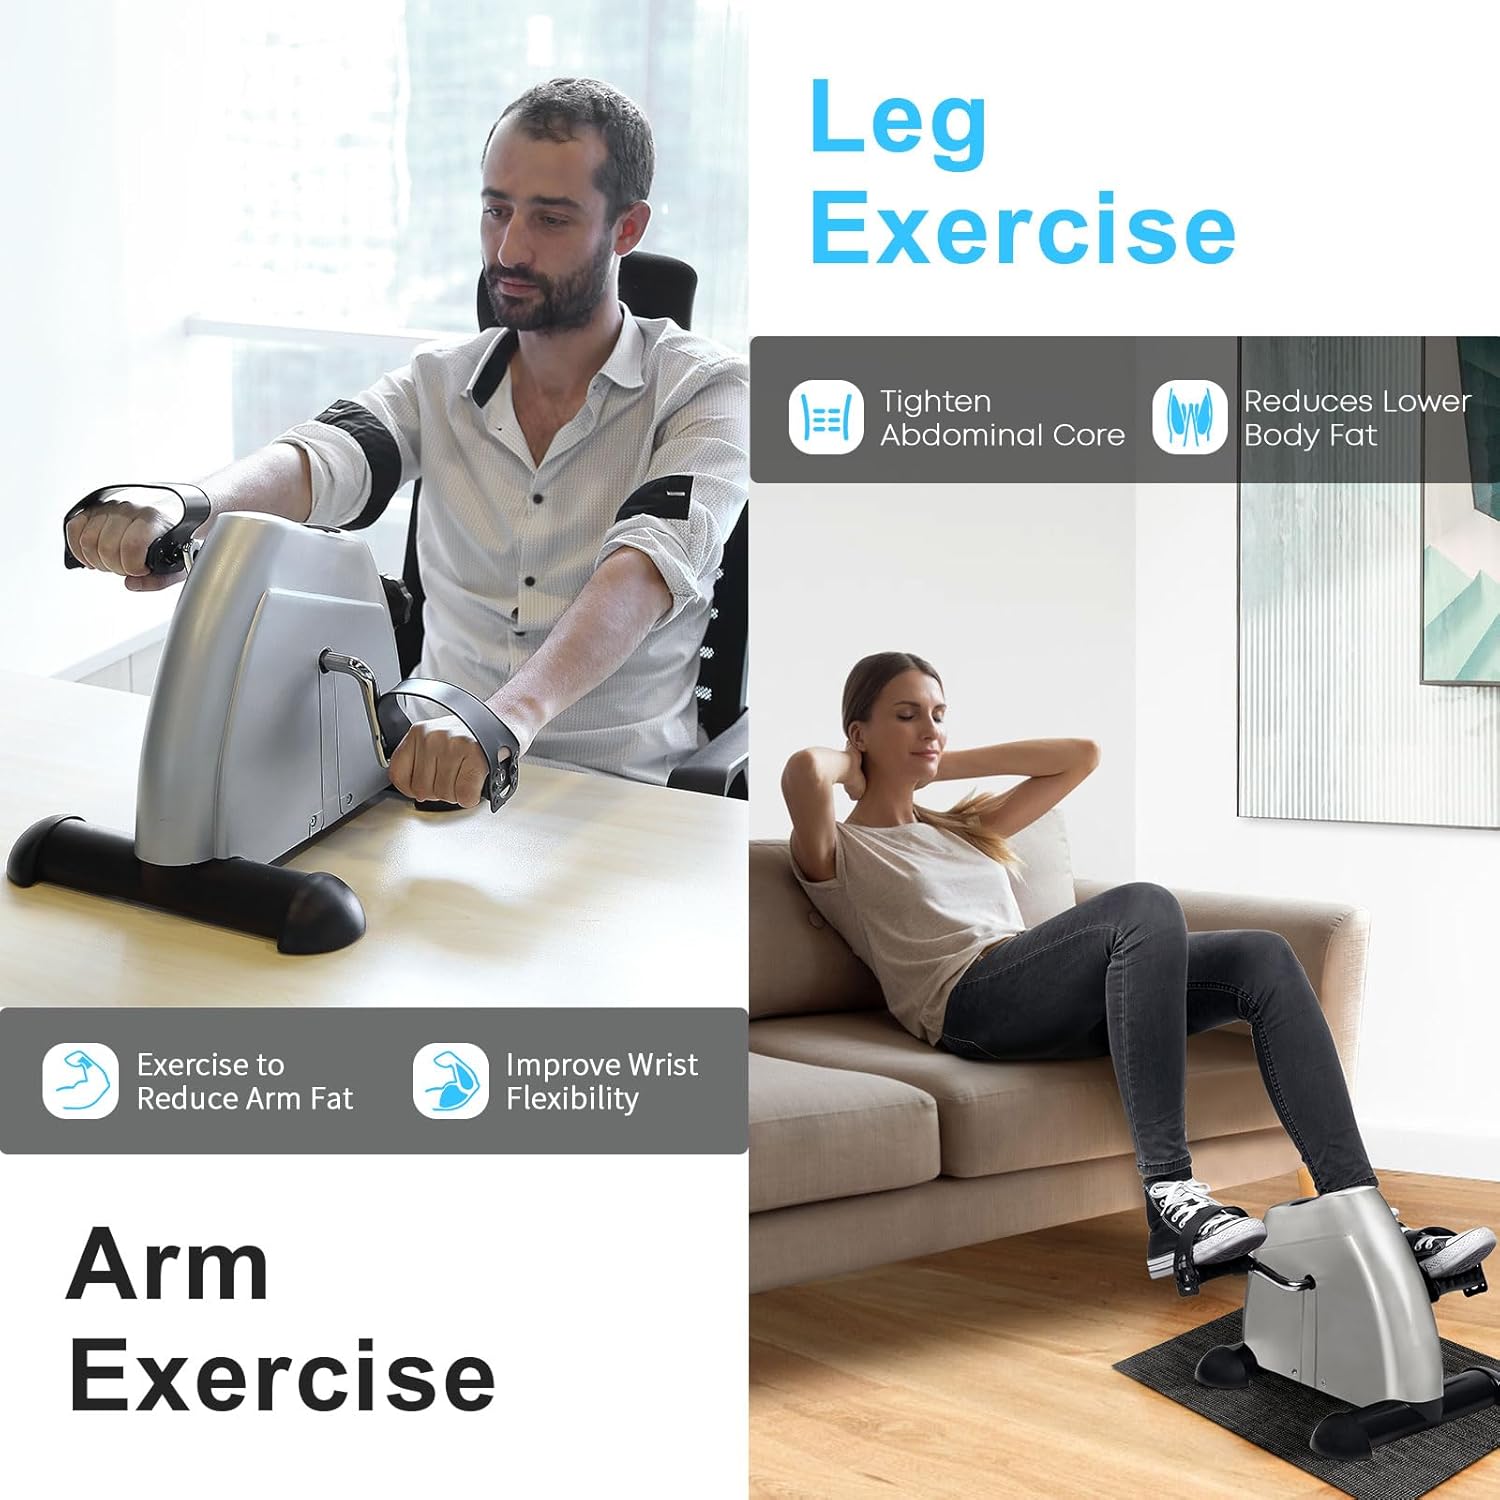
Image: A person using the AGM Mini Exercise Bike on a tabletop for arm exercise, illustrating its versatility.
Video: An overview of the AGM Mini Exercise Bike, showcasing its use for both arm and leg exercises in various settings.
Adjusting Resistance
The AGM Mini Exercise Bike features an adjustable tension knob to customize your workout intensity. To increase resistance, turn the knob clockwise. To decrease resistance, turn it counter-clockwise. Start with a low resistance and gradually increase as your strength improves.

Image: A close-up view of the resistance knob on the AGM Mini Exercise Bike, with arrows indicating clockwise for increased resistance and counter-clockwise for decreased resistance.
Using the LCD Display
The integrated LCD display tracks your exercise data. Press the red button to cycle through different metrics:
- Time (T): Duration of your current workout session.
- Distance (D): Estimated distance covered.
- Count (C): Number of pedal rotations in the current session.
- Total Count (T-Count): Total number of pedal rotations over all sessions.
- Calories (CA): Estimated calories burned.
- Scan: Automatically cycles through all metrics.
To reset the display, press and hold the red button for a few seconds.

Image: The LCD display of the AGM Mini Exercise Bike, showing various tracked metrics such as time, distance, count, total count, and calories burned.
Maintenance
- Cleaning: Wipe down the exerciser with a damp cloth after each use. Avoid abrasive cleaners.
- Lubrication: Periodically apply a small amount of silicone-based lubricant to the pedal axles and moving parts to ensure smooth operation and prevent squeaking.
- Storage: Store the exerciser in a cool, dry place away from direct sunlight and extreme temperatures.
- Battery Replacement: If the LCD display becomes dim or unresponsive, replace the battery (typically a button cell battery, refer to the battery compartment for type).
Troubleshooting
| Problem | Possible Cause | Solution |
|---|---|---|
| Pedals are not smooth or feel jerky. | Insufficient lubrication; loose components; resistance set too high. | Apply lubricant to pedal axles. Check and tighten all assembly screws. Reduce resistance setting. |
| Squeaking noise during use. | Lack of lubrication on moving parts. | Apply silicone-based lubricant to pedal connections and internal moving parts. |
| Exerciser slides on the floor. | Not using the non-slip mat; unstable surface. | Ensure the non-slip mat is correctly placed. Use on a flat, stable surface. |
| LCD display is blank or dim. | Dead battery. | Replace the battery in the LCD unit. |
Specifications
- Brand: AGM
- Model Number: AGM-Sliver
- Item Weight: 7.7 pounds
- Color: Silver
- Material: Acrylonitrile Butadiene Styrene (ABS), Metal, Plastic
- Product Dimensions (D x W x H): 12.2" x 15.75" x 7.09"
- Controls Type: Push Button
- Display: LCD
- Number of Resistance Levels: 6 (Adjustable via tension knob)
- Power Source: Battery Powered (for LCD)
- Maximum Weight Recommendation: 150 pounds
Warranty and Support
For warranty information or technical support, please refer to the contact details provided with your purchase or visit the official AGM website. The manufacturer provides spare part availability for 7 years in the EU.
For further assistance, please contact AGM customer service.
Related documentsAGM-Sliver


Ask a question about this manual
Ask about setup, troubleshooting, compatibility, parts, safety, or missing instructions. Manuals+ will review the question and use this page’s manual context to help answer it.