Introduction
Thank you for choosing the Crown CT18118 BMC Heavy Rotary Hammer. This manual provides essential information for the safe operation, maintenance, and troubleshooting of your tool. Please read it thoroughly before first use and keep it for future reference.
Important Safety Instructions
Always follow basic safety precautions to reduce the risk of fire, electric shock, and personal injury. Keep this manual for future reference.
General Power Tool Safety Warnings
- Work Area Safety: Keep work area clean and well lit. Do not operate power tools in explosive atmospheres, such as in the presence of flammable liquids, gases or dust.
- Electrical Safety: Power tool plugs must match the outlet. Never modify the plug in any way. Avoid body contact with earthed or grounded surfaces.
- Personal Safety: Always wear eye protection, hearing protection, and a dust mask. Dress properly. Do not overreach. Stay alert.
- Power Tool Use and Care: Do not force the power tool. Use the correct power tool for your application. Disconnect the plug from the power source before making any adjustments, changing accessories, or storing power tools.
- Service: Have your power tool serviced by a qualified repair person using only identical replacement parts.
Specific Rotary Hammer Safety
- Wear ear protectors when impact drilling. Exposure to noise can cause hearing loss.
- Use auxiliary handles supplied with the tool. Loss of control can result in personal injury.
- Hold power tool by insulated gripping surfaces when performing an operation where the cutting accessory may contact hidden wiring or its own cord.
- Always ensure the workpiece is securely fastened.
- Be aware of dust generated during operation and use appropriate dust extraction or respiratory protection.
Product Overview
The Crown CT18118 BMC Heavy Rotary Hammer is a powerful tool designed for impact drilling and chiseling in concrete and masonry. Familiarize yourself with its components before operation.
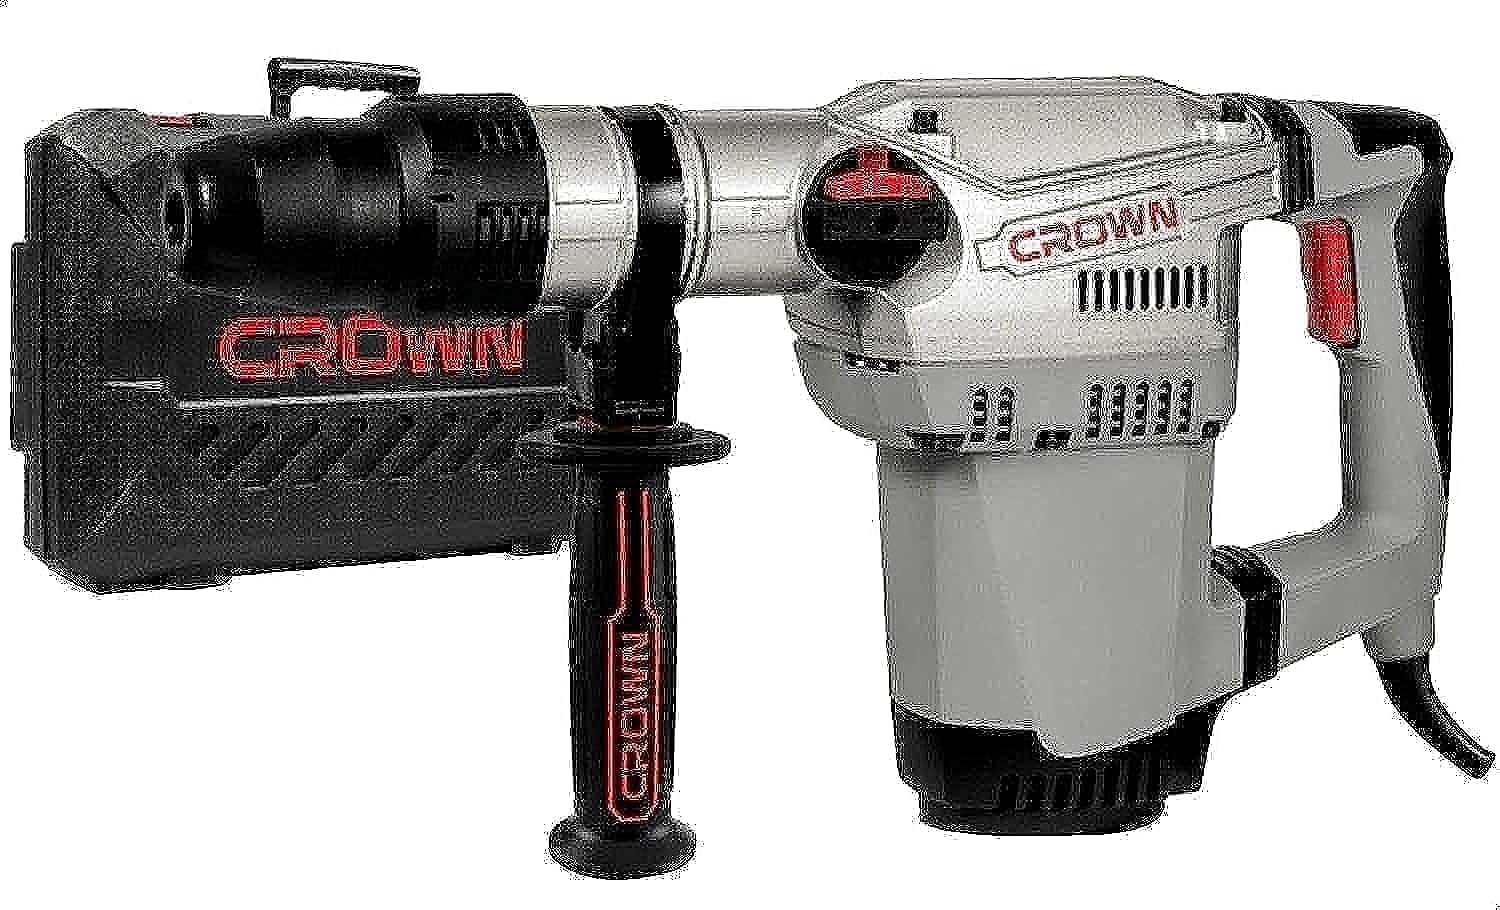
Image: Crown CT18118 BMC Heavy Rotary Hammer. The tool features a robust silver and grey body with black handles and red accents on the trigger and mode selector. An auxiliary handle is attached near the chuck.
Key Features:
- SDS-Max Chuck: For quick and secure accessory changes.
- Two Function Modes: Impact drilling and chiseling for versatile applications.
- Vario-Lock Mode: Allows for adjustment of chisel position.
- Anti-Vibration System: Reduces user fatigue during prolonged use.
- Safety Clutch Function: Protects the user and tool in case of bit jamming.
- Soft Grip: Enhances comfort and control.
- Spindle Lock: Blocks the spindle in its rotating movement so that accessories may be inserted or removed easily.
- Two-Position On/Off Switch: Secured in both on and off positions for safety.
Package Contents
Upon unpacking, ensure all items listed below are present and undamaged:
- Crown CT18118 BMC Heavy Rotary Hammer
- Owner's Manual (this document)
- Depth Stop
- Additional Handle
- Drill Bits (various sizes)
- Flat Chisel
- Point Chisel
- Dust Collector
- Container with Lubricant
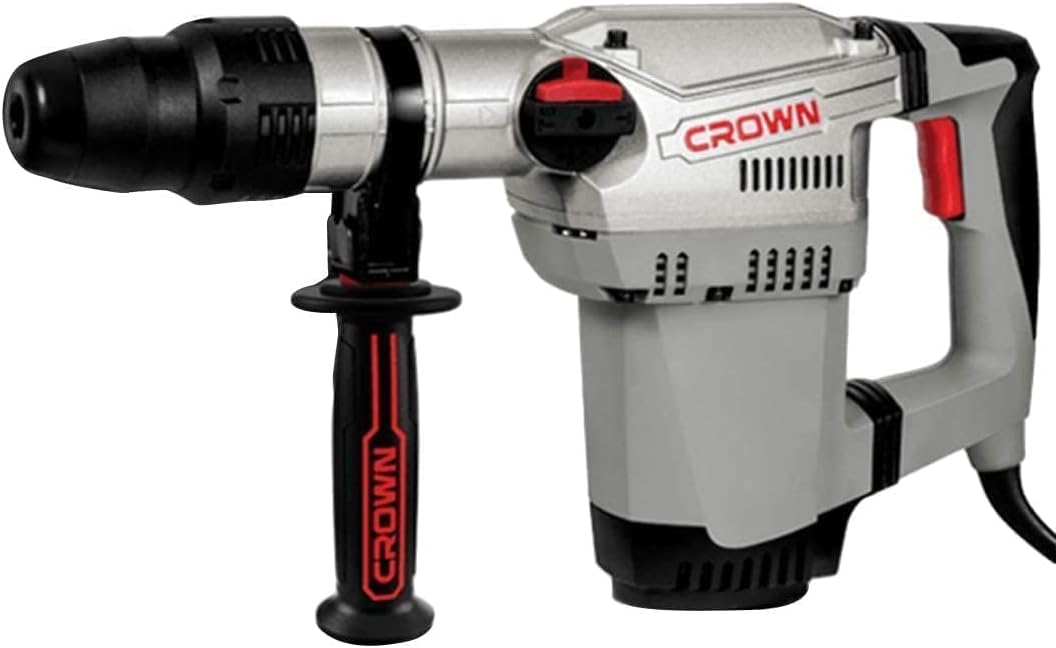
Image: The Crown CT18118 BMC Rotary Hammer shown with its included accessories, such as drill bits, chisels, depth stop, and auxiliary handle.
Setup and Assembly
Attaching the Auxiliary Handle
- Loosen the auxiliary handle clamp by rotating it counter-clockwise.
- Slide the handle onto the tool's barrel to the desired position.
- Rotate the clamp clockwise to securely fasten the handle. Ensure it is tight before operation.
Inserting Drill Bits/Chisels (SDS-Max Chuck)
- Clean the shank of the drill bit or chisel and apply a small amount of lubricant from the provided container.
- Pull back the chuck sleeve and insert the bit into the chuck until it clicks into place.
- Release the chuck sleeve. Pull on the bit to ensure it is securely locked. The bit should have a slight axial play; this is normal for SDS-Max systems.
- To remove, pull back the chuck sleeve and pull the bit out.
Setting the Depth Stop
- Insert the depth stop rod into the hole on the auxiliary handle.
- Adjust the rod to the desired drilling depth.
- Tighten the screw or clamp on the auxiliary handle to secure the depth stop.
Operating Instructions
Selecting Operating Mode
The rotary hammer features two main operating modes: Impact Drilling and Chiseling. Use the mode selector switch located on the side of the tool to choose the desired function.
- Impact Drilling: For drilling holes in concrete, brick, and stone.
- Chiseling: For breaking and chipping concrete or masonry.
For chiseling, the Vario-Lock mode allows you to adjust the chisel's angle. Rotate the chisel to the desired position, then lock the mode selector.
Starting and Stopping the Tool
- To Start: Press the ON/OFF switch. For continuous operation, press the switch and then press the lock-on button (if available) to keep it engaged.
- To Stop: Release the ON/OFF switch. If locked on, press the switch again to release the lock-on button.
Working with the Rotary Hammer
- Always hold the tool firmly with both hands using the main handle and the auxiliary handle.
- Apply moderate pressure. Do not force the tool; let the hammer action do the work.
- When drilling, start slowly to prevent the drill bit from wandering.
- For chiseling, position the chisel at the desired angle and apply steady pressure.
- Regularly check the condition of drill bits and chisels. Replace worn or damaged accessories.
Maintenance
Regular maintenance ensures optimal performance and extends the life of your rotary hammer. Always disconnect the tool from the power supply before performing any maintenance.
Cleaning
- Keep the ventilation openings clean to prevent motor overheating.
- Wipe the tool housing with a soft, damp cloth. Do not use harsh chemicals or abrasive cleaners.
- Clean the SDS-Max chuck regularly to remove dust and debris.
Lubrication
- Apply a small amount of the provided lubricant to the shank of drill bits and chisels before insertion into the chuck. This reduces wear and improves performance.
- Refer to a qualified service technician for internal lubrication requirements.
Storage
- Store the tool in its plastic case in a dry, secure place, out of reach of children.
- Ensure the power cord is neatly coiled and not kinked.
Troubleshooting
Before contacting customer service, refer to the following common issues and solutions:
| Problem | Possible Cause | Solution |
|---|---|---|
| Tool does not start | No power supply; Faulty switch; Damaged power cord. | Check power outlet and cord. Ensure switch is fully engaged. If problem persists, consult a qualified technician. |
| Reduced impact/drilling performance | Worn drill bit/chisel; Incorrect mode selected; Insufficient lubrication. | Replace worn accessories. Verify correct mode. Apply lubricant to bit shank. |
| Excessive vibration/noise | Loose accessory; Internal component issue. | Ensure bit is securely locked in chuck. If problem persists, discontinue use and seek professional service. |
| Tool overheats | Blocked ventilation slots; Prolonged heavy use. | Clean ventilation slots. Allow tool to cool down. Avoid continuous heavy load. |
Technical Specifications
| Model | CT18118 BMC |
| Rated Power | 1250 Watt |
| Amperage | 5.6 A |
| Single Impact Power | 10 J |
| Drilling Output in Concrete | 40 mm |
| Impact Rate | 300 min-1 |
| Chuck Type | SDS-Max |
| Functions | Impact drilling, Chiseling |
| Anti-Vibration System | Yes |
| Safety Clutch | Yes |
| Product Weight | 7 kg (Tool only) / 12.85 kg (Shipping weight) |
| Voltage | 220 Volts |
| Power Source | Corded Electric |
| Product Dimensions (L x W x H) | 45 x 10 x 30 cm (approx.) |
Warranty and Support
For warranty information, please refer to the warranty card included with your product or contact Crown customer service. Keep your purchase receipt as proof of purchase.
For technical support, spare parts, or service inquiries, please contact your local Crown authorized service center or visit the official Crown website.


