
Goodyear GY862201
Goodyear 2200W Pressure Washer User Manual
Model: GY862201 | Brand: Goodyear
Introduction
This manual provides essential information for the safe and efficient operation, maintenance, and troubleshooting of your Goodyear 2200W Pressure Washer. Please read this manual thoroughly before using the appliance to ensure proper handling and to prevent injury or damage.
The Goodyear 2200W Pressure Washer is designed for effective cleaning of various surfaces, including vehicles, garden tools, fences, patios, and stone walls. Its powerful motor and versatile accessories make it suitable for a wide range of domestic cleaning tasks.
Safety Information
Always adhere to the following safety guidelines:
- Ensure the power supply matches the specifications on the rating label.
- Do not direct the water jet at electrical equipment or the appliance itself.
- Wear appropriate personal protective equipment, including eye protection.
- Keep children and pets away from the operating area.
- Disconnect from the power supply before performing any maintenance or cleaning.
- Do not use the appliance if the power cord or other important parts are damaged.
Product Overview and Components
Familiarize yourself with the main components of your pressure washer:

Figure 1: Main unit of the Goodyear 2200W Pressure Washer, showing the integrated hose reel, handle, and control panel.

Figure 2: The pressure gun with adjustable lance and turbo lance attachments. These allow for various spray patterns and intensities.

Figure 3: Close-up of the control panel, featuring the ON/OFF switch and pressure adjustment dial.
Key Components:
- Main Unit: Houses the motor, pump, and integrated soap tank.
- High-Pressure Hose: Connects the main unit to the spray gun.
- Spray Gun: Handheld device for directing the water jet.
- Adjustable Lance: Allows for varying spray patterns from fan to direct stream.
- Turbo Lance: Provides a concentrated, rotating jet for stubborn dirt.
- Water Inlet Filter: Protects the pump from debris.
- Hose Reel: For convenient storage of the high-pressure hose.
Setup
Follow these steps to set up your pressure washer for first use:
- Unpacking: Carefully remove all components from the packaging. Check for any damage.
- Handle Assembly: Attach the handle to the main unit if it's not pre-assembled. Secure it with the provided fasteners.
- Connect Water Supply:
- Connect a garden hose (not supplied) to the water inlet on the pressure washer. Ensure the water inlet filter is in place.
- Connect the other end of the garden hose to a water tap.
- Turn on the water tap fully to ensure a steady water flow to the unit.
- Connect High-Pressure Hose:
- Connect one end of the high-pressure hose to the high-pressure outlet on the main unit.
- Connect the other end of the high-pressure hose to the spray gun. Ensure all connections are secure.

Figure 4: Demonstrates connecting the high-pressure hose to the spray gun, ensuring a secure fit.
- Attach Lance: Select either the adjustable lance or the turbo lance and attach it to the spray gun.
- Fill Soap Tank (Optional): If using detergent, fill the integrated soap tank with appropriate pressure washer detergent.
- Connect Power: Plug the power cord into a suitable grounded electrical outlet.
Operating Instructions
Starting the Pressure Washer:
- Ensure all connections are secure and the water supply is turned on.
- Press the ON/OFF switch to the "ON" position. The motor will start.
- Squeeze the trigger on the spray gun to release water and purge any air from the system. Hold the trigger until a steady stream of water emerges.
Using the Lances:
- Adjustable Lance: Rotate the nozzle to change the spray pattern from a narrow, high-pressure stream to a wide fan spray. The fan spray is recommended for delicate surfaces like wood or vehicle bodies.
- Turbo Lance: Provides a powerful, rotating jet for removing tough dirt and grime from hard surfaces like concrete or stone.

Figure 5: The pressure washer in use for cleaning a car, demonstrating its versatility for vehicle maintenance.

Figure 6: A user cleaning a bicycle, highlighting the effectiveness of the pressure washer for various outdoor items.
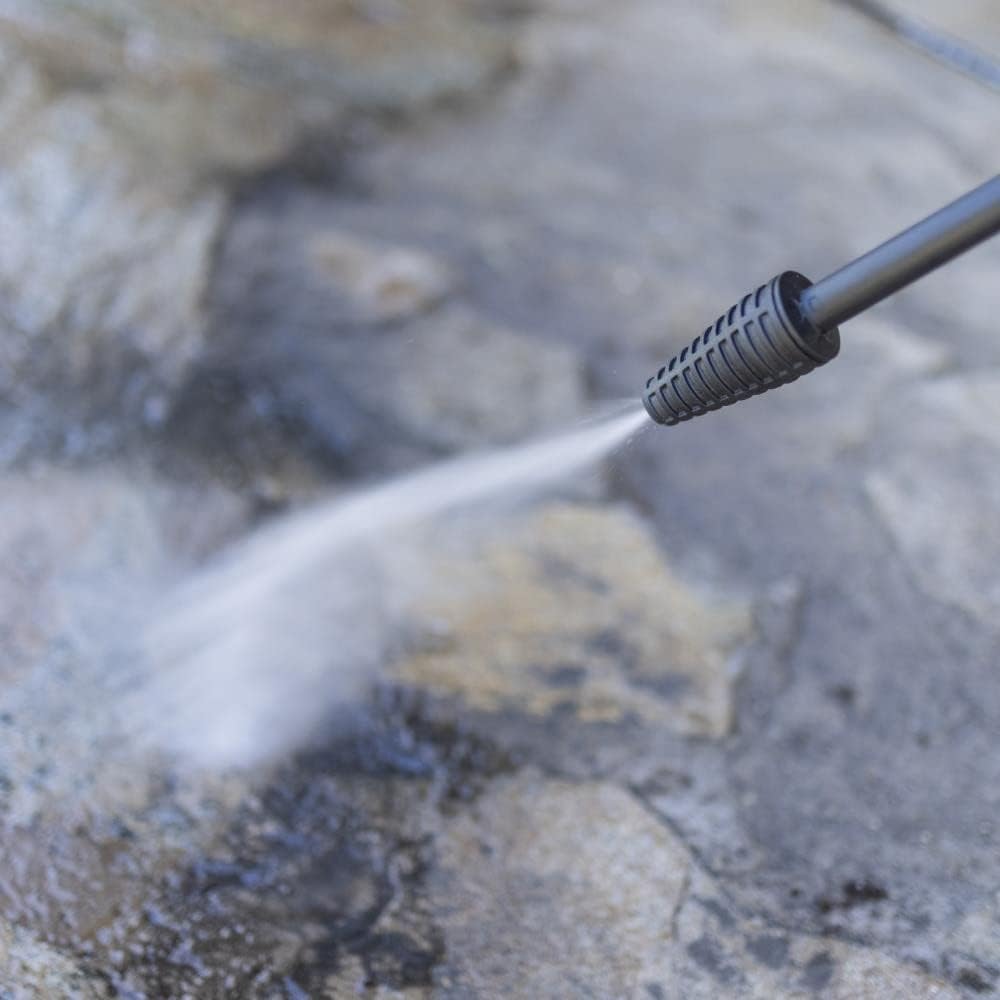
Figure 7: Close-up view of the water jet, illustrating the powerful and precise cleaning action.
Applying Detergent:
To apply detergent, ensure the soap tank is filled. The pressure washer will automatically draw detergent when operating at low pressure or with the appropriate nozzle setting (refer to your lance instructions for detergent application mode).
Stopping the Pressure Washer:
- Release the trigger on the spray gun. The Total Stop System will automatically shut off the motor.
- Press the ON/OFF switch to the "OFF" position.
- Turn off the water tap.
- Squeeze the spray gun trigger to release any remaining pressure in the system.
- Disconnect the power cord from the outlet.
Maintenance
Regular maintenance ensures the longevity and optimal performance of your pressure washer.
After Each Use:
- Rinse System: Run clean water through the system for a few minutes to flush out any detergent residue.
- Clean Nozzles: Remove any blockages from the nozzles using the provided cleaning needle or a thin wire.
- Clean Water Inlet Filter: Regularly check and clean the water inlet filter to prevent debris from entering the pump.
- Drain Water: In cold climates, ensure all water is drained from the pump and hoses to prevent freezing damage.
Storage:
- Store the pressure washer in a dry, frost-free environment.
- Wind the high-pressure hose onto the integrated hose reel. The clip system helps secure the hose.
- Store the spray gun and lances in their designated holders on the unit.

Figure 8: Demonstrates the process of winding the high-pressure hose onto the integrated reel for neat storage.
Troubleshooting
| Problem | Possible Cause | Solution |
|---|---|---|
| Motor does not start. | No power supply; ON/OFF switch is OFF; Thermal protection activated. | Check power connection; Turn switch ON; Allow unit to cool down. |
| No water output or low pressure. | Water supply off; Kinked hose; Clogged water inlet filter; Air in pump; Clogged nozzle. | Turn on water supply; Straighten hose; Clean filter; Purge air by squeezing trigger; Clean nozzle. |
| Pulsating pressure. | Air in pump; Insufficient water supply; Clogged nozzle. | Purge air; Ensure adequate water flow; Clean nozzle. |
| Detergent not dispensing. | Soap tank empty; Wrong nozzle/pressure setting for detergent application. | Refill soap tank; Adjust nozzle or pressure setting as per instructions. |
Specifications
Technical specifications for the Goodyear 2200W Pressure Washer (Model GY862201):
| Feature | Specification |
|---|---|
| Model Number | GY862201 |
| Power | 2200 W |
| Max Pressure | 170 bar |
| Max Flow Rate | 450 liters per hour (l/h) |
| Hose Length | 5 meters |
| Power Cable Length | 4 meters |
| Dimensions (L x W x H) | 39 x 37 x 90.5 cm |
| Weight | 14.88 kg |
| Material | Plastic |
| Power Source | AC |

Figure 9: Visual representation of key technical specifications and included accessories for the GY2202PW model.
Warranty and Support
For warranty information and customer support, please refer to the documentation included with your purchase or visit the official Goodyear product support website. Keep your proof of purchase for warranty claims.
For further assistance or technical inquiries, please contact Goodyear customer service.
Related documentsGY862201


Ask a question about this manual
Ask about setup, troubleshooting, compatibility, parts, safety, or missing instructions. Manuals+ will review the question and use this page’s manual context to help answer it.