
VIMGO UNO V1
VIMGO 5G WiFi Projector UNO V1 User Manual
Model: UNO V1 | Brand: VIMGO
Introduction
Welcome to the user manual for your VIMGO 5G WiFi Projector, Model UNO V1. This guide provides comprehensive instructions for setting up, operating, maintaining, and troubleshooting your projector to ensure an optimal viewing experience. Please read this manual thoroughly before using the product.
Package Contents
Please check the box for the following items:
- VIMGO 5G WiFi Projector (UNO V1)
- Power Cord
- HDMI Cable
- AV Cable
- Remote Control (batteries not included)
- User Manual (this document)
Product Overview
Familiarize yourself with the main components of your VIMGO projector.

Figure 1: Front view of the VIMGO UNO V1 Projector with a smartphone demonstrating wireless screen mirroring capability.

Figure 2: Rear panel of the projector displaying available connectivity ports for various devices.
Key Components:
- Projection Lens: Emits the image onto the screen.
- Focus Ring: Adjusts image clarity.
- Keystone Correction Ring: Corrects trapezoidal image distortion.
- Control Panel: Buttons for basic navigation and settings.
- Input Ports: HDMI, USB, AV, VGA, TF card slot for connecting various devices.
- Audio Output: 3.5mm jack for external speakers or headphones.
- Built-in Speaker: Provides audio output directly from the projector.
- Power Input: Connects to the power cord.
Setup
1. Power Connection
- Connect the power cord to the projector's power input port.
- Plug the other end of the power cord into a power outlet.
- The power indicator light will illuminate.
2. Placement and Screen Size
Place the projector on a stable, flat surface. The optimal projection distance and screen size can vary. For best results, ensure the projector is perpendicular to the projection surface.

Figure 3: Recommended projection distances for various screen sizes, up to 200 inches.
3. Focus and Keystone Correction
After positioning the projector, adjust the image for clarity and shape.
- Focus: Rotate the focus ring on the top of the projector until the image appears sharp and clear.
- Keystone Correction: If the projected image appears trapezoidal (wider at the top or bottom), rotate the keystone correction ring to adjust the vertical angle until the image is rectangular. The projector supports up to ±15° vertical keystone correction.

Figure 4: Visual guide for adjusting focus and keystone correction.
Operating Instructions
1. Power On/Off
- Power On: Press the power button on the projector or the remote control.
- Power Off: Press the power button again. The projector will shut down.
2. Input Source Selection
Use the "Source" button on the remote control or the projector's control panel to select your desired input source (HDMI, USB, AV, VGA, TF, Screen Mirroring).
3. Wireless Connectivity (Screen Mirroring)
The VIMGO UNO V1 supports wireless screen mirroring for iOS and Android devices via Wi-Fi.
For iOS Devices:
- Select "Screen Mirroring" as the input source on your projector.
- On your iOS device, go to Wi-Fi settings and connect to the projector's Wi-Fi network (e.g., "RKcast-XXXXXX"). The password is typically "12345678".
- Open the Control Center on your iOS device and tap "Screen Mirroring".
- Select "RKcast-XXXXXX" from the list to begin mirroring your screen.
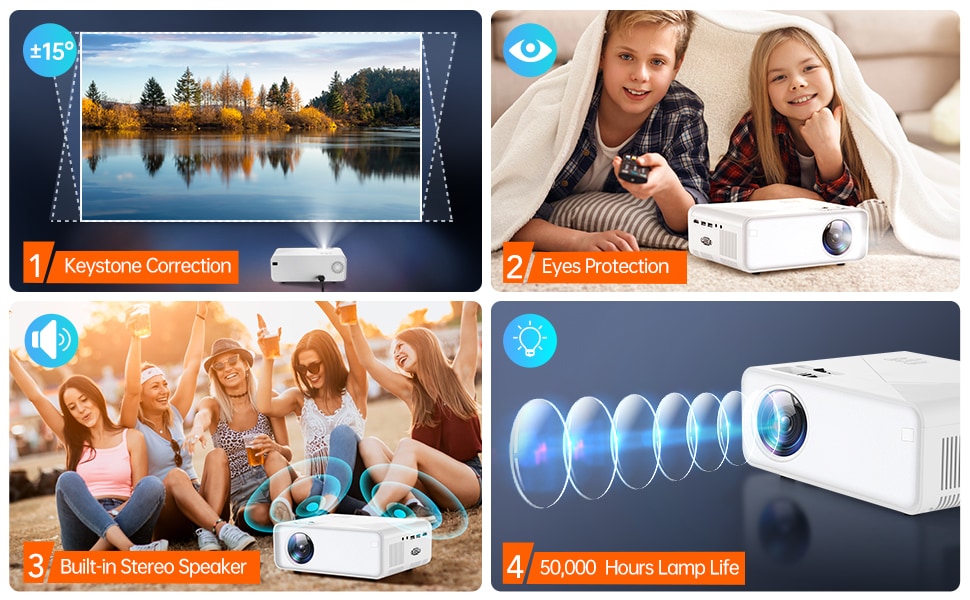
Figure 5: Step-by-step guide for wireless screen mirroring with iOS devices.
For Android Devices:
- Select "Screen Mirroring" as the input source on your projector.
- On your Android device, enable the "Wireless Display" or "Screen Cast" feature (names may vary by device, e.g., Smart View, Multi-screen, Cast Screen).
- Select the projector's name from the list of available devices to connect.
4. Connecting External Devices (HDMI, USB, AV, VGA)
Connect your devices (e.g., TV Stick, game console, laptop, USB drive) to the corresponding ports on the projector. Remember to select the correct input source after connecting.

Figure 6: Projector connected to a TV stick, highlighting multiple input options for diverse entertainment choices.
5. Audio Settings
- The projector has a built-in speaker.
- For enhanced audio, connect external speakers or headphones to the 3.5mm audio output jack.
- Adjust volume using the remote control or the projector's control panel.
Maintenance
1. Cleaning
- Lens: Use a professional lens cleaning cloth and solution. Avoid abrasive materials.
- Casing: Wipe the projector's exterior with a soft, dry cloth. Do not use harsh chemicals or solvents.
- Ventilation: Ensure the ventilation vents are clear of dust and obstructions to prevent overheating.
2. Lamp Life
The VIMGO UNO V1 projector features an LED light source with an impressive lifespan of up to 50,000 hours, significantly reducing the need for lamp replacement.
Troubleshooting
If you encounter any issues with your projector, please refer to the following table for common problems and their solutions.
| Problem | Possible Cause | Solution |
|---|---|---|
| Projector does not power on. | Power cord not connected properly; power outlet issue; power button not pressed. | Ensure power cord is securely connected. Try a different power outlet. Press the power button firmly. |
| No image or "No Signal" message. | Incorrect input source selected; cable not connected; device not powered on. | Select the correct input source (HDMI, USB, etc.). Check all cable connections. Ensure the connected device is powered on. |
| Image is blurry or out of focus. | Focus ring not adjusted; projector too close/far from screen. | Rotate the focus ring until the image is clear. Adjust projector distance if necessary. |
| Image is distorted (trapezoidal). | Projector not perpendicular to the screen. | Adjust the keystone correction ring until the image is rectangular. |
| Cannot connect to Wi-Fi or screen mirroring. | Incorrect Wi-Fi password; device compatibility; network interference. | Double-check Wi-Fi password. Ensure your device supports screen mirroring. Try restarting both the projector and your device. |
| No audio or low volume. | Volume too low; external audio device not connected; audio settings. | Increase volume on both projector and source device. Check external speaker connections. Verify audio output settings on the projector. |
| Fan noise is loud. | Normal operation; obstructed vents. | Some fan noise is normal for projectors. Ensure vents are not blocked to allow proper airflow. |
Specifications
Key technical specifications for the VIMGO UNO V1 Projector:
| Feature | Detail |
|---|---|
| Brand | VIMGO |
| Model Number | UNO V1 |
| Display Resolution | Native 1280 x 720P (Supports 1080P input) |
| Brightness | 9700 LUX (Manufacturer specified) |
| Connectivity Technology | WiFi (5G supported), HDMI, USB, VGA, TF, AV |
| Special Features | Wireless, Portable, Built-In Wi-Fi, Screen Mirroring |
| Maximum Display Size | Up to 220 inches (508 cm) |
| Light Source Life | 50,000 hours |
| Item Weight | 2.25 pounds |
| Product Dimensions | 8.27 x 5.7 x 3 inches |
| Speaker Type | Built-In |
Warranty and Support
VIMGO products are designed for reliability and performance. This product comes with a standard manufacturer's warranty. For detailed warranty terms and conditions, please refer to the warranty card included in your package or visit the official VIMGO website.
For technical support, troubleshooting assistance, or any inquiries regarding your VIMGO projector, please contact our customer service team. Contact information can typically be found on the VIMGO website or on the product packaging.
Related documentsUNO V1


Ask a question about this manual
Ask about setup, troubleshooting, compatibility, parts, safety, or missing instructions. Manuals+ will review the question and use this page’s manual context to help answer it.