
Introduction
Welcome to your new ELIVED TV Wall Mount. This manual provides detailed instructions for safe and proper installation and use of your Model YD3008 mount. This mount is designed for most 13-30 inch TVs or computer monitors, supporting a maximum weight of 33 lbs (15 kg). It is compatible with VESA patterns of 75x75mm and 100x100mm. Please read all instructions carefully before installation.
Safety Information
WARNING: Do not install into drywall alone. Always mount into a wood stud, concrete wall, or brick wall. Ensure the wall structure can support the combined weight of the mount and your TV/monitor. Use appropriate tools and follow all steps precisely. If you are unsure about any part of the installation, consult a qualified professional.
Package Contents
Verify all parts are present before beginning installation. If any parts are missing or damaged, please contact customer support.
- Mount Assembly (TV Plate, Wall Plate, Safety Screw)
- Lag Bolts
- Concrete Anchors
- Washers
- Spacers
- TV Screws (M4, M5, M6, M8 various lengths)
- Bubble Level
Installation Instructions
Step 1: Attach TV Plate to TV

Disassemble the plate unit into the TV plate, wall plate, and safety screw. Attach the TV plate to the back of your TV/monitor using the appropriate screws and washers. Ensure it is securely fastened.
Step 2: Install Wall Plate
For Wood Stud Installation:

Use a stud finder to locate the center of a wood stud. Mark the drilling locations. Drill pilot holes (e.g., 5.5mm or 7/32"). Secure the wall plate to the stud using lag bolts and washers.
For Concrete/Brick Wall Installation:
Mark the drilling locations. Drill pilot holes (e.g., 10mm or 3/8"). Insert concrete anchors flush with the wall surface. Secure the wall plate using lag bolts and washers.
Step 3: Hang TV onto Wall Plate
Carefully lift the TV with the attached TV plate and hook it onto the wall plate.
Step 4: Secure TV to Wall Plate

Insert and tighten the safety screw(s) to secure the TV plate to the wall plate, preventing accidental dislodgement.
Installation Video Guide
Official installation and adjustment guide for the ELIVED YD3008 Full Motion Monitor Mount.
Operating Adjustments
Swivel Adjustment
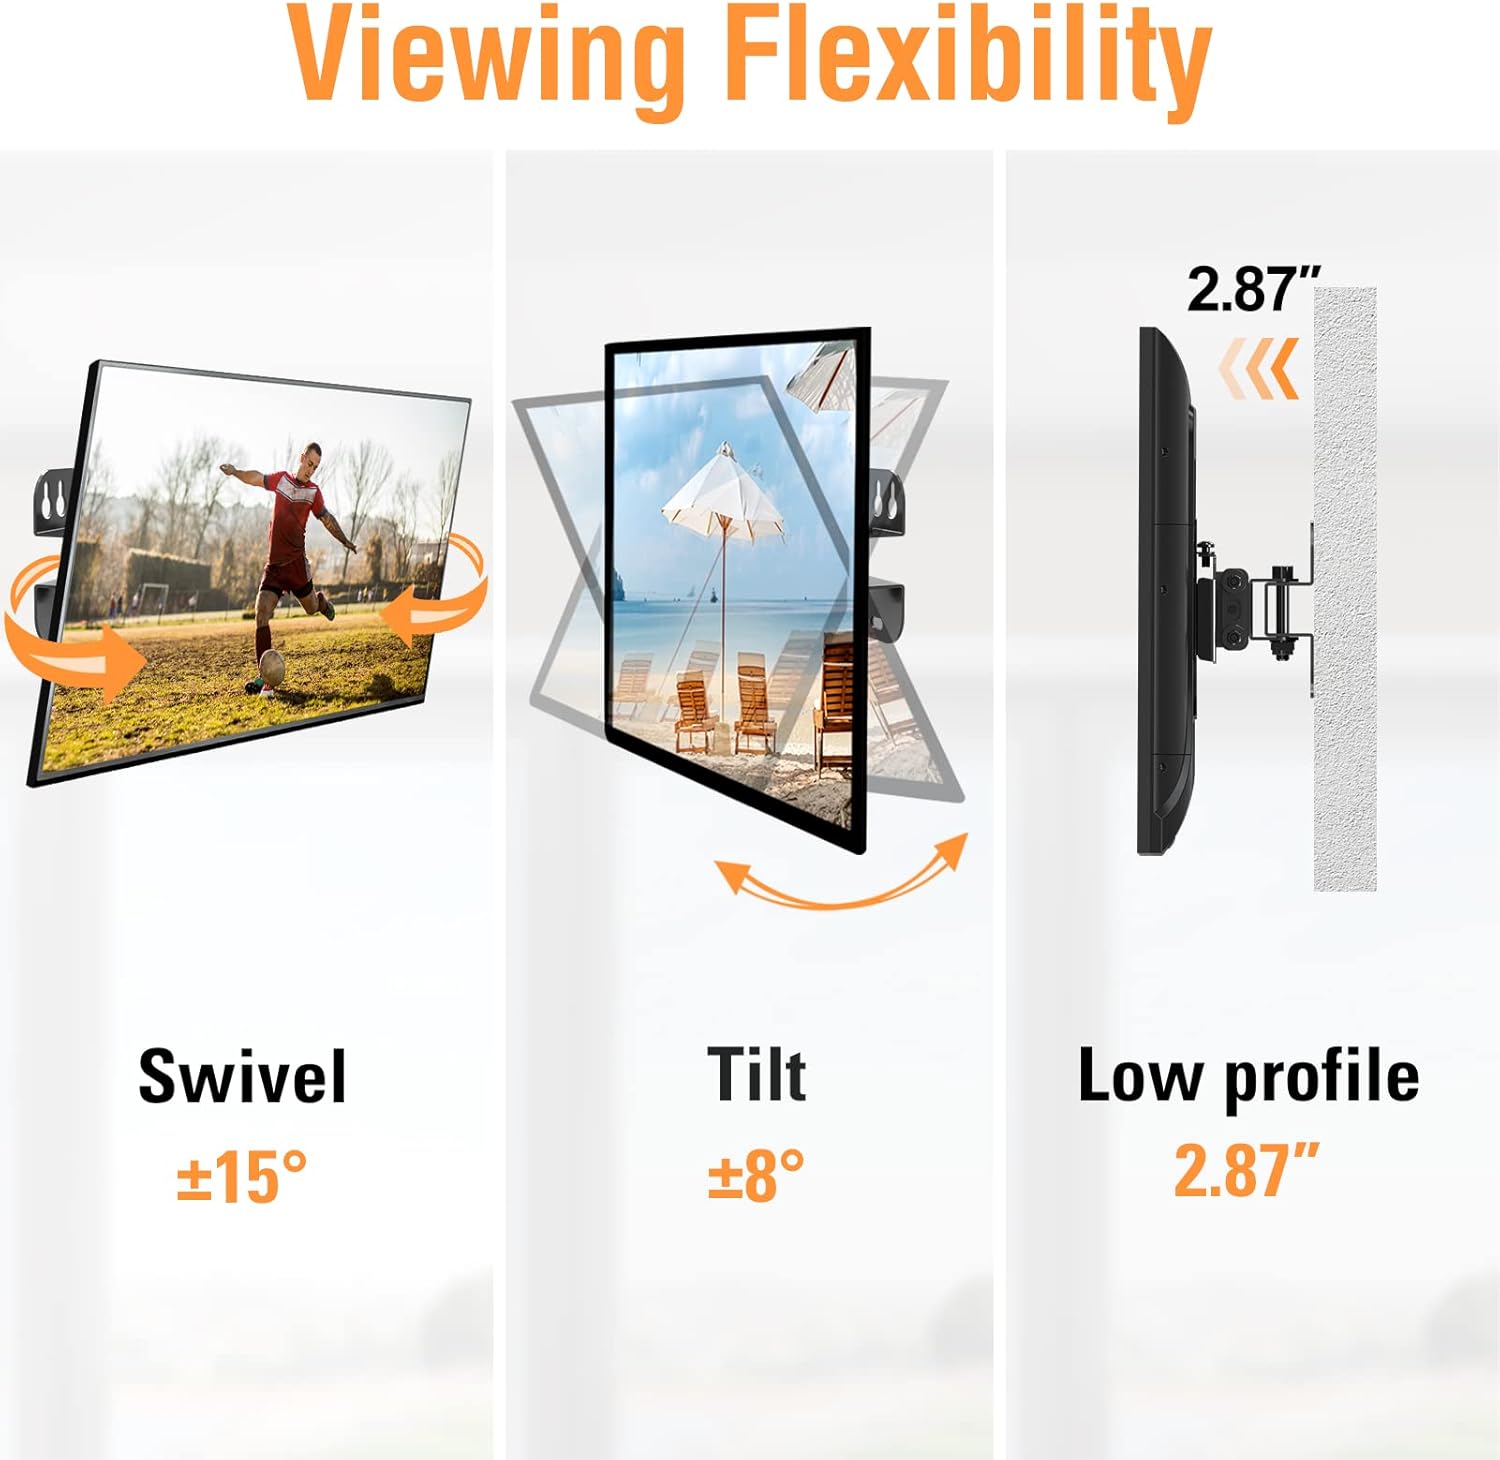
The mount allows for a swivel adjustment of up to ±15 degrees. Gently push or pull the TV to achieve the desired viewing angle.
Tilt Adjustment
The mount allows for a tilt adjustment of up to ±8 degrees. Loosen the tilt adjustment screws, adjust the TV to the desired vertical angle, then re-tighten the screws to secure the position.
Specifications
| Feature | Detail |
|---|---|
| Model | YD3008 |
| Screen Size Compatibility | 13-30 inches |
| Maximum Load Capacity | 33 lbs (15 kg) |
| VESA Compatibility | 75x75mm, 100x100mm |
| Tilt Angle | ±8 degrees |
| Swivel Angle | ±15 degrees |
| Wall Distance (Low Profile) | 2.87 inches (73mm) |
| Material | Alloy Steel |
| Color | Black |

Maintenance
Regularly check all screws and connections to ensure they remain tight and secure. Clean the mount with a soft, dry cloth. Avoid abrasive cleaners or solvents. Do not exceed the maximum weight capacity or VESA compatibility.
Troubleshooting
Issue: TV is not level after installation.
Solution: Check the wall plate installation. Ensure the wall plate is level before tightening all bolts. Some mounts allow for minor post-installation leveling adjustments; refer to the specific mechanism on your mount.
Issue: TV feels unstable on the mount.
Solution: Verify that all screws, especially the safety screws, are fully tightened. Ensure the VESA screws connecting the TV plate to the TV are correctly sized and securely fastened. Confirm the wall type and anchors used are appropriate and installed correctly.
Issue: Difficulty adjusting tilt or swivel.
Solution: For tilt, ensure the adjustment screws are sufficiently loosened before attempting to change the angle, then re-tighten. For swivel, ensure there are no obstructions. If movement is stiff, check for overtightened bolts on the articulating joints.
Warranty and Support
For any questions or assistance, please contact ELIVED customer support. Our team is available during normal business hours to help. Refer to your purchase documentation for specific warranty details.


