Introduction
This manual provides detailed instructions for the safe and effective use of your Rowenta TN9140 Trim & Style 13-in-1 multi-groomer. Designed for versatility and precision, this device features durable stainless steel blades and a long-lasting lithium battery for various grooming needs, including hair, beard, and body trimming. Its self-sharpening blades ensure consistent cutting performance. The adjustable beard comb offers 11 length settings from 0.5 mm to 10 mm, and a smart comb locking system ensures precise results. The removable and washable blades facilitate easy cleaning and hygiene.

Image: The Rowenta TN9140 Trim & Style 13-in-1 multi-groomer, showcasing the main unit and its comprehensive set of 13 accessories, including different comb guides, specialized trimmer heads, and maintenance tools.
Important Safety Warnings
To reduce the risk of electric shock, injury, or fire, always follow these basic safety precautions:
- Do not use this appliance near water, such as in bathtubs, showers, basins, or other vessels containing water.
- Avoid using on infants.
- Keep the trimmer away from water sources.
- Always unplug the appliance before cleaning or performing maintenance.
- Do not use the appliance if it is damaged or malfunctioning.
- This appliance is intended for household use only.
- Keep out of reach of children.
Package Contents
Your Rowenta TN9140 Trim & Style 13-in-1 multi-groomer package includes the following items:
- Main Trimmer Unit
- Hair Trimmer Blade (pre-installed or separate)
- Beard Trimmer Blade
- Precision Shaver Head
- Nose and Ear Trimmer Head
- 6 Hair/Beard Comb Guides (various lengths)
- Adjustable Beard Comb (0.5 mm to 10 mm)
- Cleaning Brush
- Lubricating Oil
- Charging Cable
- Storage Pouch

Image: The included black storage pouch, designed to keep the trimmer and its accessories organized and protected.
Setup
1. Initial Charging
Before first use, fully charge the trimmer. Connect the charging cable to the trimmer and plug it into a suitable power outlet. The lithium battery provides up to 90 minutes of cordless use after a full charge. A full charge typically takes approximately 8 hours. The LED indicator will show when charging is complete.
2. Attaching/Detaching Trimmer Heads
- To attach a head: Align the desired trimmer head with the main unit and press firmly until it clicks into place.
- To detach a head: Gently push the head upwards from the main unit until it releases.
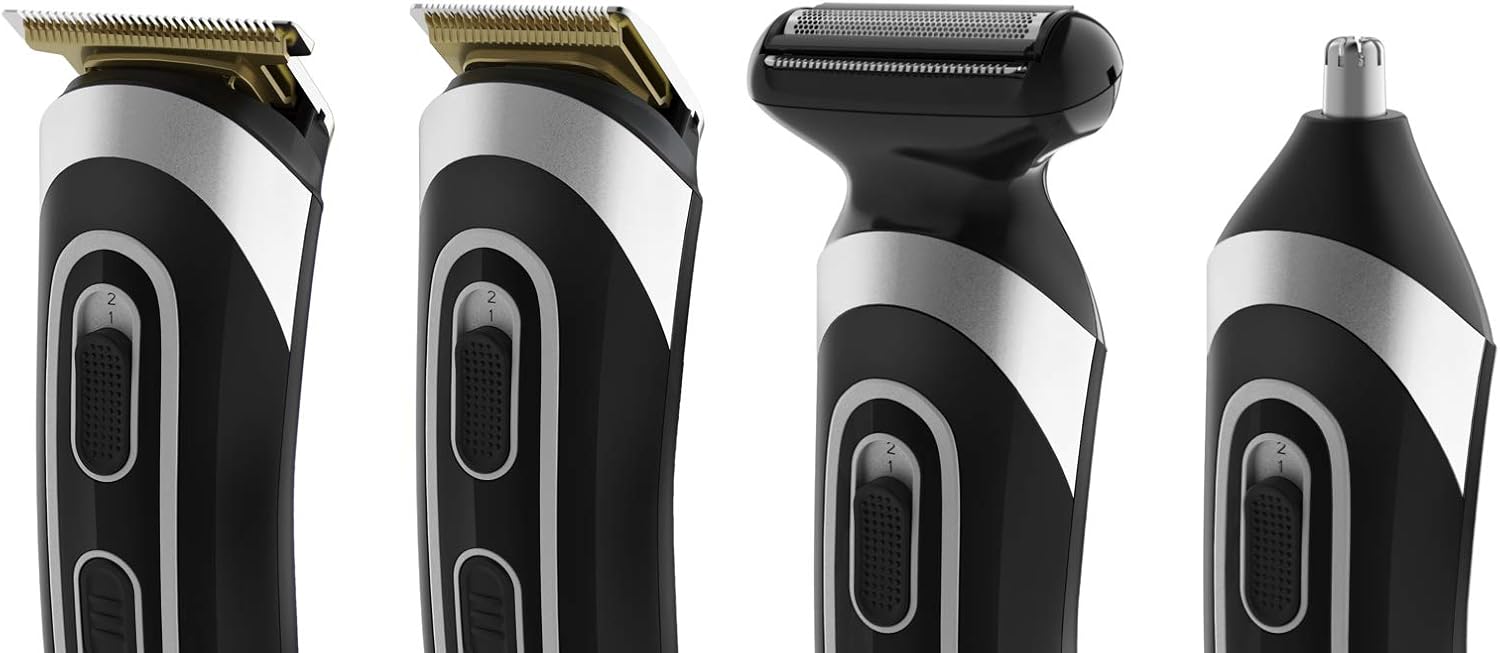
Image: Various interchangeable trimmer heads, demonstrating the modular design for different grooming tasks.
3. Attaching Comb Guides
Select the appropriate comb guide for your desired hair length. Slide the comb guide onto the trimmer blade until it securely locks into position. Ensure it is firmly attached before use. The adjustable beard comb offers 11 length settings from 0.5 mm to 10 mm.
Operating Instructions
General Operation
Press the "ON/OFF" button to start or stop the trimmer. The device is 100% waterproof, allowing for wet or dry use.
1. Hair Trimming
- Attach the hair trimmer blade and the desired comb guide.
- Start with a longer comb guide if unsure of the desired length.
- Move the trimmer against the direction of hair growth for an even cut.
- For detailing, remove the comb guide and use the blade directly.

Image: Demonstrating hair trimming with the Rowenta multi-groomer and a comb guide.
2. Beard Trimming and Styling
- Attach the beard trimmer blade or the adjustable beard comb.
- Select your desired length using the adjustable comb (0.5 mm to 10 mm).
- Trim your beard by moving the trimmer in smooth, even strokes.
- For precise lines and edges, remove the comb guide and use the blade directly.

Image: A user trimming his beard with the Rowenta multi-groomer, illustrating precise beard maintenance.
3. Precision Shaving
Attach the precision shaver head for a smooth finish on smaller areas or for detailing beard lines. Use gentle pressure and move against the direction of hair growth.
4. Nose and Ear Hair Trimming
Attach the nose and ear trimmer head. Gently insert the trimmer tip into your nostril or ear canal and move it in a circular motion to trim unwanted hair. Do not insert too deeply.
Maintenance and Cleaning
Regular cleaning ensures optimal performance and extends the life of your trimmer.
- After Each Use: Turn off and unplug the trimmer. Remove the trimmer head and rinse it under running water. Use the cleaning brush to remove any trapped hairs from the blades and comb guides.
- Main Unit Cleaning: Since the trimmer is 100% waterproof, the main unit can also be rinsed under water. Ensure it is completely dry before storing or recharging.
- Lubrication: Periodically apply a small drop of the provided lubricating oil to the blades to maintain their sharpness and smooth operation. Do this after cleaning and drying the blades.
- Storage: Store the trimmer and all accessories in the provided storage pouch in a dry place.

Image: The waterproof design of the Rowenta trimmer, highlighting its suitability for wet cleaning and use.
Troubleshooting
| Problem | Possible Cause | Solution |
|---|---|---|
| Trimmer does not turn on. | Battery is discharged. | Charge the trimmer fully. |
| Trimmer pulls hair or cuts poorly. | Blades are dirty or not lubricated. Blades may be dull. | Clean and lubricate the blades. If problem persists, consider blade replacement. |
| Trimmer head detaches during use. | Head not properly attached. | Ensure the head clicks securely into place. |
| Reduced battery life. | Battery not fully charged or aging. | Ensure full charge cycles. Battery performance may decrease over time. |
Specifications
- Model: TN9140
- Brand: Rowenta
- Product Name: Rowenta Tn9140 Multifunction Beard Trimmer Trim&Style Wet & Dry Technology, 13-in-1 Accessory Range, Stainless Steel Blades
- Blade Material: Stainless Steel (Titanium coated)
- Power Source: Battery Powered (Lithium-ion)
- Battery Life: Up to 90 minutes
- Charging Time: Approximately 8 hours
- Waterproof: Yes (Wet & Dry Technology)
- Dimensions (L x W x H): 15.8 x 4 x 4 cm
- Weight: 350 grams
- Country of Origin: China
Warranty and Support
For warranty information and customer support, please refer to the warranty card included in your product packaging or visit the official Rowenta website. Keep your proof of purchase for any warranty claims.
You can also visit the Rowenta Brand Store on Amazon for additional product information and support resources.


