
DOMAS DOMAS TENS-EMS-24M
DOMAS 4 Outputs TENS Unit EMS Muscle Stimulator User Manual
Model: DOMAS TENS-EMS-24M
Brand: DOMAS
1. Introduction
The DOMAS 4 Outputs TENS Unit EMS Muscle Stimulator is designed to provide drug-free pain relief and muscle stimulation. This versatile device utilizes electrical currents to help alleviate body pain, reduce muscle spasms, and improve muscle performance. It is suitable for various body areas including the back, waist, knees, shoulders, ankles, wrists, and elbows.

Figure 1.1: DOMAS TENS Unit and included accessories.
This image displays the main DOMAS TENS unit, four sets of electrode wires, and multiple electrode pads of various sizes, all neatly arranged.
2. Important Safety Information
WARNING:
- This device is not suitable for pregnant women.
- This device is not suitable for individuals with hypertension.
- This device is not safe for people with pacemakers.
- Consult a healthcare professional before using this device if you have any pre-existing medical conditions or concerns.
Always read and understand all instructions and warnings before using the DOMAS TENS Unit.
3. Setup and Initial Use
3.1 Charging the Device
The DOMAS TENS Unit is equipped with a rechargeable lithium battery (320mAh capacity). A full charge takes approximately 1.5 hours and provides up to 2.5 hours of continuous usage.
- Connect the provided USB-C charging cable to the device's USB-C charging port.
- Connect the other end of the cable to a wall charger, power bank, or laptop USB port.
- The battery indicator on the LCD screen will show charging status.

Figure 3.1: Charging the DOMAS TENS Unit via USB-C.
This image shows the DOMAS TENS unit with a USB-C cable plugged into its charging port, illustrating the charging process.
3.2 Attaching Electrode Pads
The device comes with 16 medical-grade electrode pads of various sizes. These pads feature a standard snap size for easy connection and good self-stick performance.
- Ensure your skin is clean and dry before applying pads.
- Connect the electrode wires to the electrode pads by snapping them onto the metal studs.
- Remove the protective film from the adhesive side of the pads.
- Apply the pads firmly to the desired treatment area on your skin.
Important Tip: If using only one wire, ensure both pads connected to that wire are placed on your skin simultaneously for the unit to function correctly. If using all four wires, all eight pads must be placed on your skin at the same time.

Figure 3.2: Demonstrating 4 Output Channels with Electrode Pads.
This image illustrates two individuals using the DOMAS TENS unit, with electrode pads placed on their backs and legs, highlighting the device's capability to utilize all four output channels simultaneously for multiple body areas.

Figure 3.3: Bendable Electrode Pads.
A close-up view of the bendable electrode pads, showcasing their flexible and durable construction, designed for repeated use.
4. Operating Instructions
The DOMAS TENS Unit features a 3.14" large LCD backlit screen with enlarged icons and buttons for easy operation.
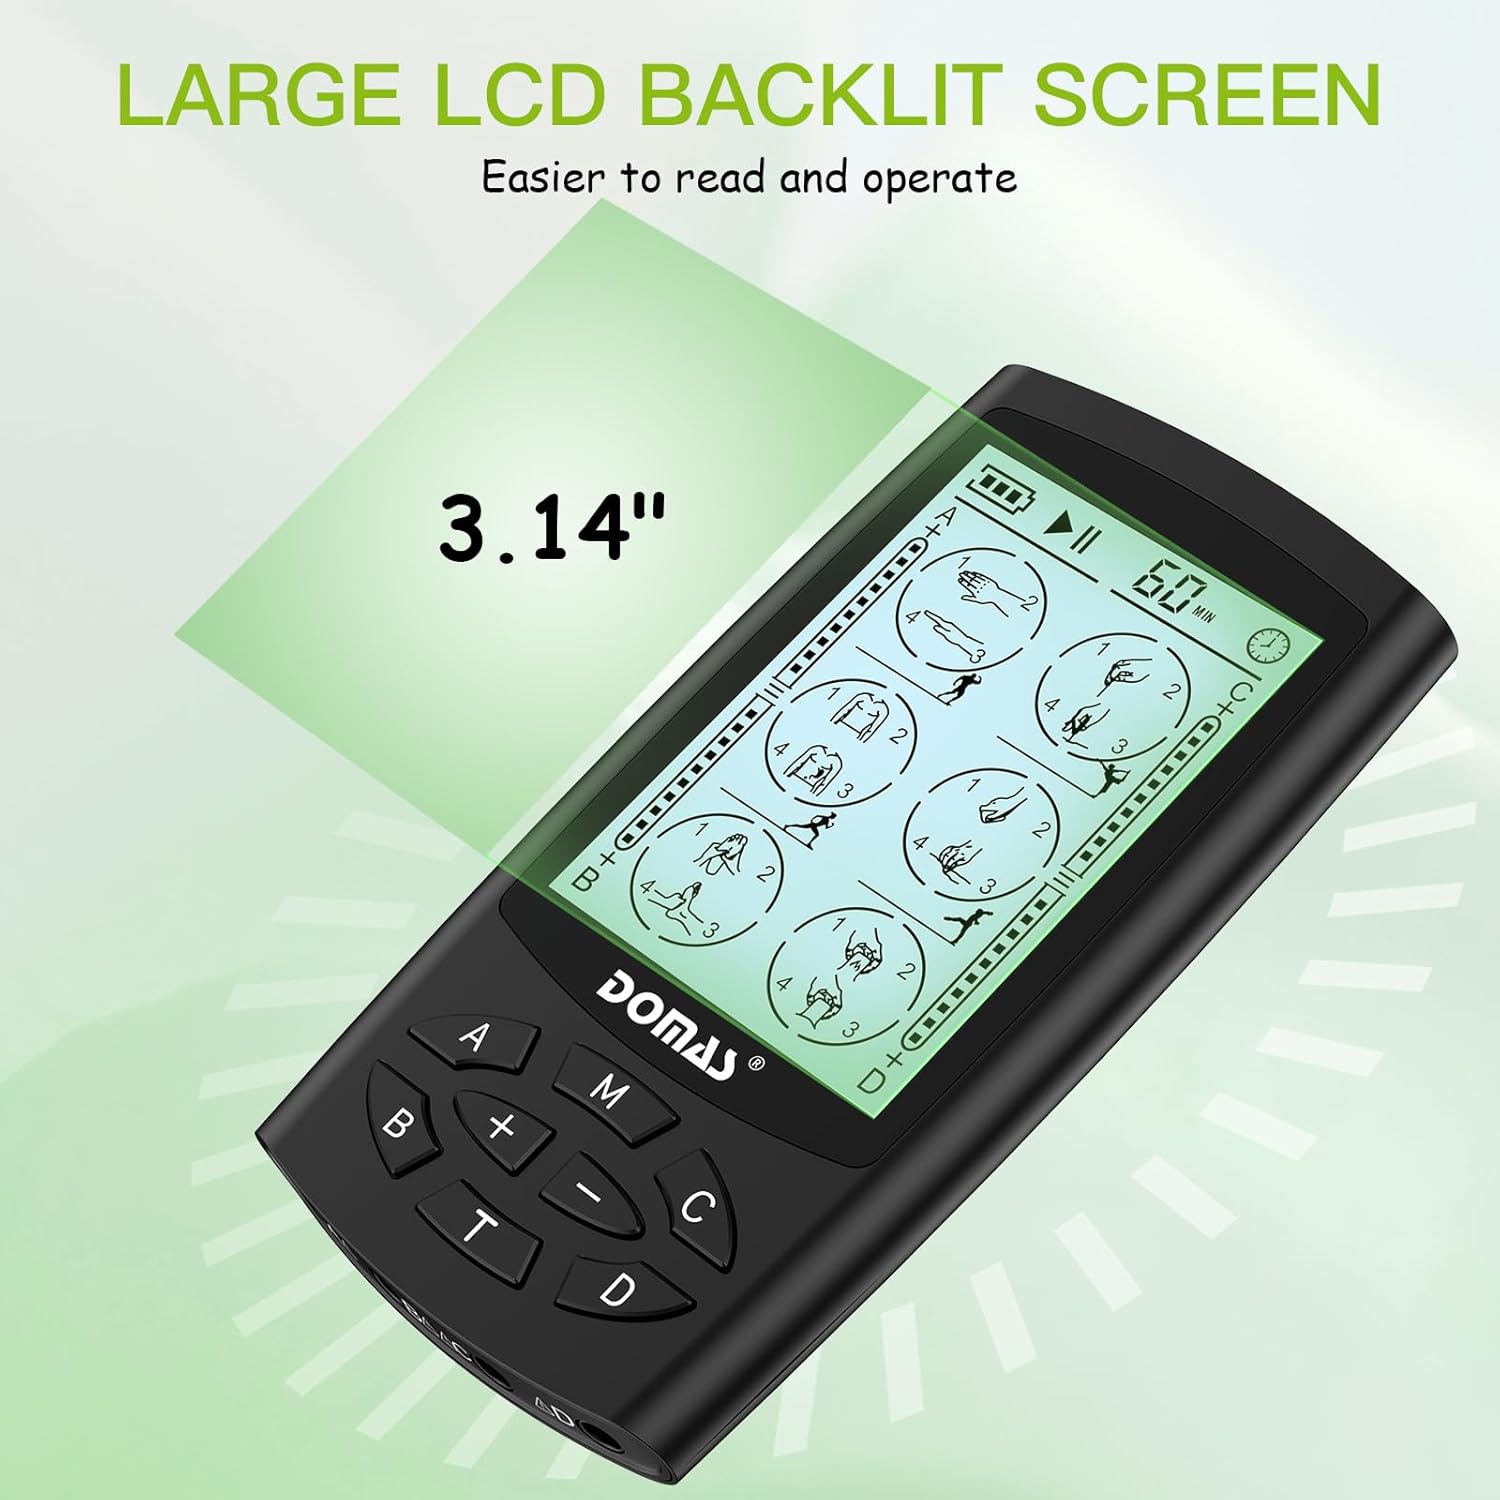
Figure 4.1: Large LCD Backlit Screen.
This image emphasizes the 3.14-inch large LCD backlit screen of the DOMAS TENS unit, designed for clear visibility and ease of use.
4.1 Powering On/Off
- Press and hold the Power button (usually marked 'M' or a power symbol) to turn the device on or off.
4.2 Selecting Massage Modes
The device offers 24 human-simulated massage modes for pain relief and muscle relaxation.
- Use the 'M' button to cycle through the available massage modes. The selected mode will be displayed on the LCD screen.

Figure 4.2: Multiple Body Parts and Massage Modes.
This image shows the DOMAS TENS unit's display with various massage mode icons and highlights its applicability to multiple body parts such as legs, back, shoulders, arms, waist, ankles, and abdomen.

Figure 4.3: Key Features Overview.
An infographic summarizing the DOMAS TENS Unit's main features: 4 output channels, 24 massage modes, 10 intensity levels, pocket-sized design, 10-60 minute timer settings, and USB rechargeable capability.
4.3 Adjusting Intensity Levels
There are 10 intensity levels available. The independent A/B/C/D channels can work at different intensity levels.
- Use the '+' and '-' buttons to increase or decrease the intensity for the selected channel.
- The intensity level will be displayed on the screen.

Figure 4.4: Intensity Levels.
This image shows the DOMAS TENS unit's display, highlighting the 10 intensity levels with a visual bar indicating low, medium, and strong settings.
4.4 Setting the Timer
The timer can be adjusted from 10 to 60 minutes. The device will automatically shut off once the set time expires.
- Use the 'T' button to adjust the treatment duration.
- The maximum timing for one session is 60 minutes. If longer therapy is desired, reset the device after the current session concludes.
4.5 Utilizing Multiple Channels
The DOMAS TENS Unit features 4 independent output channels (A, B, C, D), allowing up to 8 electrode pads to work simultaneously on 4 different body areas.
- Connect electrode wires to the corresponding output ports (A, B, C, D) on the device.
- Each channel can be controlled independently for intensity, providing customized treatment for different areas.
Video 4.1: DOMAS 4 Channel TENS Unit for Pain Relief.
This video demonstrates the DOMAS TENS unit in use, highlighting its 4-channel capability for comprehensive pain relief and muscle stimulation across multiple body areas simultaneously.
5. Maintenance and Care
5.1 Electrode Pad Care
- After each use, reattach the protective film to the adhesive side of the pads to maintain their stickiness and prolong their lifespan.
- Store pads in a cool, dry place.
- Replace pads when they lose their adhesive quality or if they become damaged.
5.2 Cleaning the Device
- Wipe the device with a soft, damp cloth. Do not use abrasive cleaners or immerse the device in water.
5.3 Storage
The DOMAS TENS Unit comes with a carrying bag for convenient storage and portability.
- Store the device and all accessories in the provided carrying bag when not in use.
- Keep the device away from extreme temperatures and direct sunlight.
6. Troubleshooting
| Problem | Possible Cause | Solution |
|---|---|---|
| Device does not turn on. | Low battery or no charge. | Charge the device fully (approx. 1.5 hours). |
| No sensation or weak sensation. | Pads not properly applied, pads worn out, or incorrect pad placement for single wire use. | Ensure pads are firmly on clean skin. Replace old pads. Verify both pads on a single wire are on skin. Increase intensity. |
| Device shuts off unexpectedly. | Timer expired or low battery. | Check timer setting. Recharge the device. |
7. Technical Specifications
- Model: DOMAS TENS-EMS-24M
- Output Channels: 4 independent channels
- Massage Modes: 24 pre-programmed modes
- Intensity Levels: 10 levels
- Timer: Adjustable from 10 to 60 minutes (in 10-minute increments)
- Screen: 3.14" Large LCD Backlit Screen
- Battery: 320mAh Rechargeable Lithium Battery
- Charging Port: USB-C
- Continuous Usage Time: Up to 2.5 hours (on full charge)
- Electrode Pads: 16 medical-grade pads included (various sizes, standard snap)
- Dimensions: Approximately 6.26 x 3.62 x 3.03 inches (Package Dimensions)
- Weight: Approximately 15.2 ounces (Package Weight)
- Certifications: OTC Approved & 510(K) listed
8. Warranty Information
DOMAS products are manufactured with high-quality standards. For specific warranty details, please refer to the warranty card included in your product packaging or contact DOMAS customer support directly. Keep your purchase receipt as proof of purchase for any warranty claims.
9. Customer Support
For any questions, technical assistance, or support regarding your DOMAS TENS Unit, please contact DOMAS customer service. Contact information can typically be found on the product packaging, the official DOMAS website, or through your retailer's support channels.
You can also visit the official DOMAS Store on Amazon for more information and product updates: DOMAS Official Store
Ask a question about this manual
Ask about setup, troubleshooting, compatibility, parts, safety, or missing instructions. Manuals+ will review the question and use this page’s manual context to help answer it.