
1. Product Overview
The CURT 13467 Class 3 Trailer Hitch is designed for serious towing, offering the necessary strength and a vehicle-specific fit for select Volvo XC60 and XC90 models. This hitch provides a weight carrying capacity of 6,000 lbs. GTW (Gross Trailer Weight) and 900 lbs. TW (Tongue Weight), limited by the lowest-rated towing component. It features a standard 2-inch receiver tube, suitable for various towing applications such as utility trailers, boat trailers, campers, snowmobile, or ATV haulers. Constructed from rugged, high-strength steel with precise welding, the hitch is protected by a co-cured finish of liquid A-coat and black powder coat for superior resistance to rust, chipping, and UV damage. All CURT Class 3 trailer hitches are tested in accordance with SAE J684 standards to ensure safety and reliability.

Image 1.1: The CURT 13467 Class 3 Trailer Hitch, showcasing its robust construction and 2-inch receiver.
2. Features and Benefits
- Dependable Strength: Rated for 6,000 lbs. gross trailer weight and 900 lbs. tongue weight, ensuring robust towing capability.
- Versatile Design: Equipped with a standard 2-inch x 2-inch hitch receiver, compatible with a wide range of towing accessories (note: not compatible with vertical hanging bike racks).
- Fully Tested: Every CURT Class 3 trailer hitch design undergoes rigorous real-world, on-vehicle testing at our Detroit engineering facility, adhering to SAE J684 standards for maximum safety.
- Rust, Chip, UV-Resistant Finish: Features a unique dual-coat finish combining rust-resistant liquid A-coat and highly durable black powder coat, co-cured for exceptional protection against environmental elements.
- Easy to Install: Designed for a custom, factory fit on select model years of the Volvo XC60 and XC90, often requiring no drilling for installation.

Image 2.1: Illustration indicating the 2-inch receiver tube size, a standard dimension for many towing accessories.

Image 2.2: A representative image highlighting key features such as vehicle-specific design, standard hitch receiver, fully tested design, and dual-coat finish.

Image 2.3: A detailed view of the standard 2-inch hitch receiver, ready for various towing attachments.

Image 2.4: Components undergoing the dual-coat finishing process, which provides enhanced durability and corrosion resistance.
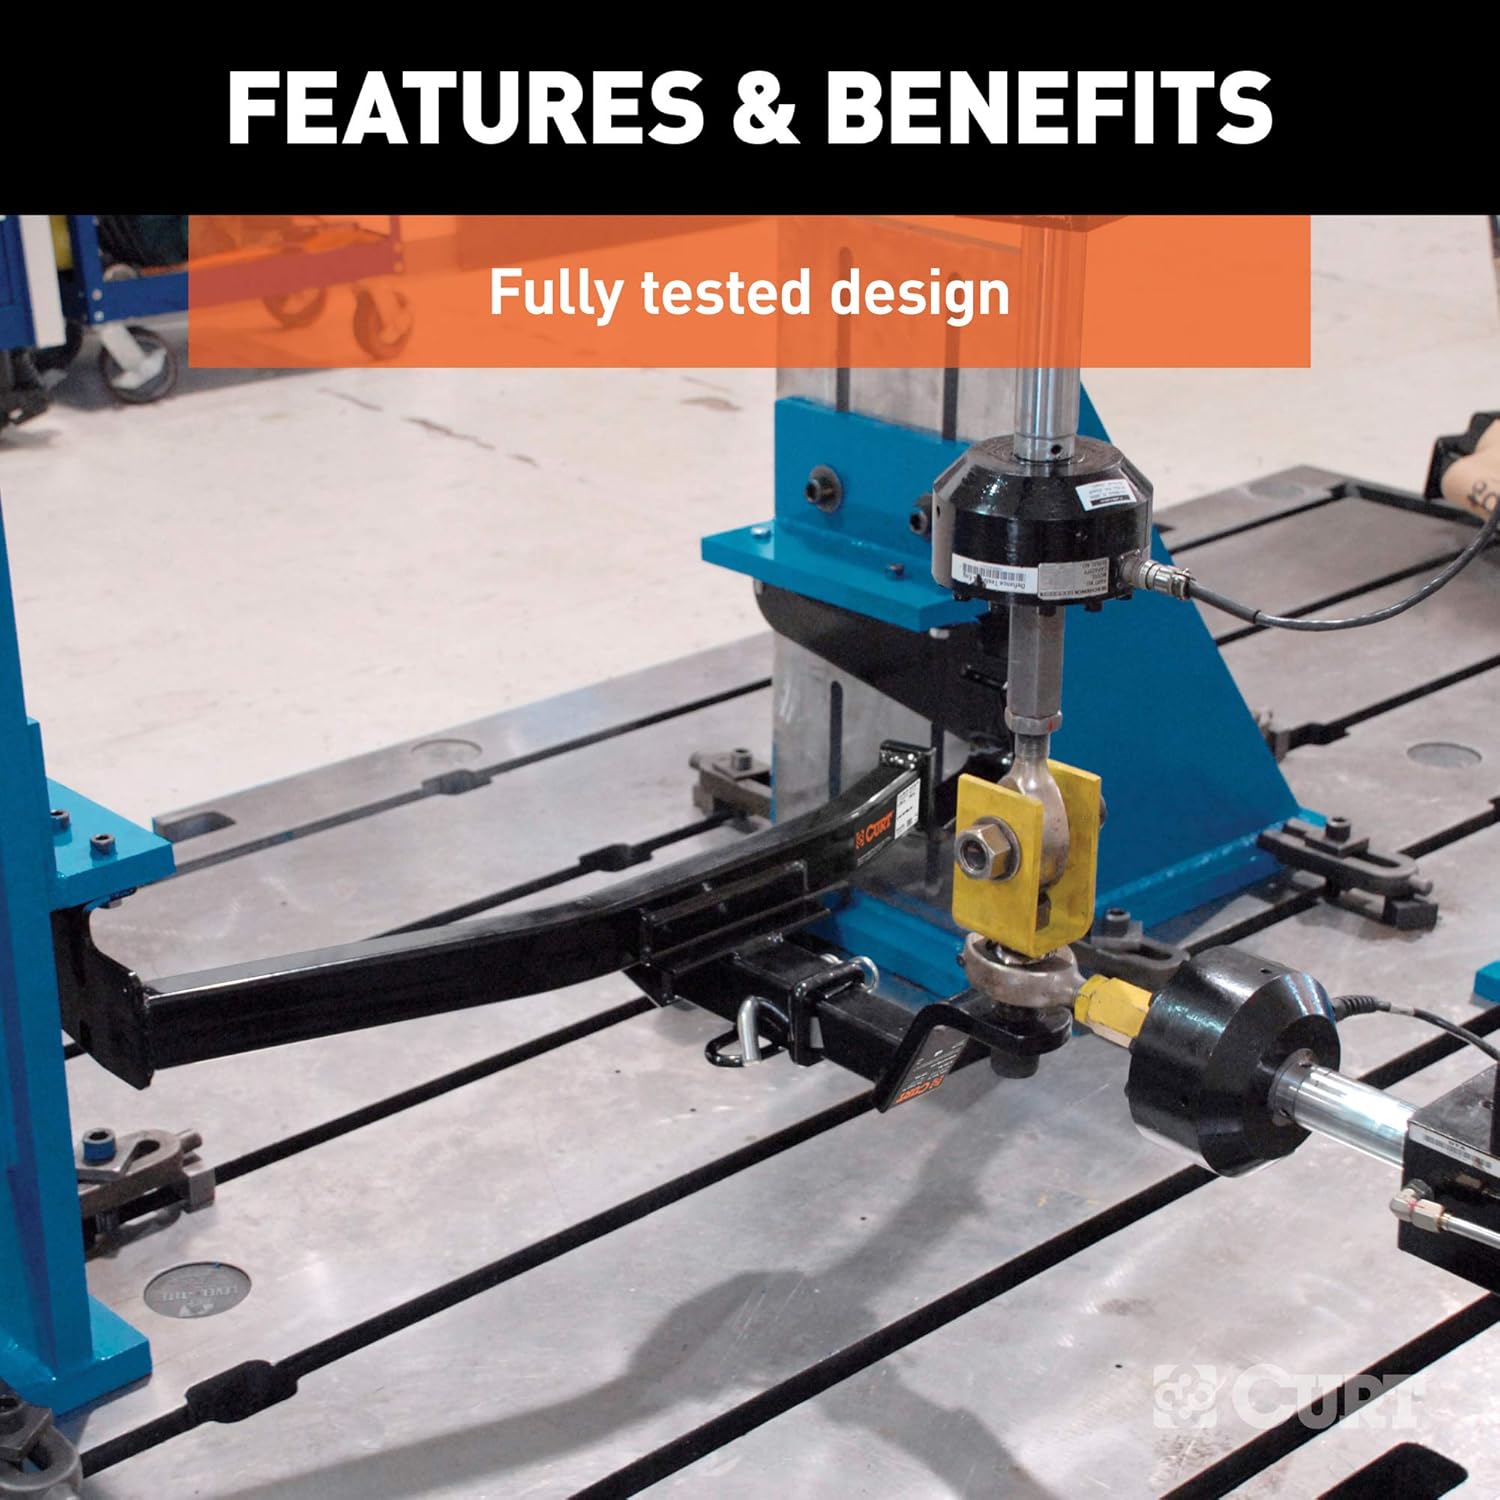
Image 2.5: A CURT hitch undergoing rigorous testing to ensure it meets safety and performance standards.
3. Package Contents
The CURT 13467 Class 3 Trailer Hitch package typically includes the following:
- Class 3 Trailer Hitch (Model 13467)
- Installation Hardware (specific to vehicle model)
- Installation Instructions
4. Safety Information
Always prioritize safety when installing and operating your trailer hitch. Failure to follow safety guidelines can result in serious injury or property damage.
- Read Instructions: Thoroughly read and understand all installation and operating instructions before use.
- Weight Capacity: Never exceed the lowest-rated towing component's weight capacity (vehicle, hitch, or trailer).
- Proper Installation: Ensure the hitch is correctly installed and all fasteners are tightened to the specified torque values. If unsure, seek professional installation.
- Regular Inspection: Inspect the hitch, trailer, and all connections before each tow. Check for wear, damage, or loose components.
- Trailer Connections: Always use safety chains and ensure they are properly connected. Verify all trailer lights are functioning correctly.
- Driving Safely: Adjust driving habits when towing. Allow for increased stopping distances, wider turns, and reduced speeds.
5. Installation and Setup
The CURT 13467 hitch is designed for a custom, vehicle-specific fit on select Volvo XC60 and XC90 models, often simplifying the installation process. While specific steps are detailed in the included installation instructions, general guidelines are provided below.
5.1 Pre-Installation
- Verify Fitment: Confirm the hitch is correct for your vehicle's make, model, and year.
- Gather Tools: Collect all necessary tools as specified in the detailed instructions.
- Vehicle Preparation: Park the vehicle on a level surface, engage the parking brake, and allow the exhaust system to cool. It may be necessary to temporarily lower the exhaust or remove underbody panels for access.
5.2 Mounting the Hitch
- Position Hitch: Carefully lift the hitch into position, aligning the mounting holes with the vehicle's frame.
- Install Hardware: Insert the provided fasteners through the hitch and vehicle frame. Hand-tighten all hardware initially.
- Torque Fasteners: Refer to the specific torque values in your detailed instructions and tighten all fasteners securely using a torque wrench.
- Reassemble: Reinstall any removed components (e.g., exhaust, underbody panels).
Note: This hitch is designed for a no-drill installation on compatible vehicles, simplifying the process and preserving the vehicle's structural integrity.
Image 5.1: An icon indicating that no drilling is required for the installation of this hitch on compatible vehicles.
6. Operating Instructions
Once installed, the CURT 13467 Class 3 Trailer Hitch allows you to connect various towing accessories and trailers. Always ensure proper connection and adherence to towing best practices.
6.1 Connecting a Trailer
- Insert Ball Mount: Slide your 2-inch ball mount (with appropriate hitch ball) into the receiver tube and secure it with a hitch pin and clip.
- Attach Trailer: Lower the trailer coupler onto the hitch ball and secure the coupler latch.
- Connect Safety Chains: Cross the safety chains under the trailer tongue and attach them to the designated chain loops on the hitch. Ensure there is enough slack for turns but not so much that they drag.
- Connect Wiring: Plug in the trailer's electrical connector to your vehicle's wiring harness to ensure proper functioning of trailer lights.
6.2 Towing Considerations
- Weight Distribution: For heavier loads, consider using a weight distribution hitch system to distribute trailer tongue weight more evenly across the vehicle's axles.
- Pre-Trip Inspection: Before each trip, check tire pressure on both the tow vehicle and trailer, verify all lights work, and ensure all connections are secure.
- Driving Adjustments: Drive at reduced speeds, allow for greater following distances, and make wider turns to accommodate the trailer.
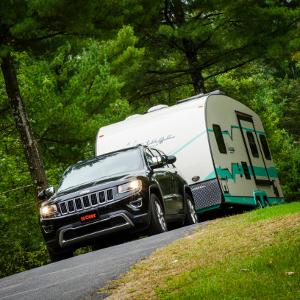
Image 6.1: A vehicle towing a travel trailer, demonstrating a typical towing setup.

Image 6.2: A close-up view of a hitch connection, showing the ball mount, hitch pin, and properly crossed safety chains.
Image 6.3: The connection point for a trailer's electrical wiring harness, essential for trailer lighting and brakes.
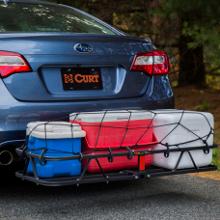
Image 6.4: A vehicle utilizing the hitch receiver for a cargo carrier, demonstrating its versatility beyond just trailer towing.
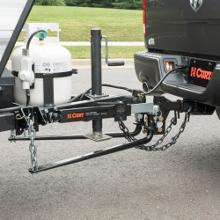
Image 6.5: A weight distribution hitch system connected, designed to improve towing stability and distribute load.
7. Maintenance
Regular maintenance ensures the longevity and safe operation of your CURT trailer hitch.
- Visual Inspection: Periodically inspect the hitch for any signs of rust, cracks, bends, or other damage. Pay close attention to weld points and mounting areas.
- Fastener Check: Re-torque all mounting bolts to the specified values after the first 500 miles of towing and periodically thereafter.
- Cleaning: Clean the hitch regularly, especially after exposure to road salt, dirt, or harsh weather conditions. Use mild soap and water, then dry thoroughly.
- Lubrication: Keep the receiver tube free of debris. Lightly lubricate the hitch ball and coupler mechanism to prevent wear and corrosion.
- Rust Prevention: While the hitch has a protective coating, touch up any chips or scratches in the finish with rust-inhibiting paint to prevent corrosion.
8. Troubleshooting
If you encounter issues with your trailer hitch, consider the following common troubleshooting steps:
- Loose Connections: If you notice excessive movement or noise, check all hitch mounting bolts and trailer connections (ball mount, coupler, safety chains) for tightness.
- Trailer Sway: Excessive trailer sway can be caused by improper weight distribution (too little tongue weight), incorrect tire pressure, or worn suspension components. Adjust load distribution or consider a sway control device.
- Hitch Noise: Squeaking or rattling can often be resolved by ensuring the ball mount fits snugly in the receiver (anti-rattle devices are available) and that all pins and clips are secure. Lubrication of the hitch ball can also reduce noise.
- Electrical Issues: If trailer lights are not working, check the vehicle's fuse box, the trailer's wiring, and the connection point for corrosion or damage.
9. Specifications
| Specification | Detail |
|---|---|
| Brand | CURT |
| Model Number | 13467 |
| Model Name | Class 3 Hitch |
| Receiver Tube Size | 2-inch x 2-inch |
| Gross Trailer Weight (GTW) | 6,000 lbs. |
| Tongue Weight (TW) | 900 lbs. |
| Material | Carbon Steel |
| Finish Type | Gloss Black Powder Coat (co-cured with liquid A-coat) |
| Automotive Fit Type | Vehicle Specific Fit (Volvo XC60, XC90) |
| Item Weight | 38.7 pounds |
| Product Dimensions | 48 x 18 x 8 inches |
| Testing Standard | SAE J684 |
10. Warranty and Support
CURT Manufacturing, LLC provides a limited lifetime warranty on its trailer hitches to the original purchaser. This warranty covers defects in material and workmanship under normal use and service. Specific warranty terms, conditions, and exclusions may apply.
For detailed warranty information, technical support, or assistance with installation and troubleshooting, please refer to the official CURT website or contact CURT customer service directly. Keep your proof of purchase for warranty claims.
Contact Information:
Please visit the official CURT website for the most current contact details and support resources.


