
MSI MSI B560M-A PRO
MSI B560M-A PRO Motherboard User Manual
Model: MSI B560M-A PRO
Introduction
The MSI B560M-A PRO is a micro ATX motherboard designed for Intel LGA 1200 processors. It features the Intel B560 chipset and supports DDR4-SDRAM memory. This manual provides essential information for setting up, operating, maintaining, and troubleshooting your motherboard.

Image: The MSI B560M-A PRO motherboard displayed alongside its retail packaging, showcasing the product and its branding.
Specifications
| Feature | Detail |
|---|---|
| Brand | MSI |
| Model Number | MSI B560M-A PRO |
| Form Factor | Micro ATX |
| Socket Type | LGA 1200 |
| Compatible Processors | Intel Celeron, Intel Core i5, Intel Core i7, Intel Core i9, Intel Pentium |
| Chipset | Intel B560 |
| Memory Standard | DDR4-SDRAM |
| Supported Memory Clock Speeds | 2133, 2666, 2933, 3200 MHz (up to 5200 MHz via OC) |
| Memory Slots | 2 |
| Maximum Internal Memory | 64 GB |
| Ethernet LAN (RJ-45) Ports | 1 (2.5 Gigabit Ethernet) |
| HDMI Ports | 1 |
| USB 3.2 Gen 1 (3.1 Gen 1) Type-A Ports | 4 |
| USB 2.0 Ports | 2 |
| PS/2 Ports | 1 |
| VGA (D-Sub) Ports | 1 |
| M.2 Slots | 1 |
| SATA III Connectors | 6 |
| Audio Chipset | Realtek ALC897 (7.1 channels) |
| PCI Express x1 (Gen 3.x) Slots | 2 |
| PCI Express x16 Slots | 1 |
| RAID Levels | 0, 1, 5, 10 |
| Supported Operating Systems | Windows 10 x64 |
| Maximum Resolution | 4096 x 2304 pixels |
Setup Guide
Follow these steps for proper installation of your MSI B560M-A PRO motherboard into a compatible PC case.
1. Prepare the Motherboard
- Place the motherboard on a non-conductive surface, such as an anti-static mat or the motherboard box.
- Install the CPU into the LGA 1200 socket. Ensure the CPU's triangular mark aligns with the socket's mark. Gently lower the load plate and secure the lever.
- Install the CPU cooler. Follow the cooler's specific instructions for mounting and thermal paste application.
- Install DDR4 memory modules into the DIMM slots. Align the notch on the module with the key in the slot and press down firmly until the clips lock into place. For dual-channel operation, refer to the motherboard's manual for specific slot pairing.

Image: A top-down view of the MSI B560M-A PRO motherboard, highlighting the CPU socket, DIMM slots, and various headers for component installation.
2. Install into PC Case
- Install the I/O shield into the case's rear opening.
- Align the motherboard with the standoffs inside the PC case. Gently lower the motherboard onto the standoffs.
- Secure the motherboard with screws, ensuring not to overtighten.

Image: An angled view of the MSI B560M-A PRO motherboard, showing the layout of components and connectors from a side perspective.

Image: A close-up photograph of the rear I/O panel of the MSI B560M-A PRO motherboard, showing the physical ports available for external connections.
3. Connect Components and Power
- Connect the 24-pin ATX power connector and the 8-pin CPU power connector from your power supply to the motherboard.
- Connect SATA drives to the SATA III ports.
- Install any M.2 SSDs into the M.2 slot and secure with the provided screw.
- Connect front panel headers (power button, reset button, USB, audio) to their respective pins on the motherboard. Refer to the motherboard's detailed manual for pinout diagrams.
- Install any expansion cards (e.g., graphics card) into the PCI Express slots.
- Connect case fans to the fan headers.

Image: A detailed diagram illustrating the rear I/O panel of the MSI B560M-A PRO motherboard, labeling the various ports including USB, Ethernet, HDMI, VGA, and audio jacks for easy identification.
Operating Instructions
First Boot and BIOS/UEFI Setup
- After assembling your system, connect a monitor, keyboard, and mouse.
- Power on the system. Press the DEL key repeatedly during startup to enter the BIOS/UEFI setup utility.
- In the BIOS/UEFI, verify that all installed components (CPU, RAM, storage drives) are detected correctly.
- Set the boot order to prioritize your operating system installation media (USB drive or DVD).
- Save changes and exit the BIOS/UEFI. The system will restart.
Operating System and Driver Installation
- Proceed with the operating system installation (e.g., Windows 10 x64).
- After OS installation, install the necessary drivers for the motherboard chipset, LAN, audio, and any other integrated components. These drivers are typically available on the MSI support website or included on a driver CD/USB drive with the motherboard.
- Ensure all drivers are up-to-date for optimal performance and stability.
Maintenance
Cleaning
- Regularly clean dust from inside your PC case, especially around fans and heatsinks, using compressed air.
- Ensure the system is powered off and unplugged before cleaning.
- Avoid direct contact with motherboard components when cleaning.
BIOS/UEFI Updates
- Periodically check the MSI support website for BIOS/UEFI updates. Updates can improve compatibility, stability, and performance.
- Follow MSI's specific instructions for updating the BIOS/UEFI to avoid system damage. This typically involves downloading the update file to a USB drive and using the built-in M-Flash utility.
Troubleshooting
This section covers common issues and their potential solutions.
No Power / No POST (Power-On Self-Test)
- Verify all power cables (24-pin ATX, 8-pin CPU) are securely connected to the motherboard and power supply.
- Ensure the power supply switch is in the ON position.
- Check front panel connections (power button) to the motherboard.
- Try booting with only essential components installed (CPU, one RAM stick, CPU cooler, graphics card if no integrated graphics).
- Clear CMOS: Locate the JBAT1 jumper on the motherboard (refer to the full manual) and short it for a few seconds, or remove the CMOS battery for 1-2 minutes.
No Display
- Ensure the monitor is connected to the correct video output (either integrated graphics on the motherboard or a dedicated graphics card).
- Check that the graphics card is properly seated in its PCIe slot and has adequate power connected (if applicable).
- Test with a different monitor or cable if possible.
Operating System Not Booting
- Check the boot order in BIOS/UEFI to ensure the correct drive is prioritized.
- Verify that the storage drive containing the OS is properly connected (SATA data and power cables).
- Run a diagnostic tool if available (e.g., Windows Startup Repair).
Warranty and Support
MSI provides a limited warranty for its motherboards. The specific terms and duration of the warranty may vary by region and product. Please retain your proof of purchase for warranty claims.
For detailed warranty information, technical support, driver downloads, and BIOS updates, please visit the official MSI website:
You can also find additional resources and community forums on the MSI website to assist with common questions and issues.
Included Accessories
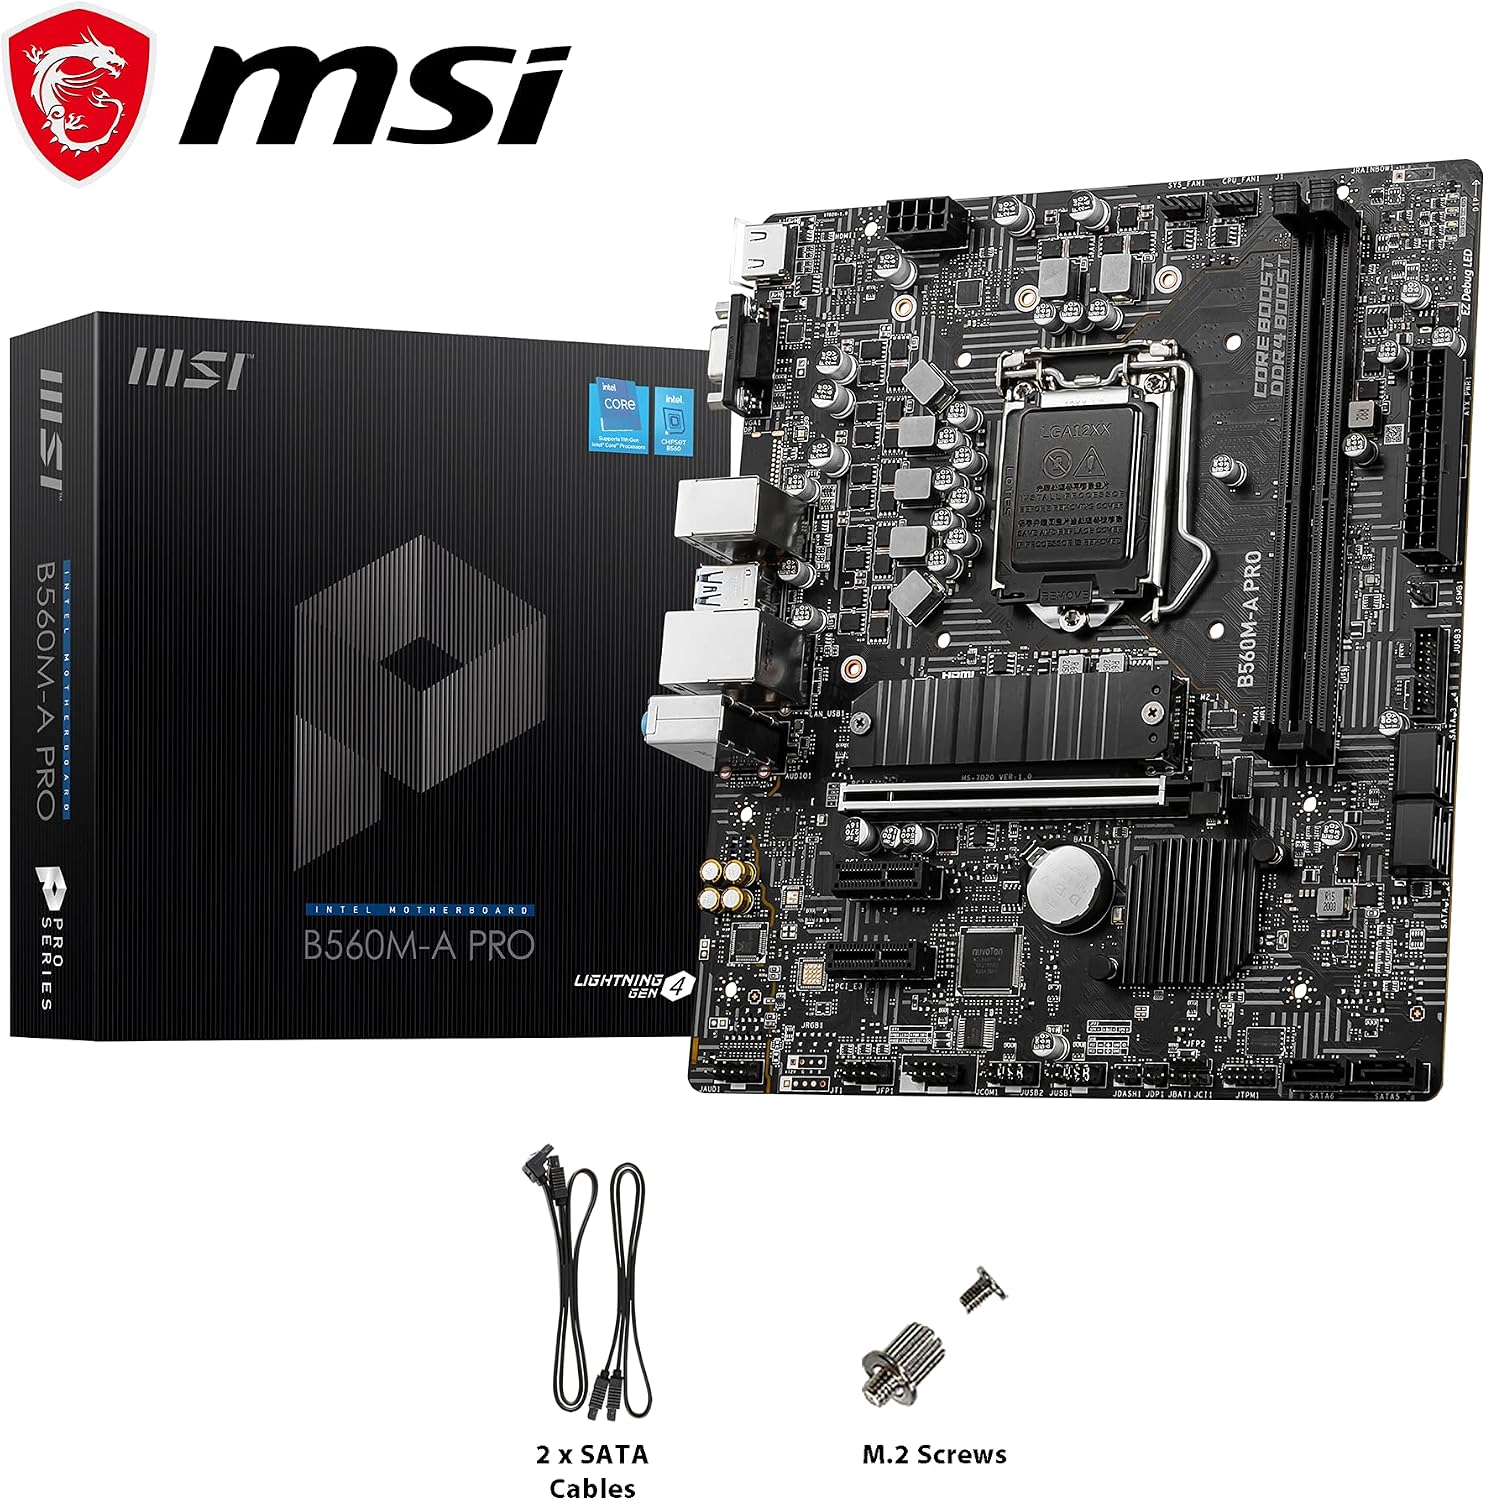
Image: The MSI B560M-A PRO motherboard displayed with its included accessories, which typically consist of SATA cables and M.2 screws.
Product Videos
No official product videos from the seller were available for embedding in this manual.
Important Notes
- Always disconnect the power cord from the wall outlet before touching any components inside the computer.
- Handle the motherboard by its edges to avoid static discharge. Consider using an anti-static wrist strap.
- Refer to the full motherboard manual provided by MSI for detailed diagrams and advanced configurations.
Related documentsMSI B560M-A PRO


Ask a question about this manual
Ask about setup, troubleshooting, compatibility, parts, safety, or missing instructions. Manuals+ will review the question and use this page’s manual context to help answer it.