
Introduction
Thank you for choosing the VINGLI Upgraded Patio Wooden Porch Swing. This manual provides essential information for the safe assembly, operation, and maintenance of your new porch swing. Please read these instructions carefully before assembly and retain them for future reference.
Safety Information
- Maximum Weight Capacity: The porch swing bench can safely hold up to 880 lbs (approximately 3 persons of normal body types). Do not exceed this weight limit.
- Secure Installation: Ensure all hanging chains and hardware are securely fastened to a sturdy support structure, such as ceiling joists or a dedicated swing stand.
- Chain Security: The chains connecting to the wood frame are loop-locked for enhanced security. Regularly inspect all chain connections for wear or damage.
- Assembly Precautions: During assembly, do not screw into the holes too tightly at the beginning. Tighten all screws only after all components are correctly aligned and in place.
- Supervision: Always supervise children when they are using the swing.
Parts List
Before beginning assembly, ensure all parts are present and undamaged. If any parts are missing or damaged, please contact VINGLI customer support.
- Pre-assembled Swing Seat and Backrest
- Armrests (2 pieces)
- Hanging Chains (with carabiner design for adjustment)
- Assembly Hardware (screws, washers, nuts, etc.)
Setup (Assembly Instructions)
Assembly is designed to be straightforward and can typically be completed by two persons in approximately 20 minutes. Follow these steps:
- Unpack Components: Carefully remove all parts from the packaging and lay them out on a clean, flat surface. Verify all parts are present using the parts list.
- Attach Armrests: Align the armrests with the pre-drilled holes on the sides of the pre-assembled swing seat and backrest. Secure them using the provided screws. Remember not to tighten screws completely at this stage.
- Connect Chains to Swing: Attach the hanging chains to the designated points on the swing's frame. Ensure the loop-locked connections are secure.
- Mount to Support: Identify a sturdy overhead support (e.g., porch ceiling joist or swing stand). Use appropriate heavy-duty hooks (not always included) to hang the chains. Ensure the hooks are rated for the swing's weight capacity.
- Adjust Height and Angle: Use the carabiner design on the chains to adjust the swing's height and tilt angle to your preference.
- Final Tightening: Once the swing is level and the desired height/angle is set, fully tighten all screws and ensure all connections are secure.

Image: Initial parts layout for assembly.

Image: Securing the backrest to the seat frame.
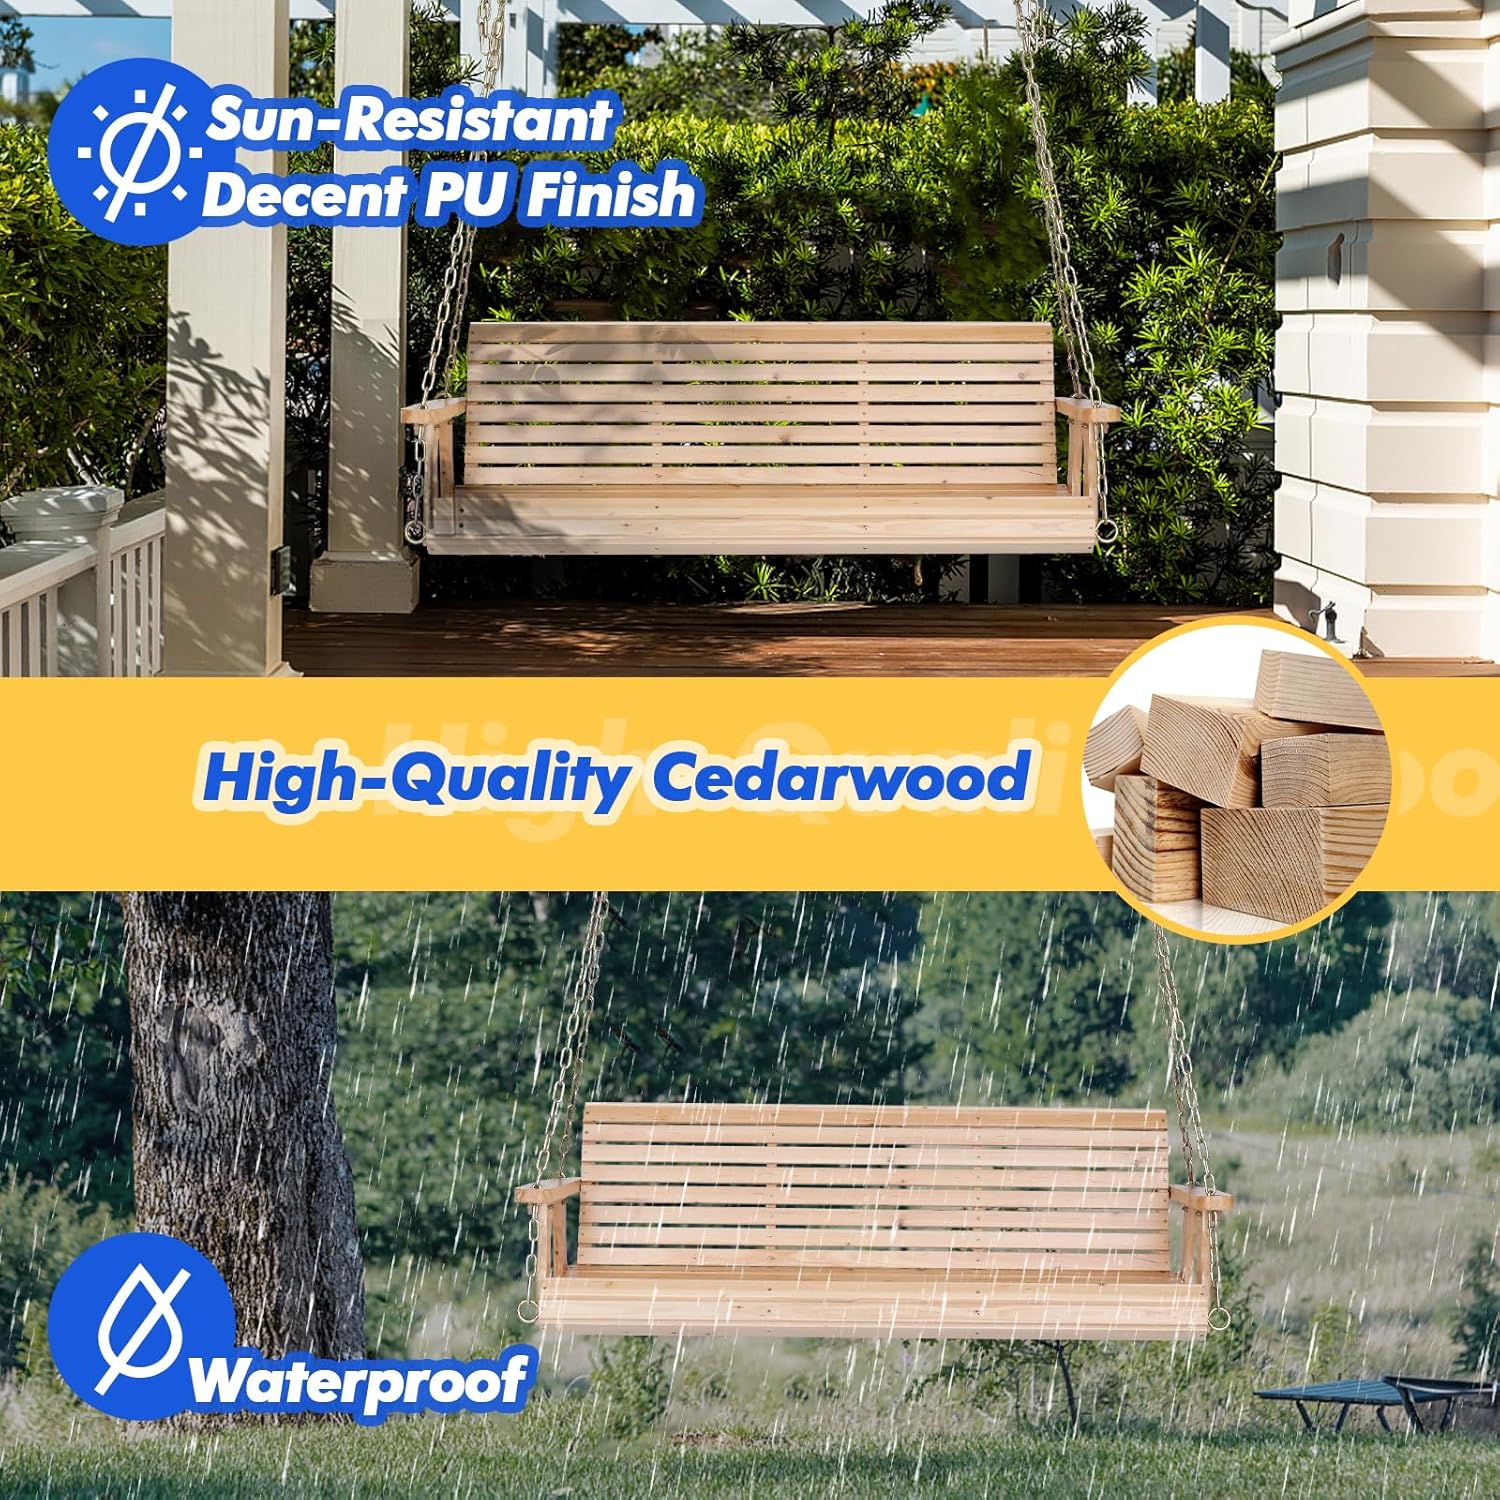
Image: Fastening the armrests to the swing.

Image: Attaching the hanging chains to the swing.

Image: Demonstrating how the swing is hung from a support.

Image: Close-up of the ergonomic design and secure chain connection.
Video: VINGLI Porch Swing Overview - This video provides a general overview of the swing and may include assembly highlights.
Operating Instructions
Your VINGLI porch swing is designed for comfort and relaxation. Follow these guidelines for optimal use:
- Comfortable Seating: The swing features an ergonomic design with curves in the knee area to provide a comfortable sitting experience, preventing discomfort to your knees or back.
- Adjusting the Angle: The upgraded chains allow you to adjust the tilt angle of the swing. Utilize the carabiner design to easily modify the angle for your preferred seating position.
- Weight Distribution: Ensure weight is evenly distributed when multiple people are using the swing, staying within the 880 lbs maximum capacity.

Image: Detailed dimensions and 880 lbs weight capacity of the VINGLI porch swing.
Video: VINGLI Porch Swing Comfort Your Life - This video highlights the comfort features and design of the swing.
Maintenance
To ensure the longevity and appearance of your VINGLI porch swing, regular maintenance is recommended:
- Cleaning: The swing features a well-coated surface, making it easy to clean. Wipe down with a damp cloth as needed to remove dirt and debris. Avoid harsh chemicals that may damage the finish.
- Weather Protection: Made from high-quality Cedarwood with a sun-resistant PU finish, the swing is designed to be durable outdoors. While it is waterproof, consider covering it during extreme weather conditions or prolonged periods of non-use to further extend its lifespan.
- Hardware Inspection: Periodically check all screws, bolts, and chain connections to ensure they remain tight and secure. Tighten any loose fasteners.

Image: Demonstrating the easy cleaning of the swing's well-coated surface.
Troubleshooting
If you encounter any issues with your VINGLI porch swing, consider the following common solutions:
- Squeaking Noises: Check all metal-to-metal contact points on the chains and hooks. Applying a silicone-based lubricant can often resolve squeaking.
- Instability: Ensure all assembly screws are fully tightened. Verify that the overhead support structure is stable and capable of holding the swing's weight and movement.
- Uneven Swing: Re-check the chain lengths and adjustments. Ensure both sides are set to the same length and angle using the carabiner clips.
For persistent issues, please refer to the Support section.
Specifications
| Feature | Detail |
|---|---|
| Brand | VINGLI |
| Model Number | VL-ClassicSwing |
| Color | Natural |
| Material | Cedar |
| Product Dimensions (D x W x H) | 24.4"D x 60.6"W x 18.9"H |
| Seat Depth | 16 inches |
| Finish Type | Painted (PU Finish) |
| Maximum Weight Recommendation | 880 Pounds |
| Maximum Compatible Number of Seats | 3 |
| Required Assembly | Yes |
| UPC | 810158423909 |
Warranty and Support
For warranty information, product support, or to inquire about replacement parts, please contact VINGLI customer service directly. Refer to your purchase documentation or the official VINGLI website for contact details.
We are committed to providing high-quality products and excellent customer service.


