
aostirmotor A20
Aostirmotor A20 Folding Electric Bike User Manual
Model: A20 | Brand: Aostirmotor
Introduction
This manual provides essential information for the safe and efficient operation, maintenance, and troubleshooting of your Aostirmotor A20 Folding Electric Bike. Please read this manual thoroughly before your first ride and keep it for future reference.

Figure 1: Aostirmotor A20 Folding Electric Bike
Safety Information
Always wear a helmet and appropriate safety gear when riding. Ensure all components are securely fastened before each use. Do not operate the bike under the influence of alcohol or drugs. Adhere to local traffic laws and regulations.
- Regularly inspect tires, brakes, and battery for optimal performance.
- Avoid riding in extreme weather conditions or on excessively rough terrain unless the bike is designed for it.
- Familiarize yourself with the bike's controls before riding in traffic.
Setup and Assembly
Your Aostirmotor A20 Ebike arrives approximately 90% assembled. The remaining steps primarily involve unfolding and adjusting components.
1. Unfolding the Frame
- Carefully remove the bike from its packaging.
- Locate the main folding hinge on the frame. Release the safety latch and unfold the frame until it locks into place. Ensure the latch is securely re-engaged.

Figure 2: Folding mechanism for portability
2. Handlebar and Seatpost Adjustment
- Adjust the handlebar height and angle to a comfortable riding position using the quick-release levers. Ensure they are tightened securely.
- Insert the seatpost into the frame and adjust its height using the quick-release clamp. Ensure the seatpost is inserted past the minimum insertion line.

Figure 3: Handlebar height adjustment points
3. Pedal Installation/Unfolding
The pedals are designed to fold for compact storage. To unfold, pull the pedal outwards from the crank arm and rotate it down until it locks into the riding position.
Operating Instructions
1. Battery and Charging
The 36V 13Ah Lithium Battery is removable for convenient charging. Charging time is approximately 4-6 hours. Ensure the battery is fully charged before your first ride.

Figure 4: Removable 36V 13Ah Battery
2. Powering On/Off and LCD Display
Press and hold the power button on the 866-LCD display to turn the bike on or off. The display shows speed, battery level, and odometer readings. Use the '+' and '-' buttons to cycle through the 5 levels of pedal assist.

Figure 5: 866-LCD Display for monitoring ride data
3. Riding Modes
- Pedal Assist Mode: The motor provides assistance as you pedal. Adjust the assist level (1-5) via the LCD display.
- Throttle Mode: Twist the throttle on the handlebar for motor power without pedaling.
- Normal Bike Mode: Ride without any electrical assistance.
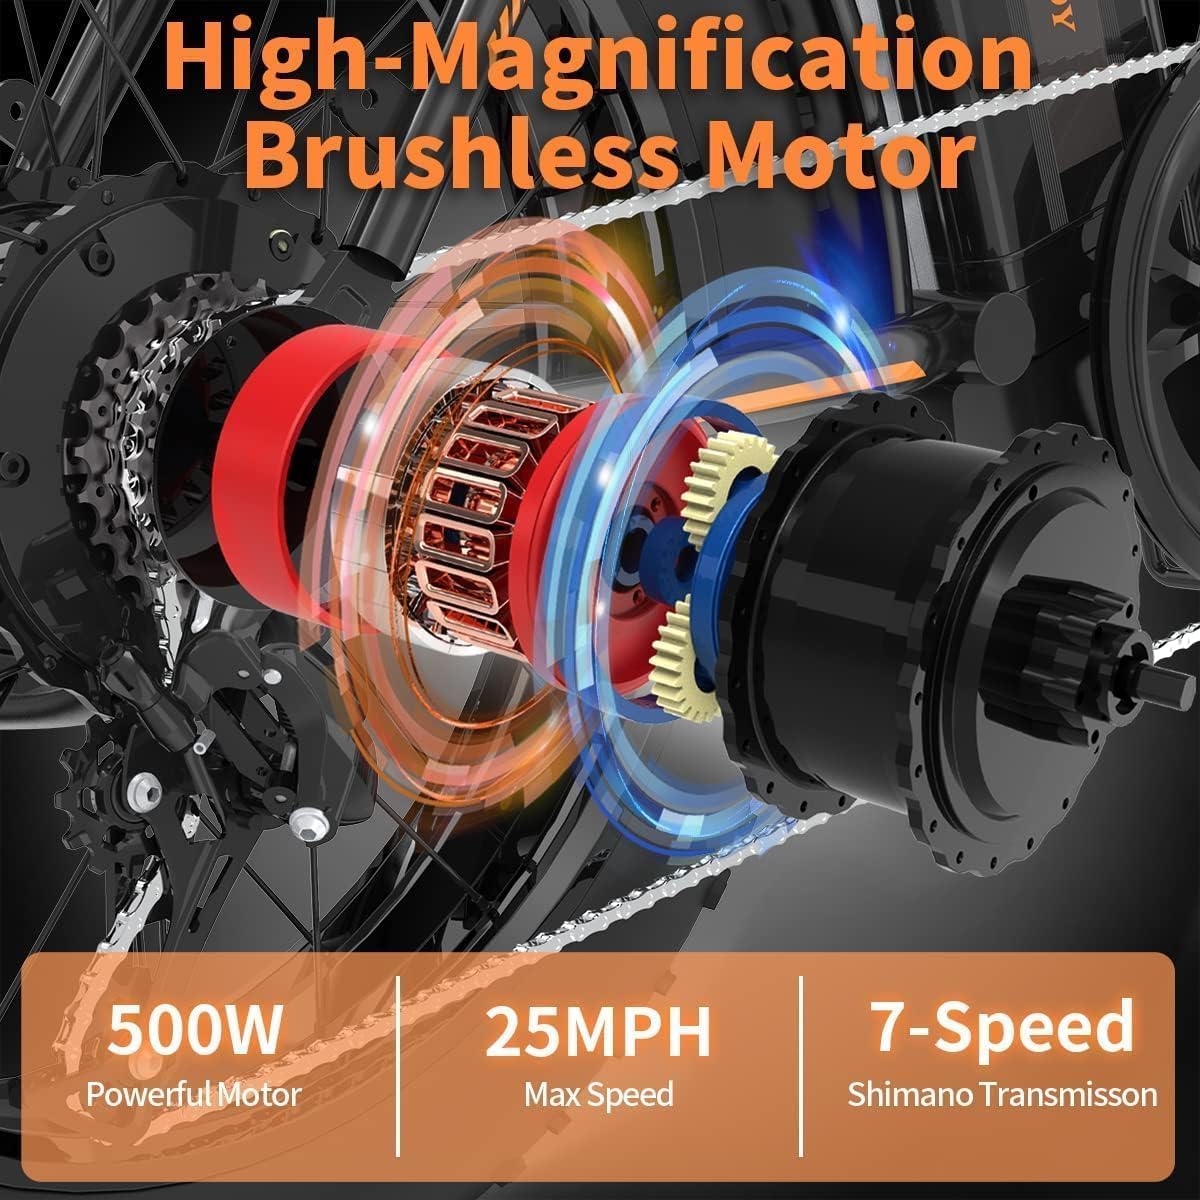
Figure 6: High-magnification brushless motor providing 500W power
4. Gear Shifting and Braking
- The bike features SHIMANO outer 7-speed gears. Shift gears smoothly while pedaling to match terrain and speed.
- Front and rear disc brakes provide reliable stopping power. Apply both brakes simultaneously for effective and safe deceleration.

Figure 7: Close-up of the brake lever
Maintenance
1. Battery Care
- Charge the battery regularly, even if not in use, to prolong its lifespan.
- Store the battery in a cool, dry place away from direct sunlight and extreme temperatures.
- Avoid fully discharging the battery frequently.

Figure 8: Internal components of the battery pack
2. Tire Maintenance
The 20" x 4.0" fat tires are designed for various terrains. Maintain proper tire pressure as indicated on the tire sidewall for optimal performance and safety. Regularly inspect tires for wear, punctures, or damage.

Figure 9: Durable 20" x 4.0" ultra-wide fat tires
3. Brake System Check
Periodically check the brake pads for wear and ensure the brake levers engage smoothly. If you notice reduced braking performance, have the brakes inspected and adjusted by a qualified technician.
4. General Cleaning and Lubrication
Clean the bike regularly with a damp cloth. Avoid high-pressure washing directly on electrical components. Lubricate the chain and moving parts as needed to ensure smooth operation and prevent rust.
Troubleshooting
| Problem | Possible Cause | Solution |
|---|---|---|
| Bike does not power on. | Battery not charged or improperly installed. Loose electrical connection. | Ensure battery is fully charged and securely seated. Check all visible cable connections. |
| Motor not assisting. | Pedal assist level set to 0. Throttle issue. Brake lever engaged. | Increase pedal assist level on LCD. Check throttle connection. Ensure brake levers are fully released. |
| Brakes feel weak. | Worn brake pads. Loose brake cable. | Inspect and replace brake pads if worn. Adjust brake cable tension. Consult a technician if needed. |
For more detailed troubleshooting or issues not listed, please refer to the official user guide available for download or contact customer support.
Specifications
| Feature | Detail |
|---|---|
| Bike Type | Folding Electric Bike |
| Motor | 500W (Peak 550W) High Speed Brushless Motor |
| Battery | 36V 13Ah Removable Lithium Battery |
| Max Speed | 25 MPH |
| Max Distance | 20-35 Miles (per charge) |
| Charging Time | 4-6 Hours |
| Tires | 20" x 4.0" Fat Tires |
| Brakes | Front and Rear Disc Brakes |
| Gears | SHIMANO Outer 7-Speed |
| Frame Material | Light and Strong Aluminum Alloy Collapsible Frame |
| Display | 866-LCD Display |
| Item Weight | 74 Pounds |
| Maximum Weight Recommendation | 260 Pounds |
| Dimensions (LxWxH) | 69.29 x 24.8 x 48.03 inches (Unfolded) |

Figure 10: Aostirmotor A20 dimensions and weight
Warranty and Support
Your Aostirmotor A20 Folding Electric Bike is covered by a 1-year limited warranty from the date of purchase. This warranty covers manufacturing defects in materials and workmanship.
For warranty claims, technical support, or any inquiries, please contact Aostirmotor customer service directly. Refer to the "Product guides and documents" section on the product's purchase page for additional resources and detailed warranty policy information.
We are committed to providing high-quality after-sales service to ensure your satisfaction.
Related documentsA20


Ask a question about this manual
Ask about setup, troubleshooting, compatibility, parts, safety, or missing instructions. Manuals+ will review the question and use this page’s manual context to help answer it.