
Introduction
This manual provides detailed instructions for the assembly, operation, and maintenance of your EAGLE PEAK 10x10 Portable Walk-in Greenhouse. Designed for ease of use, this pop-up greenhouse features a sturdy frame and a durable PE cover, offering an optimal environment for plant growth. Please read all instructions carefully before setup and retain this manual for future reference.
Safety Information
WARNING: California Proposition 65 requires businesses to provide warnings to Californians for exposures to chemicals that cause cancer, birth defects, or other reproductive harm. We care about consumer safety and take appropriate steps to adhere to California Proposition 65 requirements.
- Always ensure the greenhouse is securely anchored using the provided wind ropes and stakes to prevent damage from wind.
- Do not use the greenhouse in extreme weather conditions such as heavy snow, strong winds, or severe storms. Disassemble and store the greenhouse during such conditions.
- Keep children and pets away from the greenhouse during assembly and disassembly.
- Ensure adequate ventilation to prevent excessive heat buildup, especially on sunny days.
- Do not hang heavy objects from the frame.
Package Contents
Verify that all components listed below are present before beginning assembly.

Figure 1: All components included in the package. This includes the pre-assembled frame, the polyethylene (PE) cover, 14 ground stakes, and 4 wind ropes.
- Pre-assembled Pop-Up Frame (1)
- Polyethylene (PE) Greenhouse Cover (1)
- Ground Stakes (14)
- Wind Ropes (4)
Setup Instructions
The EAGLE PEAK greenhouse features a patented center lock technology for quick and easy setup, often achievable by one person in seconds without tools.
Step 1: Unfolding the Frame

Figure 2: The 'Lift. Lock. Done.' mechanism for quick frame setup.
- Place the folded frame in your desired location.
- With a partner (recommended for larger models) or by yourself, gently pull the legs of the frame outwards to begin unfolding.
- Once partially open, reach inside the frame and push up on the patented Peak Push center lock mechanism until it clicks into place, securing the frame in its open position.
Step 2: Attaching the Cover

Figure 3: Visual guide for the easy setup process, including attaching the cover.
- Carefully drape the PE greenhouse cover over the top of the unfolded frame.
- Align the corners of the cover with the frame's corners.
- Secure the cover to the frame using the integrated Velcro attachments or ties located along the frame's edges.
Step 3: Securing the Greenhouse
- Adjust the canopy height by pressing the push-button on each leg and extending or retracting the leg to your desired room requirement. Ensure all legs are at the same height for stability.
- Insert the provided ground stakes through the footpads of each leg and into the ground.
- Attach the wind ropes to the designated loops on the greenhouse cover and secure them to the ground using additional stakes, pulling them taut at an angle for maximum stability.
Video 1: This video demonstrates the pop-up setup process for an EAGLE PEAK greenhouse, highlighting the ease of assembly.
Operating Instructions
Ventilation

Figure 4: Key design features including roll-up doors and mesh windows for ventilation.
Your greenhouse is equipped with zippered roll-up doors and mesh windows to manage airflow and temperature. Open these features as needed to prevent overheating on warm days and to provide fresh air for your plants. The mesh windows also offer protection from small animals and insects while allowing air circulation.
Environmental Control
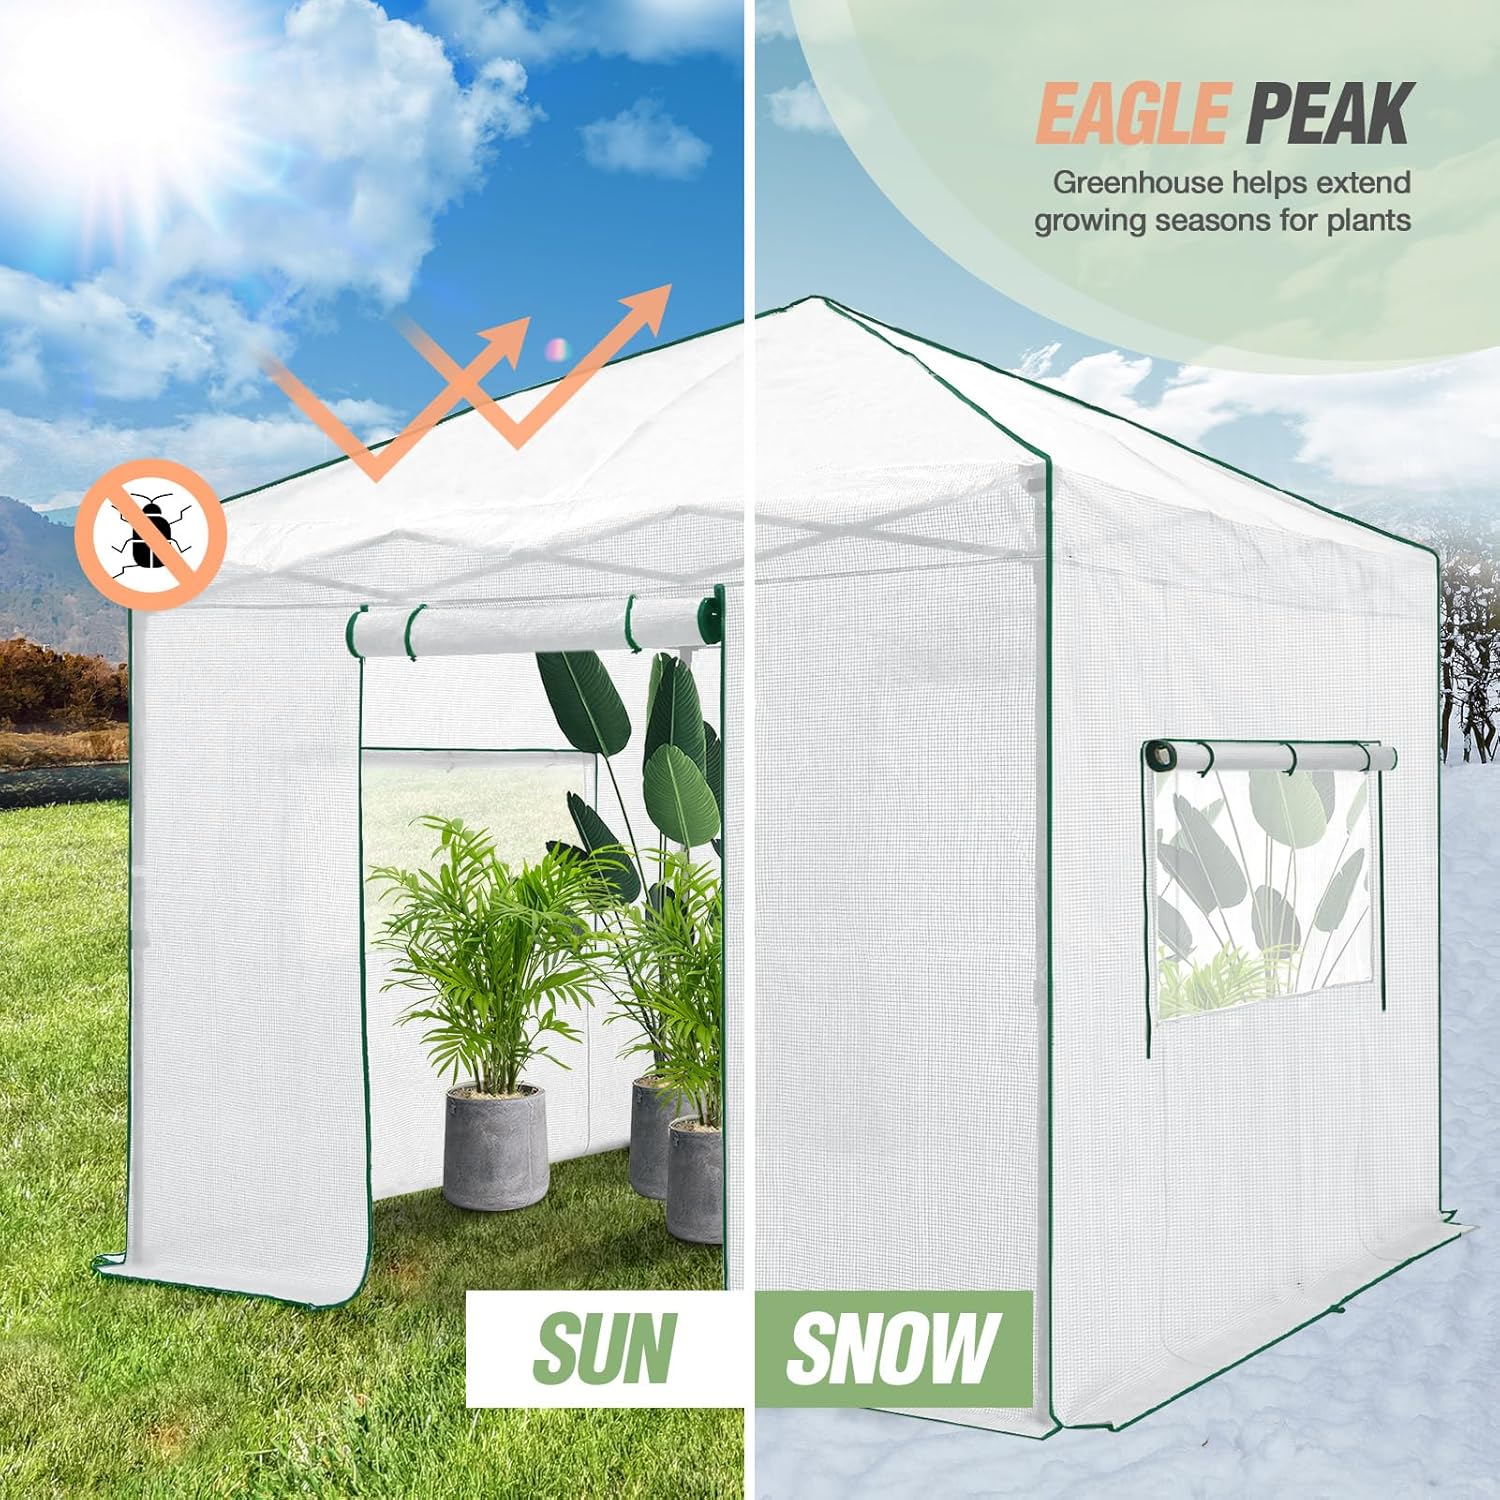
Figure 5: The greenhouse provides protection from both sun and snow.
The premium PE cover is designed to maintain optimal humidity levels and filter sunlight, creating a healthy growth environment. It is suitable for frost protection, seed starting, and extending your growing season. Monitor the internal temperature and humidity regularly to ensure ideal conditions for your specific plants.

Figure 6: The spacious interior allows for comfortable movement and plant care.
Maintenance
- Cleaning: Periodically clean the PE cover with mild soap and water to remove dirt and debris, ensuring maximum light transmission. Avoid abrasive cleaners.
- Inspection: Regularly inspect the frame for any signs of rust or damage. Check the cover for tears or weak spots, especially around zippers and seams.
- Anchoring: Re-check the tension of wind ropes and the security of stakes, especially after strong winds.
- Seasonal Storage: For prolonged periods of non-use or during severe weather, it is recommended to disassemble the greenhouse, clean all components, and store them in a dry, protected area.
Troubleshooting
| Problem | Possible Cause | Solution |
|---|---|---|
| Greenhouse instability in wind | Inadequate anchoring; loose ropes/stakes. | Ensure all stakes are fully inserted into the ground and wind ropes are taut. Consider additional weights or anchoring methods in very windy areas. Disassemble during extreme winds. |
| Water leakage | Tears in cover; improperly sealed seams. | Inspect the cover for damage. Small tears can be repaired with greenhouse repair tape. Ensure the cover is properly fitted and secured to the frame. |
| Excessive heat buildup | Insufficient ventilation. | Open zippered doors and roll-up mesh windows to increase airflow. Consider using a shade cloth on extremely hot days. |
| Difficulty with frame setup/takedown | Center lock mechanism not fully engaged/disengaged; frame binding. | Ensure the Peak Push center lock is fully pushed up to lock or pulled down to unlock. Apply gentle, even pressure. Lubricate moving parts if necessary. |
Specifications

Figure 7: Overall dimensions of the EAGLE PEAK 10x10 Portable Walk-in Greenhouse.
| Feature | Detail |
|---|---|
| Model Number | GH100-WHT-AZ |
| Product Dimensions (L x W x H) | 118.1" x 118.1" x 109.1" (10ft x 10ft x 9.1ft) |
| Item Weight | 48.8 Pounds |
| Frame Material | Alloy Steel (Powder-coated, rust-resistant) |
| Cover Material | Polyethylene (PE), Water-resistant, UV-resistant |
| Number of Doors | 2 (Zippered Roll-Up) |
| Number of Vents | 2 (Roll-Up Mesh Windows) |
| Indoor/Outdoor Usage | Outdoor |
| Special Features | Heavy Duty, Pop Up, Patented Center Lock |
Warranty and Support
EAGLE PEAK offers a 1-year limited after-sale protection from the original date of purchase. This warranty covers the frame and the cover. For any questions, problems, or warranty claims, please contact our professional service team. Please have your model number (GH100-WHT-AZ) and date of purchase available when contacting support.
Contact information for support can typically be found on the product packaging or the official EAGLE PEAK website.


