
1. Introduction
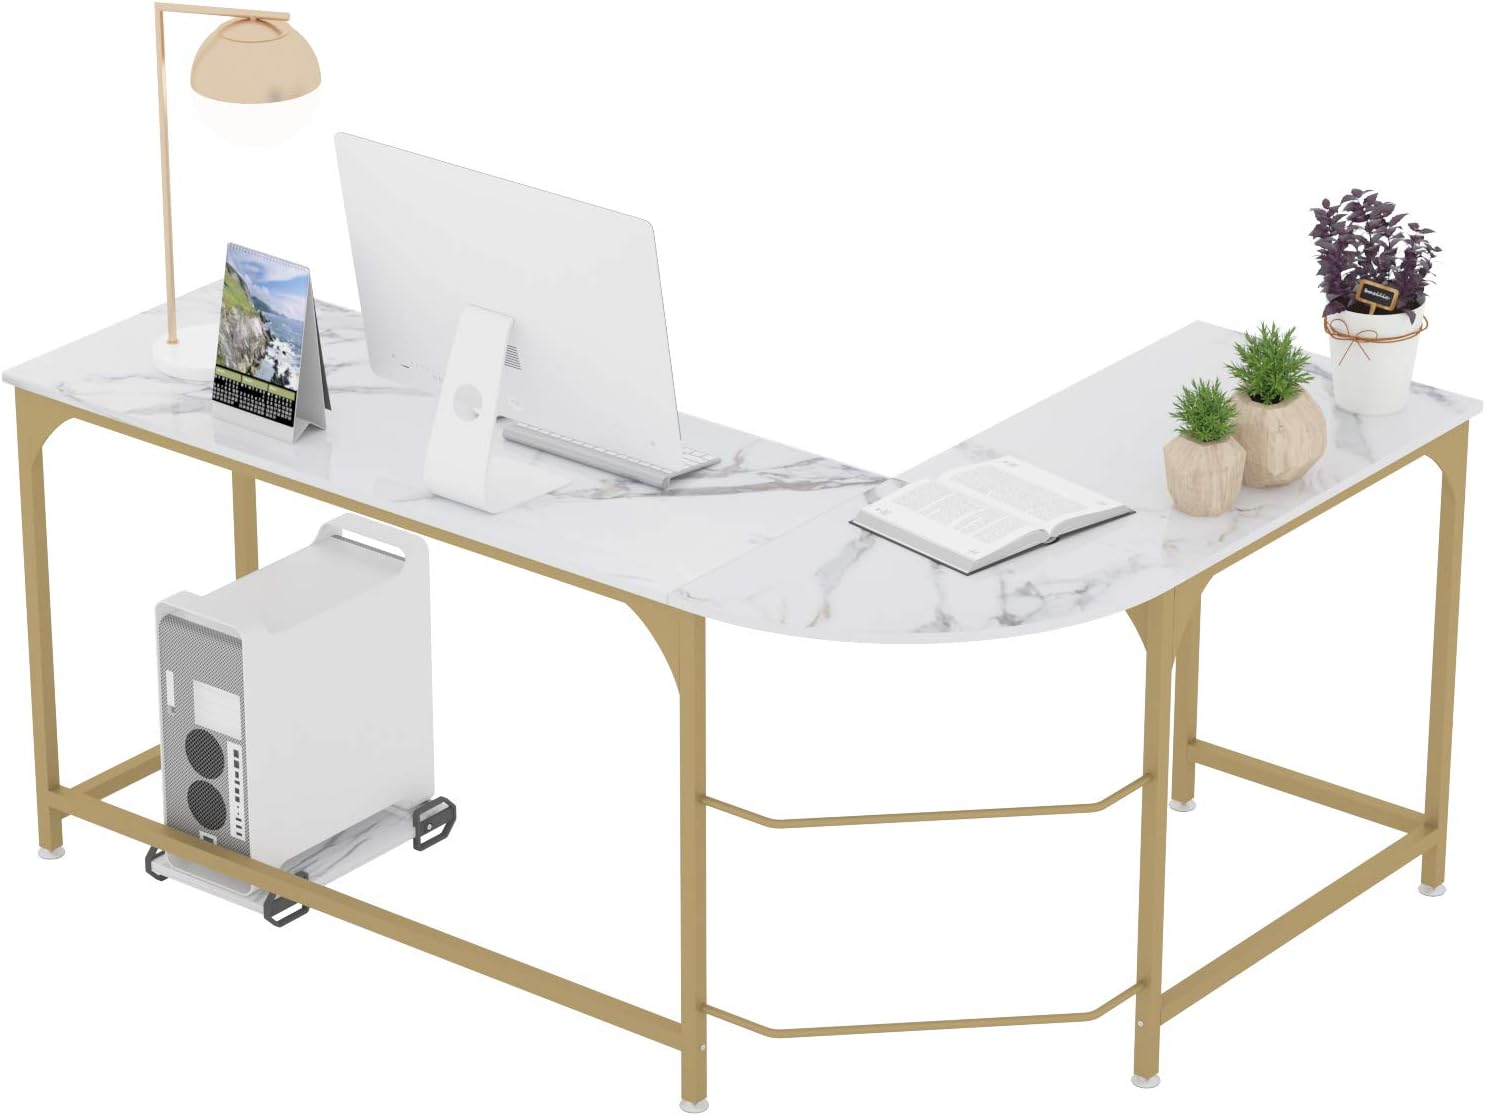
This manual provides detailed instructions for the assembly, usage, and maintenance of your Teraves Reversible L Shaped Desk. Please read this manual thoroughly before beginning assembly to ensure correct installation and safe operation. This desk is designed to provide a versatile and functional workspace for various activities, including office work, gaming, and studying.
2. Safety Information
WARNING: Always follow the assembly instructions carefully. Ensure the desk is properly anchored to the wall or floor to prevent tipping, especially when using the reversible feature. Do not overload the desk; refer to the specifications for maximum weight capacity.
- Keep all small parts and packaging materials away from children during assembly.
- Assemble the desk on a soft, clean surface to prevent scratches.
- Ensure all screws and fasteners are tightened securely before use. Periodically check and re-tighten as necessary.
- Do not stand or sit on the desk.
3. Package Contents
Please verify that all components listed below are present and undamaged before beginning assembly. If any parts are missing or damaged, contact customer support.
- Desktop Panels (3 pieces: 2 rectangular, 1 corner)
- Metal Frame Legs and Support Bars
- CPU Stand (movable)
- Adjustable Leg Pads
- Assembly Hardware (screws, bolts, washers, allen wrench)
- Instruction Manual
4. Assembly Instructions
4.1. Before You Begin
- Clear a spacious area for assembly.
- Lay out all components and hardware, comparing them with the package contents list.
- While an allen wrench is provided, using your own screwdriver and a drill with a 5/32" allen bit can significantly expedite the process.
4.2. Step-by-Step Assembly
- Assemble the Frame: Connect the metal frame legs and support bars using the provided hardware. Ensure all connections are finger-tight initially.
- Attach Desktop Panels: Carefully place the desktop panels onto the assembled frame. The desk features a reversible design, allowing you to configure the L-shape to either the left or right side to suit your space. Refer to Figure 2 for visual guidance on reversible panel options.
- Secure Panels: Align the pre-drilled holes in the desktop panels with the frame and secure them using the appropriate screws. Tighten all screws firmly, but do not overtighten.
- Install Adjustable Leg Pads: Screw the adjustable leg pads into the bottom of each leg. These pads help stabilize the desk on uneven surfaces.
- Position CPU Stand: The CPU stand is separate and can be placed freely underneath the desk as desired.


5. Usage Guidelines
5.1. Reversible Configuration
The L-shaped design can be configured to suit your room layout, providing ample space for multiple monitors, laptops, and other office essentials. This flexibility allows for optimal space utilization in various home or office environments.
5.2. Workspace Optimization
- CPU Stand: Utilize the included movable CPU stand to keep your computer tower off the floor, improving airflow and protecting it from dust.
- Adjustable Leg Pads: Fine-tune the desk's stability by adjusting the leg pads to compensate for uneven flooring.
- Monitor Stand Compatibility: The desk includes a compatible hole for installing a monitor stand (Hole Diameter: 0.39 inches), allowing for ergonomic monitor placement.
- Durable Surface: The waterproof wood board surface is designed for easy cleaning and durability.


6. Maintenance
To maintain the appearance and longevity of your Teraves L Shaped Desk, follow these simple care instructions:
- Cleaning: Wipe the surface with a damp cloth to remove dust and spills. Avoid using harsh chemicals or abrasive cleaners, which can damage the finish.
- Spills: Clean up spills immediately to prevent staining, especially on the waterproof wood board surface.
- Hardware Check: Periodically check all screws and fasteners to ensure they remain tight. Re-tighten if necessary to maintain stability.
- Avoid Extreme Conditions: Do not expose the desk to extreme temperatures or humidity, as this may affect the material integrity.
7. Troubleshooting
7.1. Desk Wobbles After Assembly
- Check Leg Pads: Ensure all adjustable leg pads are properly installed and adjusted to compensate for uneven flooring.
- Tighten Hardware: Verify that all screws and bolts connecting the frame and desktop panels are securely tightened.
- Level Surface: Ensure the desk is placed on a flat, level surface.
7.2. Difficulty During Assembly
- Review Instructions: Re-read the assembly instructions carefully, paying close attention to diagrams and part orientation.
- Part Identification: Double-check that you are using the correct parts for each step.
- Do Not Force: If parts do not fit easily, do not force them. Re-examine the instructions or contact customer support.
7.3. Missing or Damaged Parts
- If you discover any missing or damaged parts upon opening the package, please contact Teraves customer support immediately for assistance.
8. Product Specifications
| Feature | Detail |
|---|---|
| Brand | Teraves |
| Model Number | 1f8492f9-ff0f-4608-bda8-7e8ef2a06c34 |
| Product Dimensions (D x W x H) | 47.2"D x 66.1"W x 29.7"H |
| Color | Marble White + Gold Frame |
| Style | Modern |
| Base Material | Alloy Steel |
| Top Material Type | Engineered Wood |
| Special Feature | Reversible |
| Maximum Weight Recommendation | 450 Pounds |
| Required Assembly | Yes |
| Includes All Assembly Tools | Yes |
| Monitor Stand Hole Diameter | 0.39 inches |
9. Warranty Information
This Teraves L Shaped Desk comes with a Limited Warranty. For specific details regarding coverage, duration, and claims process, please refer to the warranty card included with your product or contact Teraves customer support.
10. Customer Support
If you have any questions, require assistance with assembly, or need to report missing/damaged parts, please contact Teraves customer support. You can typically find contact information on the product packaging, the Teraves official website, or through your point of purchase.
For online support and frequently asked questions, please visit the Teraves Store on Amazon.

