
1. Introduction
Thank you for choosing the Tornado Front Load Washing Machine, Model TWV-FN710SLOA. This manual provides essential information for the safe and efficient operation, installation, maintenance, and troubleshooting of your appliance. Please read it thoroughly before using the washing machine and keep it for future reference.
2. Safety Information
To prevent personal injury or property damage, always observe the following safety precautions:
- Ensure the washing machine is properly grounded.
- Do not allow children to play with or operate the appliance.
- Keep packaging materials out of reach of children.
- Do not install or store the appliance where it will be exposed to temperatures below freezing or weather conditions.
- Never force the door open during operation.
- Unplug the appliance before cleaning or performing any maintenance.
- Do not wash items that have been cleaned, washed, soaked, or spotted with combustible or explosive substances.
3. Product Overview
The Tornado TWV-FN710SLOA is a fully automatic front-load washing machine designed for household use. Key features include:
- 7 kg washing capacity.
- Maximum spin speed of 1000 RPM.
- 15 washing programs for various fabric types and soil levels.
- Durable anti-rust stainless steel drum.
- Child lock feature for safety.
- Energy efficiency class A+++.
- LED display for functions and error codes.
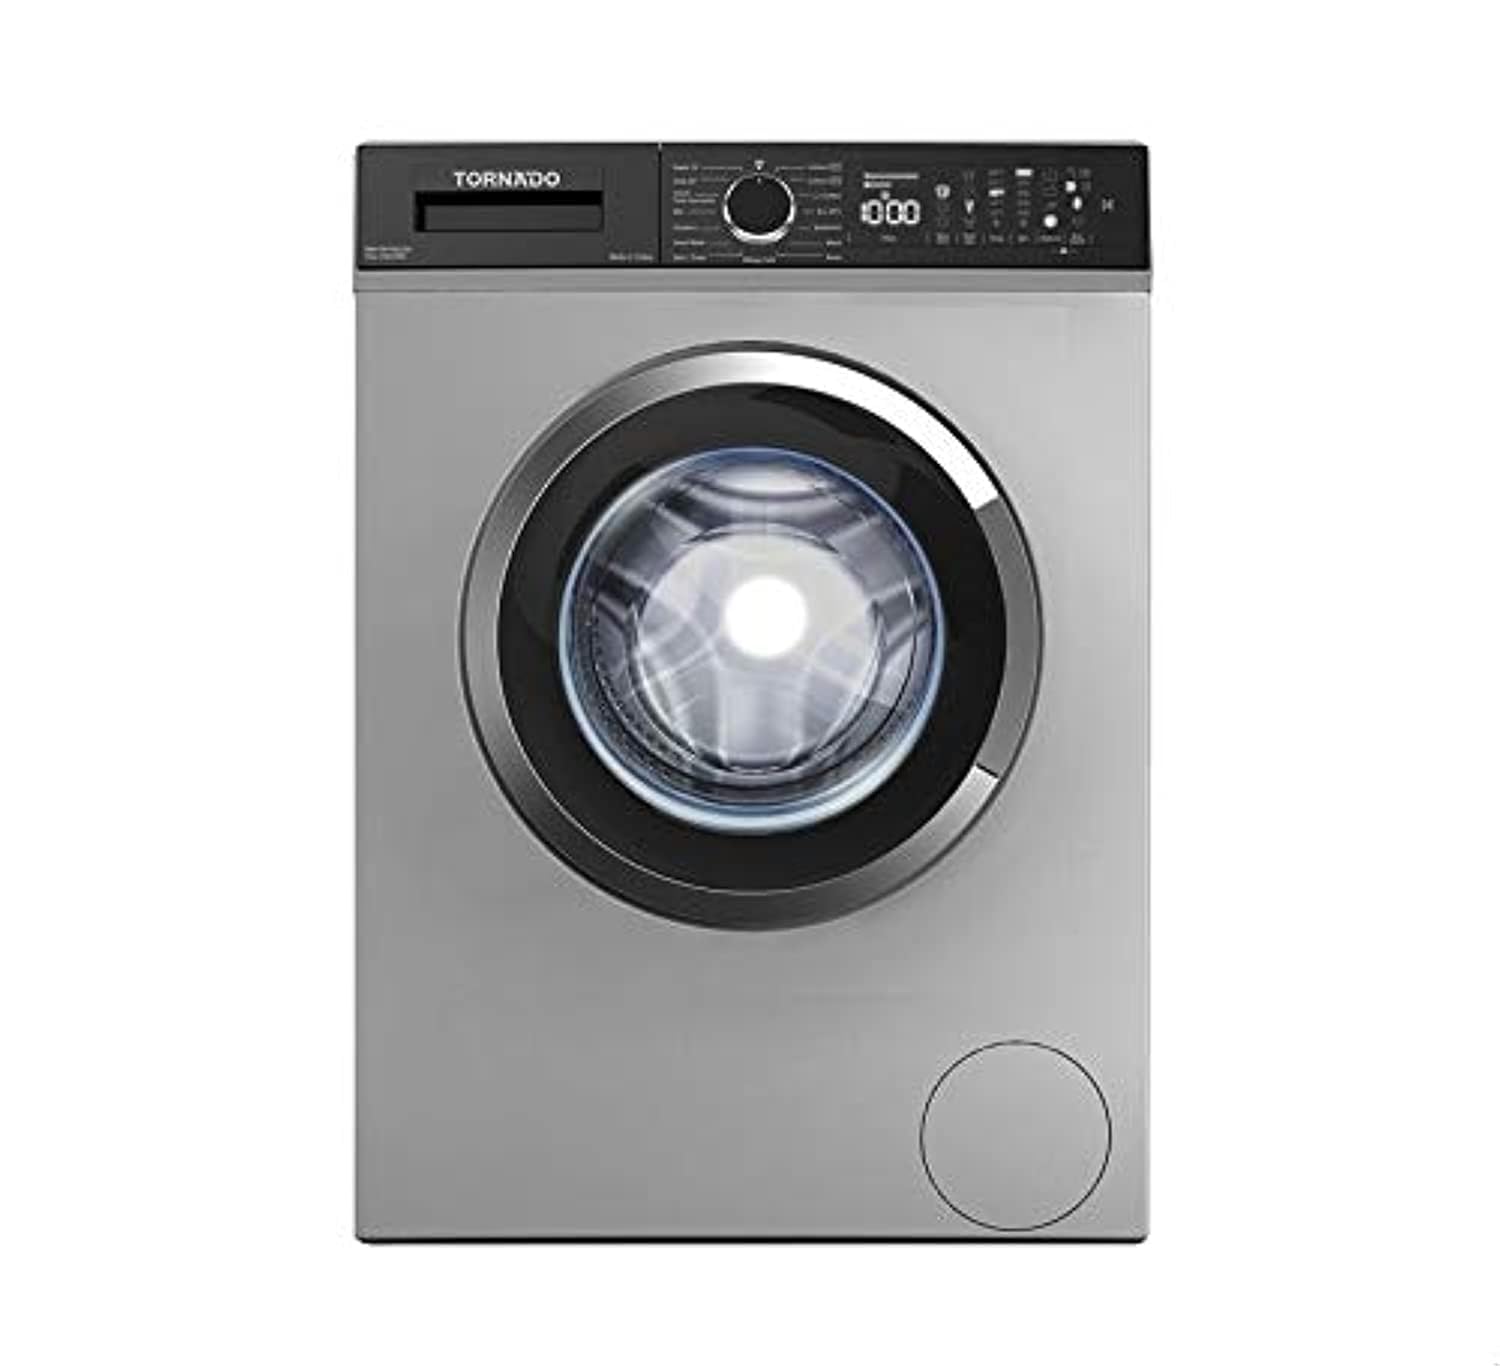
Figure 1: Front view of the Tornado TWV-FN710SLOA washing machine, silver color.
4. Setup and Installation
Proper installation is crucial for the performance and longevity of your washing machine. Please follow these steps carefully:
4.1 Unpacking
- Remove all packaging materials, including the polystyrene base and any protective films.
- Remove the transport bolts located at the rear of the machine. Keep these bolts for future transport.
4.2 Location and Leveling
- Place the washing machine on a firm, level floor.
- Adjust the leveling feet at the bottom of the machine until it is perfectly stable and level. Use a spirit level to verify.
4.3 Water Connection
- Connect the inlet hose to a cold water tap with a 3/4-inch thread.
- Ensure all connections are tight to prevent leaks.
4.4 Drain Hose
- Position the drain hose into a standpipe or over the edge of a sink, ensuring it is securely fixed to prevent displacement during draining. The height of the drain outlet should be between 60 cm and 100 cm from the floor.
4.5 Electrical Connection
- Plug the power cord into a grounded electrical outlet (AC 220-240V).
- Do not use extension cords or adapters.
5. Operating Instructions
Follow these steps for effective washing:
5.1 Preparing Laundry
- Sort laundry by fabric type, color, and degree of soiling.
- Empty pockets and close zippers and hooks.
- Place laundry loosely into the drum, ensuring not to overload.
5.2 Adding Detergent and Additives
- Pull out the detergent dispenser drawer.
- Add detergent to the main wash compartment.
- Add fabric softener to the designated compartment (if desired).
- Close the dispenser drawer gently.
5.3 Selecting a Program
- Turn the program selector knob to choose one of the 15 available washing programs (e.g., Cotton, Synthetics, Delicates, Wool, Quick Wash).
- The selected program will be indicated on the LED display.
5.4 Adjusting Settings
- Temperature: Press the temperature button to adjust the wash water temperature.
- Spin Speed: Press the spin speed button to select the desired spin speed (up to 1000 RPM).
- Delay Timer: Use the delay timer button to set a delayed start for your wash cycle.
- Child Lock: To activate the child lock, press and hold the designated buttons (refer to the control panel diagram in your quick start guide) for a few seconds until the indicator lights up. This prevents accidental changes to settings.
5.5 Starting the Wash Cycle
- Press the Start/Pause button to begin the selected program.
- The machine will automatically proceed through the wash, rinse, and spin cycles.
6. Maintenance and Cleaning
Regular maintenance ensures optimal performance and extends the life of your washing machine.
6.1 Cleaning the Detergent Dispenser
- Remove the dispenser drawer by pressing the release lever.
- Rinse it under running water to remove any detergent residue.
- Clean the housing of the dispenser with a brush.
- Reinsert the dispenser drawer.
6.2 Cleaning the Drum
- Run a maintenance wash cycle (e.g., a hot wash with no laundry and a small amount of detergent or a specialized washing machine cleaner) periodically to prevent odor and residue buildup.
6.3 Cleaning the Drain Filter
- Locate the drain filter cover at the bottom front of the machine.
- Place a shallow container beneath it to catch any residual water.
- Carefully open the cover and unscrew the filter.
- Clean the filter of any lint, coins, or debris.
- Screw the filter back in tightly and close the cover.
6.4 Exterior Cleaning
- Wipe the exterior surfaces with a soft, damp cloth.
- Do not use abrasive cleaners or solvents.
7. Troubleshooting
Before contacting service, refer to the following common issues and solutions:
| Problem | Possible Cause | Solution |
|---|---|---|
| Machine does not start | Power cord unplugged, door not closed, program not selected, Start/Pause not pressed. | Check power connection, ensure door is latched, select program, press Start/Pause. |
| No water intake | Water tap closed, inlet hose kinked, water supply cut off. | Open water tap, straighten hose, check water supply. |
| Water leakage | Inlet/drain hose connections loose, detergent overdose causing excessive foam. | Tighten hose connections, use appropriate amount of detergent. |
| Excessive vibration/noise | Transport bolts not removed, machine not level, uneven load. | Remove transport bolts, adjust leveling feet, redistribute laundry. |
| Error code on display | Specific malfunction (e.g., water supply issue, drain issue, door lock). | Refer to the specific error code in the full manual for detailed instructions. Often, turning off and on the machine can reset minor errors. |
8. Specifications
| Feature | Specification |
|---|---|
| Brand | Tornado |
| Model Number | TWV-FN710SLOA |
| Type | Front Load, Fully Automatic |
| Capacity | 7 kg |
| Maximum Spin Speed | 1000 RPM |
| Number of Programs | 15 |
| Color | Silver |
| Drum Material | Stainless Steel |
| Door Opening Angle | 180 degrees |
| Energy Efficiency Class | A+++ |
| Voltage | AC 220 - 240 V |
| Product Dimensions (D x W x H) | 52.7 cm x 59.7 cm x 84.8 cm |
| Net Weight | 70 kg |
| Special Features | Temperature Control, Vibration Reduction, Built-in Heater, Child Lock, High Efficiency, Foam Protection, Overfill Protection, Unbalance Control System |
| Control Type | Push Button |
| Display Type | LED |
9. Warranty and Support
Your Tornado washing machine is covered by a manufacturer's warranty. Please refer to the warranty card included with your purchase for specific terms and conditions, including the warranty period and coverage details.
For technical assistance, service requests, or to purchase genuine spare parts, please contact Tornado customer support. Contact details can typically be found on the manufacturer's official website or on your warranty documentation.
Always ensure that any repairs or maintenance are performed by authorized service personnel to maintain the validity of your warranty.
