
Introduction
The Cooler Master MasterAccessory ARGB GPU Support Bracket is designed to provide structural support for graphics cards, preventing sag and reducing stress on the motherboard's PCI-e slot. It features edge-lit ARGB tempered glass for visual integration into your PC build. The universal design allows for easy adjustment to fit various graphics card and PC case combinations.
Key Features
- Graphics Card Sag Prevention: Designed to eliminate sag by supporting the GPU’s weight-critical points.
- Edge-Lit ARGB Tempered Glass: CNC-machined tempered glass showcases ARGB lighting. Lighting can be turned off for a subtle aesthetic.
- Easy Installation: Features straightforward adjustment for painless setup.
- Multiple Orientations: Includes two supports for placement at the tail-end or side of the GPU.
- Component Protection: Constructed with tempered glass capable of supporting heavy graphics cards.
- Versatile Support: Universal design with an adjustable support arm (41mm to 171mm) to fit a wide range of graphics card and PC case combinations.
Setup and Installation
Follow these steps to properly install your ARGB GPU Support Bracket:
- Unpack Components: Carefully remove all components from the packaging. Ensure you have the main support bracket, adjustable support arm(s), and any included screws or tools.
- Attach Support Arm: The support arm slides into the main bracket. Adjust its position to align with the desired support point on your graphics card.
- Position the Bracket: Place the base of the support bracket on the bottom of your PC case. The magnetic base helps secure it in place.
- Adjust Height: Adjust the height of the support arm to gently meet the underside of your graphics card. Ensure it provides firm support without putting excessive upward pressure. Avoid contact with GPU fans.
- Secure the Arm: Tighten any thumb screws or locking mechanisms on the support arm to fix its height.
- Connect ARGB Cable: Connect the 3-pin ARGB cable from the bracket to a compatible 5V 3-pin ARGB header on your motherboard or an ARGB controller.
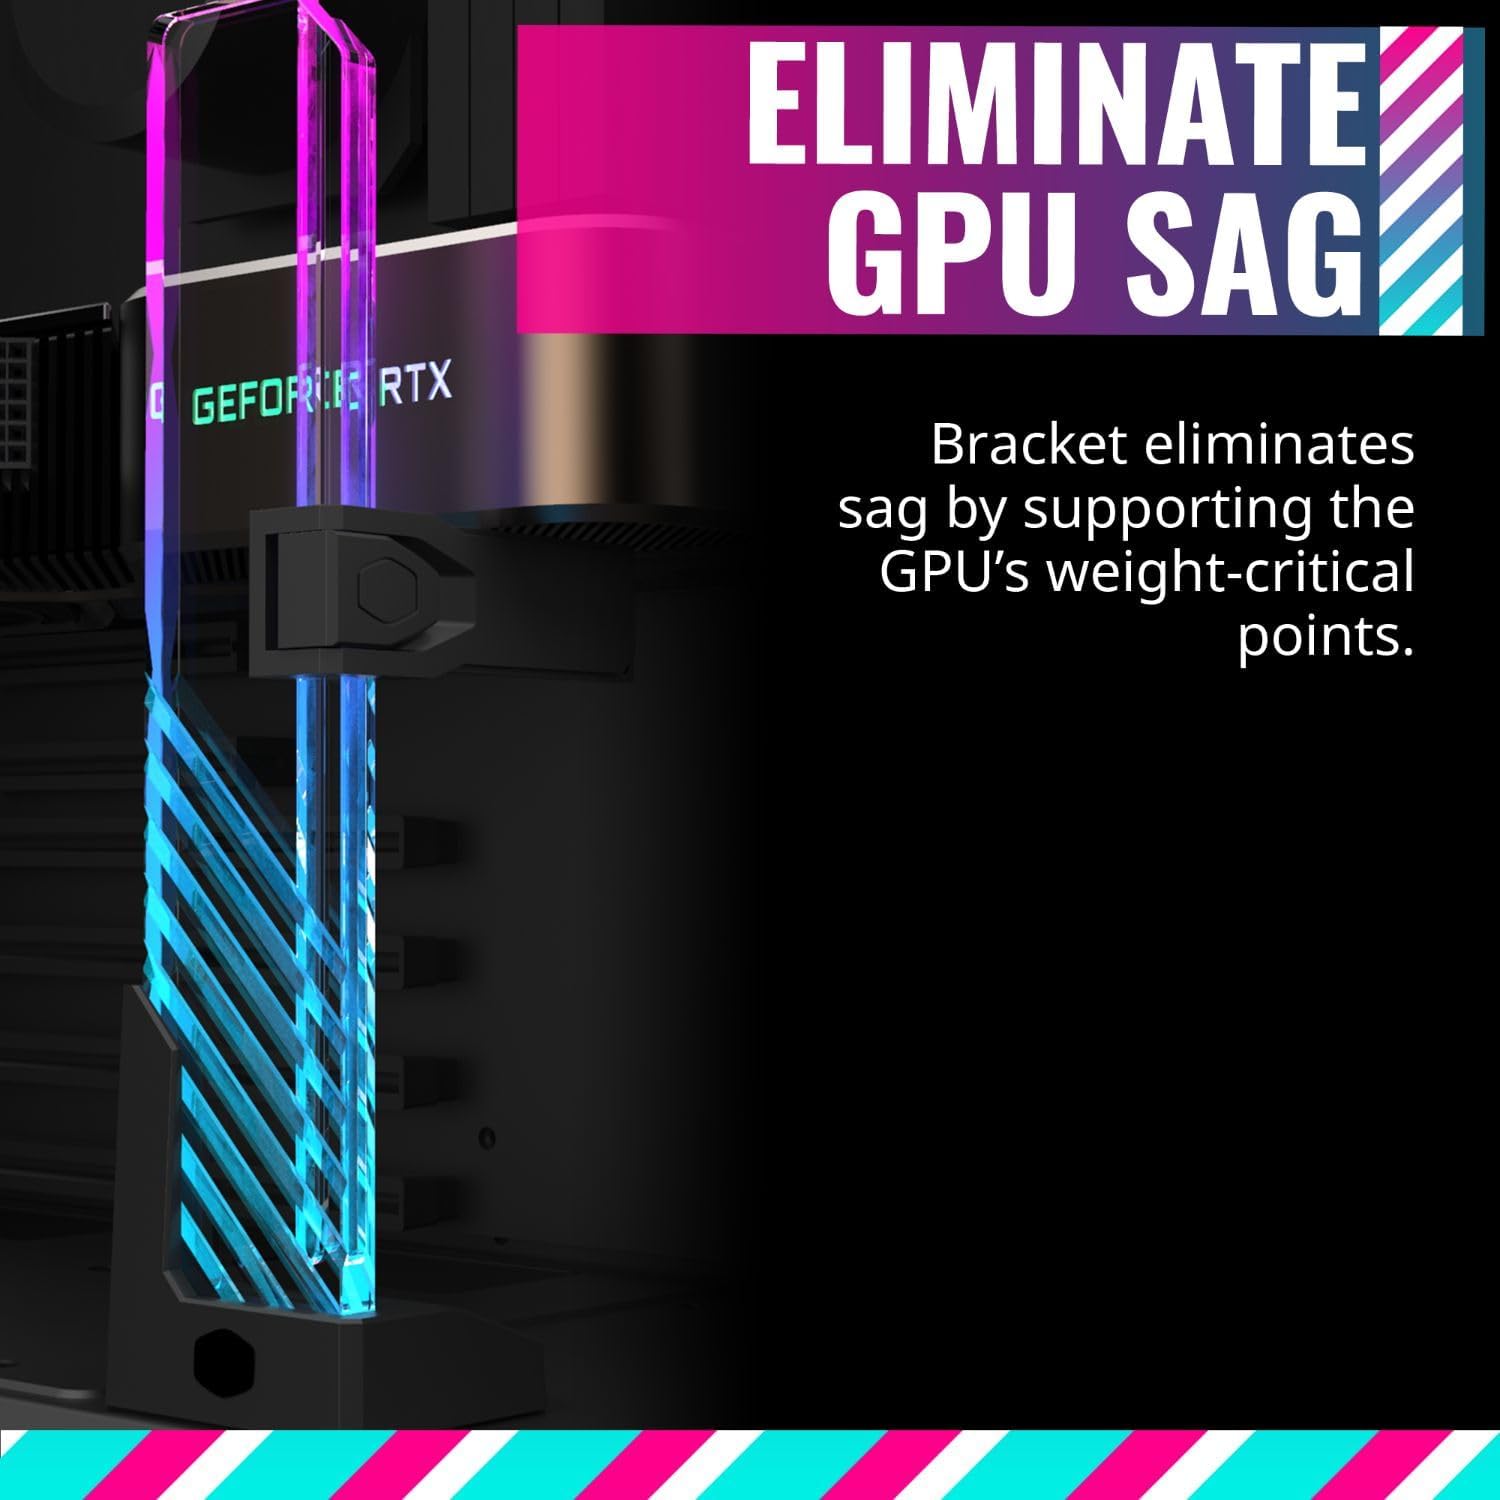
Image 1: Components of the Cooler Master ARGB GPU Support Bracket, showing the main bracket and adjustable arm.

Image 2: Illustration of the versatile support arm, adjustable from 41mm to 171mm, accommodating various GPU sizes.
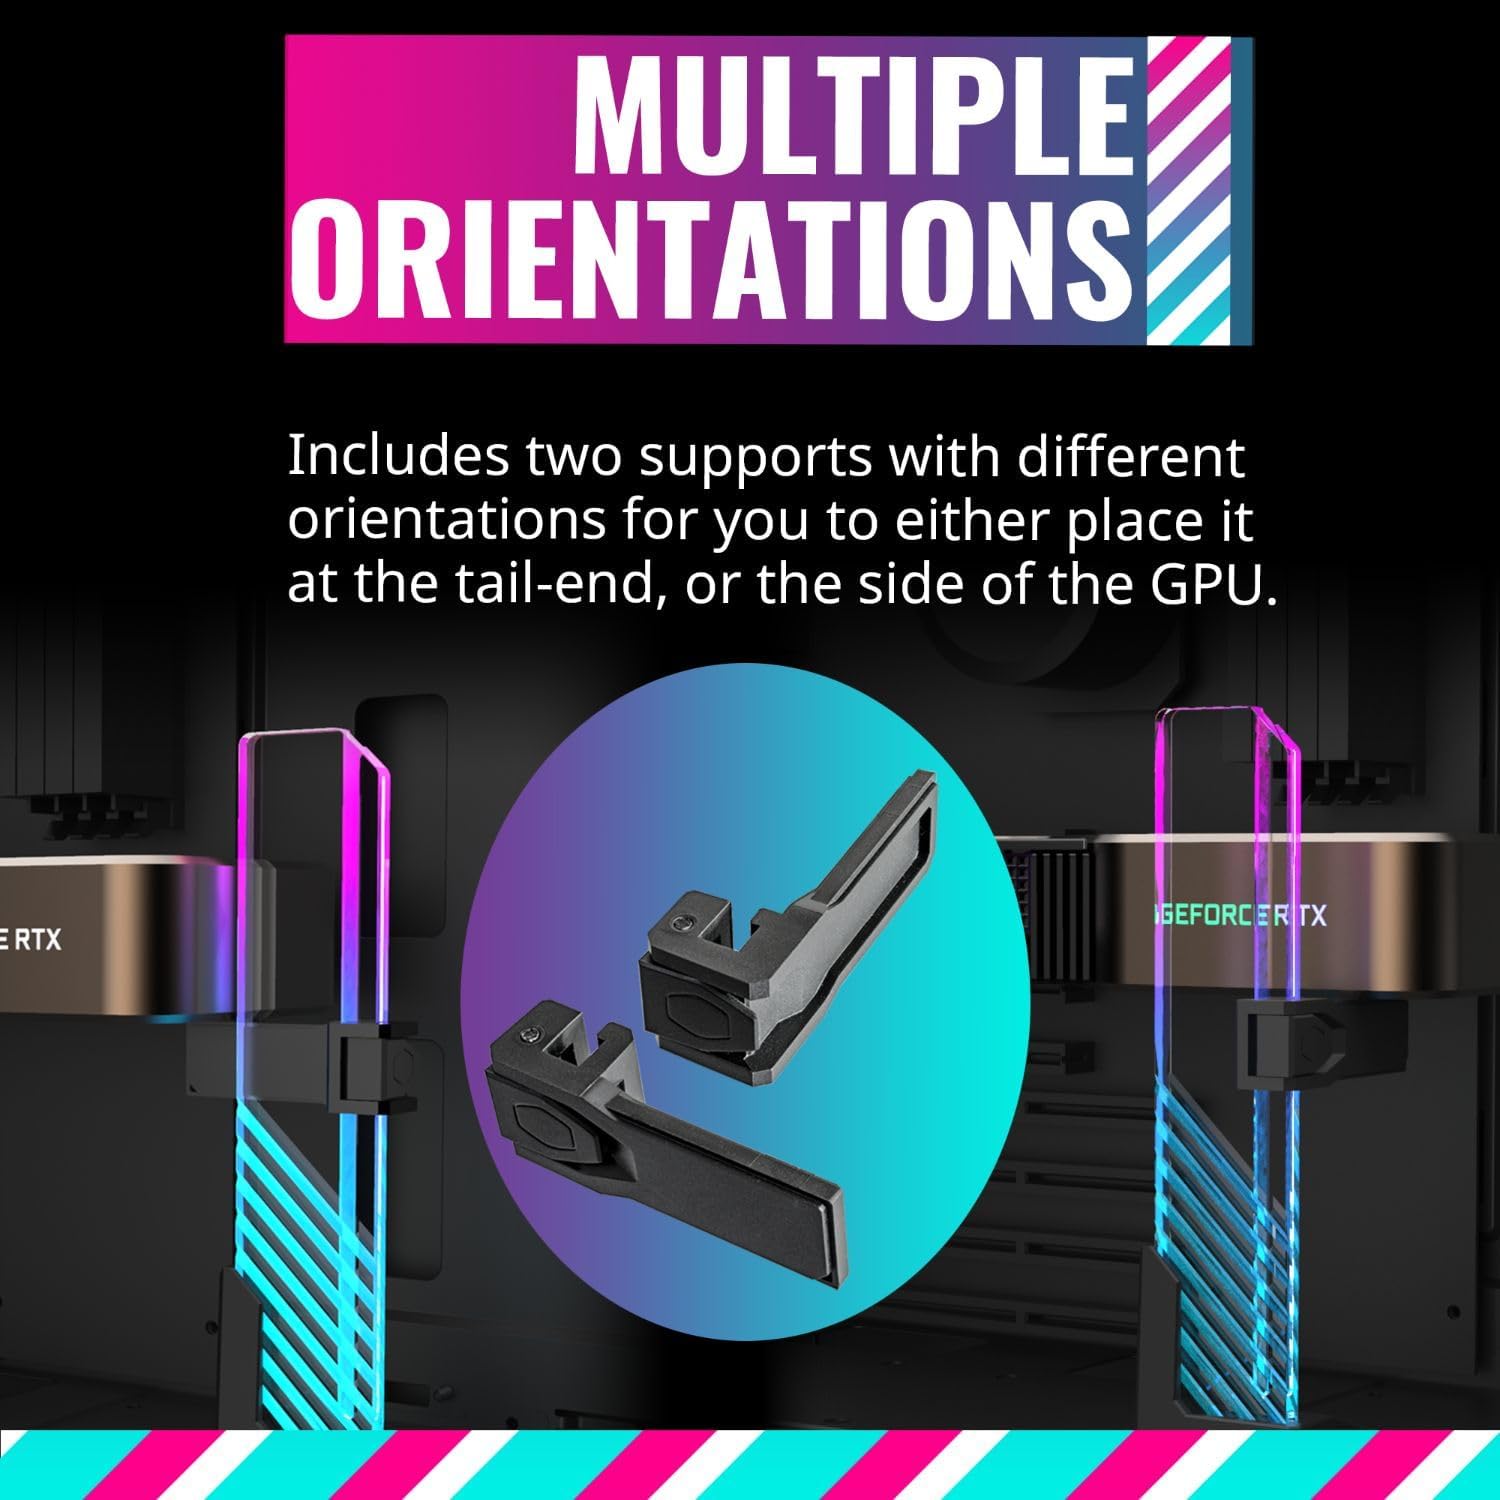
Image 3: Depiction of the two included support orientations, allowing placement at the tail-end or side of the GPU.
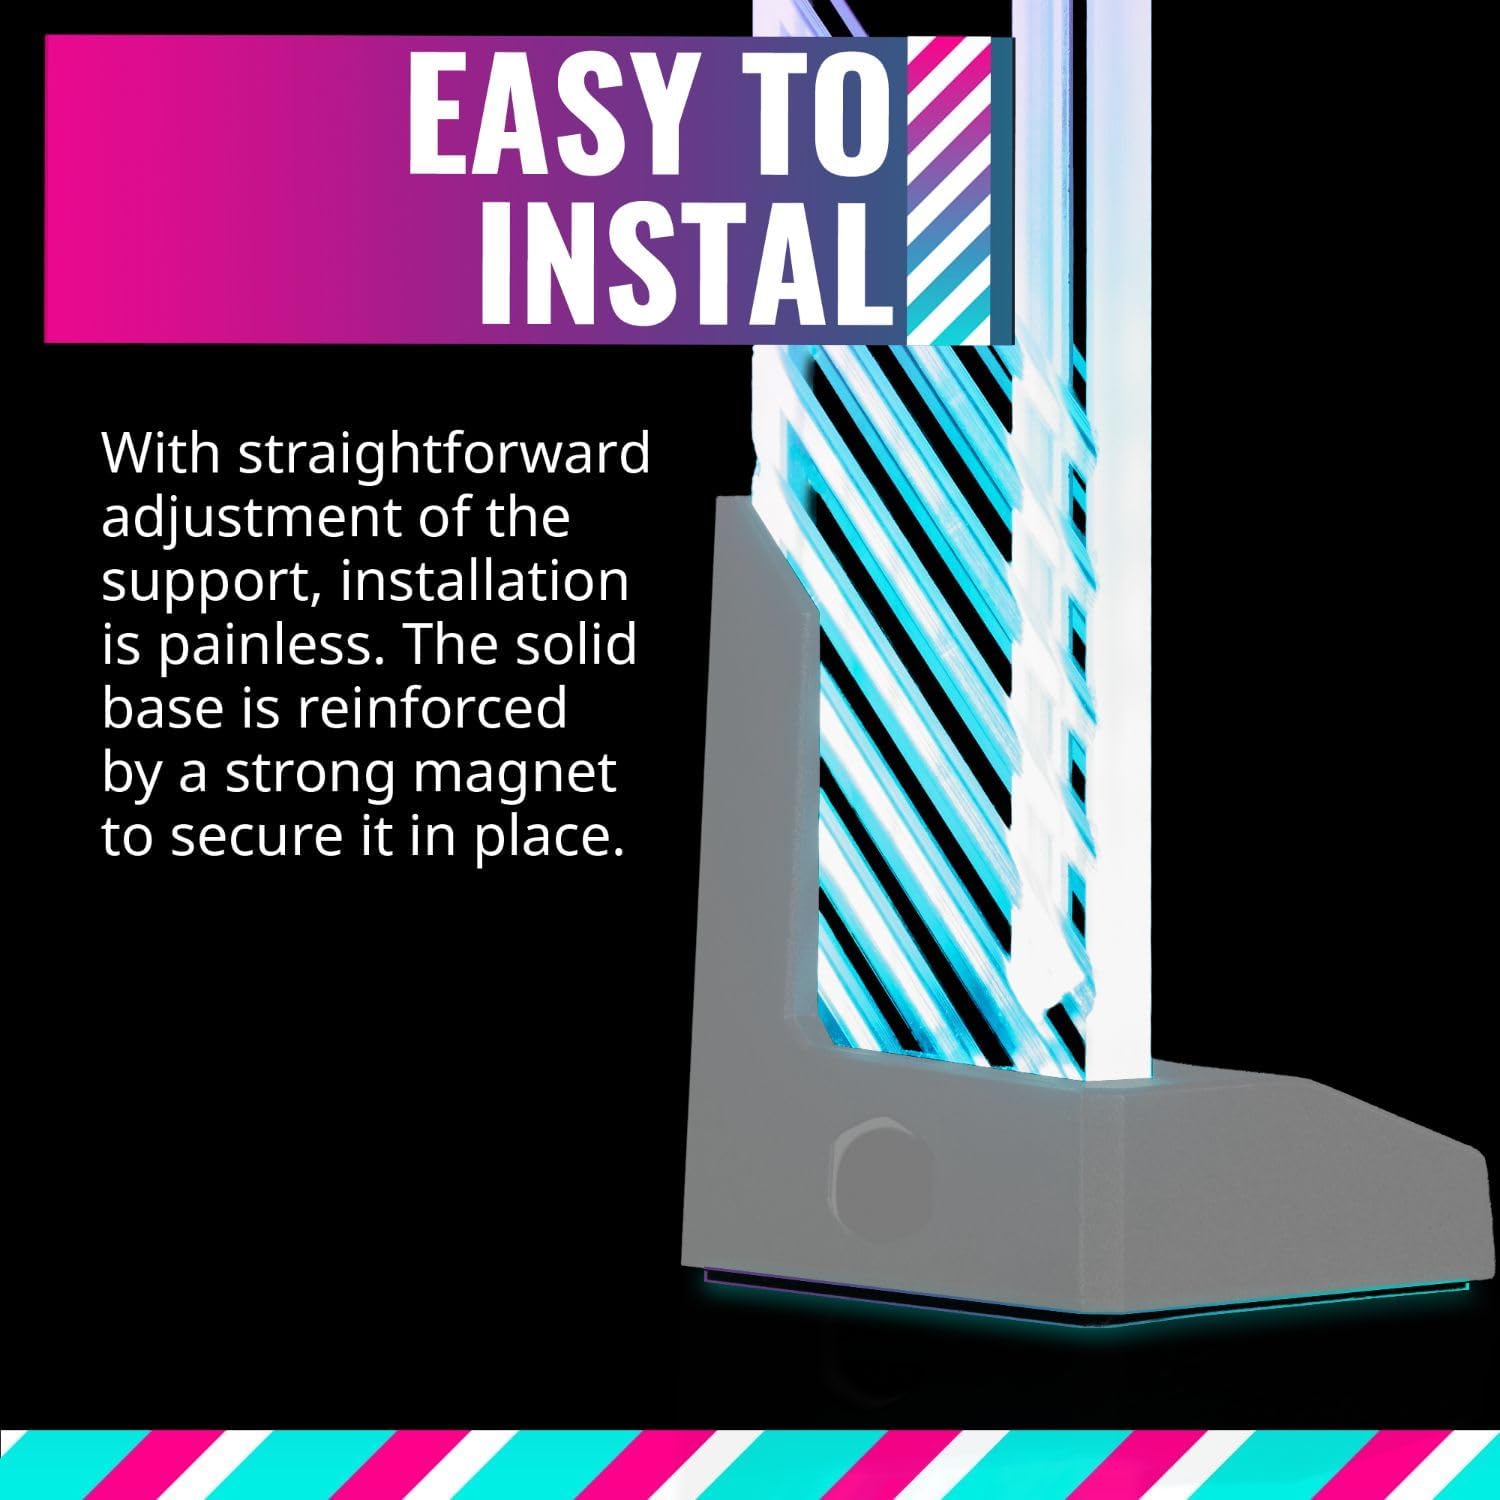
Image 4: Close-up of the magnetic base and adjustable support, highlighting the ease of installation.
Video 1: Product Overview Video from Amazon Product Imaging, demonstrating the features and installation of the GPU support bracket.
Video 2: Official Cooler Master video showcasing the MasterAccessory ARGB GPU Support Bracket in a PC build.
Operation and ARGB Control
The ARGB lighting of the GPU support bracket can be controlled via your motherboard's ARGB software (e.g., ASUS Aura Sync, MSI Mystic Light Sync, GIGABYTE RGB Fusion, ASRock Polychrome Sync) or a dedicated ARGB controller (not included). Ensure the bracket is connected to a 5V 3-pin ARGB header.
- Software Control: If connected to a motherboard ARGB header, use the motherboard's utility software to customize lighting effects, colors, and synchronization with other ARGB components.
- Controller Control: If using a standalone ARGB controller, refer to the controller's manual for lighting adjustment instructions.
- Invisible Aesthetic: The ARGB lighting can be turned off completely if an invisible support aesthetic is preferred.

Image 5: Diagram showing the 3-pin ARGB connector and compatibility with various motherboard ARGB software.
Maintenance
To ensure the longevity and optimal appearance of your GPU support bracket, follow these simple maintenance guidelines:
- Cleaning: Gently wipe the tempered glass and plastic surfaces with a soft, dry microfiber cloth to remove dust. For stubborn smudges, slightly dampen the cloth with water and wipe carefully, then dry immediately. Avoid abrasive cleaners or solvents.
- Inspection: Periodically check the support arm and base to ensure they remain securely in place and that the graphics card is still level. Re-adjust if necessary.
- Cable Management: Ensure the ARGB cable is not pinched or strained, and that it does not interfere with any moving parts like fans.
Troubleshooting
- Graphics Card Still Sags:
- Ensure the support arm is correctly positioned directly under a sturdy part of the graphics card.
- Verify the support arm's height is adequately adjusted to provide firm, but not excessive, upward pressure.
- Check that the base is stable and not shifting.
- ARGB Lighting Not Working:
- Confirm the 3-pin ARGB cable is securely connected to a 5V 3-pin ARGB header on your motherboard or controller. Note that it is not compatible with 12V 4-pin RGB headers.
- Check your motherboard's ARGB software or external controller settings to ensure lighting is enabled and configured correctly.
- Ensure the power supply to your motherboard or ARGB controller is sufficient.
- Bracket Interfering with Fans:
- Re-adjust the position of the support arm to ensure it does not obstruct or make contact with any GPU fans.
- Consider using the alternative support orientation if the current one causes interference.
Specifications
| Model Number | MCA-U000R-GSBTG-00 |
| Brand | Cooler Master |
| Material | Plastic, Tempered Glass |
| Color | Black/Clear |
| Product Dimensions (L x W x H) | 2.28 x 2.28 x 6.97 inches |
| Item Weight | 4.9 ounces |
| Mounting Type | RM |
| Included Components | Graphics card holder |
| UPC | 884102087318, 733444538951 |
Warranty and Support
This Cooler Master MasterAccessory ARGB GPU Support Bracket comes with a 2-year warranty. For technical support, warranty claims, or further assistance, please visit the official Cooler Master website or contact their customer service department.
You can find more information and support resources at the Cooler Master Store on Amazon.


