1. Introduction
This manual provides detailed instructions for the installation, programming, operation, and maintenance of your Start-X Remote Starter Kit. This kit is designed to add remote start functionality to compatible Ford Escape vehicles, allowing for pre-heating or cooling of the vehicle's interior using your existing factory key fob.
2. Vehicle Compatibility & Requirements
- Compatible Vehicles: Ford Escape models from 2008 to 2019.
- Ignition Type: Designed exclusively for vehicles equipped with key ignition. Not compatible with push-to-start ignition systems.
- Transmission: Gas and automatic transmission only.
- Keys Required: Two (2) factory keys are required for installation and programming. The kit will not function if only one key is available.
- Operational Status: Vehicle will not remote start if the check engine light is on or if the fuel level is low.
- Safety Feature: As a safety precaution, the vehicle will shut down when a door is opened after remote starting. The vehicle must be restarted manually before driving.
Note: Not compatible with hybrid models.
3. Package Contents
Your Start-X Remote Starter Kit includes all necessary components for a plug-and-play installation:
- Remote Start Module (Pre-flashed for your vehicle's firmware)
- Vehicle-Specific T-Harness
- Pry Tool
- Zip Ties
- Installation Guide & Welcome Card

Figure 1: Included components of the Start-X Remote Starter Kit.
4. Installation Instructions
The installation process is designed to be plug-and-play, requiring no wire cutting or splicing. Some vehicle disassembly may be required to access the necessary connection points.
4.1. Preparation
- Ensure the vehicle is turned off and the parking brake is engaged.
- Locate the OBD-II port, typically found under the dashboard on the driver's side.
- Using the provided pry tool, carefully remove any necessary trim panels around the steering column and under the dashboard to expose the vehicle's wiring harnesses.
4.2. T-Harness Connection
- Disconnect the existing wiring harness from the back of the OBD-II port.
- Connect one end of the Start-X T-harness inline with the vehicle's OBD-II port and the disconnected harness. Ensure a secure connection.
- Locate the ignition harness behind the steering column. Disconnect the factory ignition harness.
- Connect the remaining ends of the Start-X T-harness inline with the factory ignition harness. Listen for a click to confirm secure connections.
Video 1: General installation steps for Start-X Remote Start on select Ford vehicles. This video demonstrates the process of connecting the T-harness to the vehicle's OBD-II port and ignition wiring.
4.3. Module Placement
Once all harnesses are connected, use the provided zip ties to secure the remote start module in a safe location away from moving parts and excessive heat. Ensure the module is stable and wires are neatly routed.
5. Module Programming
The module must be programmed to your vehicle using two factory keys. Follow these steps carefully:
- Locate the programming button on the remote start module.
- Press and hold the programming button. While holding the button, connect the small black connector (if not already connected) to the module.
- Observe the LED lights on the module. Release the programming button when only the blue LED is momentarily lit.
- Insert the first factory key into the ignition and turn it to the 'ON' position (do not start the engine). Wait for the vehicle to chime three times.
- Turn the ignition 'OFF' and remove the first key.
- Insert the second factory key into the ignition and turn it to the 'ON' position. Wait for the vehicle to chime three times.
- Turn the ignition 'OFF' and remove the second key.
- Press and hold the programming button on the module for three seconds. The module will blink its LEDs and then turn the car 'ON' and 'OFF' again.
- The module is now programmed. The LED should flash green to indicate successful programming.
Video 2: Programming instructions for the Start-X Remote Starter Kit. This video demonstrates the sequence of key turns and button presses required to program the module.
6. Operating the Remote Starter
Once installed and programmed, you can use your factory key fob to remote start your vehicle:
- To remote start the vehicle, press the 'Lock' button on your factory remote three (3) times consecutively. The vehicle's lights will flash, and the engine will start.
- To turn off the vehicle after remote starting, press the 'Lock' button on your factory remote three (3) times consecutively again.
- The remote start distance is limited to the effective range of your factory key fob. For extended range, a Start-X RF kit (sold separately) can be used.
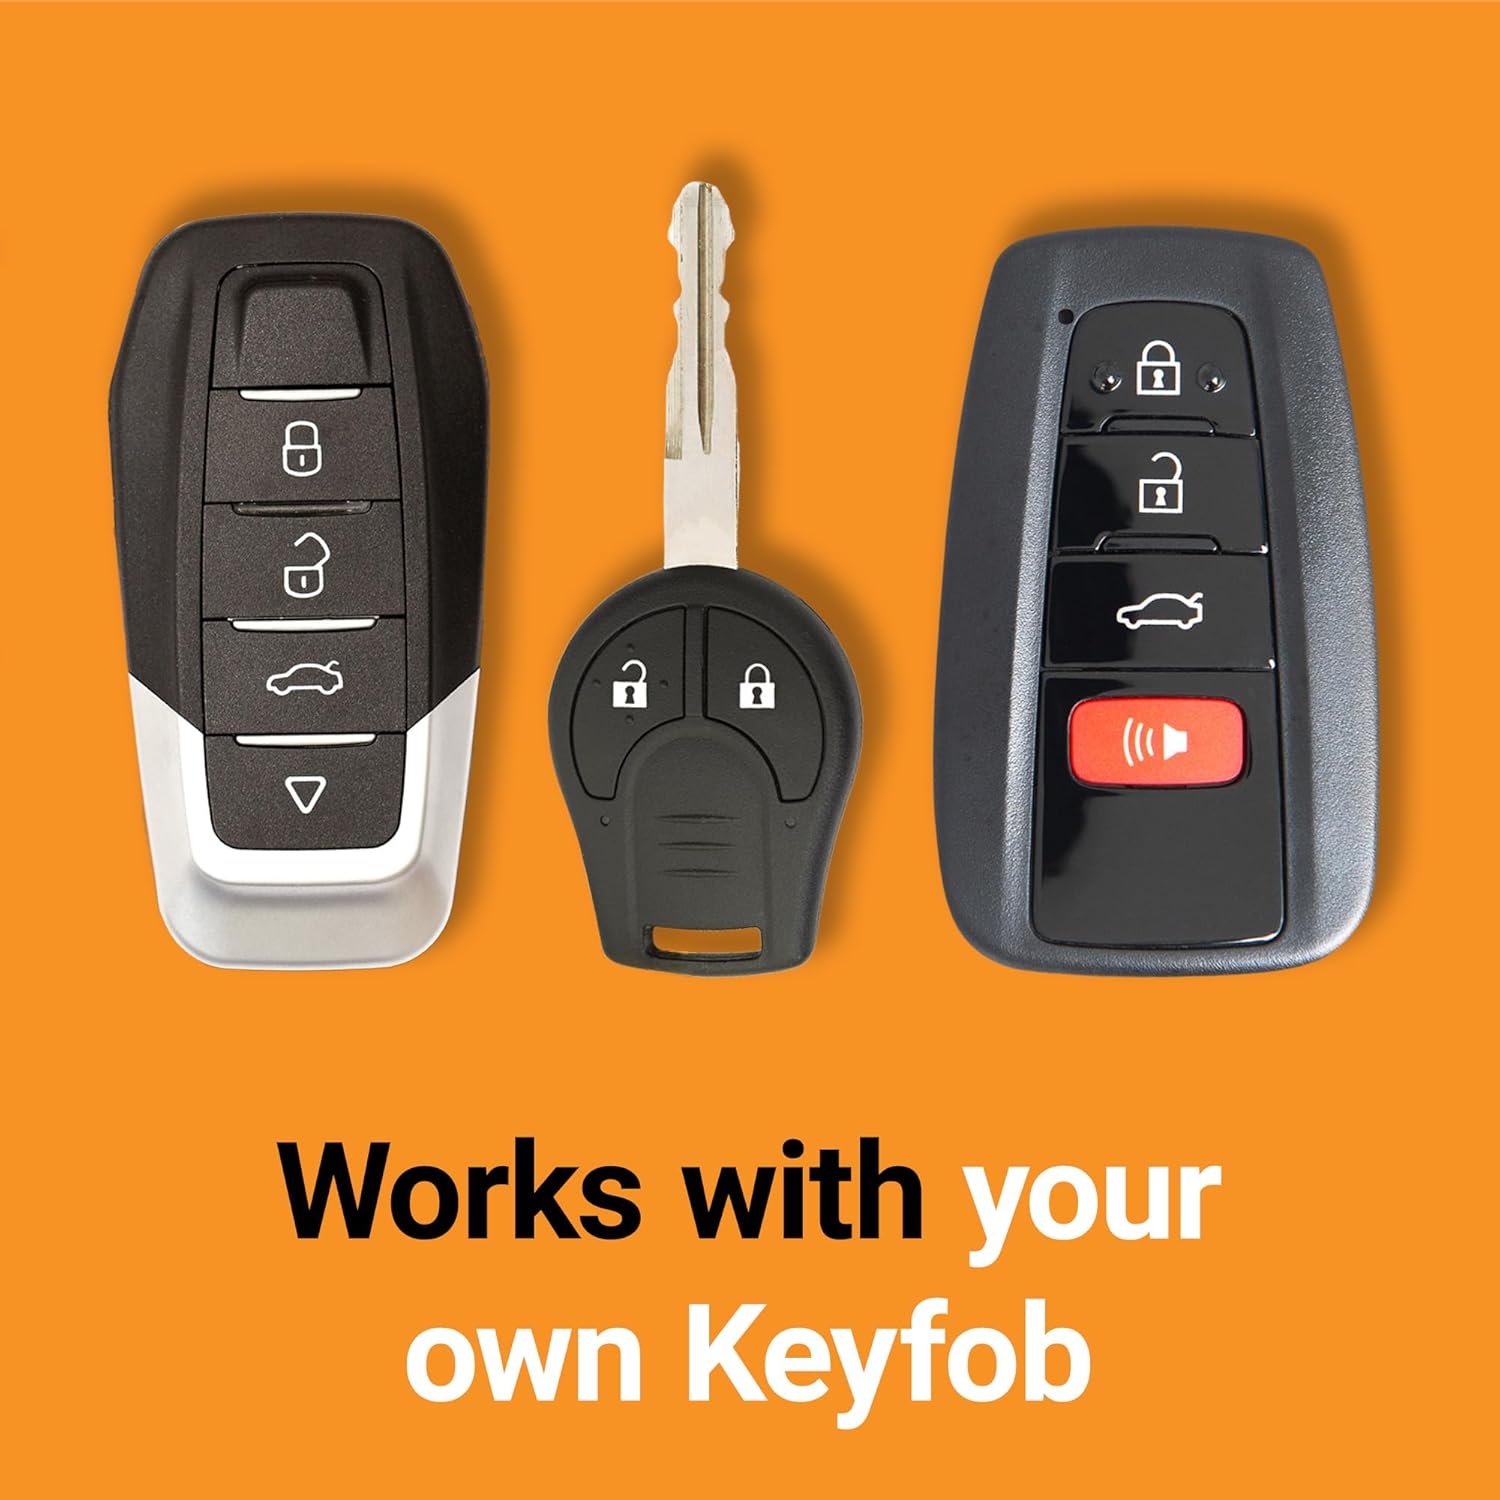
Figure 2: The remote start system integrates with your existing factory key fob.
7. Dashboard Settings (Remote Start Options)
Your vehicle's dashboard menu may offer options to customize remote start behavior, such as duration and climate control settings. These settings are typically accessed through the steering wheel controls while the vehicle is in park.
7.1. Accessing Settings
- With the vehicle in 'Park', use the arrow buttons on your steering wheel to navigate to the 'Settings' menu on your dashboard display.
- Select 'Vehicle' and then 'Remote Start'.
7.2. Duration Settings
Within the 'Remote Start' menu, you can adjust the duration for which the engine runs after a remote start command:
- Common options include 5 minutes, 10 minutes, or 15 minutes. Select your preferred duration.
7.3. Climate Control Settings
You can also configure how the climate control system behaves during a remote start:
- Automatic: In hot or cold weather, the system aims to cool or heat the vehicle to approximately 72°F (22°C).
- Last Settings: The system will use the climate control settings that were active when the vehicle was last turned off.
Figure 3: Example of remote start settings available in the vehicle's dashboard menu.
8. Troubleshooting
- Remote Start Not Activating: Ensure the vehicle meets all compatibility requirements (key ignition, gas/automatic transmission). Verify that the check engine light is off and the fuel level is adequate. Confirm the module was programmed correctly using two factory keys.
- No Response from Key Fob: Check the battery in your factory key fob. Ensure you are within the effective range of the key fob.
- Vehicle Shuts Down Immediately: This is a normal safety feature if a door is opened after remote starting. The vehicle must be restarted manually.
- Climate Control Issues: Review the 'Dashboard Settings' section to ensure your preferred climate control option (Automatic or Last Settings) is selected.
- Installation Difficulties: Refer to the installation videos provided or contact the technical support team for assistance.
9. Specifications
| Feature | Detail |
|---|---|
| Manufacturer | Start-X |
| Model Number | BA-F4-ESCAPE |
| Item Weight | 1.15 pounds |
| Package Dimensions | 8.74 x 4.65 x 3.58 inches |
| Connector Type | OBD2 |
| UPC | 810154290840 |
10. Warranty & Support
Start-X provides a technical and customer support team available for additional help with installation or any product-related inquiries. Please refer to the contact information provided on the welcome card included in your kit or visit the official Start-X website for support details.


