
MOTORHEAD AQ75060G + AQ90168G + AQ90170G
MOTORHEAD 20V ULTRA Cordless Hammer Drill Driver Kit User Manual
Model: AQ75060G + AQ90168G + AQ90170G
1. Introduction
Thank you for choosing the MOTORHEAD 20V ULTRA Cordless Hammer Drill Driver Kit. This manual provides essential information for the safe operation, maintenance, and troubleshooting of your new tool. Please read this manual thoroughly before first use and keep it for future reference. This kit includes the 20V ULTRA Cordless Hammer Drill Driver, an extra 2Ah Lithium-Ion battery, and a USB Power Source Adapter, offering versatility for various drilling and driving tasks.

Image 1.1: Complete MOTORHEAD 20V ULTRA Cordless Hammer Drill Driver Kit contents.
2. Safety Information
Always follow basic safety precautions when using electric tools to reduce the risk of fire, electric shock, and personal injury.
General Power Tool Safety Warnings
- Work Area Safety: Keep your work area clean and well lit. Do not operate power tools in explosive atmospheres, such as in the presence of flammable liquids, gases, or dust.
- Electrical Safety: Avoid body contact with earthed or grounded surfaces. Do not expose power tools to rain or wet conditions.
- Personal Safety: Always wear eye protection. Use hearing protection when operating for extended periods. Dress properly; avoid loose clothing or jewelry.
- Tool Use and Care: Do not force the power tool. Use the correct power tool for your application. Disconnect the plug from the power source and/or remove the battery pack before making any adjustments, changing accessories, or storing power tools.
- Battery Tool Use and Care: Recharge only with the charger specified by the manufacturer. Use power tools only with specifically designated battery packs.
3. Package Contents
Verify that all items listed below are included in your package. If any items are missing or damaged, please contact MOTORHEAD customer support.
- MOTORHEAD 20V ULTRA Cordless Hammer Drill Driver
- 20V 2Ah Lithium-Ion Battery (2 included)
- Rapid Charger
- USB Power Source Adapter
- Assorted Drill Bits and Driver Bits
- Carrying Bag
- User Manual
4. Components Overview
Familiarize yourself with the various parts of your drill driver and accessories.
4.1. Drill Driver Features

Image 4.1: Key features of the drill driver, including the ratcheting all-metal chuck, 16+1 torque settings, and 2-speed transmission.
The drill features a ratcheting all-metal chuck for secure bit retention, a variable speed trigger for precise control, 16+1 torque settings for various applications, and a 2-speed transmission for optimal performance in different materials.

Image 4.2: Additional features like the integrated level and LUMINMAX LED light for improved visibility.
An integrated level assists in accurate drilling, and the LUMINMAX LED light illuminates the work area for better visibility in low-light conditions.
4.2. Battery and Charger
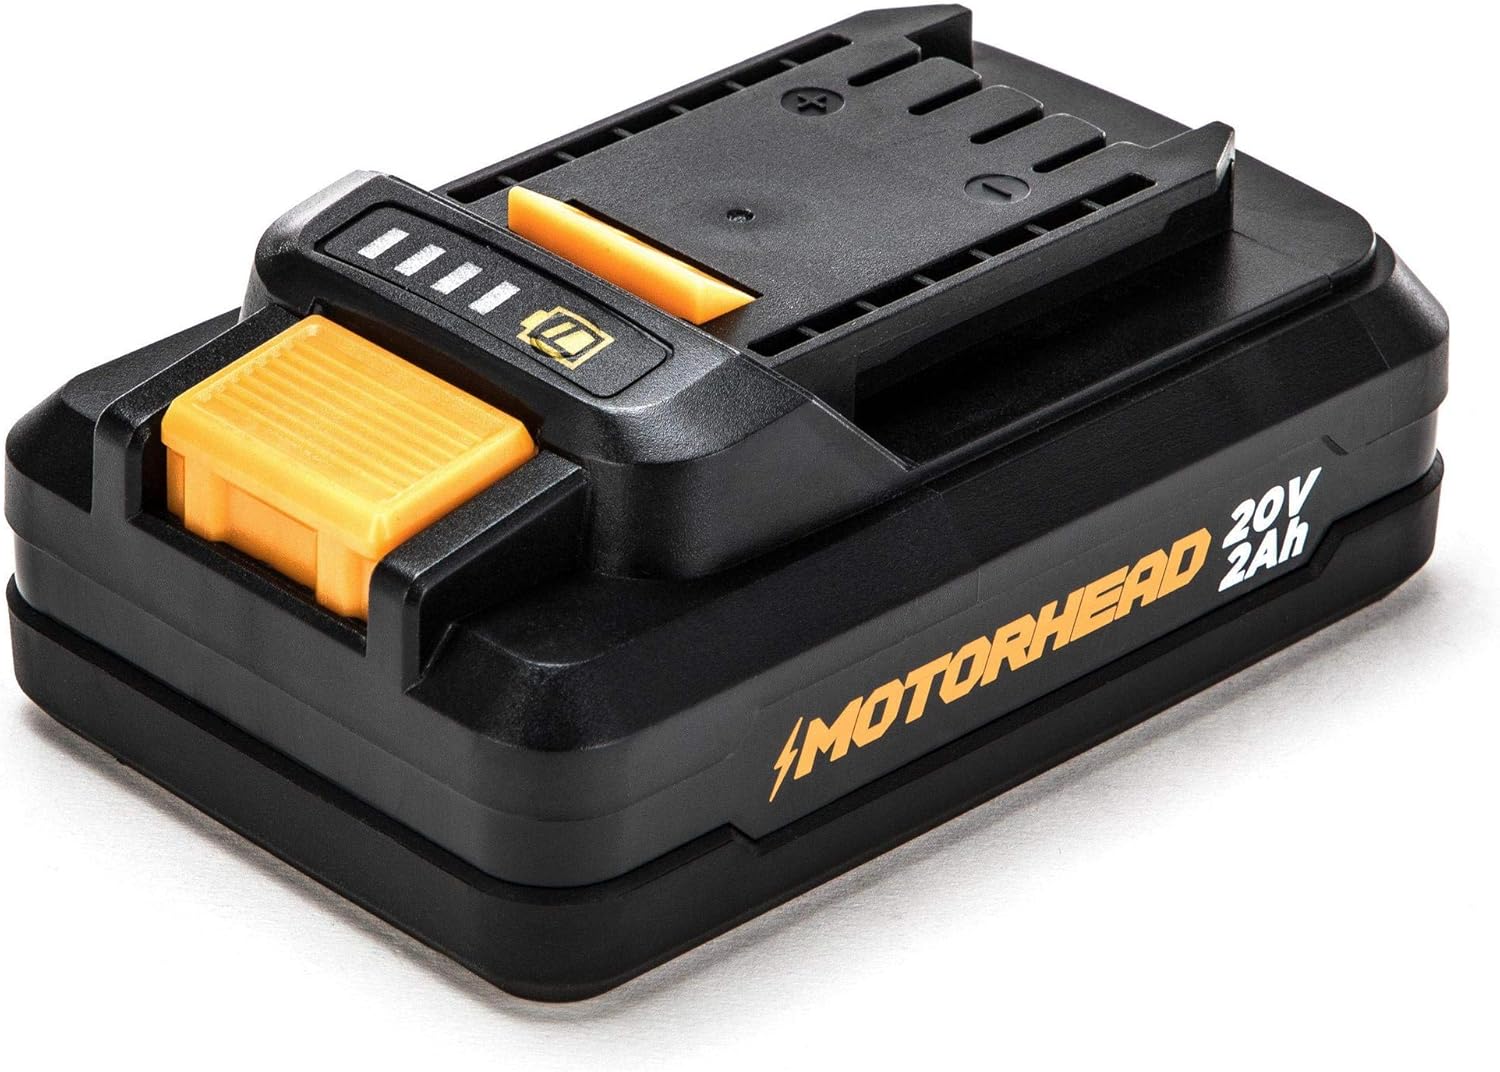
Image 4.3: The 20V 2Ah Lithium-Ion battery with charge indicator.
The kit includes two 20V 2Ah Lithium-Ion batteries, providing ample power and runtime. The battery features an integrated charge indicator to monitor power levels.
4.3. USB Power Source Adapter

Image 4.4: The USB Power Source Adapter, converting the battery into a portable charging station.
The USB Power Source Adapter allows you to use your 20V battery as a portable power bank to charge USB-compatible devices.
5. Setup
5.1. Charging the Battery
- Connect the rapid charger to a standard electrical outlet.
- Slide the battery pack onto the charger until it clicks into place.
- The charger indicator lights will show the charging status. A full charge typically takes approximately 60 minutes for a 2Ah battery.
- Once fully charged, remove the battery from the charger.

Image 5.1: The rapid charger and battery with its charge indicator lights.
5.2. Installing/Removing the Battery
- To Install: Align the battery pack with the base of the drill handle and slide it in until it locks securely into place.
- To Remove: Press the battery release button located on the side of the battery pack and slide the battery out of the drill.
5.3. Installing/Removing Drill Bits
- Ensure the drill is off and the battery is removed for safety.
- Twist the chuck counter-clockwise to open the jaws.
- Insert the desired drill bit or driver bit into the chuck, ensuring it is centered.
- Twist the chuck clockwise to tighten the jaws firmly around the bit. For best results, ensure the bit is fully seated and securely gripped.
- To remove, twist the chuck counter-clockwise to loosen and pull the bit out.
6. Operating
6.1. Powering On/Off and Variable Speed
The drill is activated by pressing the variable speed trigger. The speed increases as you press the trigger further. Release the trigger to turn the drill off. The integrated LED light will illuminate when the trigger is pressed.
6.2. Adjusting Torque Settings
The torque collar allows you to select from 16 torque settings for driving screws, plus a drill mode and a hammer drill mode. Rotate the collar to align the desired setting with the indicator mark. Lower settings are for smaller screws and softer materials, while higher settings are for larger screws and harder materials. The drill mode (drill icon) is for general drilling, and the hammer drill mode (hammer icon) is for drilling into masonry.
6.3. Changing Speeds (Gear Selector)
The 2-speed gear selector switch is located on top of the drill. Position 1 provides lower speed and higher torque, ideal for driving screws and drilling large holes. Position 2 provides higher speed and lower torque, suitable for drilling small holes and general drilling applications.
6.4. Drilling and Driving
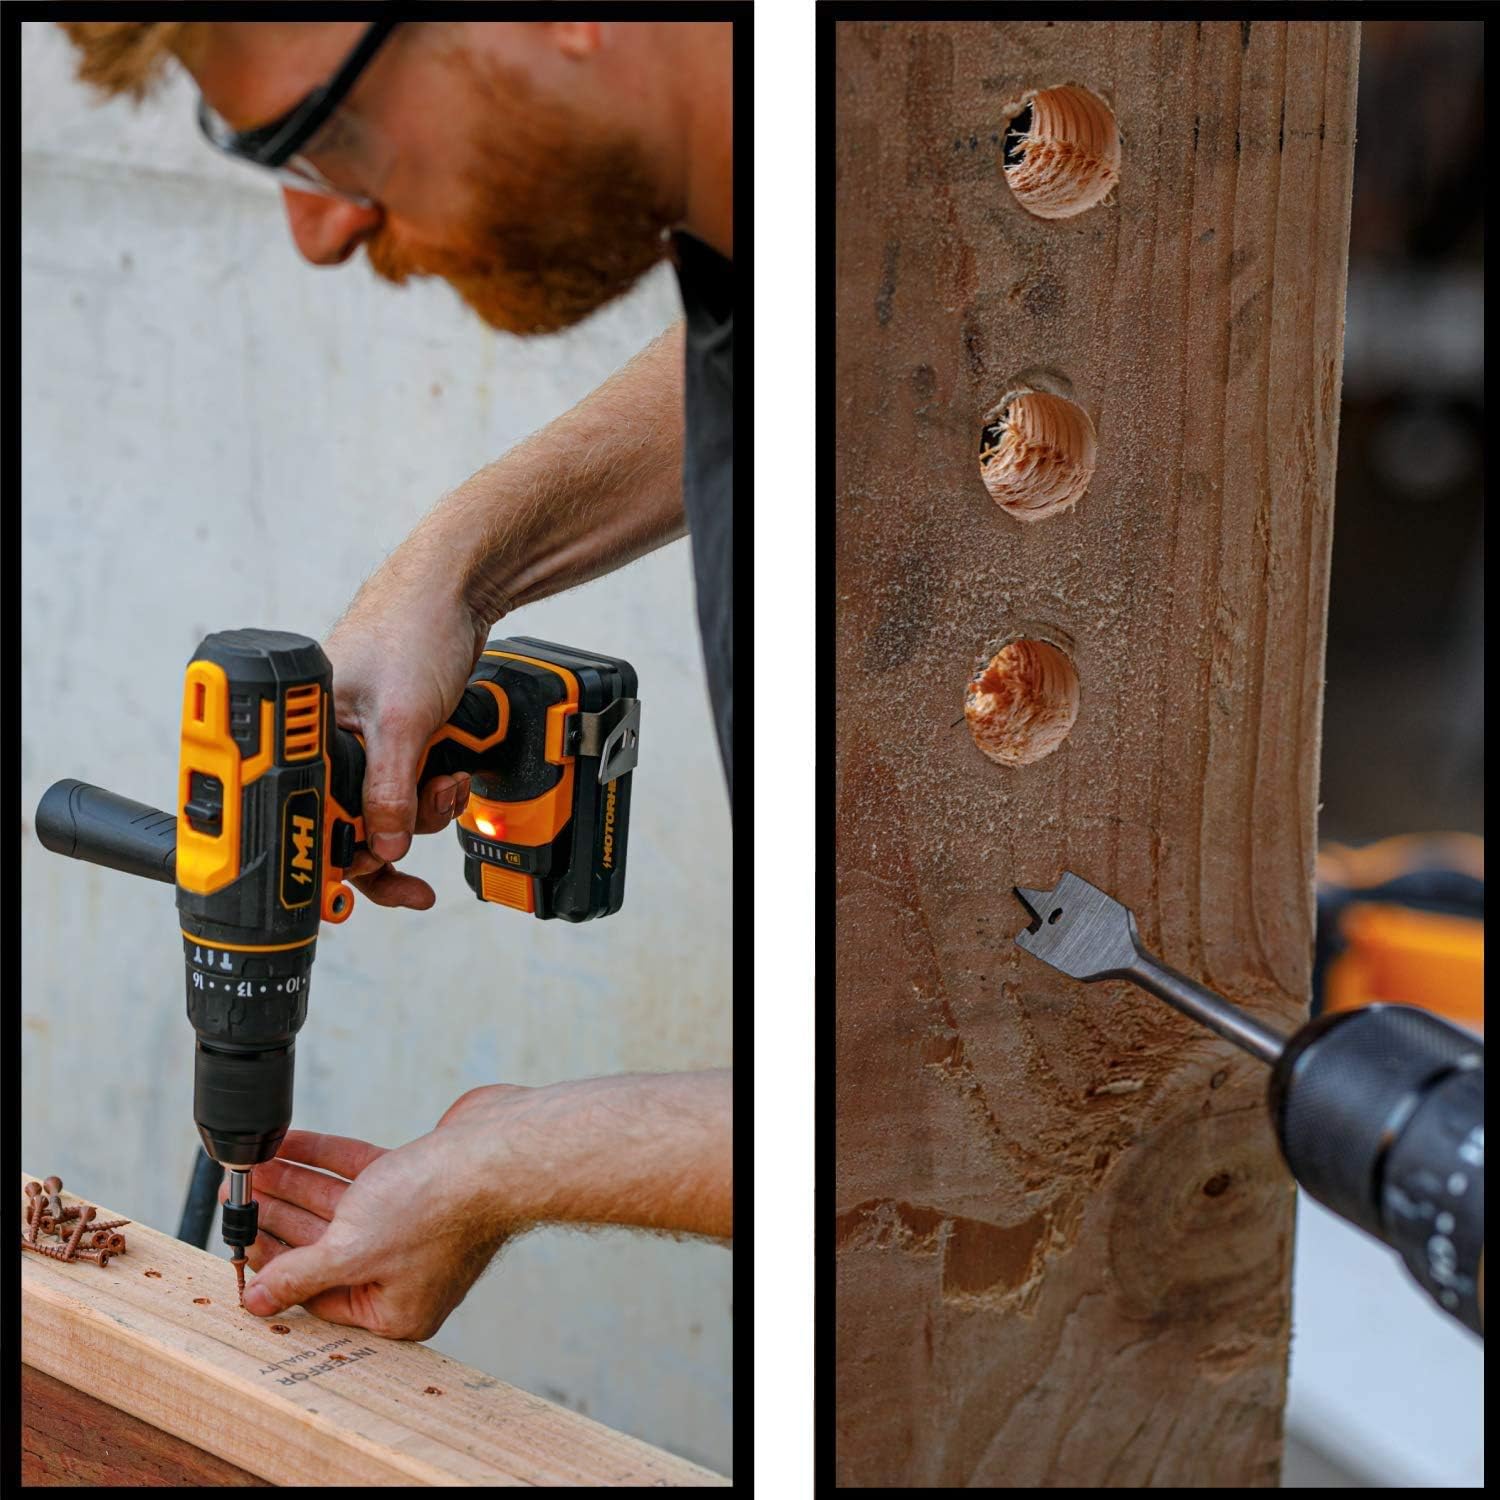
Image 6.1: Driving a screw into a wooden surface with the drill driver.
For driving screws, select an appropriate torque setting and speed. For drilling, select the drill mode and the appropriate speed for the material. Apply steady, even pressure. For drilling into wood, metal, or plastic, use the drill mode.
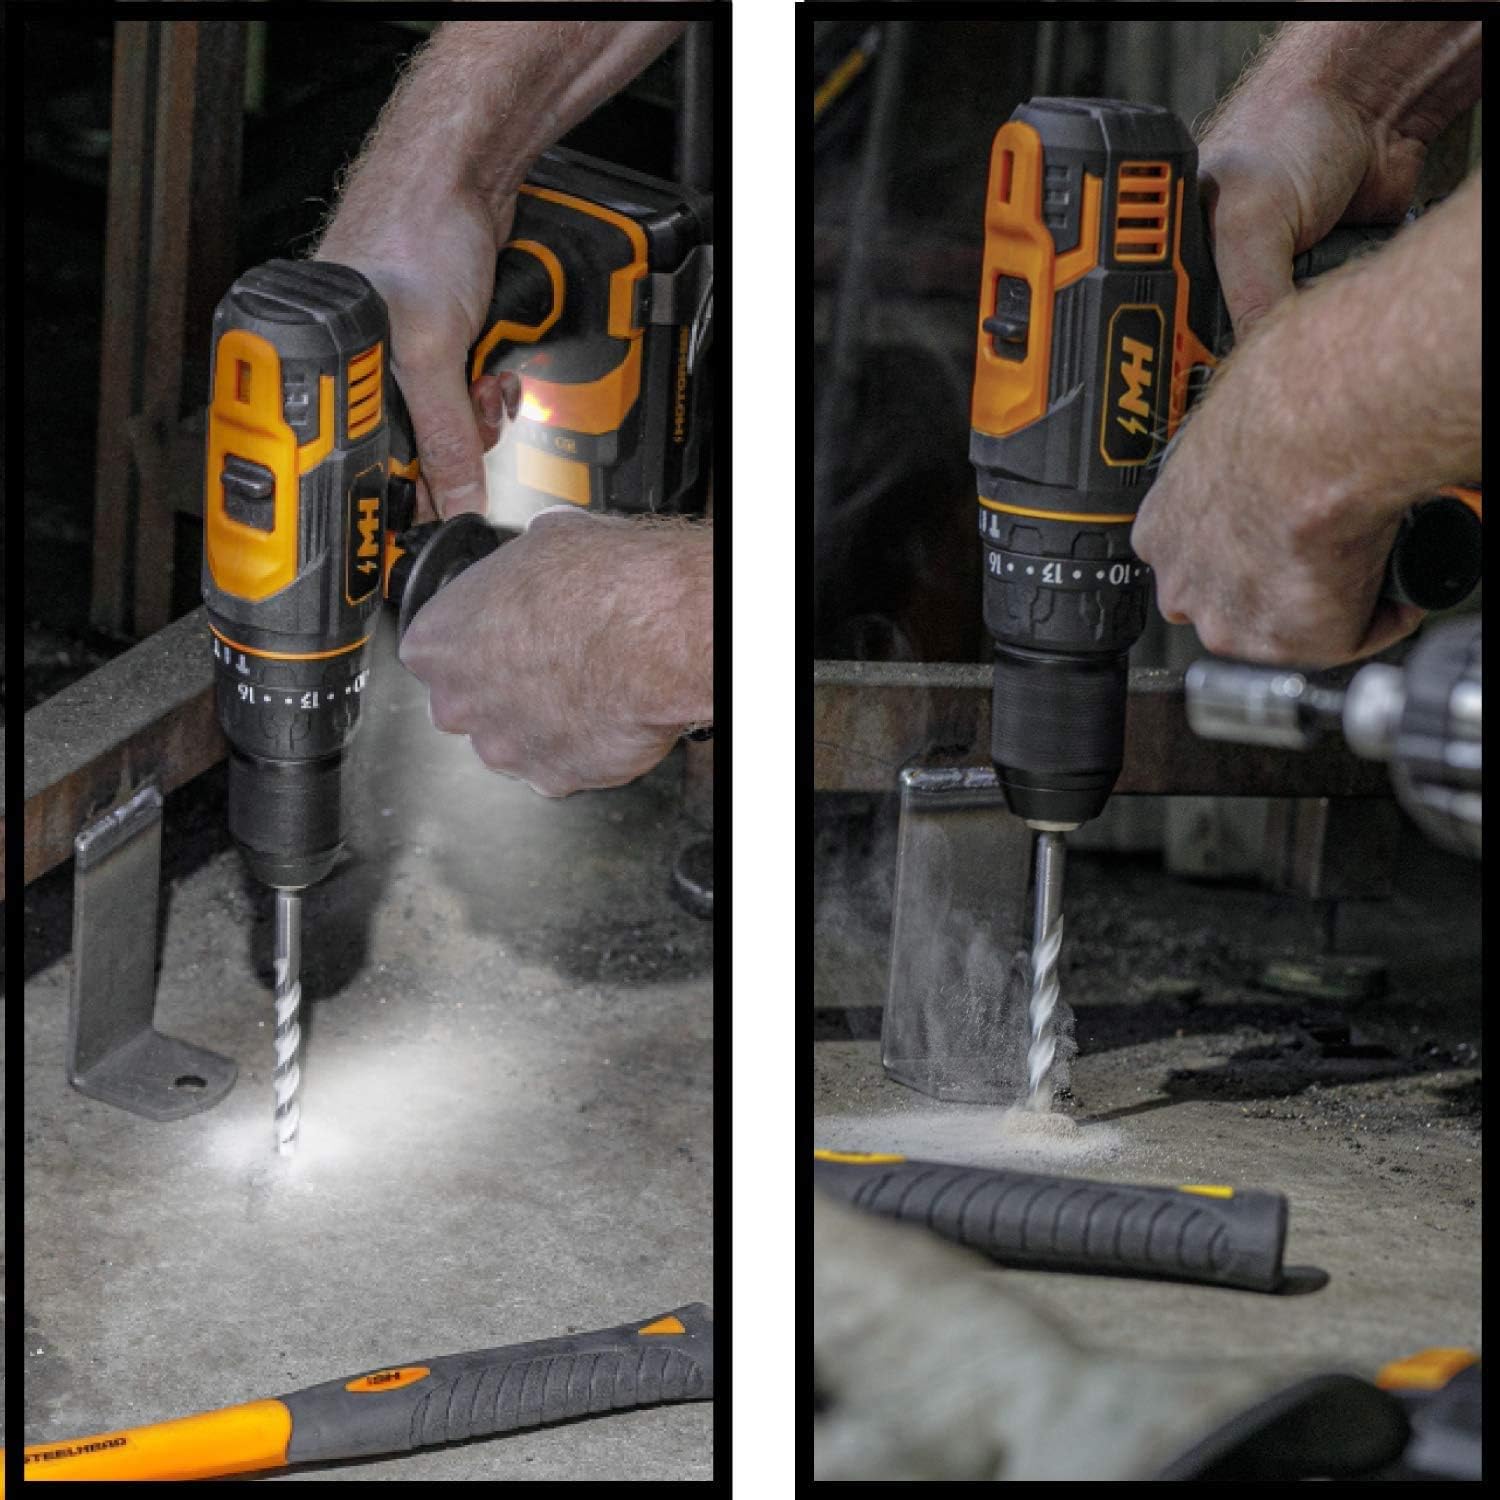
Image 6.2: Using the hammer drill function on concrete and drilling into metal.
For drilling into masonry, concrete, or brick, switch to the hammer drill mode. This mode provides a hammering action in addition to rotation, allowing for more effective penetration into hard materials. Always use appropriate masonry bits for hammer drilling.
6.5. Using the USB Power Source Adapter
- Slide a charged 20V battery onto the USB Power Source Adapter until it clicks into place.
- Connect your USB-compatible device (e.g., smartphone, tablet) to one of the USB output ports on the adapter using your device's charging cable.
- The adapter will begin charging your device.
- To stop charging, disconnect your device or remove the battery from the adapter.
7. Maintenance
Regular maintenance ensures the longevity and optimal performance of your tool.
- Cleaning: Keep the tool's ventilation openings clean and free of debris. Use a soft, damp cloth to clean the exterior. Do not use harsh chemicals or abrasive cleaners.
- Storage: Store the tool, batteries, and charger in a cool, dry place, away from direct sunlight and moisture. Ensure batteries are partially charged before long-term storage.
- Battery Care: Do not store batteries in a discharged state. Recharge them periodically if not in use for extended periods.
8. Troubleshooting
Refer to the table below for common issues and their solutions.
| Problem | Possible Cause | Solution |
|---|---|---|
| Drill does not start | Battery not charged or not properly installed. | Ensure battery is fully charged and securely inserted. |
| Loss of power during operation | Battery is low or tool is overloaded. | Recharge battery. Reduce pressure on the tool or use a lower speed/higher torque setting. |
| Bit slips in chuck | Chuck not tightened sufficiently or bit shank is dirty/damaged. | Retighten chuck firmly. Clean or replace the bit. |
| USB adapter not charging device | Battery is low or device cable is faulty. | Ensure battery is charged. Try a different USB cable or device. |
9. Specifications
| Feature | Specification |
|---|---|
| Brand | MOTORHEAD |
| Model Number | AQ75060G + AQ90168G + AQ90170G |
| Power Source | DC |
| Voltage | 20V |
| Amperage | 2 Amps |
| Battery Type | Lithium Ion |
| Item Weight | 6.71 pounds |
| Product Dimensions | 9 x 9.3 x 3 inches |
| Included Components | Hammer Drill Kit + 2Ah Battery + USB Adapter |
| UPC | 889526422158 |
10. Warranty and Support
MOTORHEAD products are manufactured to high-quality standards. For information regarding warranty coverage, technical support, or replacement parts, please refer to the warranty card included with your product or visit the official MOTORHEAD website. Keep your purchase receipt as proof of purchase for any warranty claims.
For further assistance, you may contact MOTORHEAD customer service through their official channels. Always provide your product model number and purchase date when seeking support.
Ask a question about this manual
Ask about setup, troubleshooting, compatibility, parts, safety, or missing instructions. Manuals+ will review the question and use this page’s manual context to help answer it.