
1. Important Safety Information
Always read and understand all safety warnings and instructions before operating this power tool. Failure to follow the warnings and instructions may result in electric shock, fire, and/or serious injury.
- Work Area Safety: Keep your work area clean and well-lit. Cluttered or dark areas invite accidents. Do not operate power tools in explosive atmospheres, such as in the presence of flammable liquids, gases, or dust.
- Electrical Safety: Avoid body contact with earthed or grounded surfaces. Do not expose power tools to rain or wet conditions. Water entering a power tool will increase the risk of electric shock.
- Personal Safety: Always wear eye protection. Use hearing protection when operating the tool for extended periods. Dress properly; avoid loose clothing or jewelry. Secure long hair.
- Tool Use and Care: Do not force the power tool. Use the correct power tool for your application. Disconnect the battery pack from the power tool before making any adjustments, changing accessories, or storing power tools.
- Battery Tool Use and Care: Recharge only with the charger specified by the manufacturer. Use power tools only with specifically designated battery packs.
2. Product Overview
The RYOBI 18-Volt Cordless 5-inch Random Orbit Sander (Model RROS18-0) is designed for efficient sanding of various surfaces. This kit includes the sander, an 18V Lithium-Ion battery, and a charger.
Components Included:
- RYOBI 5-inch Random Orbit Sander
- 18-Volt Lithium-Ion Battery (1.5Ah)
- Battery Charger
- Dust Collection Bag
- Sanding Pad (120 grit)

Figure 2.1: The complete RYOBI 18-Volt Cordless 5-inch Random Orbit Sander kit, including the sander, 1.5Ah Lithium-Ion battery, and battery charger.
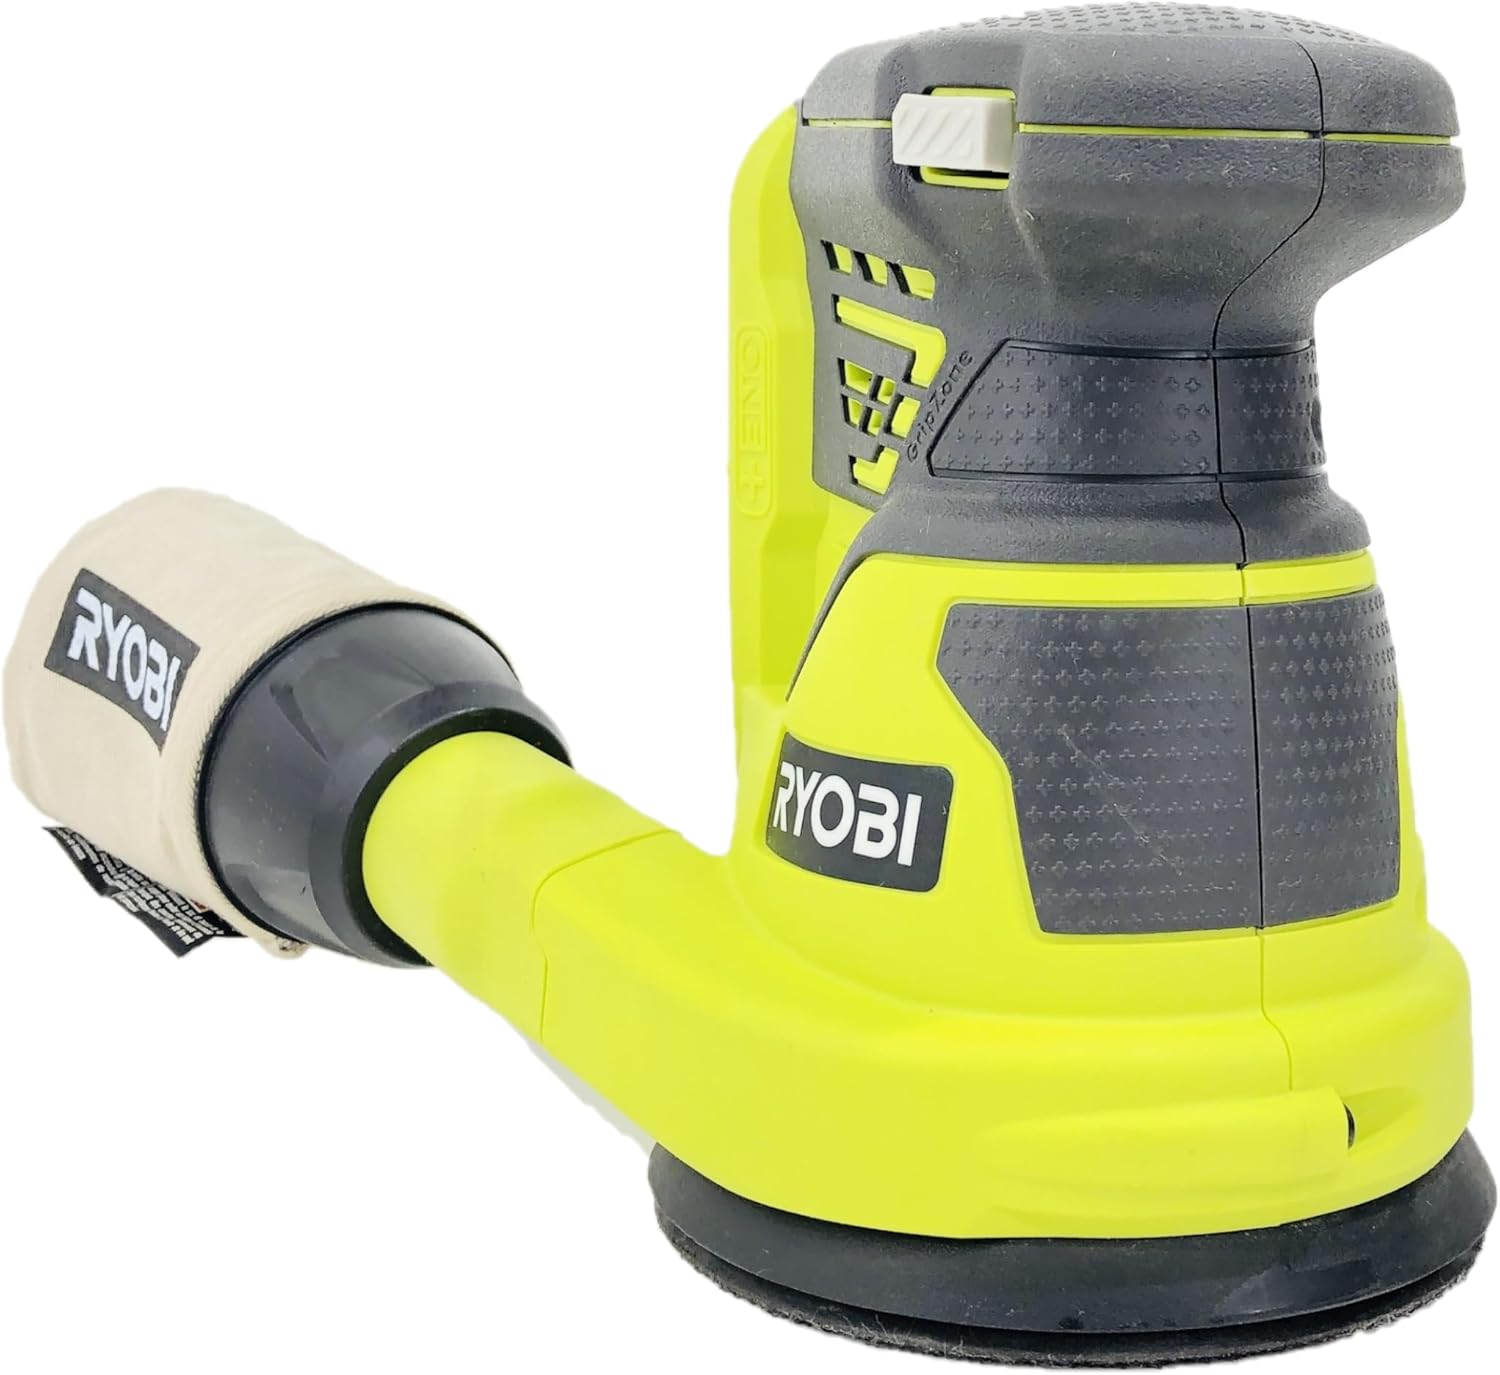
Figure 2.2: Side view of the RYOBI 18-Volt Cordless 5-inch Random Orbit Sander, highlighting its ergonomic design and dust collection port.
3. Setup
3.1 Charging the Battery
- Connect the battery charger to a standard 120V AC outlet. The charger indicator light will illuminate.
- Slide the 18-Volt Lithium-Ion battery pack onto the charger until it clicks into place.
- Allow the battery to charge fully. The indicator light on the charger will change to indicate a full charge (refer to charger manual for specific light patterns).
- Once charged, remove the battery from the charger.
3.2 Attaching the Sanding Pad
- Ensure the sander is turned off and the battery is removed.
- Align the holes on the 5-inch hook-and-loop sanding pad with the holes on the sander's base plate.
- Press the sanding pad firmly onto the base plate to secure it. The hook-and-loop system will hold it in place.
3.3 Attaching the Dust Collection Bag
- Locate the dust collection port at the rear of the sander.
- Slide the dust collection bag onto the port, ensuring a snug fit to prevent dust leakage.

Figure 3.1: The RYOBI sander with the dust collection bag properly attached to the rear port.
4. Operating Instructions
4.1 Installing the Battery
- Ensure the sander's power switch is in the "OFF" position.
- Align the charged battery pack with the battery port on the sander.
- Slide the battery pack into the sander until it clicks securely into place.

Figure 4.1: The battery slot on the RYOBI sander, ready for battery insertion.
4.2 Turning On/Off
- To turn on the sander, slide the power switch to the "ON" position.
- To turn off the sander, slide the power switch to the "OFF" position.
4.3 Sanding Techniques
- Always hold the sander firmly with both hands.
- Place the sander flat on the workpiece before turning it on.
- Apply light, even pressure. Do not press down excessively, as this can reduce sanding efficiency and damage the workpiece or tool.
- Move the sander in smooth, overlapping passes across the surface. Avoid holding it in one spot for too long.
- For best results, sand with the grain of the wood when possible.
- Turn off the sander and lift it from the workpiece once sanding is complete.
5. Maintenance
5.1 Cleaning the Sander
- Before cleaning, ensure the battery is removed from the sander.
- Use a soft brush or compressed air to remove dust and debris from the ventilation openings and around the sanding pad.
- Do not use solvents or harsh chemicals, as these can damage plastic parts.
5.2 Emptying the Dust Collection Bag
- Regularly empty the dust collection bag to maintain optimal dust extraction and sanding performance.
- Detach the bag from the sander and shake out the accumulated dust into a waste receptacle.
- Reattach the bag securely before further use.
5.3 Battery Care and Storage
- Store batteries in a cool, dry place away from direct sunlight and extreme temperatures.
- Do not store batteries in a discharged state for extended periods. Recharge them periodically if not in use.
- Avoid dropping or subjecting batteries to impact.
6. Troubleshooting
| Problem | Possible Cause | Solution |
|---|---|---|
| Sander does not turn on. | Battery not charged or improperly installed. | Ensure battery is fully charged and securely inserted. |
| Poor sanding performance. | Worn sanding pad; dust bag full; excessive pressure. | Replace sanding pad; empty dust bag; apply lighter pressure. |
| Battery drains quickly. | Battery capacity; heavy usage. | Ensure battery is fully charged before use. Consider using higher capacity batteries for extended operation. |
| Excessive dust. | Dust bag not attached correctly or full. | Check dust bag attachment; empty dust bag. |
7. Specifications
| Feature | Detail |
|---|---|
| Brand | RYOBI |
| Model Number | RROS18-0 |
| Voltage | 18 Volts |
| Power Source | Battery Powered |
| Sanding Pad Diameter | 5 inches |
| Maximum Rotational Speed | 10000 RPM |
| Item Weight | 5.51 Pounds (with battery) |
| Product Dimensions | 10.28 x 8.39 x 6.73 inches |
| Battery Type | Lithium-Ion |
| UPC | 682500979453 |
8. Warranty and Support
RYOBI power tools are backed by a manufacturer's warranty. For specific warranty details, registration, or technical support, please refer to the official RYOBI website or contact their customer service directly. Keep your purchase receipt as proof of purchase.
For service or parts, visit www.ryobitools.com or call customer support.


