
Introduction
Thank you for choosing the AudioRange OTE-1000 Wireless TV Headphones. This device is designed to provide clear, high-quality audio from your television directly to your ears, allowing for private listening without disturbing others. It is particularly beneficial for individuals with hearing difficulties, offering an enhanced television viewing experience with no audio delays.
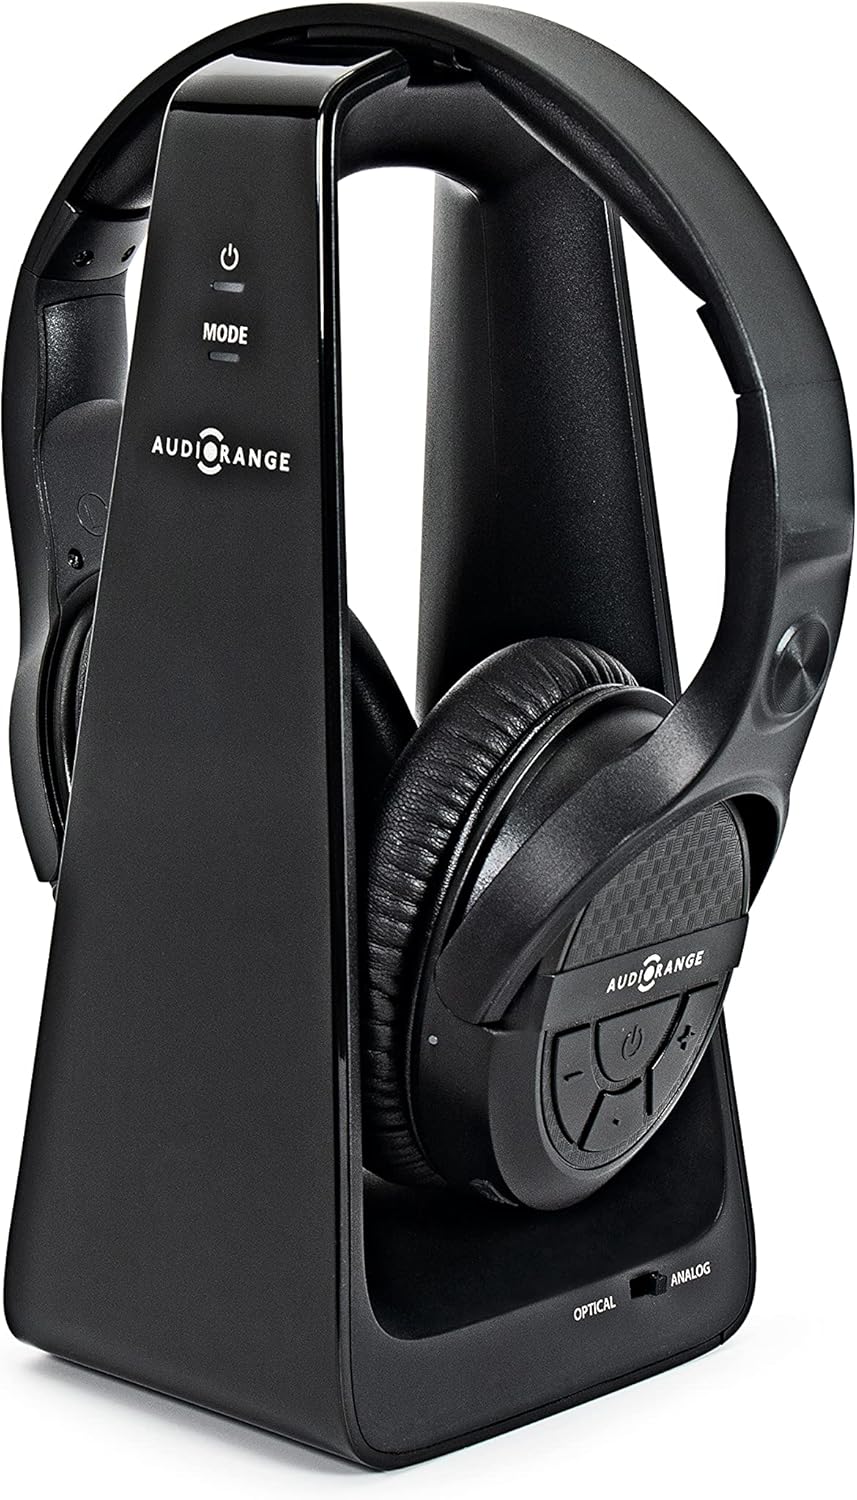
Image: The AudioRange OTE-1000 wireless over-ear headphones resting on their sleek black charging stand.
Package Contents
Please verify that all items are present in your package:
- AudioRange OTE-1000 Wireless Over-Ear Headphones
- Charging Stand / RF Transmitter
- Digital Optical Audio Cable
- RCA (Red/White) to 3.5mm Audio Cable
- USB Power Cable
- Power Adapter

Image: The AudioRange OTE-1000 wireless headphones shown alongside its charging stand, illustrating the two main components.
Product Overview
The AudioRange OTE-1000 headphones are designed for comfort and ease of use. Key features include:
- Lightweight Design: Approximately 25% lighter than comparable headphones for extended comfort.
- Adjustable Foam Band: Ensures a secure and comfortable fit for various head sizes.
- Soft Durable Padding: Cushioned earcups provide comfort during long listening sessions.
- Big Button Controls: Intuitive and easy-to-locate buttons on the earcup for volume and power.
- Easy Recharge: Simply place the headphones on the charging stand.
- RF Wireless Technology: Provides a strong, clear signal up to 100 feet, even through walls and ceilings, with no audio delays.

Image: A detailed view of the AudioRange OTE-1000 headphones, pointing out features such as the adjustable foam band, soft durable padding, and large button controls on the earcup.
Setup Guide
Before connecting, ensure your TV has one of the compatible audio output ports. The OTE-1000 supports Digital Optical Audio Out, RCA L/R Audio Out, and 3.5mm Headphone Jack connections.
TV Compatibility Check
It is crucial to identify the correct audio output on your television. The charging stand acts as the RF transmitter and connects to your TV's audio output.
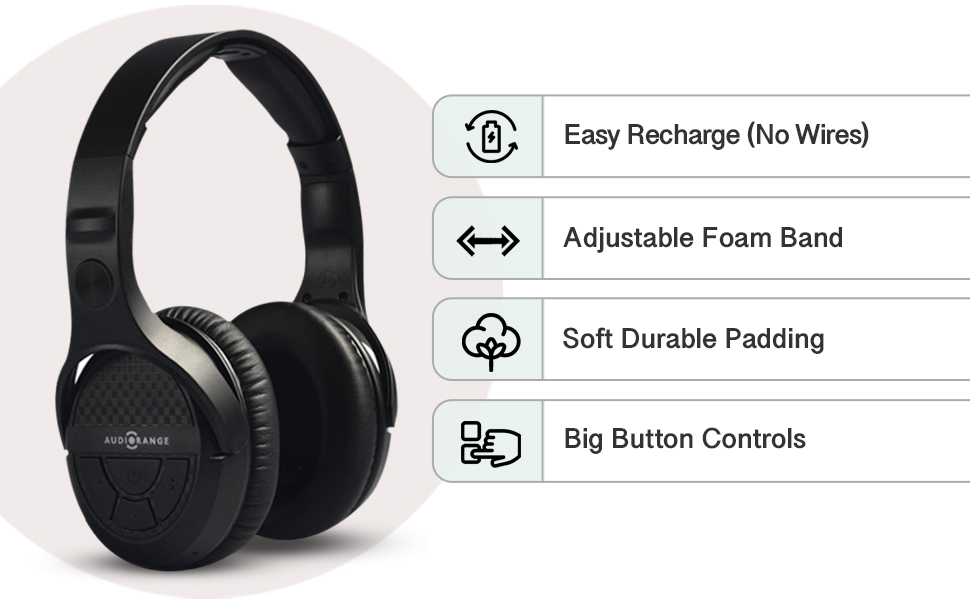
Image: A compatibility chart illustrating various TV audio output connections (Digital Audio Out, RCA L/R Audio Out, 3.5mm Headphone) and their compatibility with the AudioRange OTE-1000 headphones, along with notes on required TV settings.
Important Note: For Digital Audio Out (Optical), your TV's audio format may need to be changed to "PCM" or "Stereo" in the TV's audio settings. Failure to do so may result in no sound or static noise. For RCA L/R Audio Out, ensure the ports are labeled "Audio Out" or "Audio Output" and not "Input".
Connection Steps
- Power the Charging Stand: Connect the USB power cable to the charging stand and plug the power adapter into a wall outlet. The power indicator light on the stand will illuminate.
- Choose Your Audio Connection:
- Digital Optical Audio (Recommended): Connect one end of the optical cable to the "OPTICAL IN" port on the back of the charging stand and the other end to your TV's "Digital Audio Out (Optical)" port.
- RCA L/R Audio: Connect the RCA (red and white) plugs of the RCA to 3.5mm cable to your TV's "Audio Out" (red and white) ports. Then, connect the 3.5mm end to the "ANALOG IN" port on the back of the charging stand.
- 3.5mm Headphone Jack: Connect the 3.5mm end of the RCA to 3.5mm cable directly to your TV's 3.5mm headphone jack. Then, connect the RCA (red and white) plugs to the "ANALOG IN" ports on the back of the charging stand. (Note: Using the TV's headphone jack may mute the TV's internal speakers.)
- Place Headphones on Stand: Gently place the headphones onto the charging stand. Ensure the charging contacts align. The headphones will begin charging automatically.
- Turn On Headphones: Press and hold the Power button on the headphones for a few seconds until the indicator light turns on.
- Establish Connection: The headphones will automatically attempt to connect to the charging stand. Once connected, the indicator light on the headphones will turn solid blue.
- Adjust TV Audio Settings (if necessary): If you are using the Digital Optical connection and hear no sound, navigate to your TV's audio settings menu and change the Digital Audio Output format to "PCM" or "Stereo".
Operating Instructions
Power On/Off
- To Power On: Press and hold the Power button on the right earcup for approximately 3 seconds until the blue indicator light illuminates.
- To Power Off: Press and hold the Power button on the right earcup for approximately 3 seconds until the blue indicator light turns off.
Volume Control
The volume controls are located on the right earcup.
- Volume Up: Press the '+' button.
- Volume Down: Press the '-' button.
- Mute/Unmute: Press the 'Mute' button (often located between volume up/down).
Charging the Headphones
The headphones feature a fast-charging capability and a long battery life of up to 10 hours on a full charge. Charging time is approximately 2 hours.
- To charge, simply place the headphones onto the charging stand, ensuring the charging contacts on the headphones align with those on the stand.
- The indicator light on the headphones will show charging status (e.g., red for charging, blue for fully charged, refer to product specific LED indicators if available).
- You can also charge the headset using the included power adapter directly via a micro USB port on the headphones if preferred.
Maintenance
- Cleaning: Use a soft, dry cloth to clean the headphones and charging stand. Do not use abrasive cleaners or solvents.
- Storage: When not in use, store the headphones on the charging stand or in a cool, dry place away from direct sunlight and extreme temperatures.
- Battery Care: To prolong battery life, avoid fully discharging the headphones regularly. Charge them when the low battery indicator appears.
- Water Resistance: These headphones are not water resistant. Avoid exposure to liquids.
Troubleshooting
| Problem | Possible Cause | Solution |
|---|---|---|
| No sound from headphones. |
|
|
| Static or distorted sound. |
|
|
| Headphones not charging. |
|
|
| Audio delay (lip-sync issues). |
|
|
Specifications
| Feature | Detail |
|---|---|
| Model Name | OTE-1000 |
| Connectivity Technology | Wireless (RF) |
| Wireless Range | Up to 100 feet (30 meters) |
| Frequency Range | 20 Hz - 20,000 Hz |
| Battery Life | Up to 10 Hours |
| Charging Time | Approximately 2 Hours |
| Control Method | Touch (Buttons on Earcup) |
| Ear Placement | Over Ear |
| Item Weight | 1.7 pounds (Headphones and Stand combined) |
| Manufacturer | AudioRange |
Important Safety Information
WARNING: If you have a pacemaker or other implanted medical device, consult your doctor or physician before purchasing or using this product.
Do not expose the product to extreme temperatures, humidity, or direct sunlight. Do not disassemble or attempt to repair the product yourself.
Warranty and Support
For warranty information and customer support, please refer to the documentation included with your purchase or visit the official AudioRange website. You can also contact AudioRange customer support directly through their Amazon store page by clicking "Ask a question" on the product listing.
Online Support: Visit the AudioRange Store on Amazon
