Introduction
This manual provides detailed instructions for the setup, operation, maintenance, and troubleshooting of your ViewSonic VB-CAM-002 1080p Full HD Webcam. Please read this manual thoroughly before using the product to ensure proper functionality and to maximize your user experience.
Package Contents
Verify that all items are present in your product package:
- ViewSonic VB-CAM-002 Webcam
- USB Cable
- Quick Start Guide
- Privacy Cover

Figure 1: Package Contents - VB-CAM-002 Webcam, USB Cable, and Quick Start Guide.
Product Overview
The ViewSonic VB-CAM-002 is a Full HD 1080p webcam designed for high-quality video conferencing. It features a built-in stereo microphone for clear audio and a privacy cover for enhanced security.
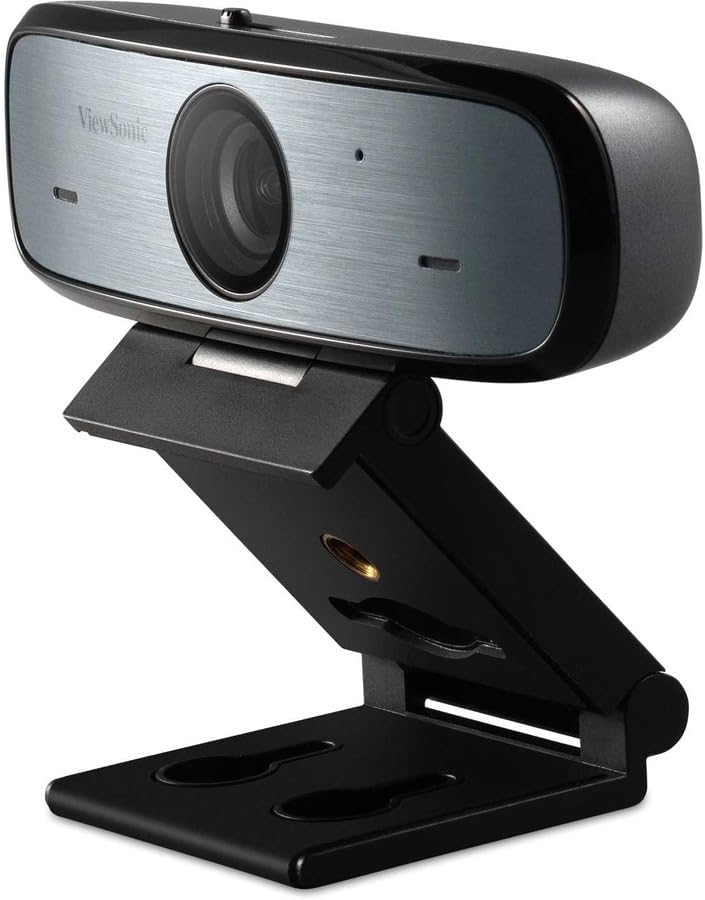
Figure 2: ViewSonic VB-CAM-002 Webcam.
Key Features:
- Full HD 1080p Resolution: Delivers clear video quality for calls and recordings.
- Built-in Stereo Microphone: Captures clear audio without the need for an external microphone.
- Privacy Cover: Physically blocks the camera lens when not in use, ensuring privacy.
- Plug and Play: Easy setup with USB connectivity.
- Cross-platform Support: Compatible with Windows, macOS, and Chrome OS.
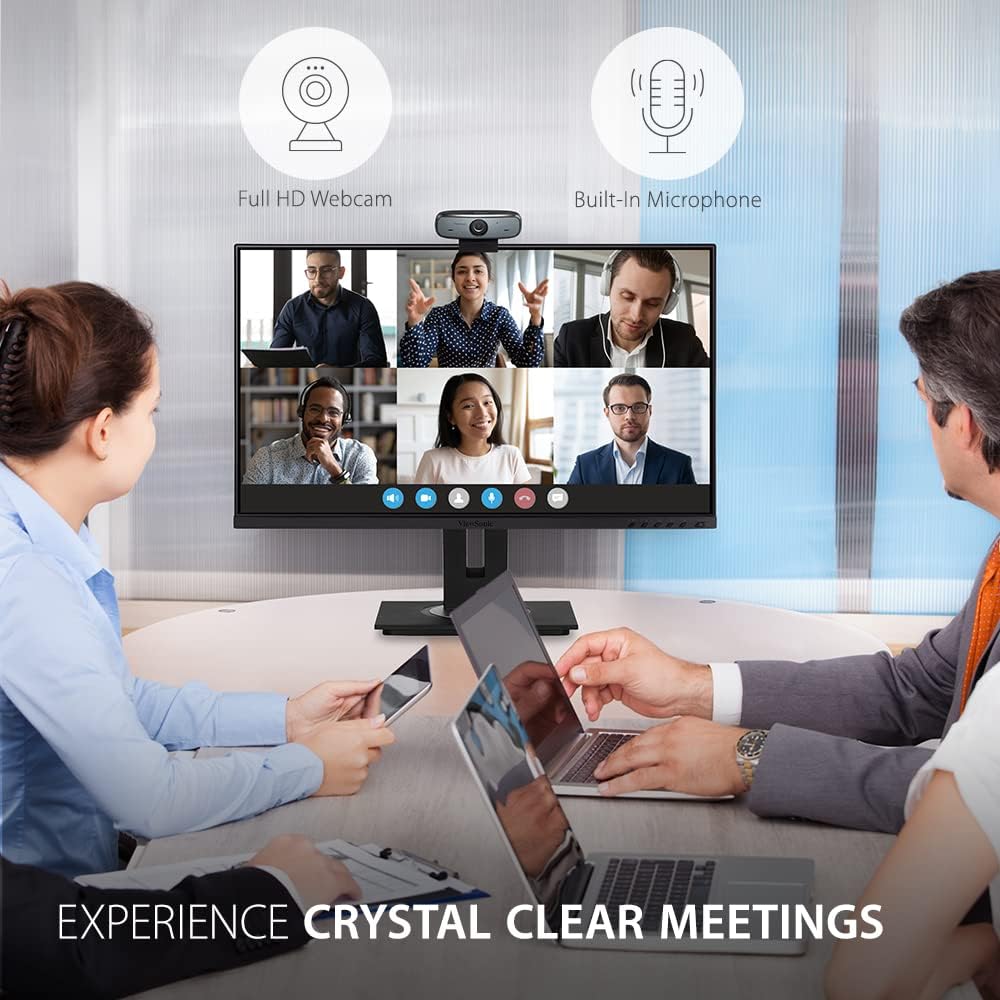
Figure 3: Webcam in use during a video conference, highlighting Full HD and built-in microphone features.
Setup
Follow these steps to set up your ViewSonic VB-CAM-002 webcam:
- Mounting the Webcam:
The VB-CAM-002 features a 3-in-1 mounting bracket for flexible installation. You can place it on top of your monitor, laptop screen, or a flat surface. The bracket also supports wall mounting.

Figure 4: Easy Installation options including adjustable angle, flexible bracket, wall mount, and cable management.
- On a Monitor/Laptop: Open the bracket and rest the webcam on top of your screen. Adjust the bracket to secure it firmly.
- On a Flat Surface: Fold the bracket to form a stable stand and place the webcam on your desk.
- Wall Mount: Use the integrated wall mount holes on the bracket to secure the webcam to a wall (mounting hardware not included).
- Connecting to Your Computer:
Connect the provided USB cable to the webcam's USB Micro B port and then to an available USB port on your computer. The webcam is plug-and-play, meaning it should be automatically recognized by your operating system (Windows, macOS, Chrome OS) without requiring additional driver installation.

Figure 5: Webcam connected to a laptop, demonstrating plug-and-play functionality for 1080p resolution.
- Integrated Cable Management:
Utilize the integrated cable bracket to manage the USB cable neatly, preventing clutter.
Operating Instructions
- Using the Webcam:
Once connected, the webcam will be available as a video and audio input device in your video conferencing applications (e.g., Zoom, Microsoft Teams, Google Meet, Skype) or recording software. Select "ViewSonic VB-CAM-002" as your preferred camera and microphone in the application settings.
- Adjusting Camera Angle:
The webcam's bracket allows for an adjustable camera angle. Tilt the webcam up or down to achieve the desired viewing angle.
- Using the Privacy Cover:
To ensure privacy when the webcam is not in use, slide the integrated privacy cover over the lens. This physically blocks the camera, preventing unintended video capture.

Figure 6: Activating the privacy cover for enhanced security.
Maintenance
- Cleaning the Lens: Use a soft, lint-free cloth to gently wipe the camera lens. Avoid using harsh chemicals or abrasive materials that could scratch the lens.
- General Cleaning: Wipe the body of the webcam with a dry or slightly damp cloth.
- Storage: When not in use for extended periods, store the webcam in a clean, dry place.
Troubleshooting
| Problem | Possible Cause | Solution |
|---|---|---|
| Webcam not detected by computer. | Loose USB connection, faulty USB port, operating system issue. |
|
| No video output. | Privacy cover engaged, incorrect camera selection in application, application permissions. |
|
| No audio input (microphone not working). | Incorrect microphone selection in application, application permissions, microphone muted. |
|
Specifications
| Feature | Detail |
|---|---|
| Model Number | VB-CAM-002 |
| Video Capture Resolution | 1080p Full HD |
| Microphone | Built-in Stereo Microphone |
| Connectivity Technology | USB |
| Operating System Support | Windows, macOS, Chrome OS |
| Item Dimensions (LxWxH) | 5.5 x 4.6 x 2.3 inches (approx. 14 x 11.7 x 5.8 cm) |
| Item Weight | 8 ounces (approx. 227 grams) |
| Privacy Feature | Integrated Privacy Cover |

Figure 7: Physical dimensions of the VB-CAM-002 webcam.
Warranty and Support
ViewSonic products are manufactured to the highest standards and are designed to deliver reliable performance. For information regarding warranty coverage, technical support, or service, please refer to the Quick Start Guide included in your package or visit the official ViewSonic website. You may also find additional support resources and FAQs online.
For further assistance, please contact ViewSonic customer support.


