
1. Introduction
Thank you for choosing the ErGear PC Monitor Arm. This manual provides essential information for the safe and efficient installation, operation, and maintenance of your monitor arm. Please read these instructions carefully before use and retain them for future reference.
2. Safety Information
- Ensure all components are present and undamaged before assembly. Do not use if any parts are missing or defective.
- This monitor arm is designed for monitors between 13 and 32 inches, with a weight capacity of 2-10kg. Do not exceed these limits.
- Always adjust the gas spring pressure only when the arm is in a horizontal position. Failure to do so may prevent proper adjustment.
- Ensure the mounting surface (desk) is stable and strong enough to support the combined weight of the monitor arm and your monitor.
- Keep children and pets away during installation.
- Tighten all screws firmly, but do not overtighten to avoid stripping threads or damaging components.
3. Package Contents
Verify that all parts are included in your package:
- Monitor Arm Assembly
- C-Clamp Mounting Hardware
- Grommet Mounting Hardware
- VESA Plate
- Cable Management Clips
- Hex Keys / Wrenches
- Instruction Manual
4. Specifications
| Brand | ErGear |
| Model Number | EGSSK4W |
| Material | Alloy Steel |
| Color | White |
| Mounting Type | Desk Mount (C-Clamp or Grommet) |
| Movement Type | Tiltable, Swivel, Rotate |
| Compatible Monitor Size | 13-32 inches |
| Load Capacity | 2-10 kg |
| VESA Compatibility | 75x75mm, 100x100mm |
| Max Tilt Angle | Up 90°, Down 40° |
| Swivel Angle | ±90° |
| Rotation | 360° |
| Warranty | 5-year manufacturer's warranty |
5. Setup and Installation
The ErGear monitor arm offers two installation methods: C-clamp and grommet. Choose the method best suited for your desk.
5.1 Pre-Purchase Checklist
Before installation, ensure your setup meets the following requirements:
- Monitor Size: 13-32 inches
- Monitor Weight: 2-10 kg
- VESA Standard: 75x75mm or 100x100mm
- Desk Thickness:
- C-Clamp: 10-82mm
- Grommet: 10-86mm

5.2 Mounting Methods

5.3 Installation Steps
Follow these general steps for installation. Refer to the included detailed manual for specific diagrams and screw types.
- Attach the Base: Secure the chosen mounting base (C-clamp or grommet) to your desk. Ensure it is tightly fastened.
- Connect the Arm: Slide the monitor arm onto the base post.
- Attach VESA Plate to Monitor: Secure the VESA plate to the back of your monitor using the provided screws.
- Mount Monitor to Arm: Slide the VESA plate with the monitor onto the arm's VESA head. Tighten the securing screw.

6. Operating and Adjustments
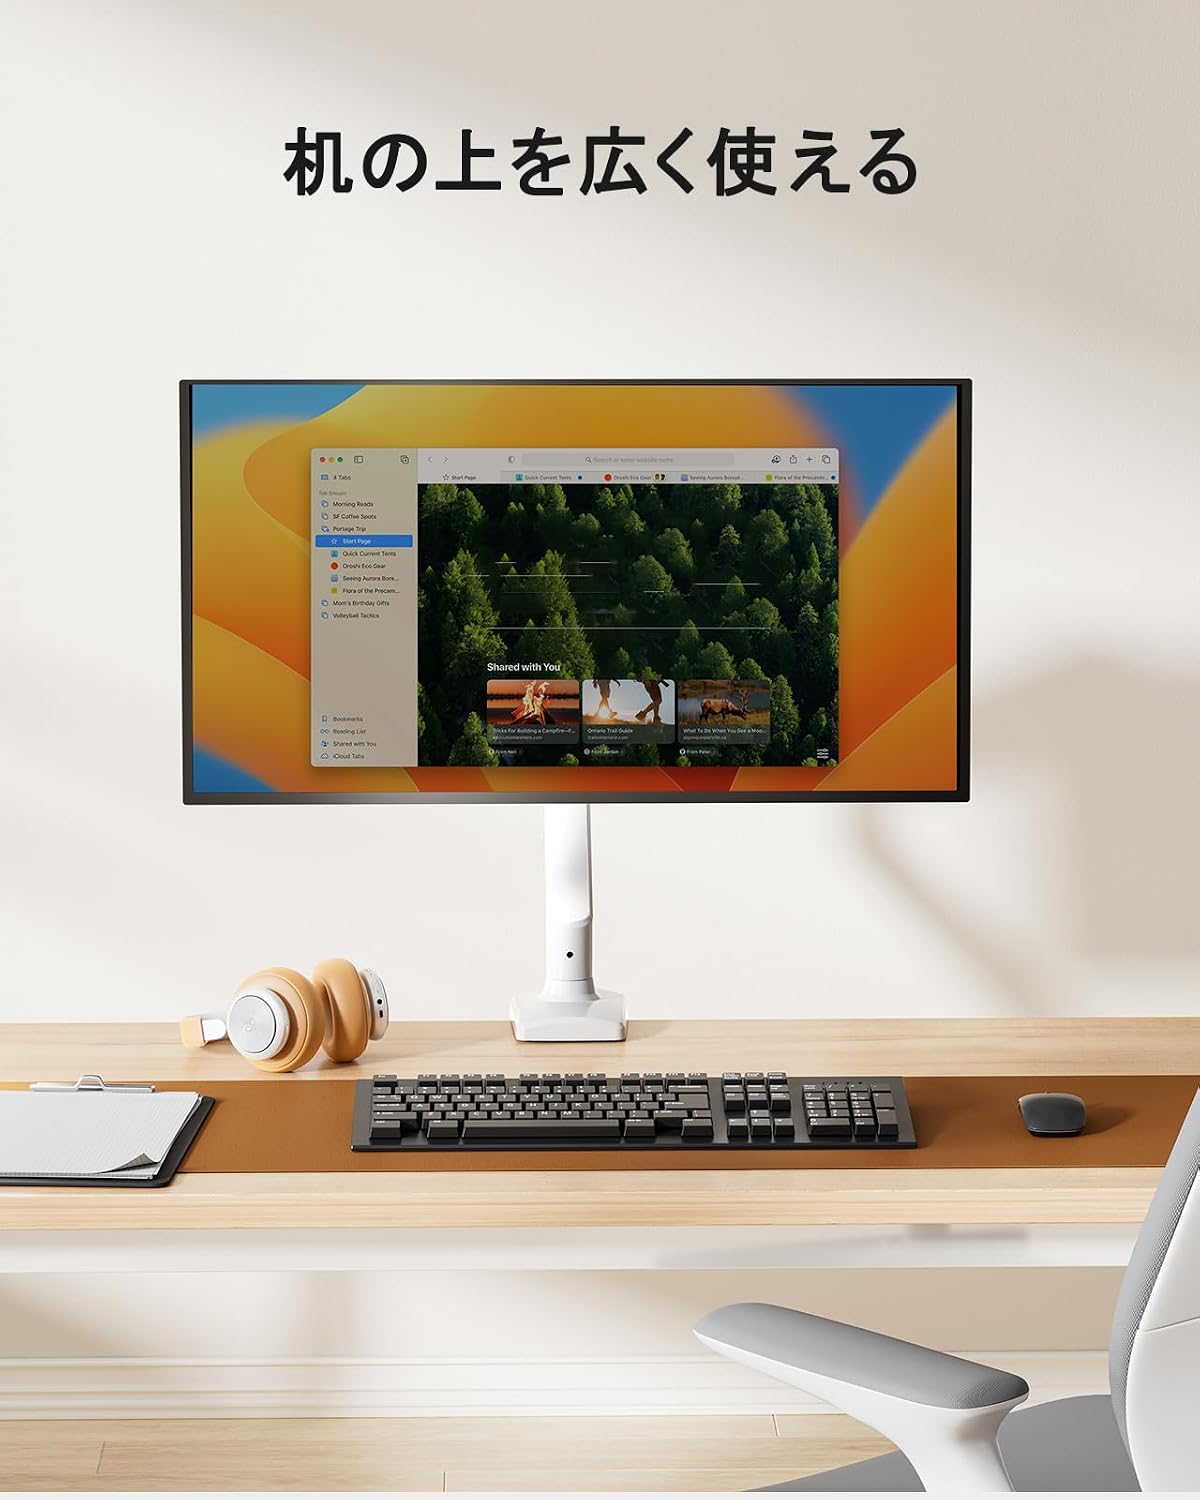
The ErGear monitor arm features a gas spring system for smooth and effortless adjustments, allowing you to optimize your viewing experience and desk space.
6.1 Adjusting Monitor Position
Once installed, you can adjust your monitor to various positions:
- Height Adjustment: Easily move the monitor up or down to achieve ergonomic eye-level viewing.
- Tilt: Adjust the screen angle up to 90° upwards and 40° downwards to reduce glare and improve viewing comfort.
- Swivel: Rotate the monitor left or right by 90° at the arm joints.
- Rotation: Rotate the monitor 360° from landscape to portrait orientation.


6.2 Adjusting Gas Spring Tension
The gas spring tension needs to be adjusted to match your monitor's weight for optimal movement and stability.
- Ensure the monitor arm is in a horizontal position.
- Locate the gas spring adjustment screw on the arm.
- Use the provided hex key to turn the screw:
- Turn towards '+' for heavier monitors (increase tension).
- Turn towards '-' for lighter monitors (decrease tension).
- Test the arm's movement. Adjust until the monitor stays in place when released and moves smoothly with minimal effort.
Important: Adjust the gas spring pressure only when the arm is horizontal. Gas pressure cannot be adjusted if the arm is not horizontal.

6.3 Cable Management
Utilize the integrated cable management clips to route and organize your monitor cables, maintaining a tidy and efficient workspace.


7. Maintenance
Regular maintenance ensures the longevity and optimal performance of your ErGear monitor arm.
- Cleaning: Wipe the arm with a soft, damp cloth. Avoid abrasive cleaners or solvents that could damage the finish.
- Check Connections: Periodically check all screws and bolts to ensure they remain tight. Re-tighten if necessary.
- Gas Spring: If the arm's movement becomes stiff or loose, re-adjust the gas spring tension as described in Section 6.2.

8. Troubleshooting
If you encounter issues with your monitor arm, refer to the following common problems and solutions:
| Problem | Possible Cause | Solution |
|---|---|---|
| Monitor arm sags or won't stay in position. | Gas spring tension is too low for monitor weight. | Increase gas spring tension (turn '+' on adjustment screw). Ensure arm is horizontal during adjustment. |
| Monitor arm is too stiff to move. | Gas spring tension is too high for monitor weight. | Decrease gas spring tension (turn '-' on adjustment screw). Ensure arm is horizontal during adjustment. |
| Monitor wobbles or feels unstable. | Mounting screws are loose; monitor is too heavy. | Check and tighten all mounting screws. Verify monitor weight is within the 2-10kg range. |
| Cannot adjust gas spring. | Arm is not horizontal during adjustment. | Position the arm horizontally before attempting to adjust the gas spring tension. |
9. Warranty and Support
The ErGear PC Monitor Arm (Model EGSSK4W) comes with a 5-year manufacturer's warranty from the date of purchase. This warranty covers defects in materials and workmanship under normal use.
For warranty claims, technical support, or any questions regarding your product, please contact ErGear customer service through the retailer where you purchased the product or visit the official ErGear website for contact information.
Please have your purchase receipt and product model number (EGSSK4W) available when contacting support.

