
TOMLOV DM11
TOMLOV DM11 LCD Digital Microscope User Manual
Model: DM11
1. Introduction
The TOMLOV DM11 LCD Digital Microscope is a versatile and powerful tool designed for detailed observation and analysis. Featuring a 7-inch IPS display, 2000X magnification capability, and dual lenses, it provides clear and magnified views of various specimens. This manual provides essential information for setting up, operating, and maintaining your DM11 microscope.
2. Package Contents
Please verify that all items listed below are included in your package:

- 1 x Microscope Unit
- 1 x No.1 Digital Lens (Low Magnification)
- 1 x No.2 Microbial Lens (High Magnification)
- 1 x User Manual
- 2 x Prepared Slides
- 2 x Data Cables
- 1 x Cleaning Cloth
- 1 x 32GB Memory Card
Description: An image showing all components included in the TOMLOV DM11 microscope package, neatly laid out next to the product box. This includes the main microscope unit with its 7-inch screen, two interchangeable lenses, a remote control, a 32GB SD card, two data cables, a cleaning cloth, and a user manual.
3. Product Overview
Familiarize yourself with the main components of your TOMLOV DM11 microscope:

Description: A clear image of the TOMLOV DM11 LCD Digital Microscope, showcasing its 7-inch IPS display, the main microscope body with its lens mount, the adjustable stand, the stage with specimen clips, and the base. A remote control and an SD card are also visible next to the main unit.
Key Components:
- 7-inch IPS Display: For direct viewing of magnified images.
- Focus Knob: Adjusts the clarity of the image.
- Height Adjustment Knob: Raises or lowers the microscope unit on the stand.
- LED Illumination: Built-in lights for illuminating specimens.
- Specimen Stage: Platform for placing slides or objects.
- Interchangeable Lenses: No.1 Digital Lens and No.2 Microbial Lens for varying magnifications.
- Control Buttons: Located on the display for menu navigation, capture, and settings.
- Remote Control: For convenient operation.
4. Setup
4.1 Assembly
Assemble the microscope stand and attach the main microscope unit securely. Ensure all connections are firm.
4.2 Lens Installation
The DM11 comes with two interchangeable lenses for different observation needs:

- No.1 Digital Lens (500X Magnification): Ideal for observing larger objects such as coins, printed circuit boards, insects, plants, jewelry, and rocks.
- No.2 Microbial Lens (2000X Magnification): Designed for microbial observation, such as onion slices or other microscopic specimens.
Description: An image illustrating the two distinct lenses (No.1 and No.2) and their primary applications. The No.1 lens is shown with a 500X magnification for digital observation, while the No.2 lens is for 2000X microbial observation.
To install a lens, screw it into the lens mount on the microscope unit. Rotate the stage knob to adjust the distance between the stage and the lens. Ensure the stage is adjusted within the marked operational range for optimal focus.

Description: A collage of magnified images showing various specimens as seen through the No.1 and No.2 lenses. Examples include a circuit board (PCB), an insect, an archaeological artifact, microorganisms, plant tissue, and animal cells, demonstrating the microscope's versatility.
4.3 Powering On and Charging
The microscope is powered by a 2600mAh rechargeable battery. Before first use, fully charge the device using the provided USB charging cable. Connect the cable to the USB charging port on the back of the display unit and to a suitable USB power adapter (not included).

Description: A detailed view of the back of the microscope's display unit, highlighting the USB charging port and the internal 18650 battery compartment. The image also shows the arrangement of the 10 LED fill lights around the microscope's objective.
Press and hold the power button on the display unit to turn the microscope on or off.
5. Operation
5.1 Basic Controls
The microscope features intuitive controls on the display unit and a convenient remote control. Buttons typically include Power, Menu, Up/Down/OK for navigation, and Capture.
5.2 Focusing and Magnification Adjustment
To achieve a clear image:
- Place your specimen on the stage.
- Rotate the height adjustment knob to raise or lower the microscope unit, bringing the lens closer or further from the specimen.
- Fine-tune the focus by rotating the focus knob until the image on the display is sharp.

Description: An instructional image demonstrating the two primary adjustment mechanisms: rotating the knob on the lens barrel to zoom and focus, and rotating the larger knob on the side of the stand to adjust the vertical position of the microscope unit.
5.3 Illumination
The DM11 is equipped with 10 LED fill lights to provide ample illumination for your specimens. Adjust the brightness as needed through the microscope's menu settings to optimize image quality.
5.4 Image and Video Capture
Insert the included 32GB microSD card into the designated slot. Use the 'OK' or 'Capture' button on the display or remote control to take still images or record videos of your observations. Captured media will be saved directly to the SD card.
5.5 Connecting to PC/Mac
For a larger viewing experience and further analysis, you can connect the DM11 microscope to a Windows or Mac OS computer using a data cable.
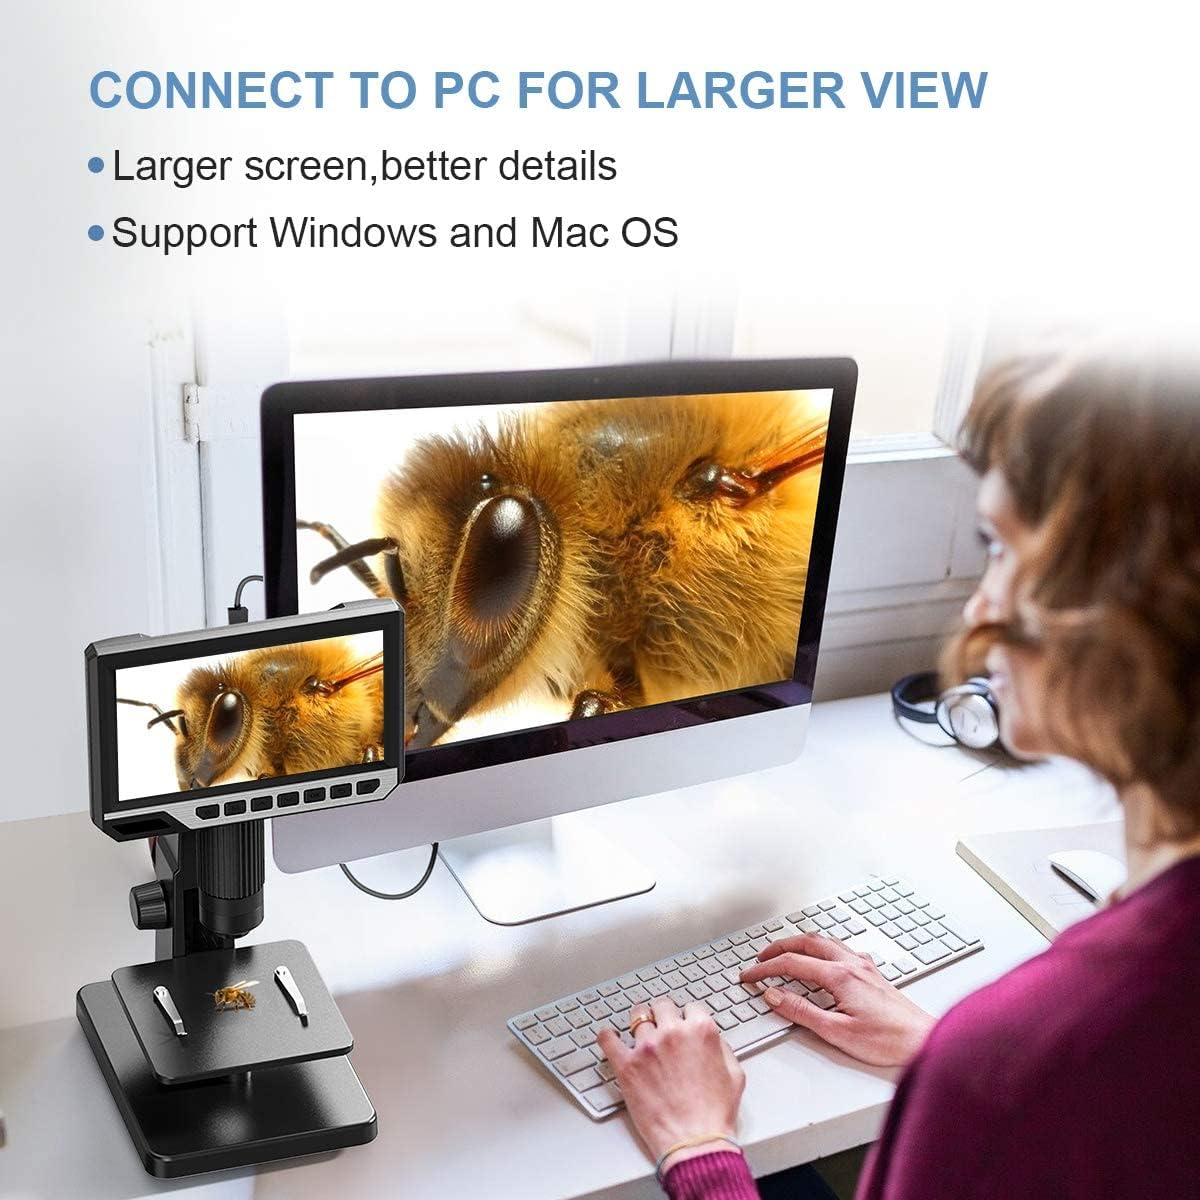
Description: An image showing the TOMLOV DM11 microscope connected via a cable to a desktop computer, displaying the magnified image on the larger monitor. This illustrates the capability to connect the microscope to a PC for enhanced viewing and analysis.
Once connected, the microscope can function as a webcam or a storage device, allowing you to view live feeds or transfer captured files.
6. Maintenance
- Cleaning: Use the provided cleaning cloth to gently wipe the display screen and lens surfaces. For stubborn smudges, use a lens cleaning solution specifically designed for optical devices. Do not use abrasive cleaners or solvents.
- Storage: When not in use, store the microscope in a clean, dry, and dust-free environment. Keep it away from direct sunlight and extreme temperatures.
- Battery Care: To prolong battery life, avoid fully discharging the battery frequently. Charge it regularly, even if not in constant use.
7. Troubleshooting
- Microscope does not turn on: Ensure the battery is charged. Connect the USB charging cable and allow it to charge for at least 30 minutes before attempting to power on again. Verify the power button is pressed and held correctly.
- Image is blurry or out of focus: Adjust the height of the microscope unit using the bracket knob. Then, rotate the focus knob slowly until the image becomes clear. Ensure the correct lens (No.1 or No.2) is installed for your specimen type and desired magnification.
- No image on PC/Mac: Ensure the microscope is properly connected via USB. Check if the correct driver or software is installed on your computer (if required, refer to the manufacturer's website for downloads). Select the microscope as the video input device in your computer's camera or viewing application.
- SD card error: Ensure the SD card is inserted correctly. Try reformatting the SD card (this will erase all data) through the microscope's menu settings or on a computer. Use a high-quality microSD card.
- LED lights not working: Check the brightness settings in the microscope's menu. Ensure the microscope is powered on and the battery has sufficient charge.
8. Specifications
| Feature | Detail |
|---|---|
| Model Number | DM11 |
| Display | 7-inch IPS Display |
| Magnification Maximum | 2000X |
| Light Source Type | LED (10 LEDs) |
| Resolution | 12MP |
| Compatible Devices | Personal Computer (Windows/Mac OS) |
| Battery | 2600mAh Rechargeable (1 AAA batteries required, likely referring to internal 18650 type) |
| Product Dimensions | 11.02 x 8.66 x 6.3 inches |
| Item Weight | 2.42 pounds (1.1 Kilograms) |
| Material | Aluminum, PC |
| UPC | 889251607851 |
9. Warranty and Support
For warranty information, technical support, or service inquiries, please refer to the warranty card included in your package or visit the official TOMLOV website. You may also contact TOMLOV customer service directly for assistance with your product.
Related documentsDM11


Ask a question about this manual
Ask about setup, troubleshooting, compatibility, parts, safety, or missing instructions. Manuals+ will review the question and use this page’s manual context to help answer it.