
Raynic CR1009pro
Raynic Emergency Weather Radio User Manual
Model: CR1009pro
Brand: Raynic
Introduction
This manual provides comprehensive instructions for the safe and effective use of your Raynic Emergency Weather Radio (Model CR1009pro). Designed for reliability in various conditions, this multi-functional device offers AM/FM/SW/NOAA radio reception, multiple charging options, and essential emergency features. Please read this manual thoroughly before operation and retain it for future reference.
Key Features
- Automatic NOAA Weather Alert: Scans for and alerts to emergency weather broadcasts.
- Large HD LCD Display: Clear digital tuning and battery level indication.
- Multiple Charging Options: Supports 6 ways of charging, including built-in rechargeable battery, solar, and hand crank.
- Emergency Functions: Integrated 3W flashlight, 2.5W reading lamp, and SOS alarm with loud siren and flashing red light.
- Portable Design: Compact, lightweight (1.2 lbs), and IPX3 water-resistant for outdoor use.
- Connectivity: USB port for charging external devices and 3.5mm headphone jack.

Image: The Raynic Emergency Weather Radio in green, showcasing its front panel with LCD display, control buttons, and a charging smartphone connected via USB.
Setup Guide
- Initial Charge: Before first use, fully charge the radio using the included power adapter via the USB port. This ensures the internal rechargeable battery is ready.
- Battery Installation (Optional): For extended backup power, open the battery compartment and insert 3 AAA batteries (not included) according to the polarity indicators.
- Antenna Extension: Extend the telescopic antenna fully for optimal radio reception.
- Time Setting: Press the "SET TIME" button to adjust the current time displayed on the LCD screen.
Operating Instructions
Power On/Off
Press the "POWER" button to turn the radio on or off. The LCD display will illuminate when powered on.
Radio Tuning (AM/FM/SW/NOAA)
- Band Selection: Press the "BAND" button repeatedly to cycle through AM, FM, SW, and WB (NOAA Weather Band) frequencies.
- Manual Tuning: Use the "TUNE+" and "TUNE-" buttons to manually adjust the frequency.
- Auto-Scan: Long-press the "TUNE+" or "TUNE-" button to auto-scan for available stations.
- NOAA Weather Alert: Press the "WX ALERT" button to activate the automatic NOAA weather alert function. The radio will scan for and alert you to emergency warnings.

Image: The radio displaying "162.425 MHz" on its LCD screen, indicating NOAA weather band reception. Text highlights "Automatically scan 7 NOAA Channels Alert Weather Radio".
Volume Control
Adjust the volume using the "VOL+" and "VOL-" buttons.
Light Functions
- Flashlight: Press the dedicated flashlight button on the side of the radio to turn on the 3W LED flashlight. Press again to dim, and a third time to turn off.
- Reading Lamp: Lift the top panel to reveal the 2.5W reading lamp. Press the reading lamp button on the side to turn it on. Press again to dim, and a third time to turn off.
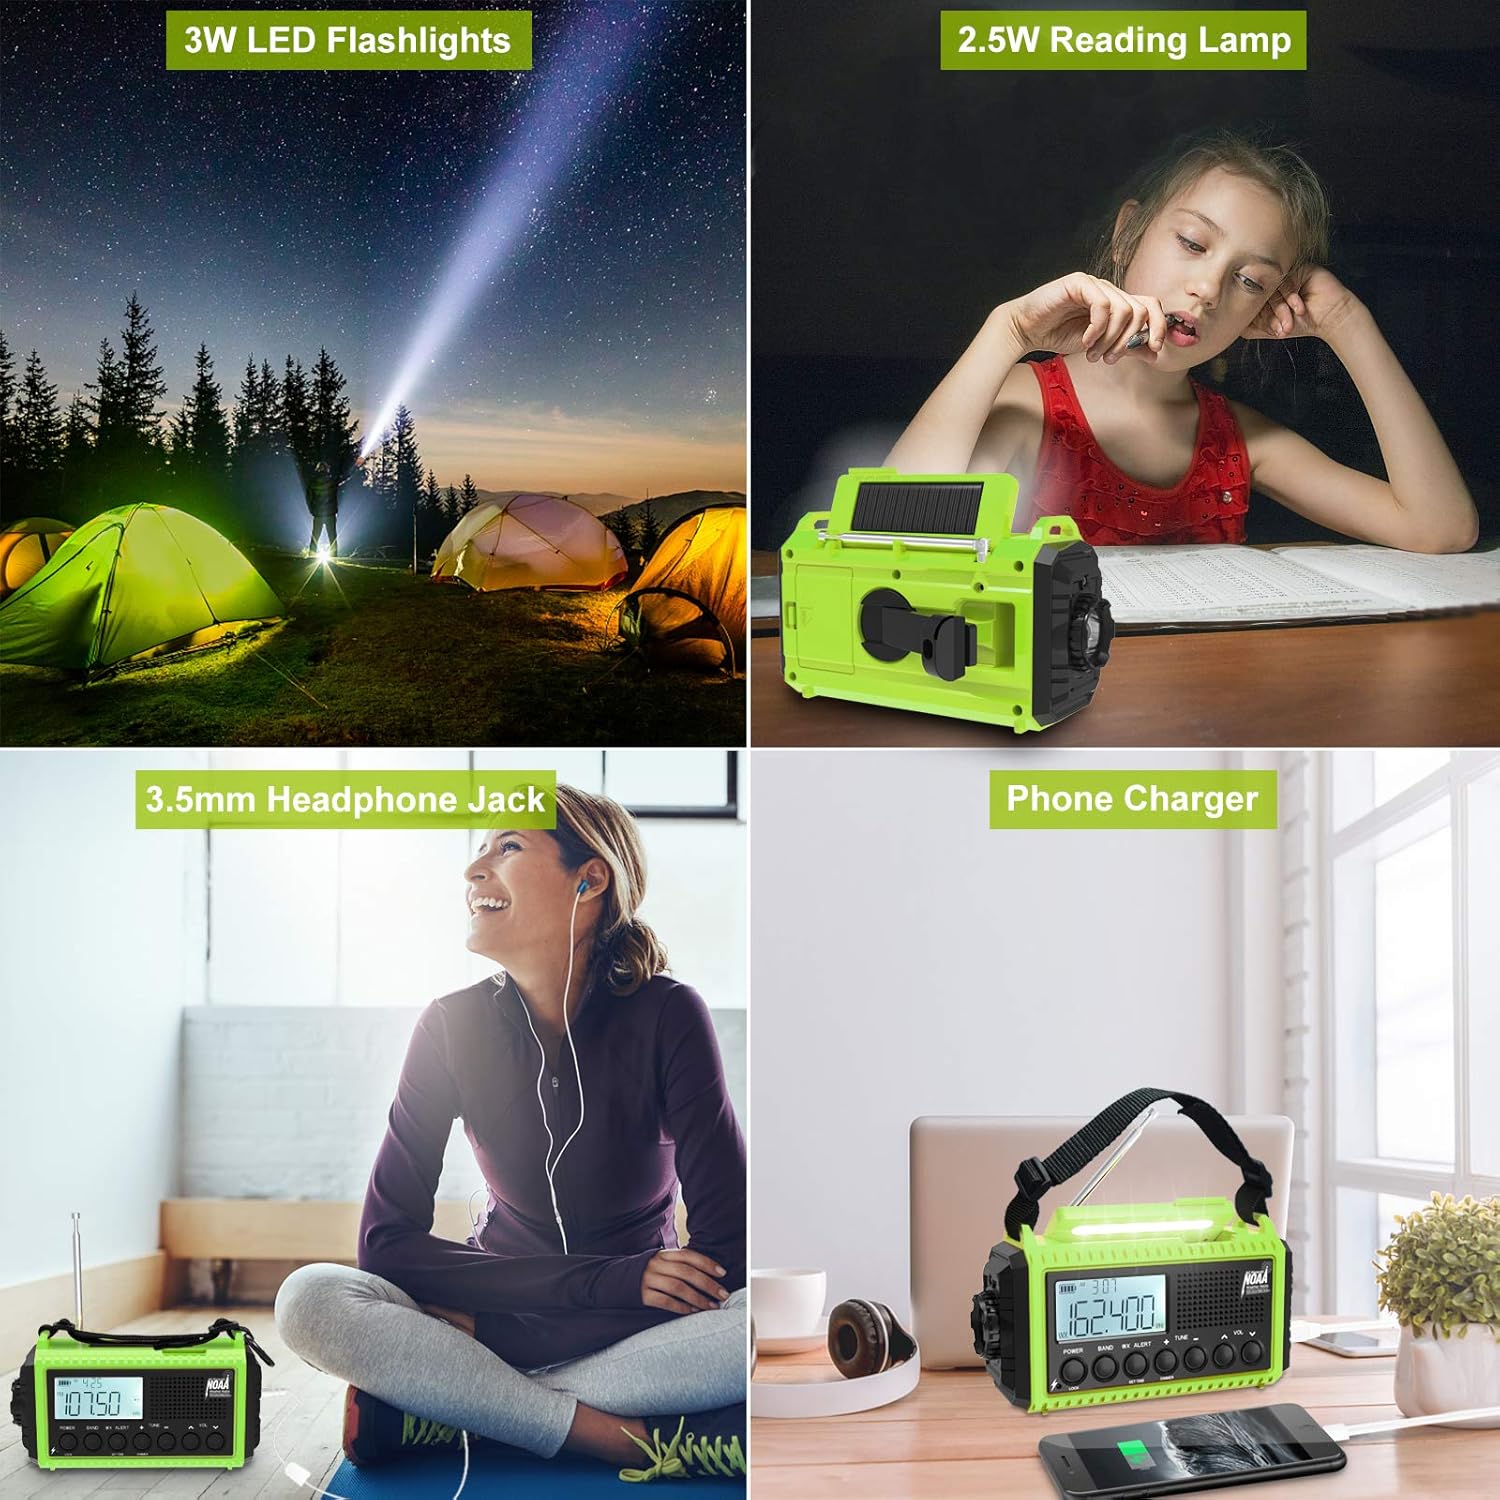
Image: A collage showing the radio's 3W LED flashlight illuminating a dark campsite and the 2.5W reading lamp providing light for reading indoors.
SOS Alarm
In an emergency, long-press the "SOS" button. This will activate a loud siren and a flashing red light to signal for assistance. Press the button again to deactivate the alarm.

Image: A collage demonstrating the radio's portability (held in hand, clipped to backpack), IPX3 water resistance (in light rain), and the SOS alarm function (flashing red light in a dark forest setting).
Charging External Devices
Connect your USB-enabled smartphone or other small electronic devices to the USB output port on the side of the radio to use it as a power bank for emergency charging.
Charging Your Radio
Your Raynic Emergency Weather Radio supports six different charging methods to ensure power availability in any situation:
- AC Adapter Charging: Use the included power adapter and USB cable to charge the radio from a standard wall outlet.
- USB Charging: Connect the radio to any standard USB power source (e.g., computer, power bank) using the USB cable.
- Solar Panel Charging: Place the radio with the solar panel facing direct sunlight. The solar panel will slowly charge the internal battery. This method is ideal for maintaining charge or for trickle charging in emergencies.
- Hand Crank Charging: Extend the hand crank handle and rotate it clockwise or counter-clockwise at a steady pace (approx. 130-150 RPM) to generate power. A few minutes of cranking can provide enough power for a short period of radio use or light.
- Built-in Rechargeable Battery: The radio features a powerful 5000mAh/18500mWh internal rechargeable battery.
- AAA Battery Backup: For additional backup, the radio can be powered by 3 AAA batteries (not included) inserted into the dedicated compartment.

Image: A diagram illustrating the six charging methods: Solar Power, AC Adapter, USB Charging, 3 AAA Battery (not included), Rechargeable Battery included, and Crank Hand Power.
Maintenance
- Cleaning: Wipe the radio with a soft, damp cloth. Do not use harsh chemicals or abrasive cleaners.
- Storage: Store the radio in a cool, dry place away from direct sunlight and extreme temperatures. If storing for extended periods, ensure the internal battery is partially charged (around 50%) and recharge it every 3-6 months to maintain battery health.
- Water Resistance: The radio is IPX3 water-resistant, meaning it can withstand spraying water. Do not submerge the radio in water. Ensure all port covers are securely closed to maintain water resistance.
Troubleshooting
If you encounter issues with your Raynic Emergency Weather Radio, please refer to the following common solutions:
- No Power: Ensure the battery is charged. Try charging via AC adapter, solar, or hand crank. Check if AAA batteries are correctly installed if using them.
- Poor Radio Reception: Fully extend the telescopic antenna. Try repositioning the radio to a location with better signal. Ensure you are within range of broadcast signals.
- Flashlight/Lamp Not Working: Check battery level. Ensure the correct button is pressed for the desired light function.
- Device Not Charging: Verify the USB cable and power source are functioning correctly. Ensure the radio's battery is not completely depleted, which might require a longer initial charge.
For more detailed troubleshooting steps, please refer to the official Troubleshooting Guide (PDF).
Specifications
| Feature | Detail |
|---|---|
| Model Number | CR1009pro |
| Dimensions | 7 x 2 x 4 inches (6.8"L x 2.9"W x 3.7"H) |
| Weight | 1 pounds |
| Battery | 5000mAh/18500mWh Lithium Polymer (included) |
| Charging Options | AC Adapter, USB, Solar, Hand Crank, 3xAAA (not included) |
| Radio Bands | AM/FM/SW/NOAA Weather Band |
| Flashlight | 3W LED |
| Reading Lamp | 2.5W |
| Water Resistance | IPX3 (Water Resistant) |
| Connectivity | USB (output), 3.5mm Headphone Jack |

Image: The radio with its dimensions (6.8 in L, 2.9 in W, 3.7 in H) and icons representing its features: 6 Charge Ways, Solar Panel, Headphone Jack, 3W Flashlight/Lamp Light, Time Display, SW/AM/FM/WB Radio, and SOS.
Warranty and Support
For warranty information and customer support, please refer to the documentation included with your product or visit the official Raynic website. You may also contact Raynic Electronic directly for assistance.
A Troubleshooting Guide (PDF) is available for common issues.
Related documentsCR1009pro


Ask a question about this manual
Ask about setup, troubleshooting, compatibility, parts, safety, or missing instructions. Manuals+ will review the question and use this page’s manual context to help answer it.