
REOLINK Reolink Argus 2E+SP
REOLINK Argus 2E Solar Wireless Security Camera User Manual
Model: Argus 2E+SP
1. Introduction
The REOLINK Argus 2E is a 2K wireless security camera designed for both indoor and outdoor home security. It operates on a rechargeable battery and can be continuously powered by the included solar panel, offering a wire-free installation solution. This camera features smart detection capabilities, two-way audio communication, and local storage without additional subscription fees.
Key features include:
- 3MP Day & Night Vision: Provides crystal clear 3MP Super HD video with a 120° wide viewing angle and 10X digital zoom. Infrared LEDs offer excellent night vision up to 10 meters.
- Non-Stop Solar Security System: Fully wire-free with a rechargeable battery and 2.4GHz WiFi. Connects to the included solar panel for continuous power. IP65 waterproof rating ensures durability in various weather conditions.
- Smart Detection & 2-Way Talk: Accurate person/vehicle detection triggers instant app push notifications and email alerts with screenshots. The built-in microphone and speaker enable two-way communication.
- Local Storage & Remote Playback: Detected events are saved to a local microSD card (up to 128GB, not included). Recordings can be accessed, played back, downloaded, and shared remotely via the app. No subscription fee is required.
- Work Independently, Easy Use: This camera operates independently without a hub. Setup is quick and easy via the mobile application.
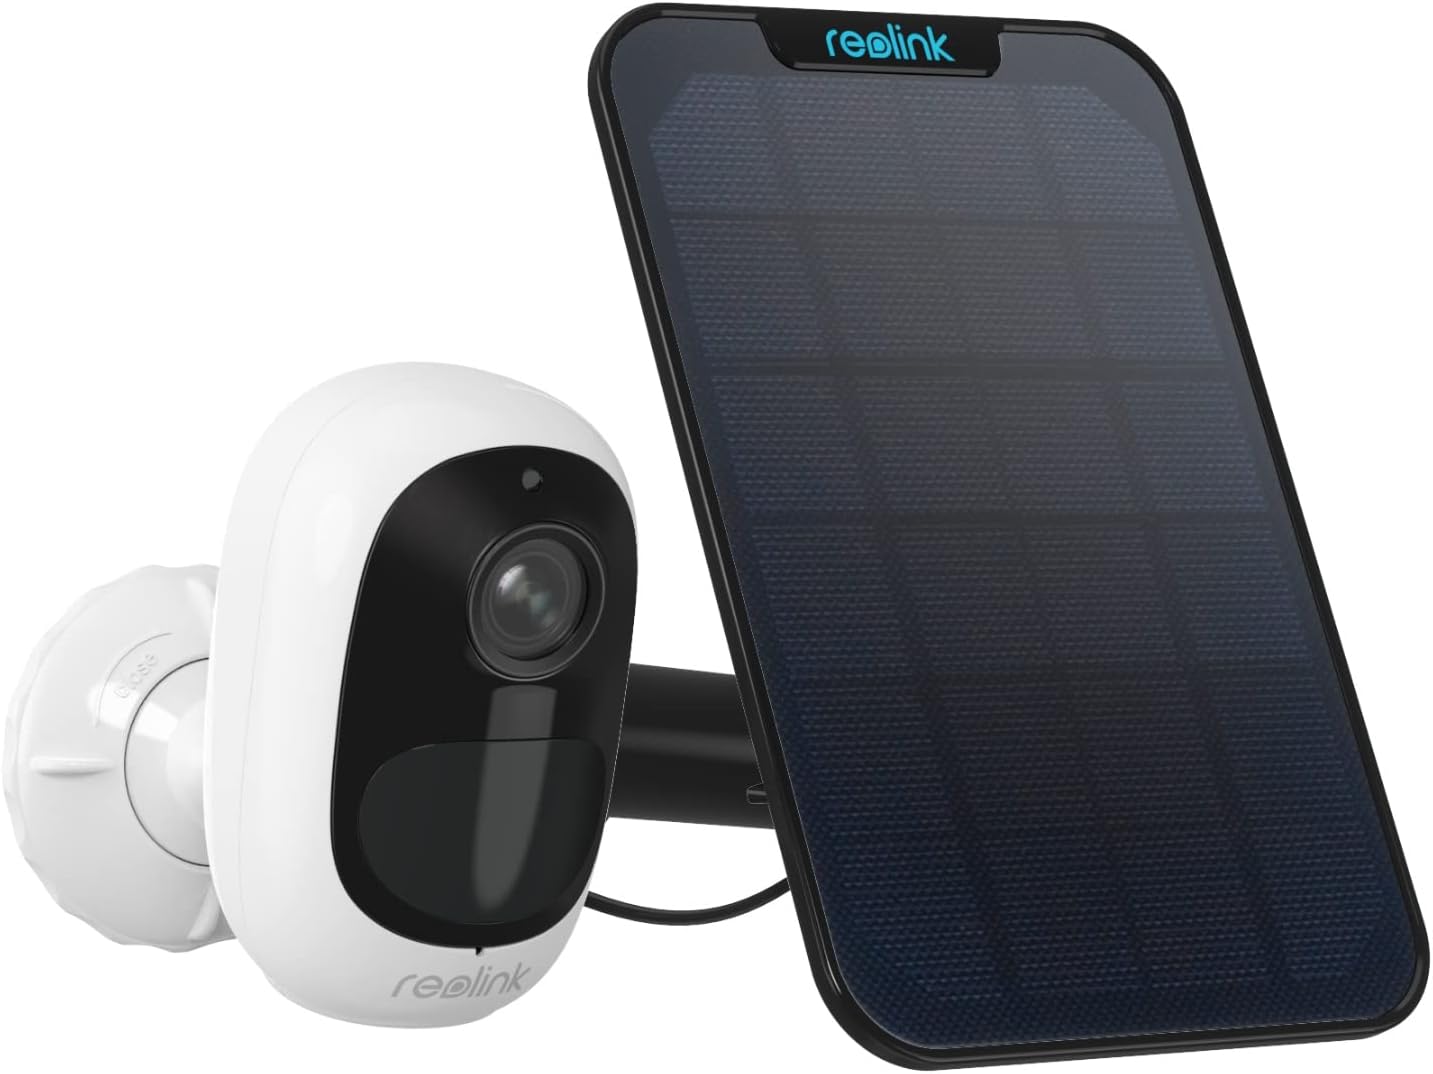
Figure 1.1: REOLINK Argus 2E camera with solar panel.
2. What's in the Box
Upon unboxing your REOLINK Argus 2E, verify that all components are present:

Figure 2.1: All components included in the REOLINK Argus 2E package.
- Argus 2E Camera Body
- Solar Panel
- USB Cable
- Bracket/Strap
- Stand Bracket
- 4m Panel Cable
- Quick Start Guide
- Surveillance Sticker
- Mounting Template
- Pack of Screws
- Reset Needle
3. Camera Components
Familiarize yourself with the various parts of the Argus 2E camera:
- Lens: Captures video footage.
- Infrared Lights: Provide illumination for night vision.
- Daylight Sensor: Detects ambient light levels to switch between day and night modes.
- Status LED: Indicates the camera's operational status (Red: WiFi connection failed; Blue: WiFi connection succeeded; Blinking: Standby status; On: Working status).
- Built-in PIR Motion Sensor: Detects motion based on infrared heat signatures.
- Built-in Mic: Captures audio for two-way talk and recording.
- Micro USB Port: Used for charging the camera.
- Speaker: Outputs audio for two-way talk and siren.
- Reset Button: Used to reset the camera to factory settings.
- Micro SD Card Slot: For local storage of recorded events (supports up to 128GB, card not included).
Figure 3.1: Detailed view of camera components.
4. Setup
Follow these steps to set up your REOLINK Argus 2E camera:
- Charge the Battery: It is recommended to fully charge the camera's battery before mounting it outdoors. You can charge it using a power adapter (not included) or the Reolink Solar Panel. Ensure the USB charging port is covered with the rubber plug after charging for weather protection.
- Download the Reolink App: Scan the QR code provided in the Quick Start Guide or search for "Reolink" in your smartphone's app store (available on Apple App Store and Google Play).
- Add the Camera: Open the Reolink App and follow the on-screen instructions to add your device. You will typically scan a QR code on the camera to initiate the connection process.
- Install the Camera:
- Installation Position: Install the camera 2-3 meters (7-10 ft) above the ground to maximize the PIR motion sensor's detection range. For effective detection, install the camera at an angle.
- Mounting: The camera can be mounted to a wall using the security bracket or placed on a surface using the stand bracket. A loop strap is also provided for mounting on poles or trees.

Figure 4.1: Visual guide for the 3-step setup process.
Video 4.1: Product Introduction to Argus 2E and Solar Panel, demonstrating key features and setup overview.
5. Operating Instructions
Once set up, the REOLINK Argus 2E offers various operational features:
- Live View: Access real-time video feed from your camera anytime, anywhere via the Reolink App on your smartphone, tablet, or desktop.
- Smart Detection: The camera utilizes PIR motion sensing for accurate person/vehicle detection. You can customize motion zones to reduce false alarms.

Figure 5.1: Smart detection and customizable motion zones for real-time alerts.
- Alerts: Receive instant APP push notifications and email alerts with screenshots when motion is detected. A 75dB siren can also be triggered.

Figure 5.2: Various alert options for motion detection.
- Two-Way Talk: Use the built-in microphone and speaker to communicate with visitors or deter unwanted individuals directly from your phone.

Figure 5.3: Two-way audio communication feature.
- Local Storage: All detected events are saved to a microSD card (not included) inserted into the camera. This allows for playback and download of recordings without cloud subscription.

Figure 5.4: MicroSD card slot for secure local storage.
- Google Assistant Integration: Control your camera hands-free using Google Assistant.
Video 5.1: Demonstrates controlling the REOLINK security camera system with Google Assistant for hands-free operation.
6. Maintenance
To ensure optimal performance and longevity of your REOLINK Argus 2E camera:
- Solar Panel Cleaning: Regularly clean the surface of the solar panel to remove dust, dirt, or debris that may obstruct sunlight and reduce charging efficiency. Use a soft, damp cloth.
- Battery Monitoring: While the solar panel provides continuous power, monitor the battery level via the Reolink App, especially during prolonged periods of low sunlight.
- Lens Cleaning: Keep the camera lens clean to ensure clear image quality. Use a soft, lint-free cloth to gently wipe the lens.
- Firmware Updates: Check the Reolink App periodically for firmware updates. Keeping the firmware updated ensures the camera has the latest features and security enhancements.
- Connection Check: Periodically verify the camera's WiFi connection strength in the app to ensure stable operation.
7. Troubleshooting
Common issues and their solutions:
| Problem | Possible Cause & Solution |
|---|---|
| Camera Not Powering On | Ensure the power switch is turned on. Charge the battery with a DC 5V/2A power adapter or the solar panel. The green LED indicates full charge. |
| Failed to Connect to WiFi During Initial Setup | Ensure the WiFi band is 2.4GHz (5GHz is not supported). Verify the correct WiFi password. Move the camera closer to the router for a stronger signal. Check the encryption method of your WiFi network (WPA2-PSK/WPA-PSK recommended). |
| Failed to Scan QR Code on Phone | Remove any protective film from the camera lens. Wipe the camera lens with a dry cloth. Ensure sufficient lighting for scanning. |
| Excessive False Alarms | Avoid facing the camera towards objects with bright lights (sunshine, bright lamps). Do not place the camera too close to areas with heavy traffic. Adjust PIR motion sensor sensitivity (lower sensitivity for less frequent alerts). |
| No Response to Reset Button | Ensure the reset needle is fully inserted into the reset hole. If the issue persists after a proper reset attempt, contact customer support. |
8. Specifications
| Feature | Detail |
|---|---|
| Model Number | Reolink Argus 2E+SP |
| Video Resolution | 3MP Super HD (2K), 1080p (15 fps) |
| Viewing Angle | 120 Degrees (diagonal) |
| Night Vision Range | Up to 10 Meters (33 ft) |
| Digital Zoom | 6X |
| Power Source | Rechargeable Battery (1 Lithium Ion battery required), Solar Powered |
| Connectivity | 2.4GHz Wi-Fi |
| Storage | MicroSD Card (up to 128GB, not included) |
| Weather Resistance | IP65 Waterproof |
| Dimensions | 8.53 x 6.25 x 6.37 inches |
| Item Weight | 8.2 ounces (0.51 Pounds) |
| Operating Temperature | -10°C to 55°C (14°F to 131°F) |
9. Warranty and Support
REOLINK is committed to providing reliable products and excellent customer service.
- Money Back Guarantee: Enjoy a 30-day money-back guarantee and free returns.
- Limited Warranty: The product comes with a 2-year limited warranty.
- Online Support: 24/7 online support is available for any queries or assistance you may need.
For further assistance, please refer to the official Reolink website or contact their customer support team.
Related documentsReolink Argus 2E+SP


Ask a question about this manual
Ask about setup, troubleshooting, compatibility, parts, safety, or missing instructions. Manuals+ will review the question and use this page’s manual context to help answer it.