
1. Introduction
This manual provides detailed instructions for the setup, operation, and maintenance of your visiPower Portable Smart Projector MINI Projector 4K Android 6.0. Please read this manual thoroughly before using the product to ensure proper functionality and to prevent damage.
2. Package Contents
Verify that all items listed below are included in your package. If any items are missing or damaged, please contact customer support.
- Projector Unit
- IR Remote Control
- HD Cable
- Tripod
- Power Adapter
- User Manual
- Carrying Bag
- Packing Carton

The image above displays the typical contents of the product package, including the projector, remote control, necessary cables, and accessories for immediate use.
3. Product Overview
The visiPower MINI Projector is a portable smart projector featuring DLP technology, Android 6.0 OS, and various connectivity options. It is designed for versatile use in home theater, business presentations, and educational settings.

This image illustrates the compact design of the projector, highlighting its touch control panel and the arrangement of its input/output ports on the side.
3.1. Intelligent Touch Panel
The projector features an intelligent touch panel for intuitive navigation and control, supporting both touch gestures and button operations.

The touch panel allows for easy selection of media, applications, and settings with simple drag-and-click functionality, eliminating the need for an external mouse.
3.2. Infrared Remote Control
The included infrared remote control provides an alternative method for operating the projector, offering comfortable grip and control from various directions and angles.

The remote control allows for convenient adjustment of settings and navigation through the projector's interface, with the infrared receiver located on the projector's side.
4. Setup
4.1. Powering On/Off
- Connect the power adapter to the projector's DC 5V input port and then to a power outlet.
- Slide the power switch on the side of the projector to the "ON" position.
- The projector will boot up and display the main interface.
- To power off, slide the power switch to the "OFF" position.
4.2. Initial Placement and Focus
Place the projector on a stable, flat surface. Adjust the focus manually using the focus wheel located on the side of the projector until the projected image is clear.
5. Operating Instructions
5.1. Keystone Correction
The projector supports automatic vertical keystone correction and manual horizontal keystone correction to adjust the image shape if the projector is not perfectly perpendicular to the screen.

The device defaults to automatic ±40° vertical keystone correction. Manual correction for both vertical and horizontal angles (up to ±45°) is also supported, including multi-angle adjustment. Access these settings via the 'Projection Setting' menu.
Video 5.1: Demonstration of keystone correction and other features. This video illustrates the automatic and manual keystone correction capabilities, showing how to adjust the projected image for optimal viewing.
5.2. Screen Mirroring (Wireless Connection)
The projector supports various multi-screen technologies like AirPlay, Miracast, EShare, and DLNA, allowing you to wirelessly mirror content from your smartphone, tablet, or computer.
- Ensure both the projector and your device are connected to the same Wi-Fi network.
- Navigate to the 'EShare' or 'Airplay' application on the projector's main interface.
- Follow the on-screen instructions to connect your device.
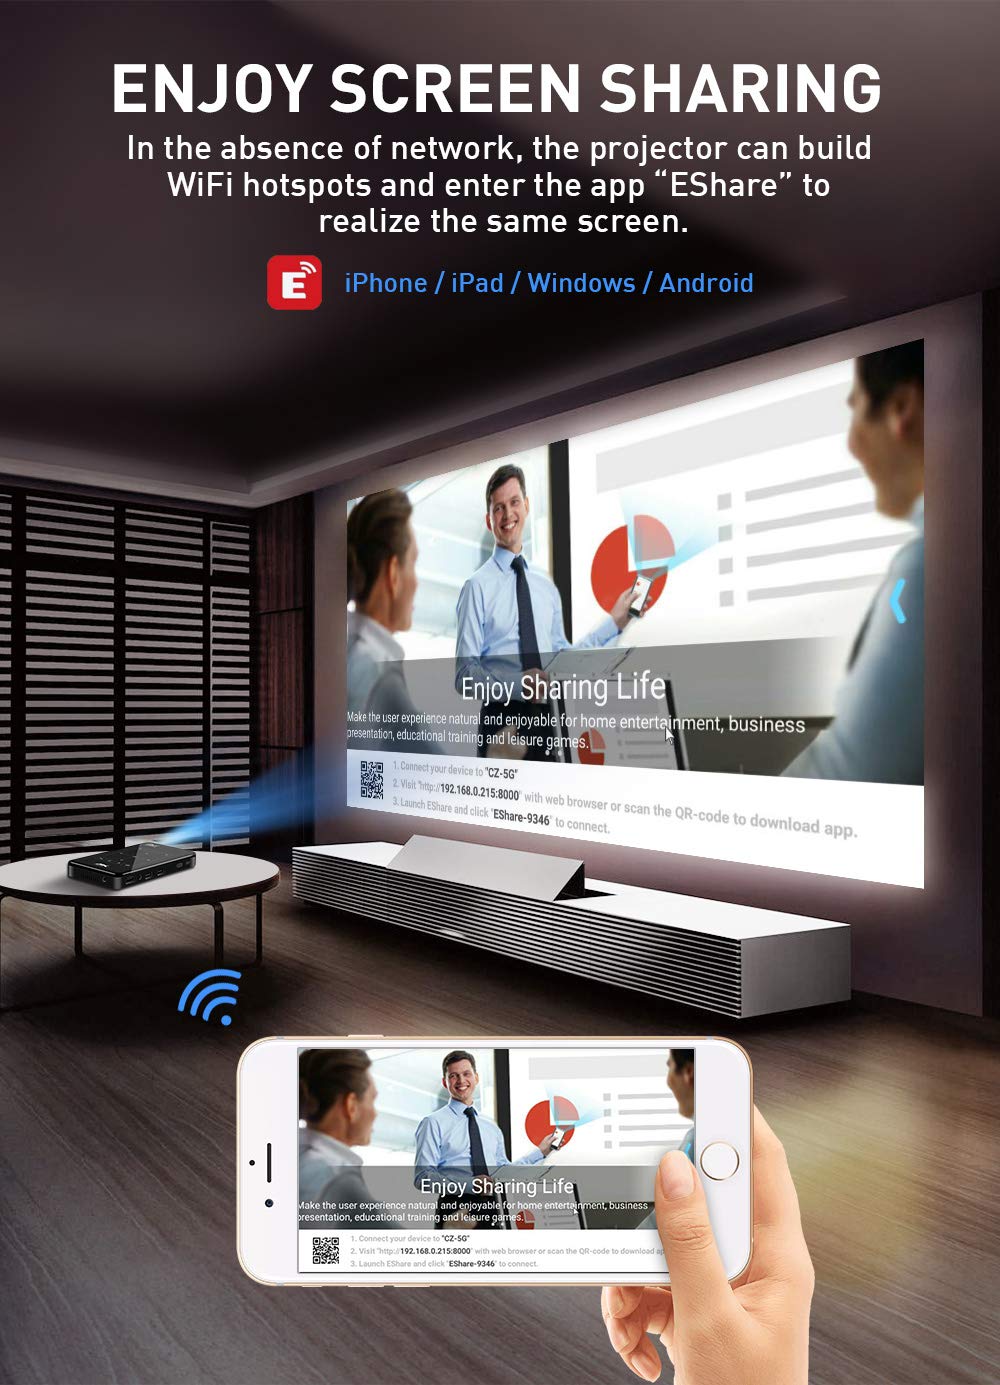
This feature enables seamless sharing of content from iOS and Android devices, enhancing entertainment and presentation capabilities.
5.3. HDMI Connection
Connect external devices such as laptops, gaming consoles, or Blu-ray players using the HDMI input port.
- Connect one end of the HDMI cable to the projector's HDMI IN port.
- Connect the other end to the HDMI output port of your external device.
- Select 'HDMI IN' from the projector's main interface to switch to the HDMI input source.
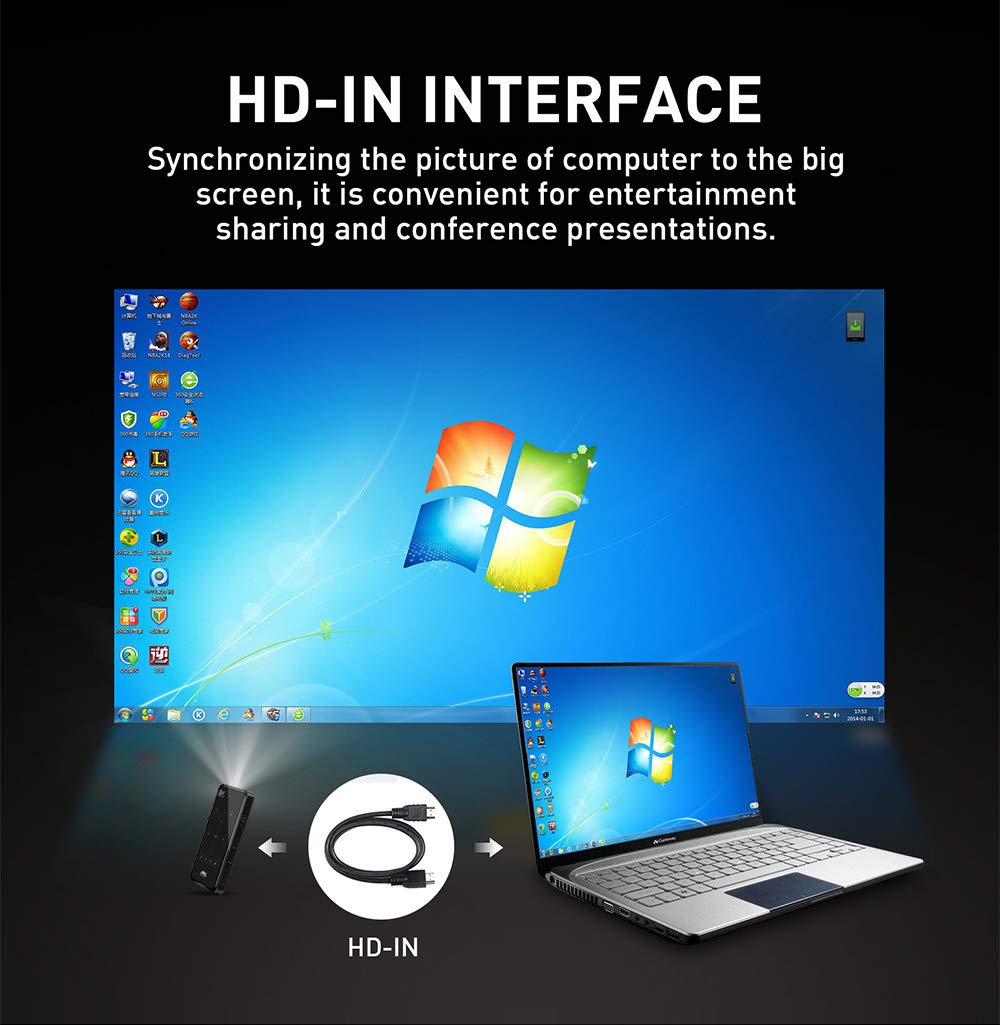
The HDMI-IN interface allows for synchronized display of content from your computer or other HDMI-enabled devices, suitable for entertainment and presentations.
5.4. 3D Playback
The projector supports 3D content playback. For an immersive 3D experience, active shutter 3D glasses (purchased separately) are required.
- Play a 3D video file on the projector.
- Access the 3D mode settings within the video player.
- Select the appropriate 3D display mode (e.g., L/R, B/T, Frame Packing) to match your 3D content.
- Wear active shutter 3D glasses to view the content in 3D.
Video 5.2: Demonstration of 3D playback. This video shows the projector displaying 3D content and the selection of 3D modes, emphasizing the need for active shutter 3D glasses.
6. Maintenance
6.1. Cleaning the Projector
- Ensure the projector is powered off and unplugged before cleaning.
- Use a soft, dry cloth to wipe the exterior of the projector.
- For the lens, use a lens cleaning cloth and specialized lens cleaning solution. Avoid abrasive materials.
- Do not use liquid or aerosol cleaners directly on the projector.
6.2. Storage
When not in use for extended periods, store the projector in a cool, dry place, away from direct sunlight and extreme temperatures. Use the provided carrying bag for protection.
7. Troubleshooting
| Problem | Possible Cause | Solution |
|---|---|---|
| No Power | Power adapter not connected; Power switch off; Battery depleted. | Ensure power adapter is securely connected. Turn power switch ON. Charge the projector battery. |
| No Image | Input source not selected; Cable connection loose; Projector in standby mode. | Select correct input source (e.g., HDMI IN). Check all cable connections. Press power button to wake from standby. |
| Blurry Image | Focus not adjusted; Keystone not corrected; Projection distance incorrect. | Adjust the focus wheel. Use keystone correction settings. Ensure projector is within optimal projection distance (1-5m). |
| No Sound | Volume too low; Muted; External audio device not connected. | Increase volume. Unmute the projector. Connect external speakers via 3.5mm audio jack if desired. |
| Wi-Fi Connection Issues | Incorrect password; Out of range; Router issues. | Verify Wi-Fi password. Move projector closer to router. Restart router. |
8. Specifications
| Category | Detail |
|---|---|
| Product Type | Portable Smart Projector |
| Projection Technology | DLP (0.3DMD+RGBLED) |
| Light Luminance | 50 ANSI lumens |
| Light Type | LED |
| Contrast Ratio | 2000:1 |
| Standard Resolution | WVGA 854*480 |
| Maximum Display Resolution | 1920 x 1080 (1080P) |
| Lamp Life | ≥20,000 Hours |
| Projection Ratio | 1.19:1 |
| Projection Area | 30-120 inch |
| Projection Distance | 1-5m |
| Aspect Ratio | 4:3 / 16:9 / 16:10 |
| Keystone Correction | Automatic vertical ±40°, Manual vertical/horizontal ±45° |
| CPU | Amlogic S905X Quad core ARM Cortex-A53 CPU up to 1.5GHz |
| Buffer Memory | 1GB / 2GB DDR3 |
| Operating System | Android 6.0 |
| Video Support | H.263, H.264, H.265, VC-1, RV, VP6/VP8, Sorenson Spark, MVC MPEG-1, MPEG-2, MPEG-4 real-time video decoder |
| Audio Support | MP3, WMA, MP2, OGG, AAC, M4A, MA4, FLAC, APE, 3GP, WAV |
| Image Support | JPG, PNG, BMP etc. |
| Flash Support | Flash 11.1 |
| Extended Storage | TF card (up to 32GB), Hard disk |
| USB | USB HOST 2.0 (x2) |
| HDMI | HDMI 1.4 (Support HDMI In) |
| Bluetooth | BT 4.0 |
| Wi-Fi | 2.4G/5G Wi-Fi |
| Touch Function | Multimedia touch Key |
| Remote Control | Infrared and 2.4G wireless control |
| Power Input | 5V-3.0A DC |
| Output Interface | 1x HDMI 1.4, 2x USB, 1x Earphone (3.5mm Audio Out) |
| Whole Power Consumption | 6W |
| Built-in Battery | 3.7V 4000 MA |
| Dimensions | 146 x 78.5 x 18mm |
9. Warranty and Support
9.1. Warranty Information
Please refer to the warranty card included in your product package or contact visiPower customer support for detailed warranty terms and conditions. Keep your proof of purchase for warranty claims.
9.2. Customer Support
For technical assistance, troubleshooting, or any product-related inquiries, please contact visiPower customer support through the contact information provided on the official website or in your product documentation.