
1. Important Safety Instructions
Read all instructions carefully before using the dehumidifier. Failure to follow these instructions may result in electric shock, fire, or serious injury.
- Ensure the power supply matches the voltage specified on the rating label.
- Do not operate the unit with a damaged cord or plug. If the cord is damaged, it must be replaced by the manufacturer or a qualified service agent.
- Always unplug the dehumidifier before cleaning or performing any maintenance.
- Do not block the air inlet or outlet. Maintain at least 8 inches (20 cm) clearance around the unit.
- This appliance is not intended for use by persons (including children) with reduced physical, sensory or mental capabilities, or lack of experience and knowledge, unless they have been given supervision or instruction concerning use of the appliance by a person responsible for their safety.
- Do not use the dehumidifier in wet environments such as bathrooms or laundry rooms where water may splash onto the unit.
- Place the unit on a level, stable surface to prevent tipping and water spillage.
- Do not insert fingers or foreign objects into the air inlet or outlet.
- Do not use chemical solvents or flammable materials near the unit.
2. Product Overview
The AIRPLUS AP2006 Dehumidifier is designed to efficiently remove excess moisture from the air, creating a more comfortable and healthy indoor environment. It features a compact design with universal wheels for easy portability and a user-friendly control panel.
2.1 Components
- Control Panel
- Air Outlet
- Air Inlet / Filter
- Water Tank
- Continuous Drain Outlet
- Universal Wheels
- Power Cord
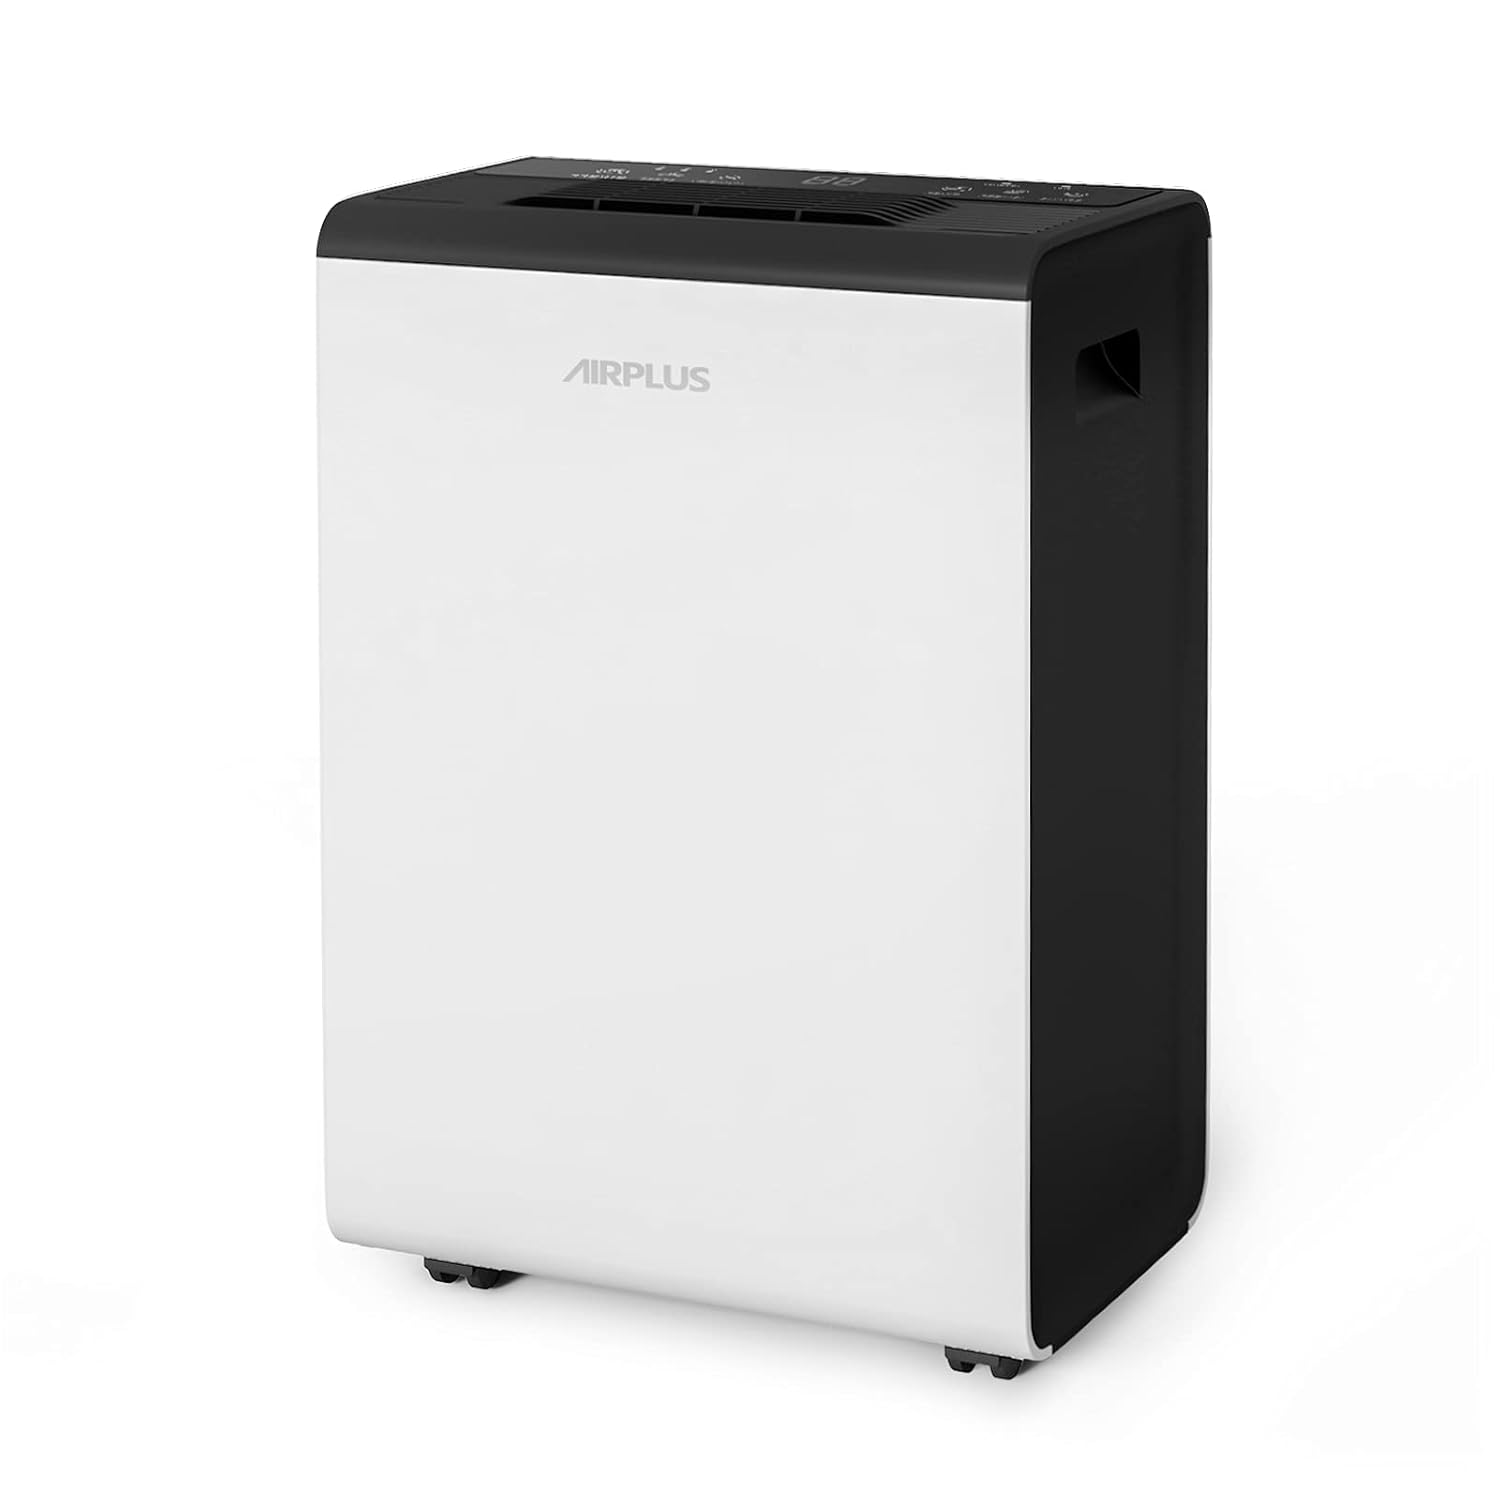
Figure 2.1: Front view of the AIRPLUS AP2006 Dehumidifier, showing its compact design and wheels.

Figure 2.2: Close-up of the dehumidifier's control panel, displaying various function indicators and buttons.
3. Setup
3.1 Unpacking
- Carefully remove the dehumidifier from its packaging.
- Remove all packing materials, including any tape or protective films.
- Inspect the unit for any shipping damage. If damaged, do not operate and contact customer support.
- Allow the unit to stand upright for at least 2 hours before plugging it in. This allows the refrigerant to settle.
3.2 Placement
- Place the dehumidifier on a firm, level surface that can support its weight when the water tank is full.
- Ensure there is at least 8 inches (20 cm) of space around all sides of the unit for proper air circulation. Do not place it against a wall or furniture that would obstruct airflow.
- Avoid placing the unit in direct sunlight or near heat sources like radiators or ovens, as this can reduce its efficiency.
- The universal wheels allow for easy movement. Ensure the unit is stable once placed.

Figure 3.1: Image illustrating the 360-degree movable casters for easy repositioning of the dehumidifier.
4. Operation
4.1 Control Panel Functions
The control panel provides access to all dehumidifier settings. Refer to Figure 2.2 for button locations.
- ON/OFF Button: Press to turn the unit on or off.
- Humidity Setting: Press the '%' button to adjust the desired humidity level (e.g., 40% to 80% Relative Humidity). The unit will operate until the set humidity is reached.
- Speed Button: Adjusts fan speed (High, Medium, Low). Higher speed results in faster dehumidification.
- Timer Button: Sets the auto-on or auto-off timer (1-24 hours).
- Drying Mode: Activates a continuous drying function, useful for drying clothes.
- Ionizer: Activates the ionizer function to help purify the air.
- FULL Indicator: Illuminates when the water tank is full and needs to be emptied. The unit will automatically shut off.
- DEFROST Indicator: Illuminates when the unit is performing an automatic defrost cycle.

Figure 4.1: The dehumidifier effectively reducing humidity in a living space, indicated by air circulation arrows.

Figure 4.2: Illustration of the dehumidifier's ability to assist in drying clothes, showing air flowing towards hanging garments.
4.2 Water Drainage
The dehumidifier offers two drainage options:
- Manual Drainage (Water Tank): When the water tank is full, the "FULL" indicator will light up, and the unit will stop operating. Carefully remove the water tank from the back of the unit and empty it. Reinsert the tank securely to resume operation. The tank has a capacity of 2.8 liters (approximately 5.9 pints).
- Continuous Drainage: For continuous operation without emptying the tank, attach a standard garden hose (not included) to the continuous drain outlet located at the back of the unit. Ensure the hose is sloped downwards to allow gravity drainage into a floor drain or suitable receptacle.

Figure 4.3: Diagram showing both manual drainage via the detachable water tank and continuous drainage using a hose connection.

Figure 4.4: Illustration of the 2.8L large capacity water tank and the full water tank alarm feature, which automatically shuts down the unit.
5. Maintenance
Regular maintenance ensures optimal performance and extends the lifespan of your dehumidifier.
5.1 Cleaning the Air Filter
The air filter should be cleaned every two weeks or more frequently depending on usage and air quality.
- Turn off the dehumidifier and unplug it from the power outlet.
- Locate the air inlet filter at the back of the unit.
- Gently pull out the filter.
- Wash the filter with warm, soapy water. Rinse thoroughly.
- Allow the filter to air dry completely before reinserting it. Do not use a dishwasher or hot water.
- Reinsert the dry filter back into the unit.

Figure 5.1: Image showing the detachable and washable air filter, located at the air inlet grid.
5.2 Cleaning the Water Tank
Clean the water tank regularly to prevent mold and mildew growth.
- Remove the water tank from the unit.
- Wash the tank with mild detergent and warm water.
- Rinse thoroughly and dry completely before placing it back into the dehumidifier.
5.3 Exterior Cleaning
- Wipe the exterior of the unit with a soft, damp cloth.
- Do not use abrasive cleaners or solvents.
6. Troubleshooting
Before contacting customer service, please refer to the following table for common issues and solutions.
| Problem | Possible Cause | Solution |
|---|---|---|
| Dehumidifier does not turn on. | No power supply; Power cord not plugged in; Water tank full or not properly inserted. | Check power outlet; Ensure power cord is securely plugged in; Empty and reinsert water tank correctly. |
| Unit runs but does not dehumidify. | Air filter clogged; Room temperature too low; Humidity setting too high; Air inlet/outlet blocked. | Clean the air filter; Ensure room temperature is above 41°F (5°C); Lower the humidity setting; Clear any obstructions around the unit. |
| "FULL" indicator is on, but tank is not full. | Water tank not properly seated; Float switch malfunction. | Remove and reinsert the water tank firmly; Contact customer support if issue persists. |
| Unit is noisy. | Unit not on a level surface; Air filter clogged; Fan obstruction. | Place unit on a level surface; Clean the air filter; Check for any foreign objects in the fan area. |
| Frost appears on coils. | Room temperature too low. | This is normal during defrost cycle. If frost persists, ensure room temperature is within operating range. |
7. Specifications
| Feature | Detail |
|---|---|
| Model Number | AP2006 |
| Dehumidification Capacity | 50 Pints per Day |
| Water Tank Volume | 2.8 Liters (approx. 5.9 Pints) |
| Product Dimensions (D x W x H) | 10" x 14" x 7" (25.4 cm x 35.56 cm x 17.78 cm) |
| Weight | 27.85 Pounds (12.63 kg) |
| Recommended Use Area | Medium Spaces and Basements (Residential) |
| Operation Mode | Continuous |
| Special Feature | Portable (Universal Wheels) |
| Color | White |
8. Warranty & Support
AIRPLUS products are manufactured to the highest quality standards. For warranty information and customer support, please refer to the contact details provided with your purchase or visit the official AIRPLUS website.
For assistance with your AIRPLUS AP2006 Dehumidifier, please contact:
- Customer Service Email: [Refer to product packaging or official website]
- Website: AIRPLUS Official Store on Amazon
Please have your model number (AP2006) and purchase date ready when contacting support.


