
1. Introduction
Thank you for choosing the Giantex GT52021-KC Stainless Steel Commercial Hand Wash Sink. This manual provides essential information for the safe and efficient installation, operation, and maintenance of your new sink. Please read these instructions thoroughly before installation and retain them for future reference.
This commercial-grade sink is designed for durability and hygiene, featuring high-quality stainless steel construction, a convenient gooseneck faucet, and an integrated backsplash. Its robust design makes it suitable for various commercial and residential applications.
2. Safety Instructions
- Always ensure the water supply is turned off before beginning any installation or maintenance work.
- Wear appropriate personal protective equipment (PPE) such as gloves and eye protection during installation.
- If you are not experienced with plumbing or installation, it is recommended to seek assistance from a qualified professional.
- Ensure the mounting surface is structurally sound and capable of supporting the weight of the sink when filled with water.
- Do not use harsh abrasive cleaners or steel wool on the stainless steel surface, as this can scratch or damage the finish.
- Regularly inspect all plumbing connections for leaks and tighten as necessary.
3. Package Contents
Verify that all components are present and undamaged before beginning installation. If any parts are missing or damaged, contact Giantex customer support.
- 1 x Stainless Steel Hand Wash Sink with Integrated Backsplash and Faucet
- 1 x Wall Mount Bracket
- 1 x User Guide (This document)
4. Setup and Installation
The Giantex GT52021-KC sink is designed for wall-mounted installation. The backsplash is pre-drilled for easy faucet assembly.
4.1 Components Overview

Image: Overview of the sink's key features, including the rotatable gooseneck faucet, rounded corners for easy cleaning, and the protective backsplash.
4.2 Wall Mounting
- Determine the desired height and location for the sink. Mark the mounting points for the wall bracket on the wall.
- Ensure the marked points are level. Drill pilot holes suitable for your wall type and mounting hardware (not included, typically).
- Securely attach the wall mount bracket to the wall using appropriate fasteners.
- Carefully lift the sink and align it with the wall bracket, ensuring it sits securely.
4.3 Faucet and Water Connections
The sink comes with a pre-installed faucet. Connect the hot and cold water lines to the faucet inlets located on the backsplash.

Image: Detail showing the hot and cold water inlets, designed for convenient connection to your water supply.
- The faucet features 1/2-inch brass tubes with straight threads for water connections.
- Due to the limited space (approximately 2 inches) between the backsplash and the wall, using 90-degree fittings with straight threads (NPSM or ISP) is highly recommended for connecting water supply lines. Standard tapered (NPT) fittings may not seal properly or fit within the space.
- Apply plumber's tape (Teflon tape) to all threaded connections to ensure a watertight seal.
- Connect the hot water supply to the left inlet and the cold water supply to the right inlet.
- Once connections are made, slowly turn on the main water supply and check for any leaks. Tighten connections as needed.
4.4 Drain Assembly
The sink includes a practical drainage system with a central strainer.

Image: Exploded view of the drainage components, illustrating the basket strainer, rubber seal, paper washer, lock nut, and coupling nut for proper assembly.
- Assemble the drain components as shown in the diagram, ensuring all seals are correctly seated.
- Connect the sink's drain outlet to your plumbing system using appropriate P-trap and drain pipes (not included).
- Test the drain for leaks by filling the sink with water and observing the connections.
5. Operating Instructions
Using your Giantex commercial sink is straightforward:
- Water Flow: Turn the hot and cold water handles to adjust the water temperature and flow rate.
- Gooseneck Faucet: The faucet is rotatable 360 degrees, providing flexibility for washing and rinsing items of various sizes.
- Drainage: The central strainer effectively filters debris, preventing clogs. Ensure the strainer is in place during use.
6. Maintenance
Proper maintenance will ensure the longevity and hygienic condition of your stainless steel sink.
- Daily Cleaning: After each use, rinse the sink thoroughly with water to remove food particles and soap residue. Wipe dry with a soft cloth to prevent water spots and mineral buildup.
- Regular Cleaning: For general cleaning, use a mild dish soap and warm water with a soft sponge or cloth. Wipe in the direction of the grain of the stainless steel.
- Stain Removal: For stubborn stains, use a non-abrasive stainless steel cleaner. Always follow the product instructions and rinse thoroughly.
- Avoid: Do not use steel wool, abrasive pads, harsh chemicals (e.g., bleach, ammonia-based cleaners), or cleaners containing chlorides, as these can damage the stainless steel finish.
- Rounded Corners: The sink's rounded corners are designed to prevent dirt accumulation, making cleaning easier and more effective.
- Drain Strainer: Periodically remove and clean the drain strainer to ensure efficient drainage and prevent blockages.
7. Troubleshooting
Refer to the following common issues and solutions before contacting customer support.
| Problem | Possible Cause | Solution |
|---|---|---|
| Water leaks from connections | Loose connections, worn seals, improper plumber's tape application. | Turn off water supply. Tighten all connections. Replace seals or reapply plumber's tape if necessary. |
| Slow drainage | Drain strainer clogged, drain pipe blockage. | Remove and clean the drain strainer. Check the drain pipe for blockages and clear them. |
| Low water pressure | Main water supply partially closed, aerator clogged. | Ensure main water supply valve is fully open. Unscrew and clean the faucet aerator. |
| Water spots or discoloration on sink surface | Hard water deposits, improper drying. | Wipe the sink dry after each use. Use a stainless steel cleaner for hard water spots. |
8. Specifications
Detailed specifications for the Giantex GT52021-KC Stainless Steel Commercial Hand Wash Sink:
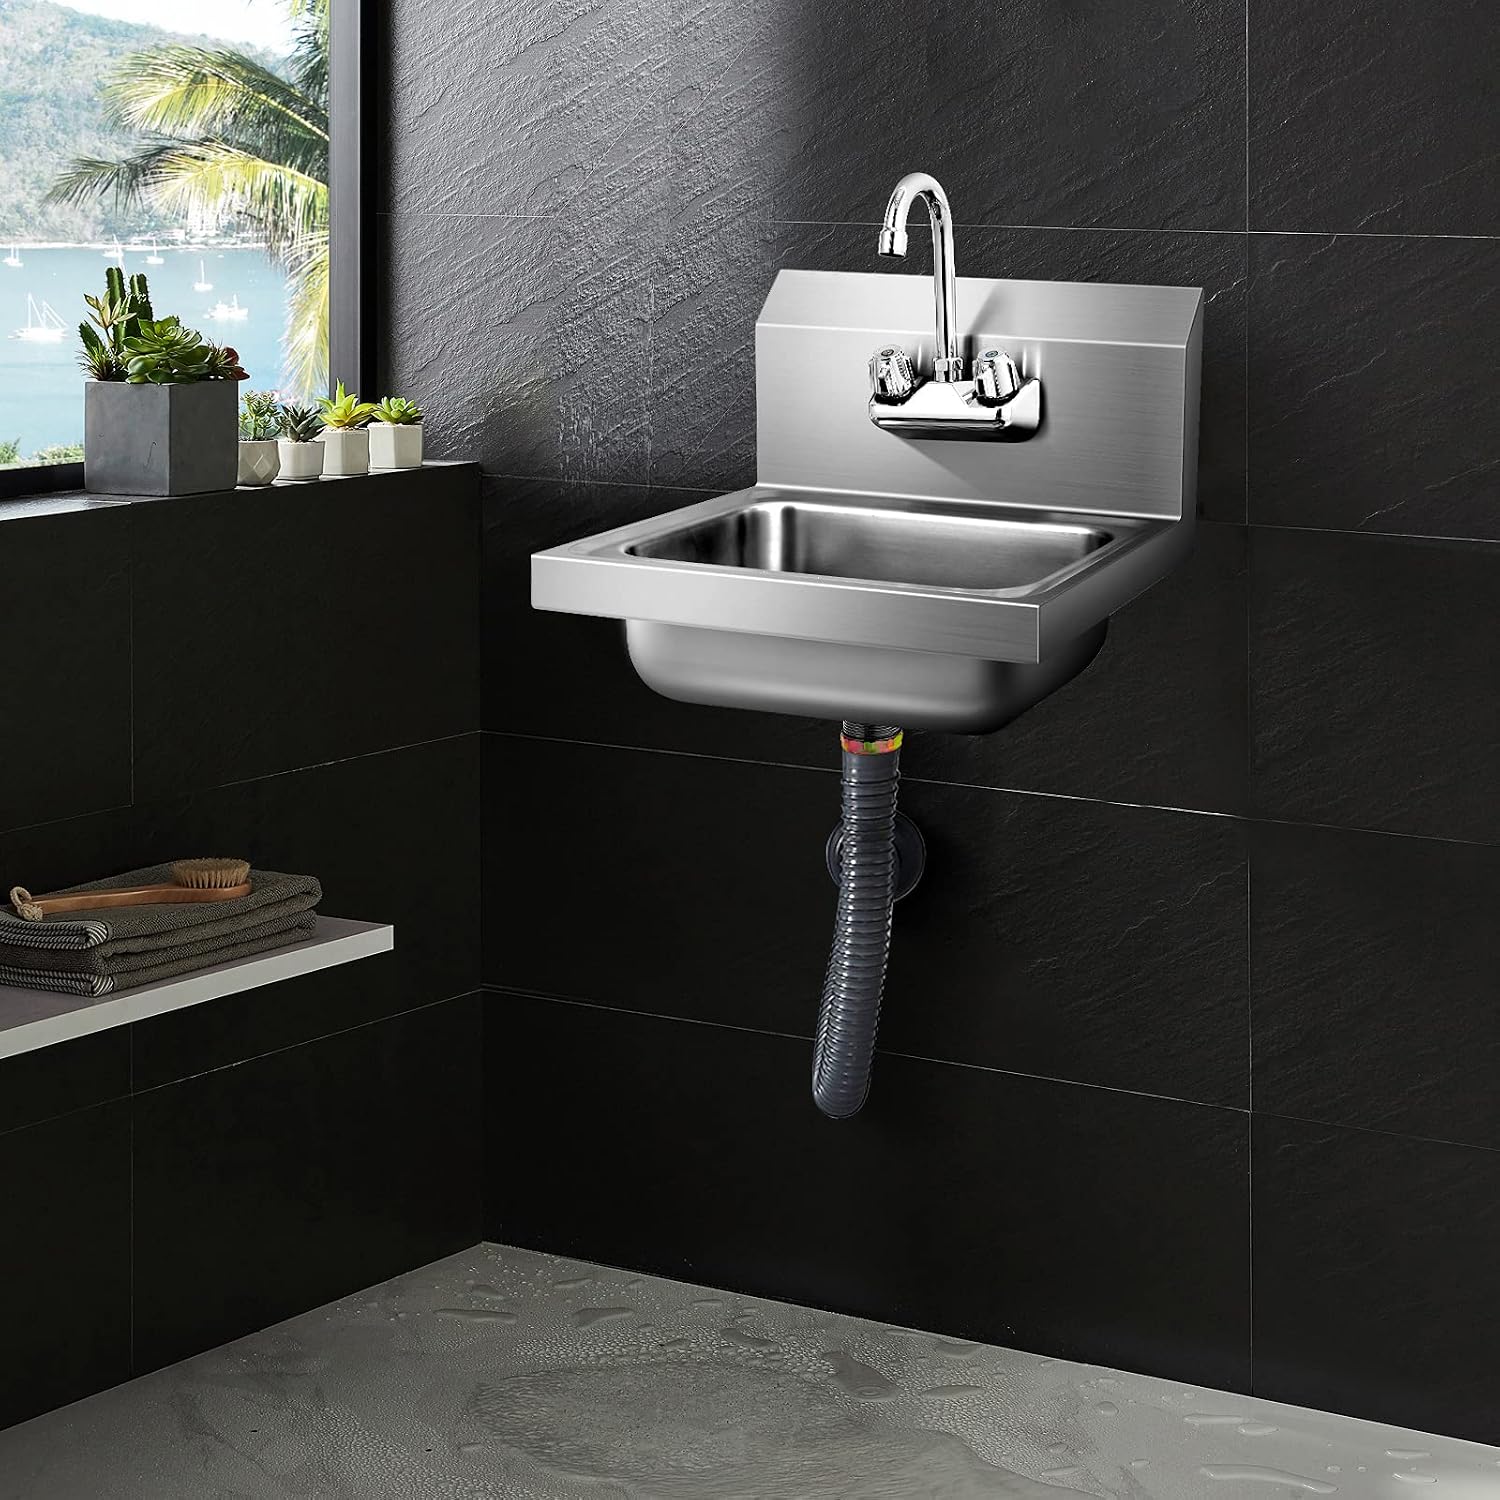
Image: Technical drawing illustrating the dimensions of the sink, including overall length, width, height, and basin measurements.
- Brand: Giantex
- Model: GT52021-KC
- Material: Stainless Steel
- Color: Silver
- Product Dimensions (L x W x H): 17 inches x 15 inches x 14.5 inches
- Basin Dimensions (L x W x D): Approximately 14 inches x 10 inches x 5 inches
- Net Weight: 8.5 pounds
- Mounting Type: Wall Mount, Built-in
- Drain Type: Grid Strainer
- Faucet Type: Gooseneck, 360-degree rotatable, Hot & Cold Inlets
9. Warranty Information
Giantex products are manufactured to high-quality standards. Specific warranty details, including coverage period and terms, are typically provided with your purchase documentation or can be found on the official Giantex website. Please retain your proof of purchase for warranty claims.
10. Support
For further assistance, technical support, or to inquire about replacement parts, please refer to the contact information provided with your product packaging or visit the official Giantex website. When contacting support, please have your model number (GT52021-KC) and purchase details ready.