
Walfront fc56fcda-a067-4fa1-85f2-94a85cb904c8
Walfront 550W Electric Paint Spray Gun
Model: fc56fcda-a067-4fa1-85f2-94a85cb904c8
1. Introduction
Thank you for choosing the Walfront 550W Electric Paint Spray Gun. This versatile tool is designed for efficient and uniform paint application on various surfaces, including furniture, walls, fences, and automotive parts. Its detachable design ensures ease of use and cleaning, while adjustable spray patterns and flow control provide precision for different projects.
Please read this manual thoroughly before operating the spray gun to ensure safe and optimal performance. Keep this manual for future reference.

Figure 1: Walfront 550W Electric Paint Spray Gun
2. Safety Instructions
Always follow basic safety precautions when using electrical appliances to reduce the risk of fire, electric shock, and personal injury.
General Safety
- Read all instructions before use.
- Wear appropriate personal protective equipment (PPE) including safety glasses, gloves, and a respirator.
- Ensure the work area is well-ventilated to prevent the accumulation of flammable vapors.
- Keep children and pets away from the work area.
- Do not operate the spray gun in the presence of flammable liquids or gases.
- Always disconnect the power cord before cleaning, adjusting, or performing maintenance.
- Do not immerse the motor unit in water or other liquids.
- Use only genuine Walfront replacement parts and accessories.
Paint Sprayer Specific Safety
- Never point the spray gun at people or animals.
- Always test the spray pattern on a piece of scrap material before applying to your project.
- Ensure the paint material is properly thinned according to the paint manufacturer's instructions and suitable for spray application.
- Do not spray highly flammable materials.
- Clean the spray gun thoroughly after each use to prevent clogging and ensure longevity.
3. Product Components
The Walfront Electric Paint Spray Gun comes with the following components:
- Main Spray Gun Unit (Motor Body)
- Detachable Spray Head Assembly
- 800ml Paint Container (Pot with Lid)
- Viscosity Measuring Cup (Regadera)
- Nozzle Cleaning Needle
- User Manual (English)

Figure 2: Included Components
4. Setup
Follow these steps to set up your paint spray gun:
- Assemble the Spray Gun: Attach the detachable spray head assembly to the main motor unit. Ensure it clicks securely into place.
- Prepare the Paint:
- Stir the paint thoroughly.
- Use the viscosity measuring cup to check the paint's consistency. If necessary, thin the paint according to the paint manufacturer's recommendations. The ideal viscosity for spraying varies by paint type.
- Pour the prepared paint into the 800ml paint container. Do not overfill.
- Attach Paint Container: Screw the paint container firmly onto the spray head assembly.
- Select Spray Pattern: Rotate the air cap on the front of the spray gun to select one of the three spray patterns:
- Horizontal Fan: For vertical surfaces.
- Vertical Fan: For horizontal surfaces.
- Circular/Round: For small areas, corners, or detailed work.
- Adjust Flow Control: The flow control knob (Jog Wheel) on the trigger allows you to adjust the paint output. Turn it clockwise for more paint and counter-clockwise for less. Start with a lower setting and adjust as needed.

Figure 3: Nozzle and Flow Control Adjustment
5. Operating Instructions
Once the spray gun is set up, follow these steps for operation:
- Connect Power: Plug the power cord into a suitable 110V US electrical outlet. The 165 cm (65 inch) power cord provides ample reach.
- Test Spray: Before spraying your actual project, always test the spray pattern and flow on a piece of cardboard or scrap material. Adjust the flow control knob and spray pattern until you achieve the desired result.
- Spraying Technique:
- Hold the spray gun approximately 20-25 cm (7.9-9.8 inches) from the surface.
- Maintain a consistent distance and speed while spraying.
- Apply paint in smooth, even strokes, overlapping each pass by about 50%.
- Release the trigger at the end of each pass to avoid paint buildup.
- For best results, apply multiple thin coats rather than one thick coat.
- Refilling: If the paint container runs low, disconnect the power, unscrew the container, refill, and reattach.
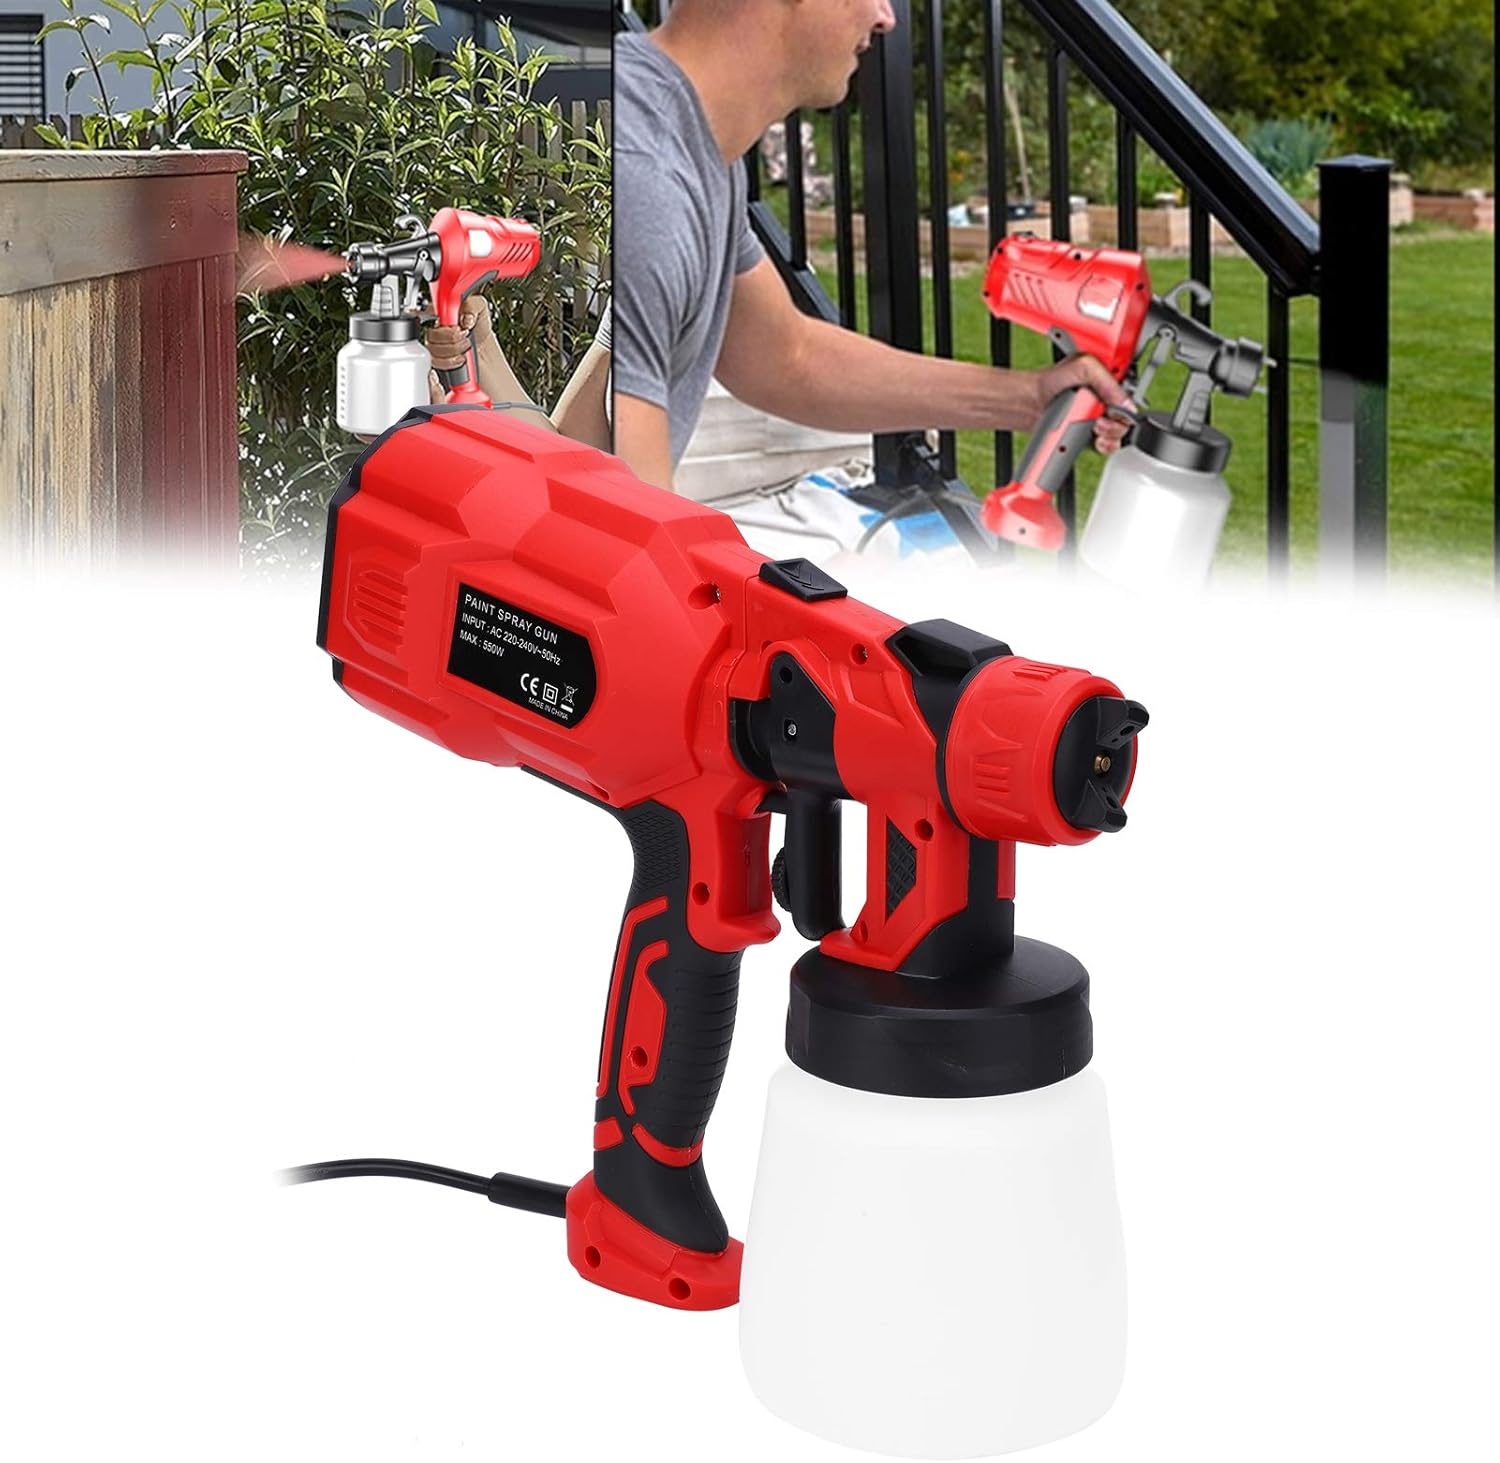
Figure 4: Spraying a Fence and Railing
6. Maintenance
Proper cleaning and maintenance are essential for the longevity and performance of your spray gun.
- Immediate Cleaning: After each use, immediately disconnect the power and empty any remaining paint from the container.
- Rinse Container: Fill the paint container with appropriate cleaning solution (water for latex paint, mineral spirits for oil-based paint) and spray it through the gun until clear.
- Disassemble and Clean:
- Unscrew and remove the paint container.
- Detach the spray head assembly from the motor unit.
- Disassemble the spray head components (nozzle, air cap, fluid tip).
- Clean all components thoroughly with the appropriate cleaning solution and the provided nozzle cleaning needle. Pay special attention to the nozzle and fluid tip to prevent clogging.
- Wipe down the exterior of the motor unit with a damp cloth. Do not immerse the motor unit in liquid.
- Dry and Store: Ensure all parts are completely dry before reassembling. Store the spray gun in a clean, dry place away from direct sunlight and extreme temperatures.
7. Troubleshooting
Refer to the table below for common issues and their solutions:
| Problem | Possible Cause | Solution |
|---|---|---|
| No spray or weak spray | Clogged nozzle/fluid tip; Paint too thick; Low paint level; Air cap blocked. | Clean nozzle/tip with cleaning needle; Thin paint; Refill paint container; Clean air cap. |
| Uneven spray pattern | Partially clogged nozzle; Incorrect spray pattern setting; Inconsistent spraying distance. | Clean nozzle; Adjust air cap to desired pattern; Maintain consistent distance. |
| Paint spitting or dripping | Paint too thin; Loose components; Damaged seals. | Thicken paint slightly; Ensure all parts are securely tightened; Check seals for damage. |
| Motor not running | No power; Faulty switch; Overheating. | Check power connection; Contact customer support if switch is faulty; Allow unit to cool down. |
8. Specifications
Technical specifications for the Walfront Electric Paint Spray Gun:
| Feature | Specification |
|---|---|
| Model Number | fc56fcda-a067-4fa1-85f2-94a85cb904c8 |
| Power | 550W |
| Voltage | 110V (US Plug) |
| Paint Container Capacity | 800ml |
| Max Flow Rate | 350 ml/min |
| Spray Distance | Approx. 200-250 mm (7.9-9.8 inches) |
| Power Cord Length | Approx. 165 cm (65 inches) |
| Material | ABS + Aluminum Alloy + Brass |
| Weight | 1446 Grams |
9. Warranty and Support
This product is manufactured by Walfront. For warranty information, please refer to the terms provided at the time of purchase or contact your retailer. Extended warranty plans may be available through third-party providers like Assurant.
For technical support, parts, or service inquiries, please contact the seller, nineone, through the Amazon platform or visit the official Walfront brand store for more information:
Walfront Official Store on Amazon
Please have your product model number (fc56fcda-a067-4fa1-85f2-94a85cb904c8) and purchase details ready when contacting support.
Ask a question about this manual
Ask about setup, troubleshooting, compatibility, parts, safety, or missing instructions. Manuals+ will review the question and use this page’s manual context to help answer it.